










How to Make Homemade Texture Paint: A Complete Guide to Adding Depth and Character to Your Walls
What Is Texture Paint and Why Make It at Home?
Texture paint is a specially formulated coating that adds a three-dimensional, tactile quality to walls, ceilings, and other surfaces. Unlike standard flat paint, texture paint contains additives that create visual and physical depth, transforming ordinary surfaces into striking design features. Whether you are aiming for a rustic Mediterranean finish, a sophisticated Venetian plaster look, or a subtle sandy texture, homemade texture paint gives you complete creative control over the final result.
Making texture paint at home is far more economical than purchasing pre-mixed commercial products. A single can of commercial texture paint can cost significantly more than the combined price of the basic ingredients needed to achieve a comparable effect. Beyond cost savings, the DIY approach allows you to customize the thickness, color intensity, and coarseness of the texture to suit your exact vision. You are not limited to whatever a manufacturer has decided is the right consistency or grit level for a given product.
There is also a deeply satisfying creative dimension to the process. When you mix your own texture paint and apply it by hand, every wall becomes an original piece of work. Slight variations in application, layering, and blending mean that no two rooms will look identical, giving your home a genuinely handcrafted quality that mass-produced finishes simply cannot replicate. For homeowners, renters with permission to paint, and interior design enthusiasts alike, homemade texture paint opens up an entire world of affordable, expressive possibility.
Essential Ingredients and Materials You Will Need
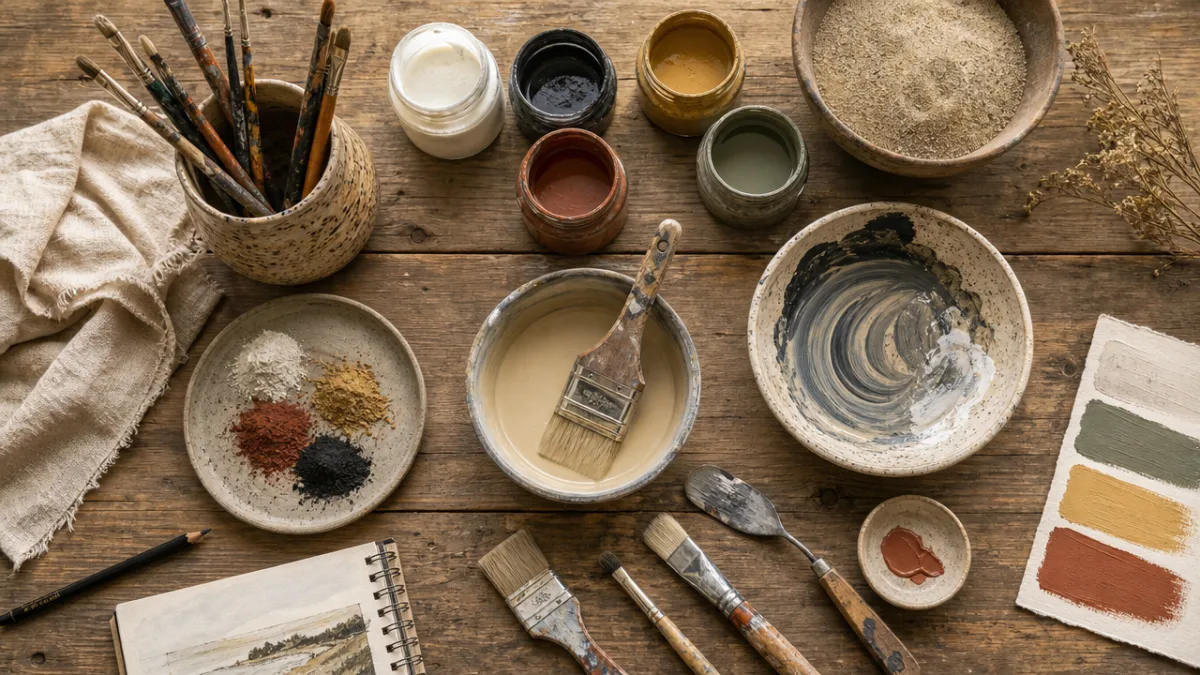
Before you begin mixing, gathering all your supplies is critical. The foundation of almost every homemade texture paint recipe is standard interior latex or acrylic paint. Choose a color you love, or start with white and plan to tint it yourself. Beyond the base paint, the texture agent is the star ingredient, and your choice here will define the final look and feel of your surface. Common texture agents include baking soda, sand, drywall joint compound, cornstarch, and even sawdust for more dramatic rustic finishes.
Sand is one of the most popular and readily available texture agents. Fine silica sand creates a subtle, even grain that catches light beautifully, while coarser builder’s sand produces a much more pronounced, gritty surface. Baking soda, by contrast, dissolves slightly into the paint and creates a softer, more powdery texture with a slightly chalky appearance that suits farmhouse and vintage-inspired aesthetics particularly well. Joint compound or spackling paste blends smoothly with paint and gives you a thicker, more workable medium that can be manipulated with tools to create swirls, peaks, and other sculptural effects.
In addition to your paint and texture agent, you will need a selection of application and mixing tools. These include a large bucket or mixing container, a stir stick or electric drill with a mixing paddle attachment for larger batches, a paint roller with a thick nap for even base coats, wide-bristled brushes, and specialty tools such as trowels, sea sponges, combs, or crumpled plastic bags for creating different surface patterns. Drop cloths, painter’s tape, and gloves will protect your workspace and hands throughout the process.
- Base paint: Interior latex or acrylic in your chosen color
- Texture agents: Sand (fine or coarse), baking soda, joint compound, cornstarch, or sawdust
- Mixing tools: Large bucket, stir stick or drill with mixing paddle
- Application tools: Roller, brushes, trowels, sponges, combs
- Protective supplies: Drop cloths, painter’s tape, gloves, safety goggles
Five Popular Homemade Texture Paint Recipes
One of the simplest and most beginner-friendly recipes is the baking soda texture paint. To make it, combine one cup of interior latex paint with two to three tablespoons of baking soda and stir thoroughly until the mixture is completely uniform with no lumps. The resulting paint has a thicker consistency and applies slightly more slowly than standard paint, but it dries to a wonderfully soft, matte, chalky finish. This formula works beautifully in bedrooms, living areas, or any space where you want a calm, understated texture without dramatic visual noise.
For a sandy, beach-inspired finish, mix one part fine silica sand to four parts paint. Stir continuously as you add the sand to prevent clumping, and keep stirring periodically during application as the sand tends to settle to the bottom of the container. This recipe is especially effective in bathrooms and kitchens where you want a surface that feels slightly more durable and visually interesting. You can increase the ratio of sand for a coarser finish, but be aware that very heavy sand concentrations can make the paint difficult to apply evenly and may reduce adhesion over time.
A more advanced recipe uses joint compound as the texture agent, which is ideal for creating sculptural, plastered effects. Mix two parts joint compound to one part paint and blend until smooth. This mixture is thick and workable, almost like frosting, and can be applied with a wide trowel and then manipulated while wet to create sweeping arcs, peaks, or a smooth Venetian plaster appearance. Adding a small amount of water helps control consistency. Once dry, the surface can be sanded lightly for a smoother result or left as-is for a more organic, expressive look.
Cornstarch texture paint offers a surprisingly effective and very low-cost alternative. Mix two tablespoons of cornstarch with a small amount of cold water to form a paste, then add this paste to one cup of paint and stir well. The result is a slightly thickened paint with a soft, silky texture that applies smoothly and dries with a gentle sheen. This formula suits formal living rooms or dining areas where you want texture that is felt more than dramatically seen. Finally, for a dramatic, rustic effect, fine sawdust mixed into paint at a ratio of roughly one tablespoon per cup creates a warm, woody, heavily textured finish ideal for accent walls or workshop-style spaces.
Step-by-Step Application Process
Proper surface preparation is the single most important factor in achieving a successful texture paint result. Begin by cleaning the wall thoroughly with a damp cloth to remove any dust, grease, or grime. Fill any cracks, holes, or dents with spackle and allow it to dry completely before sanding smooth. If the wall has previously been painted with a glossy finish, lightly scuff the surface with fine-grit sandpaper to improve adhesion. Apply a coat of primer and allow it to dry fully before you begin your texture paint application. Skipping this step is one of the most common and costly mistakes beginners make, as texture paint applied to an unprepared surface is far more likely to peel, crack, or apply unevenly.
Once the surface is prepared, apply a solid base coat of your standard paint in your chosen color and allow it to dry completely. This base coat ensures that any areas where texture paint is thin or applied unevenly will still show a consistent color underneath rather than bare primer or old paint bleeding through. Depending on the effect you are aiming for, you may want the base coat to be the same color as your texture paint, a slightly lighter shade to create contrast, or even a different color entirely for a layered, antiqued look that shows through intentional gaps in the texture.
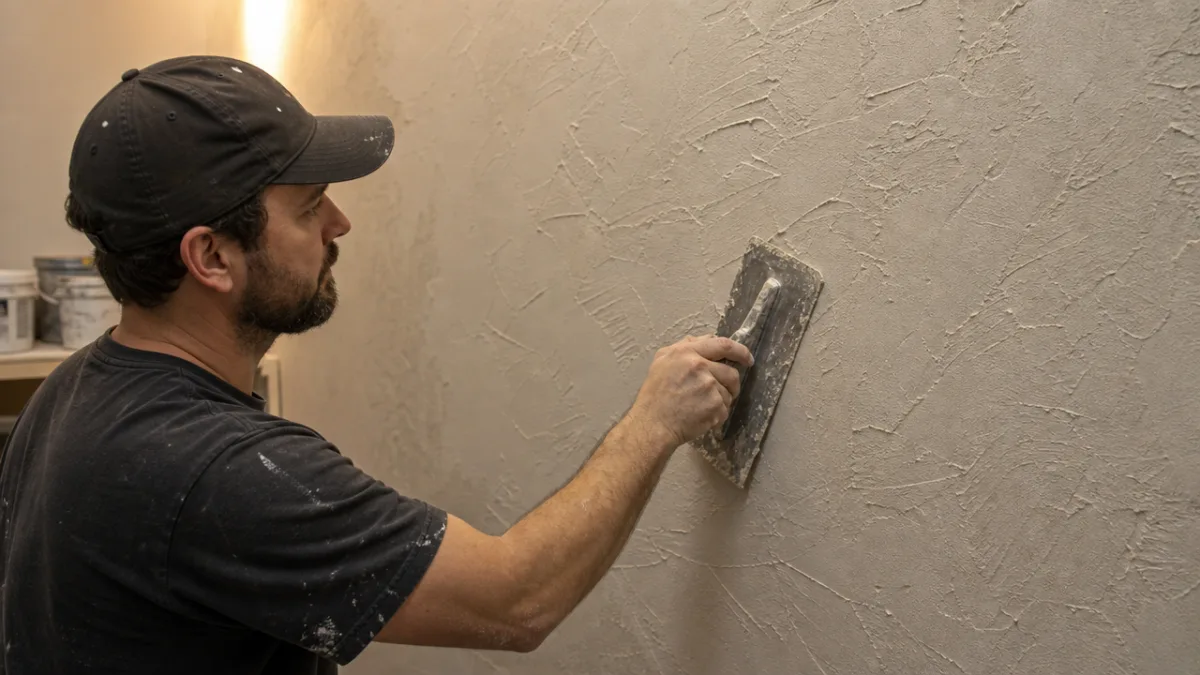
Apply your texture paint using the tool best suited to your chosen recipe and desired effect. For sand or baking soda mixtures, a thick-nap roller will spread the paint quickly and evenly while naturally creating a random, stippled texture. Work in small sections of roughly four square feet at a time to prevent the paint from drying before you have had a chance to manipulate it. For joint compound-based mixtures, a wide trowel is ideal. Load the trowel and drag it across the surface at a consistent angle, overlapping strokes slightly to avoid visible seams. Experiment with the pressure and angle of your strokes to vary the depth and pattern of the texture.
Allow the first coat to dry completely before assessing the result. Many texture paint applications benefit from a second coat, which fills in any thin or uneven areas from the first application and allows you to refine the pattern and consistency. Once fully dry, consider applying a clear protective topcoat, especially in high-traffic areas like hallways and kitchens. A water-based polyurethane or a matte varnish will protect the texture without significantly altering its appearance, extending the life of your finish and making it much easier to wipe clean without damaging the texture beneath.
Creative Techniques for Unique Visual Effects
One of the greatest joys of working with homemade texture paint is the enormous variety of effects you can achieve simply by changing your application technique. The sponge technique is a classic for good reason: dipping a natural sea sponge into your texture paint and pressing it repeatedly against the wall creates a beautifully organic, mottled pattern that is entirely impossible to replicate mechanically. No two sponge strokes are identical, and the result has a lush, layered quality that reads as sophisticated and deliberate rather than DIY. Vary the pressure and rotation of the sponge with each press to maximize the natural variation.
Combing is another technique with dramatic results. While the texture paint is still wet, drag a wide-toothed comb, a notched trowel, or even a sturdy hair pick through the surface in long, sweeping lines. Straight parallel lines create a structured, almost architectural ribbed effect. Curved or wavy lines evoke organic forms like wood grain or flowing water. Crossing two sets of comb lines at right angles produces a woven or basket-weave pattern that is visually rich and entirely unique to hand application. The key is to work quickly before the paint begins to set, and to wipe the comb clean periodically to prevent buildup from creating uneven lines.
For a more dramatic, dimensional look, try the skip trowel or knockdown technique. Apply your joint compound-based texture paint to the wall with a trowel, leaving it in thick, irregular blobs across the surface. Allow these to partially dry for ten to fifteen minutes until they are firm but not fully set, then gently flatten the peaks with a clean, dry trowel held nearly parallel to the wall. This flattening step creates the characteristic flat-topped, irregular plateau pattern known as knockdown texture, which is popular in contemporary and Southwestern-inspired interiors. The shadows cast in the valleys between the flattened peaks give the wall a striking three-dimensional presence even in subdued lighting.
Troubleshooting Common Problems and Mistakes
Even experienced painters encounter challenges when working with texture paint for the first time. One of the most frequent issues is uneven texture distribution, where some areas appear heavily textured while others are nearly smooth. This typically happens when the texture agent settles during application or when the painter applies inconsistent pressure. To prevent this, stir your mixture thoroughly every ten to fifteen minutes during application, and practice your technique on a large piece of cardboard or scrap drywall before committing to the actual wall. Consistent, deliberate strokes produce far more even results than rushed or hesitant application.
Cracking and flaking after drying is another common concern, particularly with recipes that use heavy concentrations of texture agent relative to paint. If the mixture is too dry or the layer applied is too thick, it may shrink as it dries and pull away from the surface, developing hairline cracks or, in severe cases, flaking off in chunks. To avoid this, ensure your mixture has enough paint binder to hold the texture agent together, and apply texture paint in thinner, multiple coats rather than one extremely thick application. If cracking occurs after the fact, lightly sand the affected area, apply a skim coat of the mixture, and allow it to dry more slowly by keeping the room at a moderate, consistent temperature.
Color inconsistency can be frustrating, especially if you are mixing your own tinted texture paint. Because texture agents such as sand and baking soda are typically white or light-colored, they can significantly dilute the intensity of your base paint color when mixed in. Always test your mixture on a small patch of wall and allow it to dry completely before evaluating the color, as texture paint almost always dries several shades lighter than it appears when wet. If the dried color is too pale, increase the concentration of tint or pigment in your base paint before mixing in the texture agent. Having a consistent, well-documented recipe ensures you can accurately reproduce the same color and texture if you need to make repairs or extend the finish to additional walls.
- Uneven texture: Stir frequently and practice on scrap material first
- Cracking or flaking: Reduce texture agent ratio and apply in thinner coats
- Color too pale: Test dried samples before full application and increase pigment accordingly
- Adhesion failure: Always prime properly and clean surfaces before applying
- Streaking or trowel marks: Overlap strokes and feather edges while paint is still wet
Finishing, Sealing, and Long-Term Care
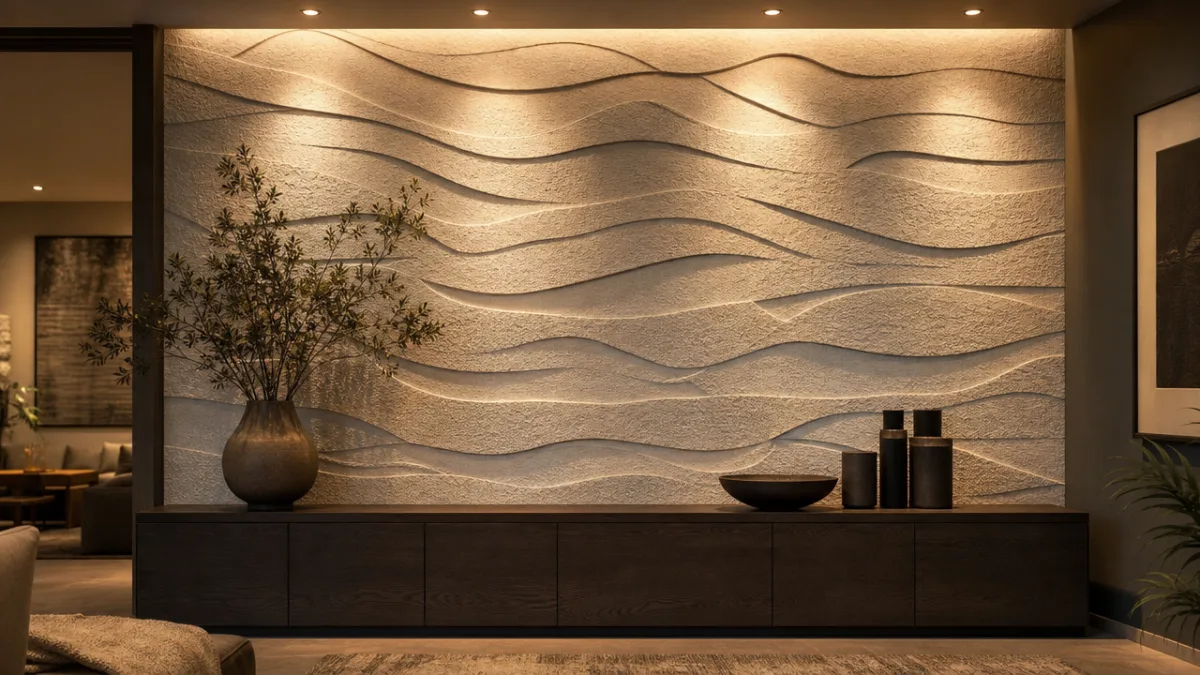
Once your homemade texture paint has fully dried and cured, which can take anywhere from twenty-four to seventy-two hours depending on the thickness of the application and the humidity of your environment, the final step is sealing the surface. Sealing is not strictly necessary for every application, but it is strongly recommended for walls in kitchens, bathrooms, children’s rooms, hallways, and anywhere else that is likely to experience regular contact, moisture, or splashing. A clear water-based topcoat or matte varnish applied with a roller or brush will create a protective barrier without significantly changing the look or feel of the texture.
When choosing a sealer, consider the sheen level carefully. Matte sealers preserve the natural, chalky appearance of baking soda textures and sandy finishes without introducing unwanted shine. Satin sealers offer a subtle glow that enhances the dimensionality of the texture by catching and reflecting light slightly, making peaks and valleys more visually prominent. Gloss sealers are rarely the right choice for heavily textured surfaces because they can make the finish appear plastic or artificial, though they may be appropriate for specific decorative applications where drama and reflectivity are the intended aesthetic. Apply sealer in thin, even coats and allow each coat to dry fully before adding another.
Long-term care for textured walls is straightforward but does require a slightly different approach than caring for smooth painted surfaces. Avoid abrasive scrubbing, which can dislodge texture particles or flatten raised areas, particularly with softer formulas like baking soda or cornstarch-based paints. Instead, use a soft, barely damp cloth to gently blot or wipe away marks and smudges. For more stubborn stains, a small amount of mild dish soap diluted in water applied with a soft brush in gentle circular motions is usually effective. Touching up small areas of damaged or chipped texture is simple: mix a small batch of your original recipe, apply carefully with a brush or trowel, blend the edges into the surrounding texture while wet, and allow to dry before sealing the patch with a small amount of topcoat.
With proper preparation, thoughtful application, and appropriate sealing and care, homemade texture paint is a durable, beautiful, and endlessly customizable wall finish that can last for many years. It is a creative project that rewards patience and experimentation, and the result is a home that feels genuinely personal and uniquely crafted. Whether you choose a whisper-soft baking soda finish or a bold, sculptural joint compound wall, making your own texture paint is one of the most impactful and satisfying DIY improvements you can make to any living space.








What do you think?
It is nice to know your opinion. Leave a comment.