










Spring Garden Soil Prepping Tips: Your Complete Guide to a Thriving Garden
Why Soil Preparation Is the Foundation of Every Successful Garden
The moment temperatures start climbing, most gardeners are itching to get plants in the ground — and honestly, that enthusiasm is great. But skipping over soil preparation is one of the easiest ways to sabotage an entire season before it even begins. Your soil isn’t just something for roots to grip onto; it’s a living ecosystem that either sets your plants up for success or quietly works against them. Spending a little time on soil prep each spring means healthier plants, better yields, and a lot fewer headaches down the road.
Think of soil the way you’d think about a house foundation. You could spend a fortune on beautiful plants, fancy seeds, and a top-of-the-line irrigation system — but if the ground underneath is compacted, nutrient-poor, or draining badly, none of that investment is going to perform the way you hoped. Good soil feeds your plants, helps them ride out dry spells, supports all kinds of beneficial microbial life, and gives roots enough depth to hold firm when wind and rain roll through. Every hour you put into soil prep now will pay you back many times over once things start growing.
Spring is the perfect moment to take stock of what winter did to your beds. Frost heaving, heavy rain, foot traffic on frozen ground, and the slow breakdown of last season’s plant material all shift the soil’s structure and nutrient makeup. Coming at your garden fresh in early spring — testing, amending, aerating — means your plants hit the ground running on day one, instead of spending weeks struggling to recover from conditions that were never quite right for them.
Testing Your Soil Before You Amend Anything
Before you rip open a bag of compost or sprinkle on any fertilizer, it really helps to know what you’re actually working with. Soil testing is probably the most skipped step in home gardening, and that tends to lead to over-amending, under-amending, or piling on nutrients that were already perfectly fine to begin with. A basic test tells you your pH and how your key macronutrients — nitrogen, phosphorus, potassium — are stacking up, so you’re working from actual data instead of guesswork.
You can pick up an affordable soil test kit at most garden centers or hardware stores, but for really accurate results, many local cooperative extension offices will run a lab test for a small fee. Those lab tests are great because they often come with specific recommendations for how much of each amendment to add per square foot — which takes all the guessing out of it. When you collect your samples, grab soil from several spots across each bed, mix it all together, and let it dry before sending it in. If your garden has different zones with different growing histories, it’s worth testing those separately.
Most vegetables and flowering plants are happiest in soil with a pH somewhere between 6.0 and 7.0 — slightly acidic to neutral. When the pH drifts outside that range, nutrients can become chemically locked up, meaning your plants can’t access them even if they’re physically right there in the soil. Too acidic (below 6.0)? Agricultural lime can bring it up. Too alkaline (above 7.0)? Elemental sulfur or an acidifying fertilizer can pull it back down. Knowing where you’re starting saves you from spending money on plants that are just going to struggle to feed themselves all season.
How to Properly Till and Aerate Compacted Soil
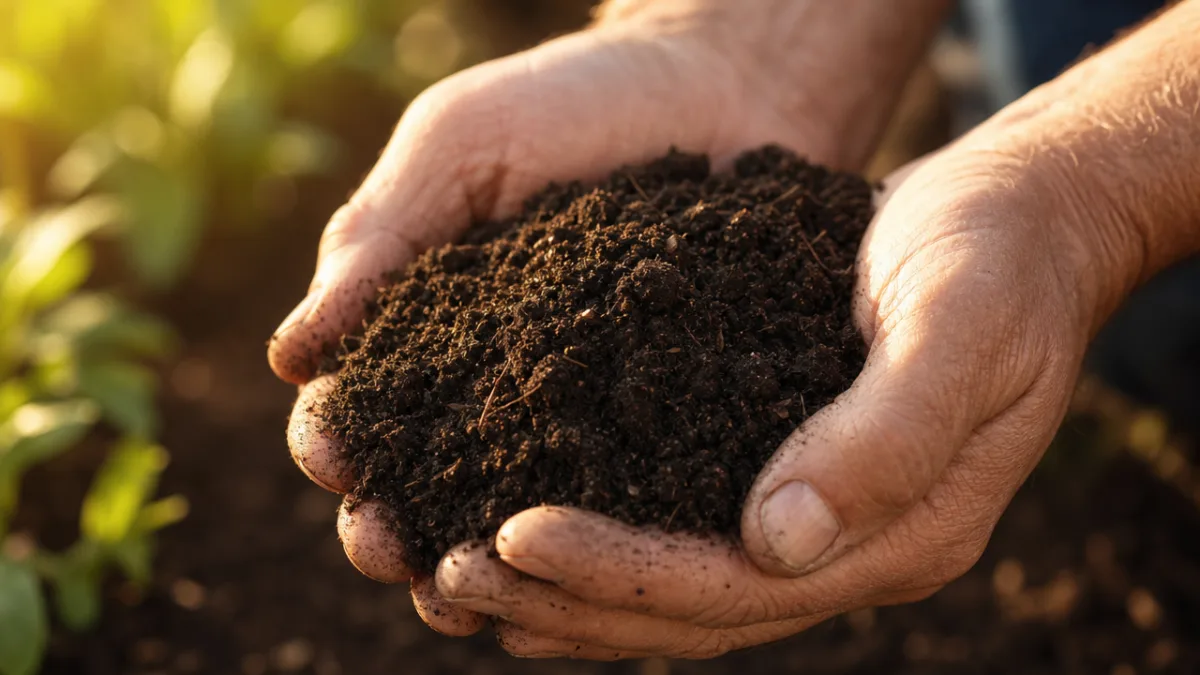
Winter has a knack for compacting soil, even beds that were in great shape the previous fall. Heavy rain, snow weight, and the simple lack of active root growth all leave the ground denser and harder come spring. Compacted soil blocks water, air, and roots from moving through it — and plants need all three of those things to thrive. Before you add anything to your beds, loosen the soil to a good working depth, usually somewhere around 10 to 12 inches for most vegetable and perennial plantings.
A garden fork is often the best starting tool, especially in raised beds or smaller spaces where a rototiller would be way more machine than you need. Push it straight down and rock it gently back and forth to break up clumps and open up the soil without wrecking its structure altogether. For larger in-ground beds, a rototiller can be worth renting — but don’t go overboard. Over-tilling destroys the beneficial fungal networks living in your soil and can turn everything into a fine powder that crusts over the moment it rains. One good pass is usually all you need.
One thing that catches a lot of gardeners off guard in spring: you have to wait for the soil to actually be ready before you dig into it. Working wet soil compacts it into hard clods that dry into something almost like concrete. The test is simple — grab a handful, squeeze it into a ball, and poke it with your finger. If it crumbles, you’re good to go. If it holds its shape, give it a few more days. It’s a small patience tax that saves you from creating problems that could take the whole season to work themselves out.
Choosing and Applying the Right Soil Amendments
Once you’ve tested and loosened your soil, it’s time to actually improve it based on what your test results told you. The one amendment that benefits almost every garden, regardless of soil type, is compost. Finished compost loosens up clay soils, helps sandy soils hold onto water, introduces beneficial microorganisms, and slowly releases a wide range of nutrients. As a baseline practice, try to work two to four inches of compost into the top 10 inches of your beds each spring — you really can’t go wrong with it.
Beyond compost, specific deficiencies might call for more targeted help. Here are some of the most common additions and what they’re good for:
- Aged manure — Adds nitrogen and organic matter; give it a few weeks before planting to let any remaining pathogens break down fully.
- Bone meal — A slow-release phosphorus source that supports strong root growth and flowering; great for root vegetables and perennials.
- Greensand — Releases potassium slowly over time and improves soil texture; especially useful in sandy or fast-draining beds.
- Worm castings — Incredibly nutrient-dense and packed with beneficial microbes; use as a top dressing or mix directly into planting holes.
- Agricultural lime — Raises pH in acidic soils and adds calcium; only use this when your soil test actually calls for it.
- Sulfur — Brings pH down in alkaline soils; it works slowly, so apply it as early as you can before planting.
When you apply amendments, spread them evenly across the surface first, then till so they get blended throughout the root zone rather than just sitting in one concentrated layer. Once everything’s incorporated, rake the surface smooth and break up any large clods. If you’re direct-sowing seeds, a fine, even surface makes a real difference for germination rates. If you’re transplanting starts, you have a little more wiggle room on surface texture.
Building Long-Term Soil Health with Organic Matter and Mulch
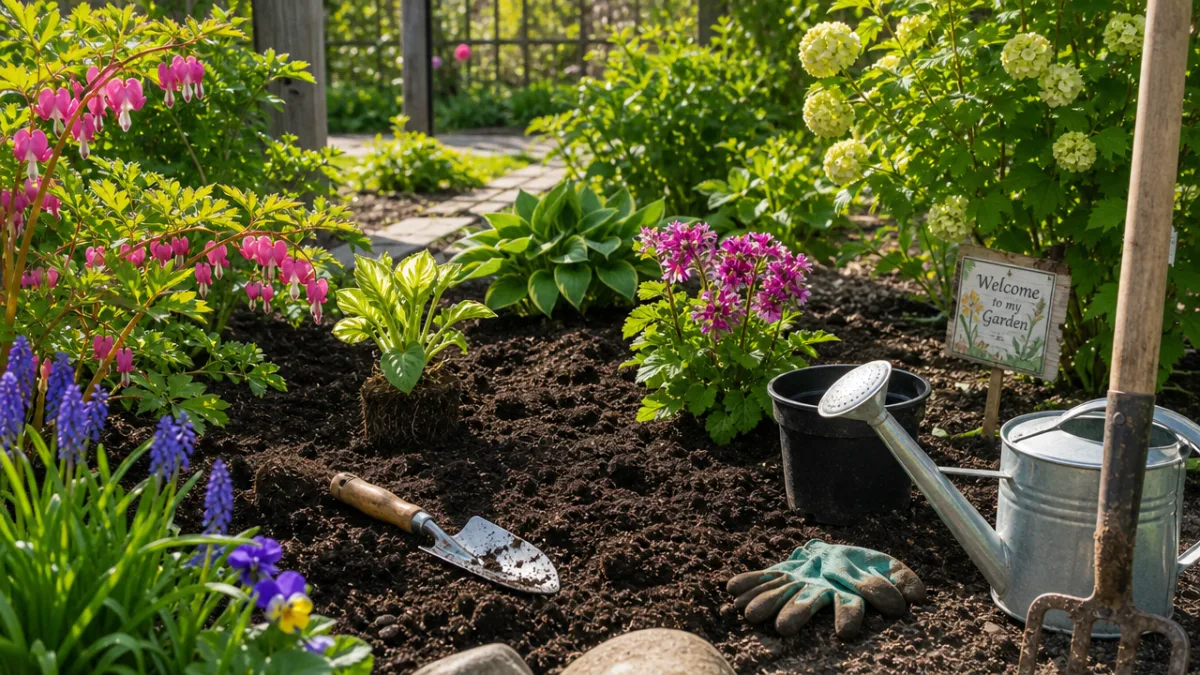
Thinking only one season ahead is probably the biggest thing that holds gardeners back from truly great soil. The people with consistently abundant harvests tend to think of soil building as a years-long project — adding organic matter season after season and letting the biology do its slow, steady work. Every spring prep session is a chance to address this year’s needs and keep chipping away at a longer arc of improvement that just keeps compounding over time.
Cover cropping is one of the most powerful tools home gardeners often overlook for building soil between seasons. Planting nitrogen-fixing species like crimson clover, winter rye, or hairy vetch in the fall and turning them into the soil in early spring adds significant organic matter and nutrients without buying or hauling in a thing. Even in a small garden, a cover crop turned in four to six weeks before planting can make a noticeable difference in soil structure and microbial diversity compared to leaving beds bare all winter.
Mulching is the other half of the long-term equation. After planting, laying down two to three inches of organic mulch — straw, wood chips, shredded leaves, grass clippings — does several jobs at once. It keeps weeds down, steadies soil temperature, holds onto moisture during dry stretches, and slowly breaks down over the season, feeding soil organisms and adding organic matter from the top. By fall, much of it will have partially decomposed, and you can turn it right into the bed to keep improving things underground.
The Role of Soil Microbiome in Plant Health
Under every thriving garden is an invisible world that most of us never think about. A single teaspoon of healthy garden soil can hold billions of bacteria, miles of fungal threads, and hundreds of species of nematodes, protozoa, and other tiny organisms. This isn’t just background scenery — these communities are actively breaking down organic matter, making nutrients available to roots, keeping disease pathogens in check, and even communicating with plants through chemical signals. Taking care of this microbiome is one of the highest-leverage things any gardener can do.
Synthetic fertilizers — especially ones high in soluble nitrogen — can disrupt the soil food web by feeding plants directly and short-circuiting the microbial processes that would normally handle that job. Over time, leaning heavily on synthetic inputs tends to reduce microbial diversity and deplete organic matter, which makes the garden progressively more dependent on those inputs to function. Shifting toward organic practices like compost, cover crops, and organic fertilizers supports microbial life and builds fertility that sustains itself over time. That’s not a case against every synthetic fertilizer — it’s more a nudge to use them thoughtfully, as part of a broader organic matter strategy rather than a replacement for one.
Mycorrhizal fungi are worth calling out specifically as genuinely useful allies in the spring garden. These beneficial fungi form partnerships with plant roots, dramatically extending their reach and improving access to water and phosphorus in exchange for sugars. You can buy mycorrhizal inoculants and apply them right to transplant roots or work them into the planting hole. One heads-up: avoid putting high-phosphorus fertilizer directly in the planting hole alongside inoculants, since too much phosphorus can actually prevent that relationship from forming. Supporting the conditions mycorrhizal fungi need — less tillage, good organic matter, no fungicides — pays off all season long.
A Step-by-Step Spring Soil Prep Schedule to Follow Each Year
Having a clear, repeatable sequence makes the whole spring soil prep process feel much more manageable. When you know what comes next, you’re not second-guessing yourself as the planting window gets closer — you’re just moving through the steps. The schedule below assumes a temperate climate with a last frost date somewhere in April or May, but the sequence works the same no matter your specific timing.
Here’s a practical timeline to take you from the tail end of winter all the way to planting day:
- 4 to 6 weeks before last frost: Send soil samples to your local extension office or run a home test. Clear out any leftover debris from last season — dead stems, old mulch, spent annuals — and add whatever’s disease-free to your compost pile.
- 3 to 4 weeks before last frost: Once the soil passes the squeeze test, turn your beds with a fork or tiller to a depth of 10 to 12 inches. If you planted a cover crop in fall, work it in now.
- 2 to 3 weeks before last frost: Apply compost, aged manure, and any specific amendments your soil test called for. Work them in well and rake the surface smooth.
- 1 week before last frost: Let the bed settle. If it’s been dry, water gently to help beneficial microbial activity kick back in. Lay down a thin layer of mulch between planned rows or planting zones if you’d like.
- At planting time: Apply mycorrhizal inoculant to transplant roots. If your soil test showed low overall fertility, top-dress with a light application of balanced organic fertilizer. Then get your seeds or transplants in the ground.
Do this season after season, with tweaks based on your annual soil tests, and something great starts to happen. Drainage gets better, pest and disease pressure tends to ease up, and plants establish faster and grow more vigorously because they’re going into ground that’s genuinely been prepared for them. Spring soil prep isn’t a one-time chore you check off a list — it’s an ongoing practice, and like most practices worth doing, it rewards the people who show up for it consistently.








What do you think?
It is nice to know your opinion. Leave a comment.