










Easy Newborn Baby Hat Pattern: A Complete Guide for Beginners and Beyond
Introduction to Newborn Baby Hat Knitting
There’s something really special about welcoming a new baby into the world — and honestly, one of the most meaningful things you can do is knit or crochet a little hat just for them. It’s such a practical project too, because newborns lose a surprising amount of body heat through their heads, so a soft, snug hat isn’t just cute — it’s genuinely useful from day one.
What I love about newborn hat patterns is that they’re genuinely approachable for just about anyone. Whether you’ve been knitting for years or you’re still figuring out how to hold your needles, a basic baby hat is totally doable — and it doesn’t take long either. Most people finish one in just a few hours, which makes them perfect for baby showers, hospital visits, or just having a stash ready when that little one arrives. The small size means you barely use any yarn, so the cost stays low while the meaning behind it stays sky-high.
This guide walks you through the whole process from start to finish — picking the right yarn, getting your gauge right, following the step-by-step instructions, and finishing everything off nicely. By the time you’re done reading, you’ll feel confident and ready to make a hat that fits beautifully and feels wonderful against a newborn’s skin.
Choosing the Right Materials for Your Baby Hat
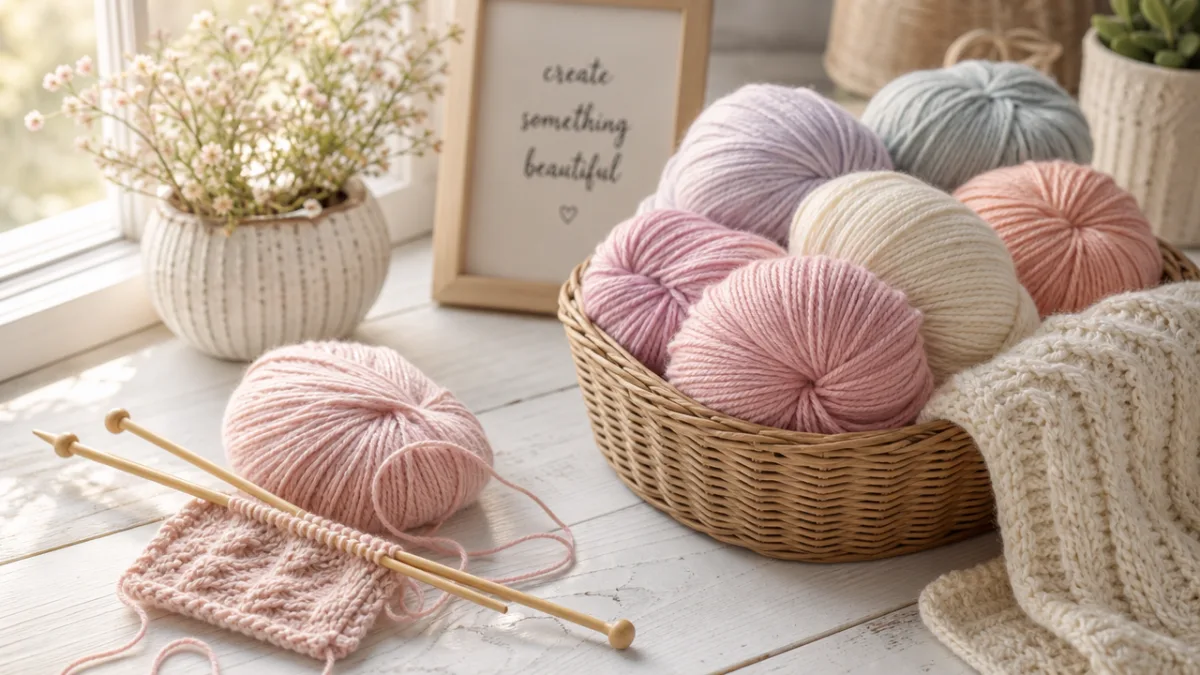
Choosing your yarn is honestly one of the most important decisions you’ll make for this whole project. Newborn skin is incredibly sensitive — way more so than adult skin — so whatever fiber you choose needs to be soft, gentle, and hypoallergenic. Scratchy or rough yarns can cause irritation and redness, so it’s really worth taking the time to feel your yarn in person before buying it if you can. Look for labels that specifically mention babies or sensitive skin.
Some of the most popular options are 100% merino wool, cotton blends, and acrylic yarns made specifically for babies. Merino is a perennial favorite because it’s incredibly soft, naturally regulates temperature, and wicks moisture — great no matter the season. Cotton is breathable and easy to wash, making it a solid choice for spring and summer babies or warmer climates. Baby-specific acrylic yarns (the kind with “Baby” right in the name) are durable, affordable, and usually machine-washable, which busy new parents will absolutely appreciate.
You’ll also want to think about yarn weight. For newborn hats, DK or worsted weight tends to work best — they knit up quickly and create a fabric that’s just the right thickness. On the tools side, you’ll need appropriately sized needles or a crochet hook, a couple of stitch markers, a tapestry needle for weaving in ends, and scissors. Getting everything together before you sit down to knit makes the whole experience so much smoother.
- Merino Wool: Extremely soft, temperature-regulating, and naturally breathable — a top choice for sensitive newborn skin.
- Cotton Yarn: Lightweight and breathable, perfect for warmer seasons and easy to launder.
- Baby Acrylic: Durable, affordable, and often machine-washable, making it highly practical for everyday use.
- Bamboo Blends: Silky smooth with natural antibacterial properties, a wonderful eco-friendly option.
- Cashmere Blends: Luxuriously soft, often reserved for special-occasion hats or gift-giving.
Understanding Gauge and Sizing for Newborns
Gauge is one of those things beginners sometimes skip — and then wonder why their hat turned out the wrong size. Simply put, gauge is the number of stitches and rows that fit within a set measurement (usually four inches) using a specific yarn and needle size. For an adult sweater, being slightly off might just mean a looser or snugger fit. For a newborn hat, it actually matters quite a bit, because you’re working with a head that’s only about 13 to 14 inches around.
Before you start the hat, take a few minutes to knit a gauge swatch. Cast on enough stitches to make something roughly six inches wide, work in your stitch pattern for about six inches, bind off, and measure. Count how many stitches you’re getting per inch and compare that to what the pattern calls for. Too many stitches per inch means your needles are too small — go up a size. Too few means they’re too large — size down. It adds maybe fifteen minutes to your project, but it can save a lot of frustration later.
Newborn sizing typically covers babies from birth to around three months, with head circumferences of roughly 12 to 14 inches. Your finished hat should measure about 11 to 13 inches unstretched, since knitted fabric naturally stretches to fit snugly. Many patterns also include a preemie size, which usually calls for a finished circumference closer to 9 or 10 inches. If you’re not sure about the baby’s size, it doesn’t hurt to make one of each — a lot of experienced knitters do exactly that just to be ready.
Step-by-Step Instructions for the Easy Newborn Hat
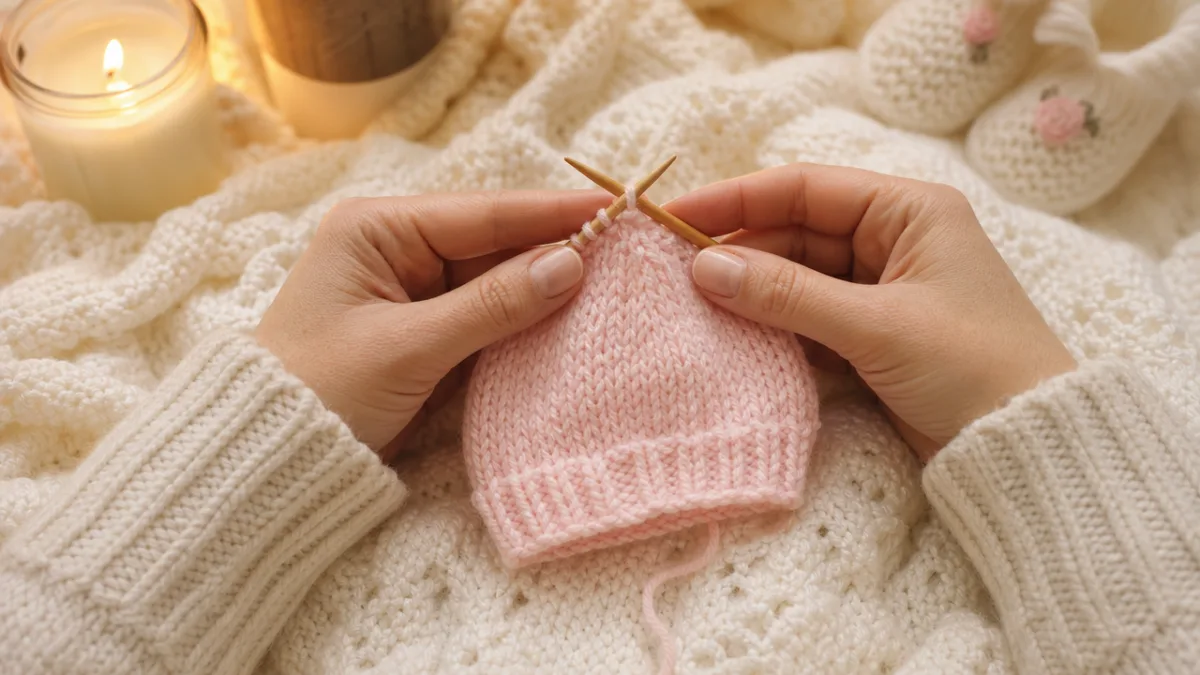
Alright, you’ve got your materials, you’ve checked your gauge — now it’s time to actually make the hat! This pattern is written for knitting in the round on double-pointed needles or a short circular needle, which gives you a seamless tube. It’s the most beginner-friendly method for hats, and the result is clean and polished. You can work it flat and seam if you prefer, but in the round is really the way to go for the easiest, smoothest experience.
Start by casting on 72 stitches. The long-tail cast-on is a great choice here because it creates a neat, slightly stretchy edge that sits comfortably around a baby’s head without digging in. Distribute your stitches across your needles, place a stitch marker to mark the beginning of the round, and join to work in the round — just make sure you haven’t twisted your stitches before you join. Work 2×2 ribbing (knit 2, purl 2) for about an inch to form the brim. This little ribbed edge adds structure, helps the hat stay in place, and gives it that classic, tidy look.
Once your brim is done, switch to stockinette — just knit every round — and keep going until the hat measures about 4.5 to 5 inches from the cast-on edge. Then it’s time for the crown decreases. Work the decrease rounds like this: knit 7 stitches, then knit 2 together, and repeat that all the way around. Continue working decrease rounds every other round, reducing your stitch count each time, until you’ve got about 8 to 12 stitches left. Cut your yarn with a tail of around six inches, thread it onto your tapestry needle, draw it through all those remaining stitches, pull snug, and weave in your ends securely on the wrong side. You’re done!
- Cast on 72 stitches using the long-tail cast-on method and join in the round.
- Work 1 inch of 2×2 ribbing (knit 2, purl 2) for the brim.
- Switch to stockinette stitch and knit every round until piece measures 4.5 to 5 inches total.
- Begin crown decreases: knit 7, knit 2 together, repeat around every other round.
- Continue decreasing until 8 to 12 stitches remain, then cut yarn and draw through remaining stitches.
- Pull tight, secure, and weave in all ends on the wrong side of the hat.
Finishing Techniques and Embellishments
Finishing is what takes a hat from “pretty good” to truly polished. Start by weaving in your ends properly — use your tapestry needle to work each tail through the back loops of nearby stitches in a zigzag pattern so it’s completely hidden and won’t work loose with washing and wearing. Threading a tail straight through in one direction might seem fine, but it’s much more likely to come undone, and that’s the last thing you want in something worn by a newborn.
Blocking is another step that beginners often skip, but it makes such a visible difference. To block your baby hat, gently hand-wash it in cool water with a bit of gentle wool wash or baby shampoo, then carefully press out the excess water — no wringing or twisting. Lay it flat on a clean towel, shape it to the right dimensions with your hands, and let it dry completely. This relaxes the fibers, evens out any inconsistencies in your tension, and gives the hat that professional, finished look that you just can’t get otherwise.
Once it’s clean and dry, you can have some fun with embellishments if you’d like. A small crocheted or knitted flower on the brim is a sweet touch for baby girls. A classic pompom on top — in matching or contrasting yarn — is always a crowd-pleaser. For something more subtle, an embroidered initial in duplicate stitch on the brim is elegant and personal. Whatever you go with, just keep safety in mind: anything attached needs to be sewn on really securely, and for the youngest newborns it’s probably safest to skip embellishments altogether unless someone is watching closely.
Care Instructions and Gifting Your Handmade Hat
Part of giving a handmade hat is making sure it lasts — which means passing along clear care instructions. How you wash it depends entirely on the yarn you used, so check your ball band for specifics. Most baby yarns these days are made to go in the washing machine on a gentle cycle, which is a huge help for new parents who are already drowning in laundry. If you used merino or another natural fiber, hand-washing in cool water is usually the safer bet to avoid any felting or shrinkage.
When it comes to gifting, presentation really does add something. Wrapping the hat in tissue paper inside a small gift box, or tucking it into a pretty organza bag, instantly elevates it. Attach a small handwritten tag with the care instructions, the fiber content, and the size — and maybe a note mentioning you made it yourself. That personal touch is something no store-bought item can replicate, and a lot of new parents will hold onto handmade pieces as keepsakes long after their baby has outgrown them.
If you’re planning to gift or sell baby hats regularly, custom labels are a really worthwhile investment. You can order small woven or printed labels online with your name or brand, care symbols, and fiber content — details that give your work a genuinely artisan, thoughtfully crafted feel. Even a simple kraft paper tag tied on with twine looks lovely and makes an impression. However you choose to package it, the care you put into presentation reflects the care you put into making it, and that comes across.
Tips, Troubleshooting, and Pattern Variations
Even experienced knitters run into snags now and then, and a newborn hat is no exception. One of the most common beginner hiccups is ending up with twisted stitches at the join when working in the round. This happens when the cast-on stitches aren’t all facing the same way before you join — so just take a second to double-check that everything’s lined up before you place your marker and start knitting. Once you’ve worked past the first couple of rounds, a twist is permanent and almost impossible to fix, so a moment of care right at the beginning saves a lot of heartache later.
Another thing that trips people up is getting a smooth, tidy crown closure. If the gathered top looks lumpy after you’ve threaded through the remaining stitches, try this: instead of threading through everything all at once, work one more decrease round until only 6 stitches remain, then close. Fewer stitches at that final step means a neater, less bulky result. You can also try dropping down a needle size for the last two decrease rounds — it tightens up the stitches and gives the top of the crown a crisper point. It’s a small change with a really noticeable payoff.
Once you’ve got the basic pattern down, there are so many fun ways to mix it up. Different stitch patterns for the body of the hat — seed stitch, a cable panel, a colorwork stripe — can completely transform the look while using the exact same structure underneath. Try a folded-up cuff brim for something classic, or a garter stitch brim for a little extra texture. You can add ear flaps by picking up stitches after the fact, then add ties or buttons to keep the hat snug on squirmy babies. Every variation teaches you something new and gives you a completely different-looking result — which is exactly why the humble newborn hat is one of those projects you can come back to over and over without ever getting bored.
- Striped Colorwork: Alternate between two colors every two rounds for a cheerful, graphic stripe effect.
- Cable Panel: Work a simple 4-stitch cable up the center front for an elegant, heirloom look.
- Seed Stitch Body: Replace stockinette with seed stitch for beautiful texture and a more artisan feel.
- Ear Flap Addition: Pick up stitches at the brim to create ear flaps, then add ties or buttons.
- Lace Brim: For a delicate, feminine touch, work a simple lace pattern in the first inch of the brim.
- Animal Ears: Knit or crochet small ears and sew them to the crown for a whimsical character hat.
More than anything, though, it’s worth remembering what makes a handmade item so different from anything you could pick up in a store. A newborn hat you knitted yourself isn’t just something to keep a tiny head warm, though it absolutely does that. It’s a little piece of time and care made tangible — a real welcome gift for a new life, and often something families tuck away and keep for years. Whether this is your first hat or your five hundredth, making something this small and this meaningful by hand is a tradition worth every single stitch.








What do you think?
It is nice to know your opinion. Leave a comment.