










Amigurumi Cute Unicorn Crochet Free Pattern: Magical DIY Gift
Introduction to Amigurumi and the Magic of Unicorn Crochet
If you’ve never heard of amigurumi before, you’re in for a treat. It’s the Japanese art of crocheting or knitting tiny stuffed creatures, and honestly, it’s one of those crafts that just makes people happy. The word combines Japanese terms for “knitted” and “stuffed doll,” and the tradition has been around for decades in Japanese craft culture. These days it’s gone completely global — you’ll find makers sharing their little creations everywhere from Instagram to local craft fairs, gifting them to friends, kids, and pretty much anyone who deserves something handmade and wonderful.
Out of all the creatures you could possibly make with a crochet hook and some yarn, the unicorn might just be the most magical choice. That spiraling horn, the flowing pastel mane, the whole whimsical vibe — it captures something that both kids and adults genuinely love. Whether you’ve been crocheting for years or you just picked up your first hook last week, making an amigurumi unicorn is the kind of project that keeps you smiling the whole way through.
This guide covers everything from picking your materials to those finishing touches that turn a ball of yarn into something truly special. And because this is a free pattern, there’s no barrier to just diving in. The best part? Unicorns are incredibly easy to personalize — you can play with colors, sizes, and little embellishments until the finished piece feels completely your own.
Materials and Tools You Will Need
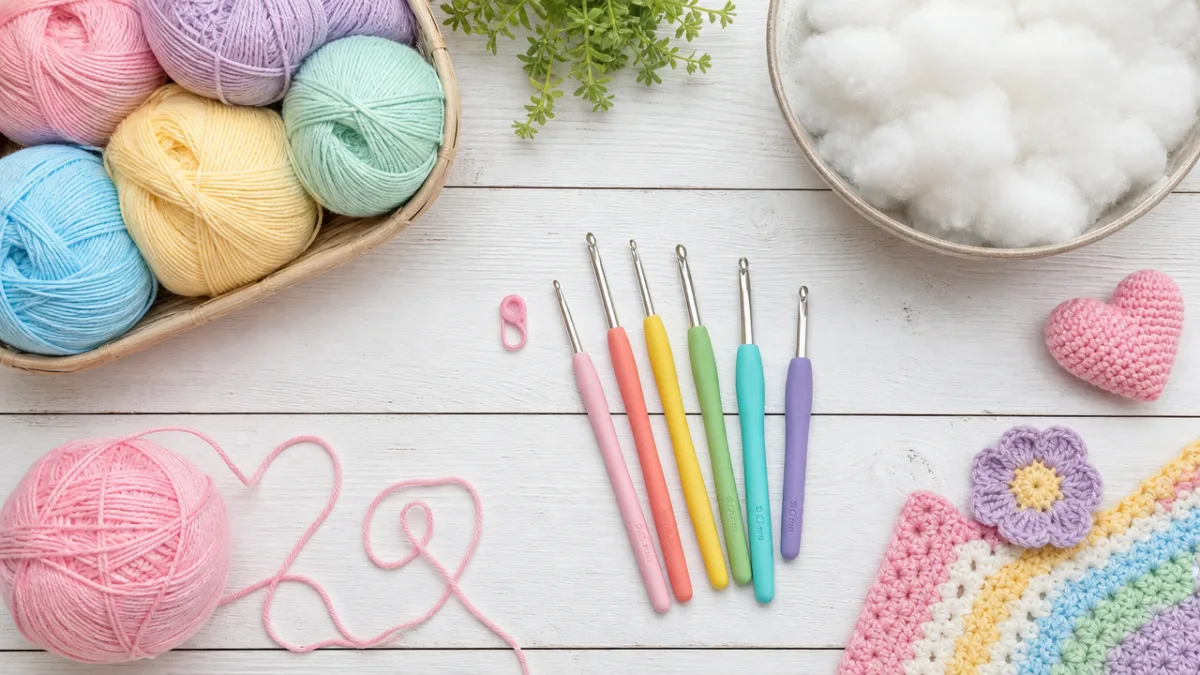
Before you get started, it’s worth taking a few minutes to gather everything you’ll need. One of the great things about amigurumi is that the projects are small, so you’re not buying yarn by the armful. In fact, this is a perfect project for using up leftover yarn you already have sitting around — a little stash-busting that results in something genuinely adorable.
For the unicorn’s body, you’ll want a soft, smooth worsted or DK weight yarn in white or pale cream. For the mane, tail, and horn, grab some pastel accent yarns — think lavender, soft pink, baby blue, mint green. That combination is basically the definition of unicorn magic. If your finished unicorn is going to a young child, pay extra attention to how the yarn feels against skin. Softness really does matter when it’s going to be hugged constantly.
Beyond yarn, you’ll need a crochet hook sized for your yarn weight — usually somewhere between 2.5mm and 3.5mm for amigurumi, since you want a tight enough fabric that the stuffing doesn’t peek through. Round that out with some polyester fiberfill, safety eyes, a yarn needle, and stitch markers, and you’re basically set. A few optional extras like felt for rosy cheeks or embroidery floss for facial details can really bring the personality out.
- Worsted or DK weight yarn in white or cream for the body
- Pastel accent yarns in pink, lavender, blue, and mint for the mane and tail
- Crochet hook, size 2.5mm to 3.5mm
- Polyester fiberfill stuffing
- Safety eyes, 9mm to 12mm in size
- Yarn needle for assembly
- Stitch markers
- Scissors
- Pink felt or embroidery floss for cheek details
Understanding the Basic Crochet Stitches and Techniques
Here’s something reassuring if you’re newer to crochet: amigurumi really doesn’t require a huge range of stitches. Almost everything comes down to the magic ring, single crochet, increases, and decreases. That’s genuinely it. Once you’re comfortable with those, you can make pretty much any amigurumi creature you can dream up. The single crochet creates that firm, dense fabric you see in amigurumi, while the increases and decreases are what sculpt flat yarn into three-dimensional shapes you can stuff and pose.
The magic ring (you might also see it called a magic circle or adjustable ring) is definitely worth learning before you start your unicorn. It lets you begin crocheting in a round with a completely closed center, which is what gives amigurumi that smooth, seamless look. It can feel a little awkward the first couple of times, but there are tons of video tutorials online that walk through it slowly, and most people find it clicks after just a few tries.
Amigurumi is worked in continuous rounds rather than joined rounds, which is where your stitch markers earn their keep. Drop a marker at the start of every round so you always know where you are. It sounds like a small thing, but trust me — losing count mid-project is genuinely frustrating, and a stitch marker takes about two seconds to place. Once you get into the rhythm of working in rounds, you’ll likely find the whole process surprisingly meditative. It’s one of those crafts where time just disappears in the best possible way.
Step-by-Step Pattern Guide for the Unicorn Body
The unicorn body is worked in the round — either top-down or bottom-up depending on which free pattern you’re following. Most unicorn amigurumi patterns combine the head and torso into a single rounded shape, which makes assembly much simpler and gives you a solid, well-proportioned toy at the end. Before you cast on a single stitch, read through the whole pattern. It really does help to have the full picture in your head before you start.
You’ll kick things off with a magic ring and six single crochets. From there, you increase over several rounds to build out the widest point of the body, work some even rounds to get the right length, then mirror those increases with decreases to close things up. Depending on the pattern and yarn weight, a medium-sized unicorn usually ends up somewhere around 10 to 15 centimeters tall once stuffed. Don’t forget to insert your safety eyes before you close up the head — it’s one of those steps that’s easy to overlook and impossible to fix afterward.
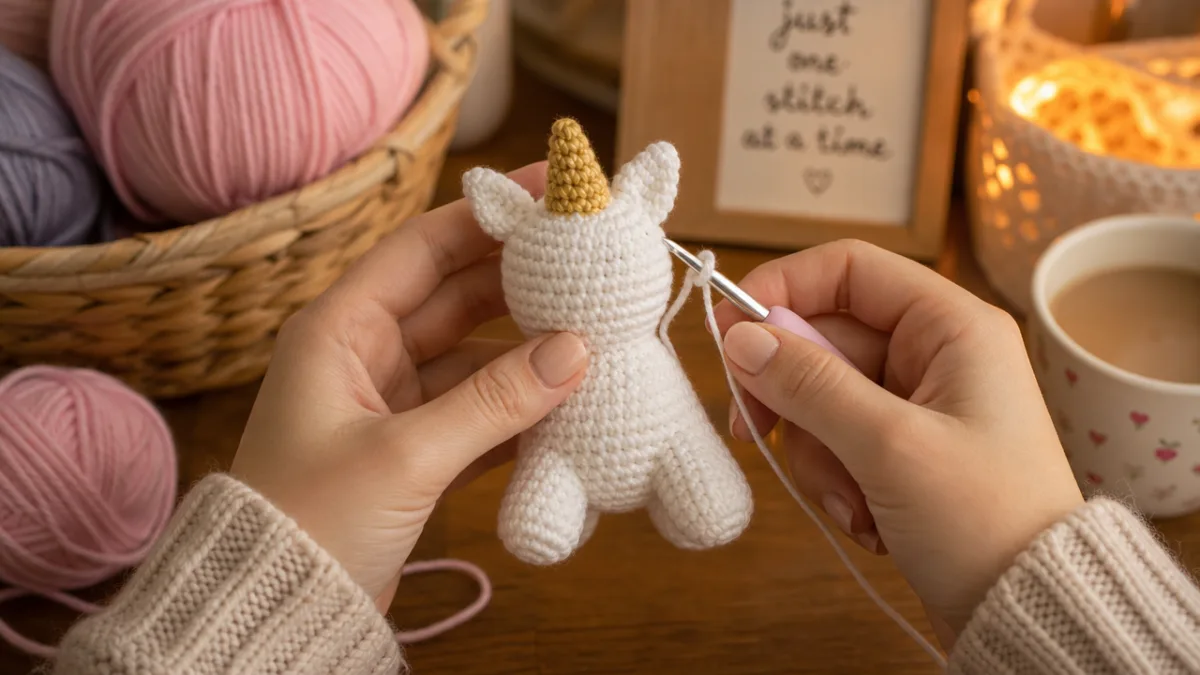
Once the body is done, you’ll crochet the legs, ears, and horn separately and sew everything on during assembly. The horn is usually worked in a tight spiral — gold or yellow yarn is classic, but a metallic or glittery option takes it to another level. Each ear is a small pointed or oval shape that gets folded just slightly before being stitched into place. The legs are short little cylinders, and honestly, the moment you position them and your unicorn can sit or stand on its own is one of the most satisfying moments in the whole process.
- Begin with a magic ring and 6 single crochets to start the head.
- Increase each round to build the dome shape of the head.
- Work even rounds to form the body length.
- Insert safety eyes and embroider or attach cheek details before closing.
- Stuff the body firmly with polyester fiberfill.
- Decrease rounds to close the body at the base.
- Crochet legs, ears, and horn separately.
- Sew all pieces to the body using a yarn needle.
- Attach the mane and tail using loops of yarn or separate crocheted pieces.
Creating the Mane, Tail, and Finishing Embellishments
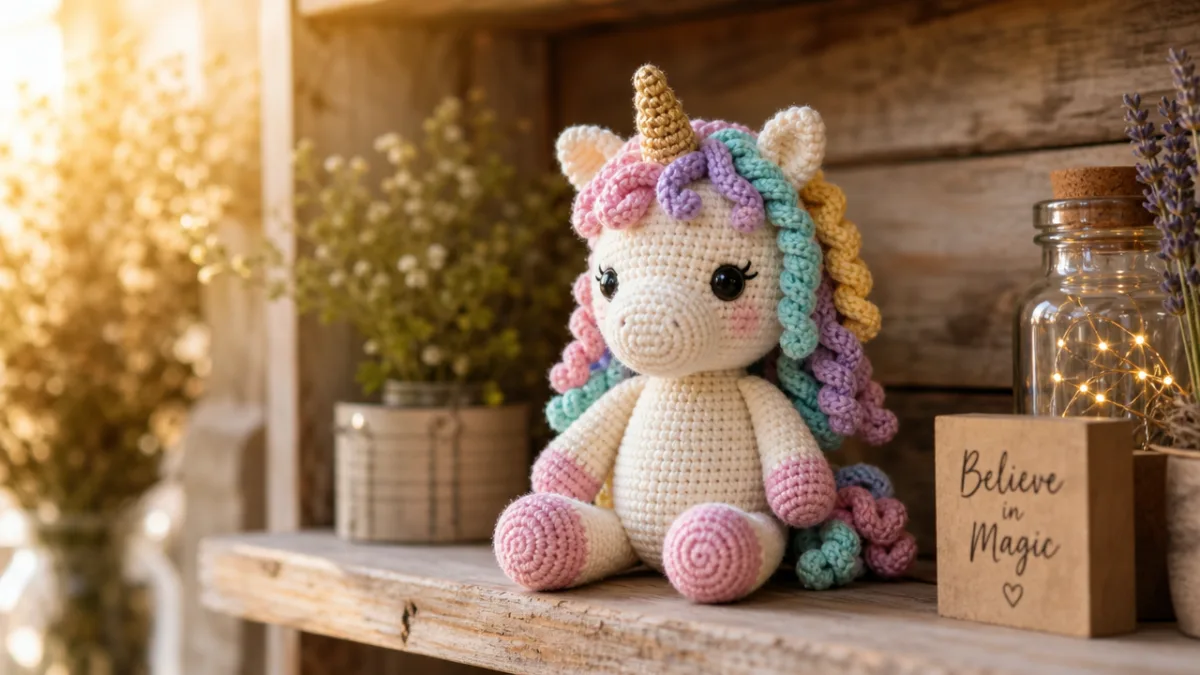
Honestly? The mane and tail are the most fun part of the whole project. This is where you get to really play with color and let your own style come through. There are a few different ways to do it. The simplest is to cut lengths of pastel yarn, fold them in half, and use your crochet hook to pull them through stitches along the top of the head and down the back of the neck — basically the same technique as adding fringe. You end up with a shaggy, adorable mane that you can trim and fluff to your liking.
If you want something that holds its shape a bit better, try crocheting the mane as a series of small loops or ruffles worked directly into the head and neck stitches. It takes a little longer, but the result is more sculptural and honestly more durable — which matters a lot if this unicorn is destined for a child who’s going to drag it everywhere. You can mix multiple colors within one mane piece, alternating yarns every few stitches to create a soft gradient effect that looks genuinely gorgeous.
The tail is made the same way as the mane and gets attached at the base of the back with a few secure stitches. From there, it’s all about those finishing details that take a project from “nice” to “wow.” A tiny crocheted flower nestled in the mane, a bit of satin ribbon tied around the horn, carefully embroidered eyelashes — these small things make a huge difference. Don’t rush this part. The finishing details are what make people pick up your unicorn and say “you made this?”
Tips for Gifting and Personalizing Your Unicorn
A handmade amigurumi unicorn is such a thoughtful gift — the kind that people genuinely keep. And there’s so much room to make it personal. You can tailor the colors to someone’s favorites, or pick shades that work with their room. For a baby gift, soft neutrals like pale yellow, mint, and ivory feel timeless and gentle. For an older child or an adult who just loves magical things, go bold with jewel-toned pastels or even a full rainbow combination.
You can also change the size dramatically without changing the pattern structure — just swap your yarn weight and hook size. Chunky yarn on a 5mm or 6mm hook gives you a big, squishy unicorn that’s seriously impressive as a gift. Fingering weight on a 1.75mm hook produces something tiny and delicate, perfect as a keychain charm or a little ornament. One pattern, a whole family of unicorns in every size imaginable.
When it comes to presentation, think about packaging that feels as handmade as the gift itself. A muslin bag, a kraft paper box with tissue paper, or a small woven basket all work beautifully. A little handwritten tag saying the toy was made with love for that specific person adds so much. If it’s for a young child, you might also note any relevant safety information. Store-bought toys are fine, but there’s a warmth to something handmade that’s just impossible to replicate — and the person receiving it will feel that every time they look at it.
Why Amigurumi Crafting Is Good for Your Wellbeing
Making something cute is obviously enjoyable, but crochet actually does a lot more for you than just produce adorable results. Research has shown that repetitive hand crafts like knitting and crocheting can genuinely reduce stress and anxiety, putting your brain into a calm, focused state that’s a lot like mindfulness meditation. There’s something about the rhythm of pulling yarn through loops that just settles the mind in a way that’s hard to find elsewhere in a busy day.
And finishing a project — even a small one — delivers a real sense of accomplishment. You started with a ball of yarn and ended up with a three-dimensional creature you can hold in your hand. That kind of tangible, physical result is something that a lot of our screen-based activities just can’t give us. In a world where so much work and entertainment exists only as pixels, sitting down to make something real and holdable feels genuinely grounding.
There’s also the community side of things, which is worth mentioning. Amigurumi crafters are a wonderfully supportive bunch — online forums, social media groups, in-person craft circles — and joining that world means connecting with people from all over who share your enthusiasm for tiny crocheted creatures. It’s a hobby that’s good for your hands, your mind, your relationships, and your gift-giving game. And the unicorn pattern? A perfect place to start.








What do you think?
It is nice to know your opinion. Leave a comment.