










Pressed Plant Wall Art: Simple DIY Decor
Introduction to Pressed Plant Wall Art
If you’ve ever found yourself stopping to admire a pretty leaf on a walk or saving a flower from a bouquet because you couldn’t bear to throw it away, pressed plant wall art might be exactly the hobby you didn’t know you were looking for. It’s one of those crafts that feels both timeless and totally of the moment — people have been pressing flowers and leaves for centuries, first for botanical science and illustration, and eventually just because it’s genuinely lovely. Right now it’s having a real resurgence, and honestly, it makes perfect sense given how many of us are drawn to natural textures, earthy tones, and decor that feels a little more alive.
Part of what makes this craft so appealing is how low the barrier really is. You don’t need expensive supplies, fancy tools, or years of practice to make something beautiful. A kid pressing backyard wildflowers and an experienced crafter putting together an intricate botanical composition are basically doing the same thing — and both are doing it right. The materials are often free or nearly free, picked up from gardens, parks, trails, or even the produce section at the grocery store.
There’s also something deeply personal about pressed plant art that you just can’t get from something mass-produced. Every piece holds real specimens from real moments — a sprig of lavender from your summer garden, a fern you picked up on a hike, a cosmos bloom you saved before the frost took the rest. Preserved and framed, those little finds become something closer to a memory than a decoration. That’s the thing that keeps this craft going across generations and through every shift in interior design trends.
Choosing the Right Plants and Flowers for Pressing
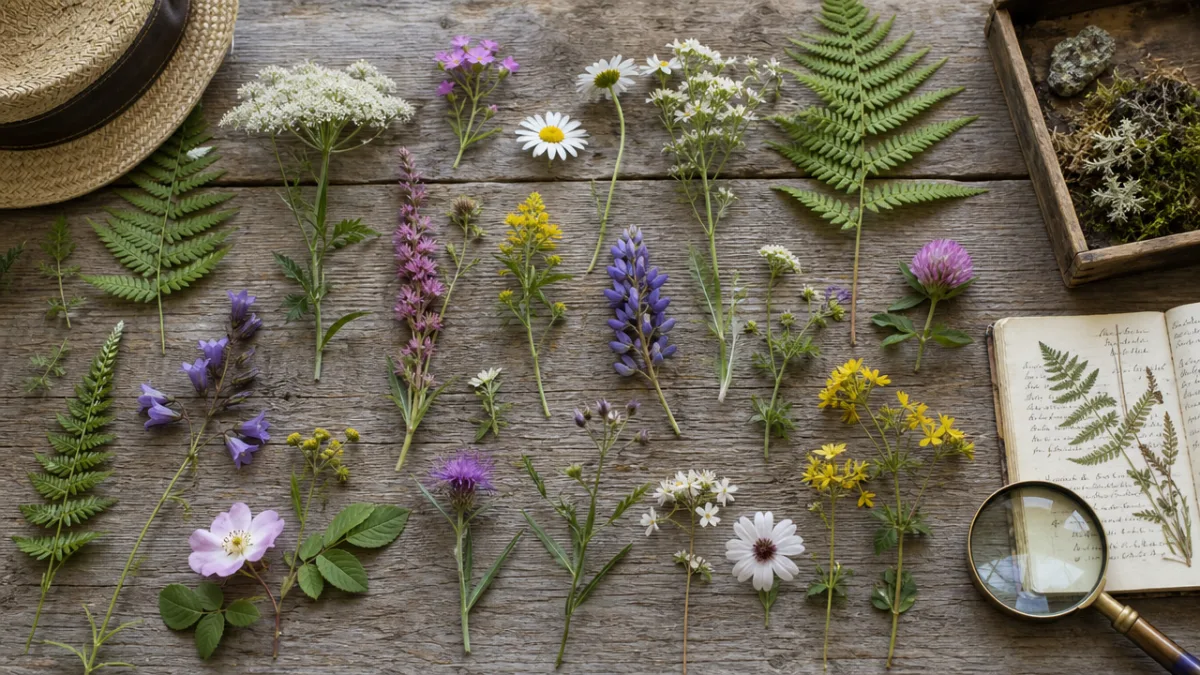
A great pressed plant piece actually starts way before you pick up a frame — it starts with choosing the right plants. Not everything presses equally well, and figuring that out early will save you a lot of frustration. The plants that tend to work best share a few traits: they’re relatively flat, have thin petals or leaves, and don’t hold a ton of moisture. The drier and flatter your plant material is to begin with, the better it’ll press and the brighter the colors will stay.
For beginners, some of the most reliable choices are pansies, violas, ferns, lavender sprigs, Queen Anne’s lace, cosmos, and fall leaves. These dry quickly, keep their shape well, and hold onto their color nicely when they’re properly sealed. Once you’ve got some confidence, you can start trying trickier specimens like roses or succulents. Those need longer pressing times and a bit of extra technique — cutting a rose bloom in half before pressing, for instance, reduces the bulk and keeps mold from forming while it dries.
When you collect also matters more than you might think. Mid-morning on a dry day is ideal — after the dew has dried but before the afternoon heat starts wilting everything. Pick plants at their peak: fresh, fully bloomed, and free of insect damage or disease. Once you’ve collected them, get them into the press as soon as possible. A lot of experienced pressers actually carry a small book or pressing folder with them on walks so they can start right in the field. It really does make a difference in the final color.
Tools, Materials, and the Pressing Process
Here’s the good news: you probably already have most of what you need. At its most basic, pressed plant art requires nothing more than a few heavy books, some absorbent paper (blotting paper or plain newsprint both work great), and patience. Lay your specimens between sheets of paper, tuck them into a heavy book, stack more books on top for pressure, and wait. Depending on how much moisture is in the plants, you’re looking at two to four weeks before they’re ready. Simple as that.
If you really get into it — and many people do — a dedicated flower press is a worthwhile investment. It’s two flat wooden boards held together with bolts and wing nuts, with layers of cardboard and blotting paper inside. The big advantage is more even, controlled pressure, plus you can press multiple layers of specimens at once. Some people also swear by microwave flower presses, which use short bursts of heat to pull moisture out in minutes rather than weeks. They work well, but you do need to pay attention or you’ll scorch delicate petals.
Once your specimens feel papery and stiff rather than cool or flexible, they’re ready. Before you start arranging, get all your other materials together first — dried botanicals can be fragile and you want to handle them as little as possible. You’ll want a shadow box or picture frame with glass, a background paper or fabric in whatever color you’re going for, archival-quality tweezers for the more delicate pieces, a fine-tipped brush or toothpick for applying glue, and a clear-drying craft glue or a botanical adhesive made specifically for this kind of work.
Designing and Assembling Your Wall Art Composition
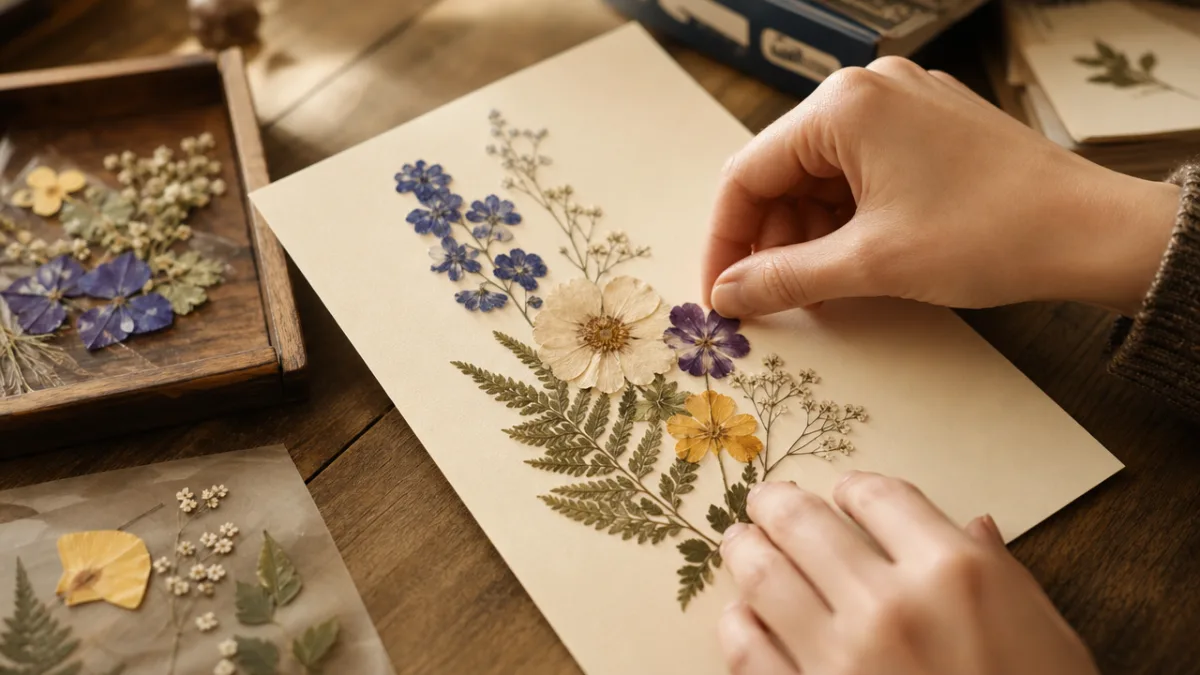
This is where it gets really fun. Before you touch the glue, spend some time just playing with your arrangement — lay everything out on the background paper and move pieces around without committing to anything. Try different angles, let leaves and blooms overlap in ways that feel natural. Think about where your eye goes when you look at the whole thing. Good compositions usually have one main focal point, something larger or more striking that draws you in, with supporting elements around it that add texture and rhythm without stealing the show.
Color is a big part of making an arrangement feel intentional. You could go monochromatic — all greens from pale sage to deep forest fern on ivory linen, for example — for something calm and cohesive. Or try a complementary palette with colors from opposite sides of the color wheel for something with more pop and energy. Plenty of people just go the naturalistic route, grouping plants the way they’d appear in a garden or meadow and letting nature’s own logic do the work. Honestly, there’s no wrong answer — just the approach that feels right to you.
When you’re happy with the layout, start gluing from the back layer forward. Secure your largest background elements first, then work toward the finer details. Use small dots or thin lines of adhesive on the back of each piece — you really don’t want glue seeping out from under the plants onto the background paper. Press each piece down gently but firmly and let it dry before adding the next. Once everything is dry, place the composition in your frame or shadow box, secure the backing, and you’re done.
Framing, Display, and Protecting Your Artwork
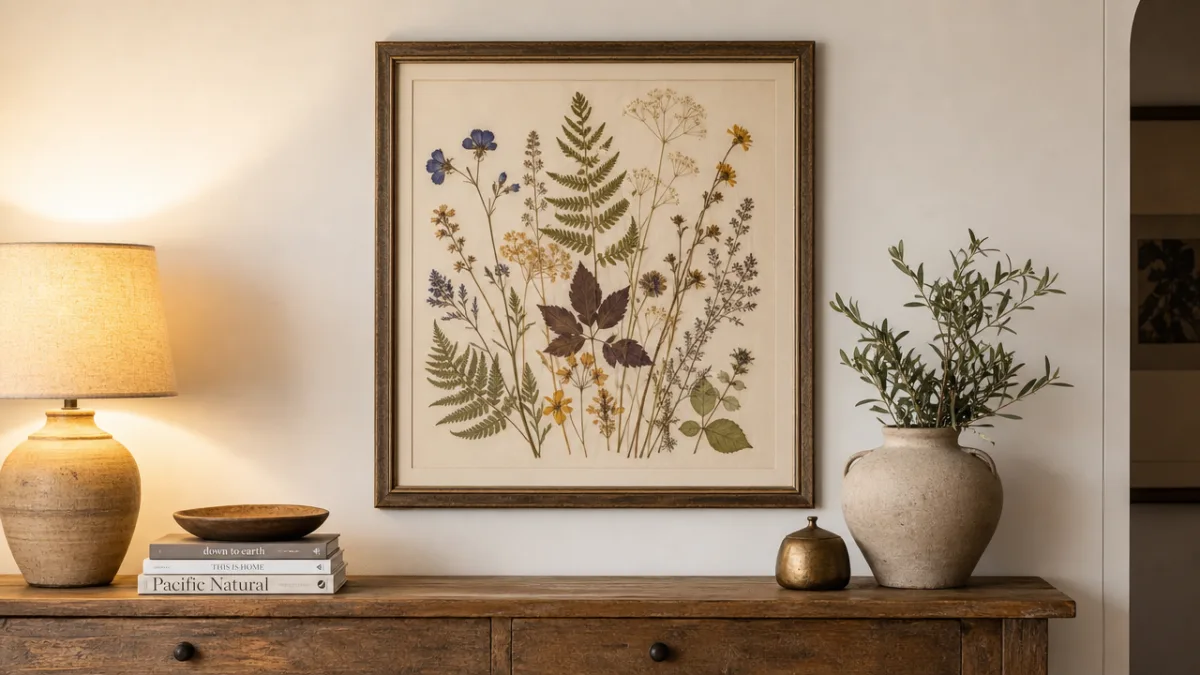
The right frame can take a pressed plant piece from “cute craft project” to something that genuinely looks like collected artwork. Shadow box frames are especially popular for this because the extra depth keeps the glass from pressing directly against the botanicals, which would damage them over time and flatten out the natural dimensionality of the arrangement. When you’re choosing a frame, think about how its finish and material will feel in the room where it’ll hang — raw wood is perfect for cottagecore or rustic spaces, while thin black or brass metal frames feel much more contemporary and gallery-like.
Protecting your work from fading is something worth thinking about seriously if you want the piece to look good for years. Ultraviolet light, humidity, and direct sunlight are all hard on dried plant material, speeding up the color loss that happens naturally over time. Hang your art away from direct sunlight and out of the path of strong afternoon sun coming through windows. UV-filtering glass or acrylic makes a real difference and is pretty easy to find. Some artists also add a light coat of UV-protective spray varnish to their compositions before framing for an extra layer of insurance.
Beyond the classic framed piece, there are lots of creative ways to display pressed plant art depending on your space and style. Here are a few popular approaches worth considering:
- Gallery wall arrangements: Group several small frames of different sizes and shapes together for a botanical gallery wall. Mix pressed plant pieces with vintage botanical prints for a layered, collected look that you can keep building over time.
- Floating frames: Suspended between two sheets of glass, pressed botanicals look like they’re literally floating — a modern, airy effect that works beautifully in contemporary or Scandinavian-style interiors.
- Oversized statement pieces: A large shadow box with an elaborate arrangement becomes a serious focal point above a sofa, bed, or dining table, holding its own the way a painting would.
- Windowpane displays: Pressed plants sandwiched between glass panes and hung in a window let light pass through the translucent petals, almost like a botanical version of stained glass.
- Seasonal rotations: Keep a collection of smaller framed pieces and swap them out with the seasons so you can enjoy spring blossoms, summer wildflowers, fall leaves, and winter greenery as they come.
Tips for Long-Term Success and Creative Growth
Like any craft, pressed plant art gets noticeably better the more you do it — especially if you’re willing to learn from the pieces that didn’t quite work out. Keeping a simple project journal is more useful than it sounds. Jot down which species you collected, when you collected them, how long they took to press, and how the finished color compared to the fresh plant. Over time that becomes a genuinely valuable personal reference, helping you predict results and plan compositions based on what you actually know works in your specific environment and climate.
One of the most enjoyable parts of growing as a pressed plant artist is expanding the range of specimens you work with. Once you’re comfortable with reliable favorites like pansies and ferns, start experimenting with things that offer more unusual textures, unexpected colors, or interesting structural shapes. Grasses and seed heads add great movement and linear energy to a composition. Eucalyptus leaves press easily and bring in those sophisticated silvery blue-green tones that go with almost anything. And pressed citrus slices — orange, lemon, or lime, sliced thin and pressed for a few weeks — turn into glowing translucent rounds of amber and yellow that make absolutely stunning focal points in larger pieces.
The community around pressed plant art is genuinely warm and welcoming, both online and in local craft circles. Following botanical art groups on social media exposes you to an enormous range of styles, skill levels, and approaches that can spark ideas and help you figure out your own aesthetic over time. Experienced pressed plant artists tend to be generous sharers — techniques, plant identification tips, hard-won lessons about what works and what doesn’t. Whether you’re making one small piece to remember a garden you loved, creating handmade gifts, or working toward something more serious, you’ll find people at every level who are happy to have you along.
Inspiring Ideas and Creative Variations to Explore
Once you’ve got the fundamentals down, there’s a whole world of directions you can take this. One of the most exciting trends in contemporary botanical art is combining pressed plants with other decorative elements — watercolor washes painted directly onto the background before arranging the botanicals, calligraphy that adds a meaningful word or phrase to the composition, or geometric shapes in washi tape that give the whole thing a more structured, modern framework. These hybrid approaches pull from multiple craft traditions at once and often produce results that feel fresh and distinctly your own.
Thematic series are another really rewarding direction once you’re ready for something beyond one-off pieces. Rather than making individual works with no connection to each other, try building a series around a single idea — all specimens from one garden across a full growing season, wildflowers gathered on a trip you want to remember, or plants from the Victorian language of flowers that hold particular meaning for you. Series work has a depth and intentionality that individual pieces sometimes don’t, and a cohesive group displayed together tells a richer, more layered story than any single frame could on its own.
And then there’s gifting — which might be the most meaningful application of this craft. Pressed flowers from a wedding bouquet, framed as an anniversary surprise, become something far more precious than anything you could buy. Blooms from a loved one’s garden, preserved after they’re gone, offer a kind of comfort and connection that goes way beyond ordinary decoration. Baby’s breath and flowers from a birth celebration arranged with a child’s name and birthdate make a keepsake that will still mean something decades later. That ability to hold memory, mark time, and honor the people and places that matter to us is what makes pressed plant wall art so much more than a nice hobby — it’s a genuinely human way of staying connected to the natural world and to each other.








What do you think?
It is nice to know your opinion. Leave a comment.