










Lady Ties Fabric Scraps onto a Wooden Rod: The Simple Trick Taking the Internet by Storm
The Viral Moment That Started It All
Every once in a while, the most wonderfully simple idea comes out of nowhere and takes over the internet — and that’s exactly what happened when one crafty woman posted a video of herself tying colorful fabric scraps onto a plain wooden rod. What started as a quiet afternoon project blew up across Pinterest and social media, racking up millions of views and sending home decorators everywhere digging through their fabric stashes. The reason it caught on so fast? No sewing machine, no special skills, and basically zero cost. It really is that simple.
There’s something deeply satisfying about watching the original video. Strip after strip of patterned, textured, colorful fabric gets looped and knotted onto a rustic wooden dowel, and it has that same brain-pleasing quality as watching someone organize a cluttered drawer or arrange wildflowers into a vase. People weren’t just inspired to try it — they were genuinely moved by how something so effortless could look so intentionally beautiful. The comments filled up almost immediately with people saying they were already hunting down their old clothing scraps to give it a go.
What sets this one apart from the dozen other DIY ideas that scroll by every week is how ridiculously accessible it is. You don’t need a kit, you don’t need to sit through a tutorial series, and you can pretty much grasp the whole concept in under thirty seconds: find some fabric strips, grab a stick or rod, and start tying. The result looks like something out of a curated interior design magazine. That combination of minimal effort and maximum visual payoff is exactly what every viral craft trend is chasing — and this one nailed it.
What You Need to Get Started
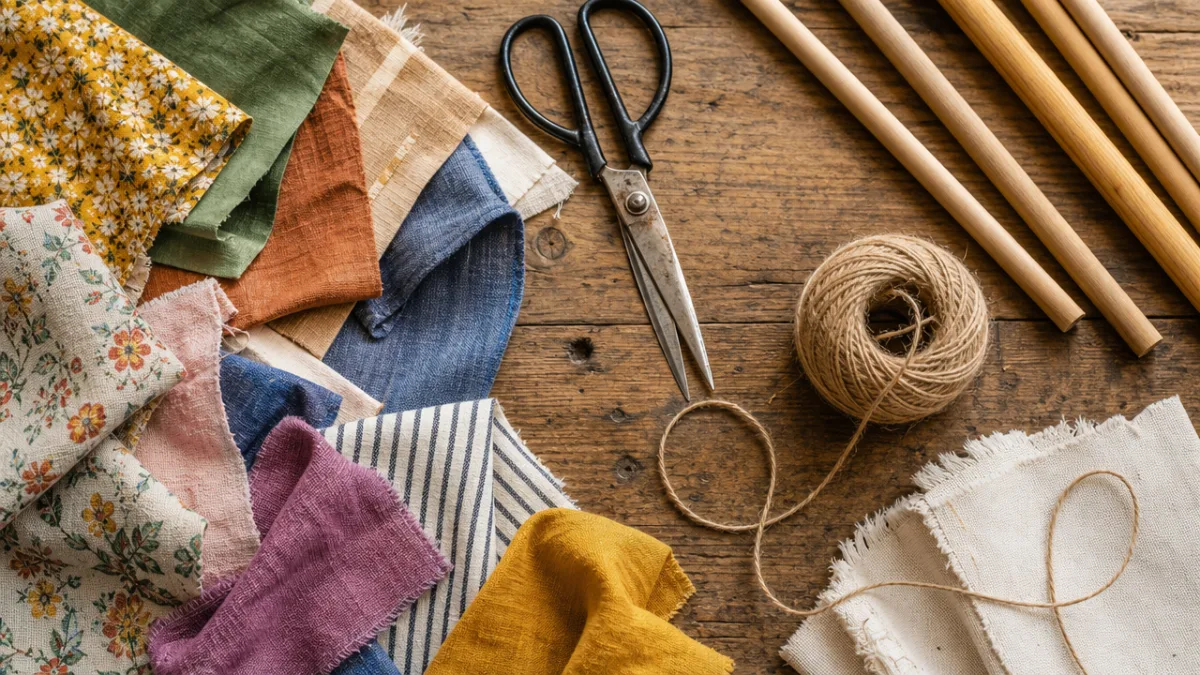
Before you go diving into your fabric pile, it’s worth knowing what actually works well for this project. The good news is that almost anything goes — old t-shirts cut into strips, curtain remnants, quilting cotton, burlap, linen scraps, yarn, ribbon, strips of denim from jeans you haven’t worn in years. The more variety you throw in, the more interesting the finished piece looks. You want a mix of textures, weights, and patterns so the whole thing feels layered and alive. Try to pull together at least twenty or thirty strips before you start so it ends up looking full and lush rather than a little sad and sparse.
For the rod, you’ve got plenty of options depending on the vibe you’re going for. A branch picked up from your backyard — bark and all — gives it that raw, natural feel that works so well with cottagecore or woodland-style spaces. A smooth wooden dowel from the hardware store is cleaner and more minimal. Copper pipe, driftwood, bamboo, even an old curtain rod — all of them work beautifully. The main thing to keep in mind is that your rod should be roughly as wide as you want the finished hanging to be, which is typically somewhere between twelve and thirty-six inches depending on your wall space.
A few finishing materials will take the piece from “cute craft project” to something that actually looks polished. A length of twine, leather cord, or macramé rope tied at each end of the rod gives you your hanging mechanism and adds one more lovely textural detail. Some people also work in wooden beads, small feathers, or dried flowers among the fabric strips for a little extra character. And a sharp pair of scissors is a must — you’ll need them for cutting clean strips and trimming everything up at the end. That’s genuinely the whole list. Refreshingly short.
Step-by-Step: How to Create Your Fabric Scrap Wall Hanging
Start by prepping your fabric strips, and don’t rush this part — it’s actually one of the most enjoyable stages of the whole project. Lay everything out and cut or tear your scraps into long strips about one to two inches wide. Here’s a fun little trick: with woven fabrics like cotton, tearing instead of cutting gives you a softly frayed edge that adds real texture to the finished piece. Before you start tying, loosely group your strips by color family or map out how you want to alternate them. A little bit of planning here goes a long way toward making the result feel cohesive rather than just random.
To attach each strip, fold it in half so you have a loop in the middle, then drape that loop over the top of the rod so the tails hang down in front. Pull both tails through the loop and tug downward — that’s a lark’s head knot, the same simple technique used in macramé. It takes about three seconds per strip and holds perfectly without any extra fastening. Work your way across the rod from one end to the other, mixing up colors, textures, and widths as you go. Pack the strips in close together so no bare wood peeks through — that’s what gives it that full, lush look.
Once everything is tied on, a few finishing touches bring it all together. Trim the hanging ends to a roughly even length, or go for a gentle diagonal or V-shape if you want a more dynamic silhouette. If some strips are noticeably longer than others, you can absolutely leave that — the variation creates movement and that relaxed, boho-chic energy that makes these hangings so appealing. Tie your hanging cord to each end of the rod, find your spot on the wall, and step back. It’s genuinely one of the easiest and most satisfying crafts you’ll ever make.
Quick Reference: Steps at a Glance
- Cut or tear fabric scraps into strips approximately one to two inches wide and at least twelve inches long.
- Lay out your strips and loosely organize them by color or texture before tying.
- Fold each strip in half and attach to the rod using a lark’s head knot.
- Pack strips closely together across the full length of the rod.
- Trim the hanging ends to your desired length and shape.
- Attach hanging cord to both ends of the rod and mount on your wall.
Design Variations and Styling Ideas
One of the best things about this craft is how completely customizable it is — the same basic technique works for practically any decorating style and any room in the house. Want something calm and Scandinavian? Stick to creams, whites, oatmeal, and soft greys with a smooth birch dowel and natural linen cord. Going for a bold, maximalist boho look? Throw in every color you own and mix loud prints with chunky textures until it looks like abstract art on your wall. The technique stays exactly the same; your material choices do all the work of defining the style.
As the trend has grown, crafters have come up with some really clever variations beyond the classic single-rod format. A ladder-style version uses two parallel rods connected by vertical ropes, with fabric tied across multiple rungs for something more sculptural and three-dimensional. An embroidery hoop or a bent branch shaped into a ring creates a wreath-like hanging that’s lovely on a front door or as a seasonal decoration. Some people have even tied fabric scraps onto pieces of driftwood with multiple branches shooting off in different directions, creating these wonderfully organic, asymmetrical compositions that feel completely one-of-a-kind.
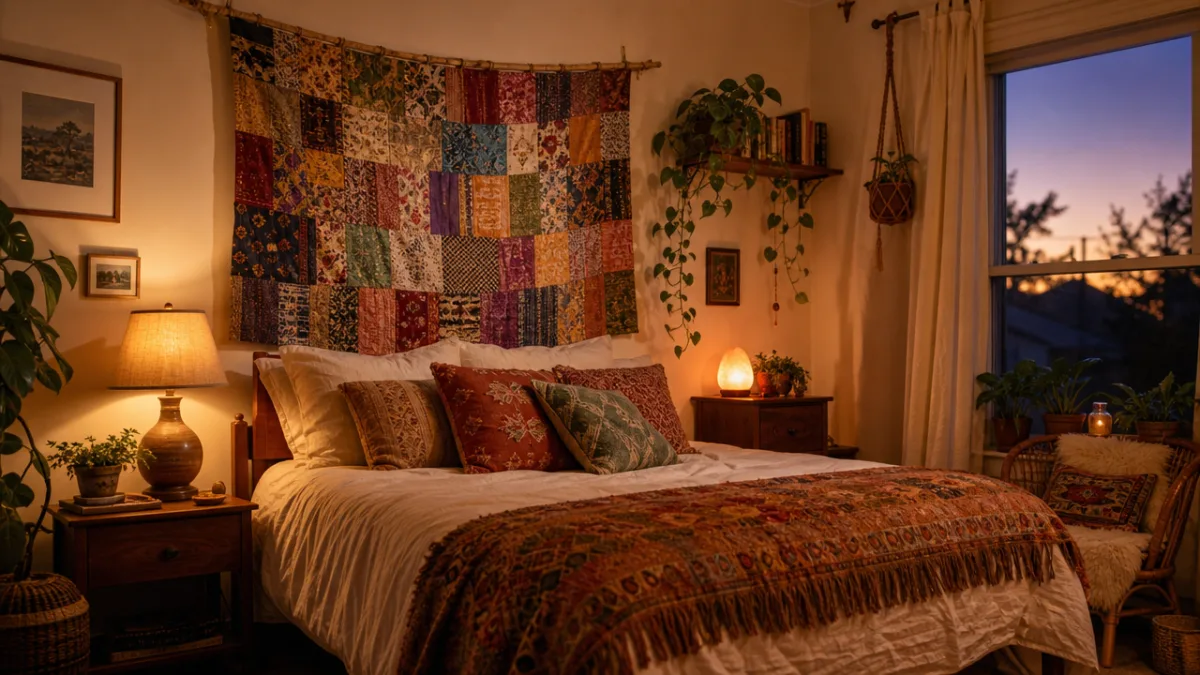
Where and how you hang the finished piece matters more than you might think. A large, densely packed hanging works best as a standalone focal point — above a bed, behind a sofa, or over a console table. Smaller pieces work beautifully in groups: three hangings at varying heights and sizes create a gallery wall effect with warmth and texture that framed prints just can’t replicate. When you’re choosing fabrics, take a look at what’s already in the room — pulling colors from your throw pillows or an existing rug is one of the easiest ways to make the whole space feel like it was put together on purpose.
Why This Craft Resonates So Deeply Right Now
The fact that this simple fabric-and-rod project went so wildly viral isn’t really a surprise when you think about it — it taps into a few things that a lot of people are genuinely craving right now. The sustainability angle alone is a big draw: this is a craft that takes scraps, worn-out clothes, and fabric remnants that would otherwise end up in the trash and turns them into something genuinely beautiful. At a time when more and more people are thinking carefully about waste and consumption, a zero-waste project that also looks great on your wall is a pretty hard thing to resist.
There’s also something quietly powerful about the making process itself. The repetitive rhythm of folding, knotting, and adjusting fabric strip after strip is genuinely calming — the kind of thing that keeps your hands busy and gives your brain a rest from the noise of everyday life. A lot of people who’ve tried it say the process was just as satisfying as the finished piece, which is a nice reminder that craft, at its best, is really about the doing as much as the having. That quality of slow, mindful making is something people are actively looking for these days, and this project delivers it without any steep learning curve.
And then there’s the confidence factor, which shouldn’t be underestimated. The fear of making something ugly or getting it wrong is what keeps a lot of people from trying creative projects in the first place — and that fear basically doesn’t apply here. There’s no wrong way to tie a fabric strip onto a rod. Even a loosely assembled, somewhat haphazard version tends to look charming. That low-stakes entry point has pulled a lot of people into the pleasure of making something with their own hands for the first time, and plenty of them have used it as a springboard into more involved crafts once their confidence caught up.
Sharing Your Creation and Finding Inspiration
Once your wall hanging is up and you’ve spent a satisfying amount of time admiring it, jumping into the online community around this trend is absolutely worth your time. A quick search of the relevant hashtags on Instagram or TikTok will turn up an almost overwhelming number of variations, color combinations, and creative adaptations from makers all over the world — genuinely useful if you’re already thinking about your next one. Pinterest in particular has become a treasure trove for this style of craft, with entire boards dedicated to fabric scrap wall hangings ranging from simple beginner versions all the way to elaborate, multi-layered pieces that take the concept somewhere unexpected.
Sharing your own finished piece is one of the nicer things you can do within the crafting community — and it tends to come back to you as encouragement, new connections, and creative conversation. When you post, it’s worth mentioning what materials you used, especially if you sourced them in interesting or sustainable ways, since that kind of detail is genuinely helpful to other makers trying to figure out where to start. If you can trace the piece back to the creator who inspired you, tagging them is a small but thoughtful gesture that acknowledges where the idea came from and helps keep the community feeling generous and supportive rather than just a place where trends get stripped of context.
For anyone who finds that one wall hanging is nowhere near enough — which is apparently a very common experience — this project scales nicely into a small creative practice or even a side business. Handmade fabric wall hangings sell consistently on Etsy, at local craft markets, and through social media shops, especially when they’re made with quality or locally sourced materials and photographed well. Offering custom color commissions, where buyers send you their specific palette or even their own fabric scraps, adds a personal touch that mass-produced décor simply can’t compete with. What started as a viral trick of tying scraps onto a stick has, for a lot of makers, quietly opened the door to something genuinely fulfilling — and, for some, surprisingly viable.
Tips for Success
- Pre-wash your fabric scraps before using them to prevent any shrinkage or color bleeding after the piece is hung.
- Mix at least three different fabric weights or textures — such as cotton, velvet, and gauze — for the most visually interesting result.
- Photograph your finished piece in natural daylight for the most accurate, flattering representation of the colors.
- Store extra fabric strips in a glass jar or basket near your crafting space so you can easily add to or refresh the hanging over time.
- If a strip comes loose, simply re-tie it with a lark’s head knot — the piece is endlessly adjustable and forgiving.








What do you think?
It is nice to know your opinion. Leave a comment.