










How to Make Natural Dye Using Food from Your Kitchen
The Ancient Art of Natural Dyeing: A Timeless Tradition
Natural dyeing is one of the oldest crafts humans have ever practiced — we’re talking thousands of years before anyone thought to write any of it down. Long before synthetic dyes came along in the 1800s, people everywhere used plants, minerals, and food to bring color to their textiles, yarns, and fabrics. What used to be pure necessity has turned into something people genuinely love doing — crafters, artists, and anyone who cares about sustainability have rediscovered it as a way to reconnect with older ways of making things while being a little kinder to the planet.
The best part about kitchen-based natural dyeing is how accessible it is. You don’t need to go foraging through the woods or track down pricey botanical supplies. Some of the most beautiful natural dyes come straight from your pantry, your fridge, or even your compost bin. Onion skins, avocado pits, turmeric, red cabbage, black beans, beets — these everyday ingredients can turn plain fabric into something with real depth and personality.
And beyond just the visual payoff, there’s something quietly satisfying about natural dyeing that’s hard to explain until you’ve tried it. It connects you to the food you eat, the land it came from, and the long line of makers who figured all of this out long before you did. Every dye bath is its own little story — the ingredient, the season, the chemistry — and no two sessions ever come out exactly alike. That unpredictability isn’t a bug. For most people who get into this, it’s the whole point.
Gathering Your Supplies and Understanding Mordants
Before you dive in, it’s worth getting familiar with the basics. At its core, natural dyeing doesn’t require much: a heat source, a pot you’re okay not using for cooking anymore, water, your dye material, and whatever fiber or fabric you want to color. One thing to know right away is that natural fabrics — wool, silk, cotton, linen — drink up natural dye in a way that synthetics like polyester simply don’t, so choosing the right material from the start makes a real difference.
The other concept you’ll want to understand early on is the mordant. A mordant is basically a helper substance that gets the dye to stick to the fiber properly, giving you better color and making it last longer. Without one, a lot of natural dyes will fade pretty fast when you wash or sun-expose them. The most common option for home dyeing is alum (potassium aluminum sulfate), which is easy to find and safe to handle. Iron water is another popular choice — you make it yourself by soaking rusty nails in a jar of water and vinegar for a week or two. If you’re working with plant-based fibers like cotton, tannin-rich things like black tea or oak galls can also do the job.
Mordanting usually happens before you dye, in what’s called pre-mordanting: dissolve the mordant in hot water, add your wet fabric, and let it simmer gently for about an hour. Some dyers mordant after dyeing instead, or directly in the dye bath — each approach gives you slightly different results in color and tone. Honestly, experimentation is half the fun. Just make sure you’re keeping notes as you go, because you’ll be really glad you did once you’ve built up a few sessions’ worth of discoveries.
Top Kitchen Foods That Produce Stunning Natural Dyes
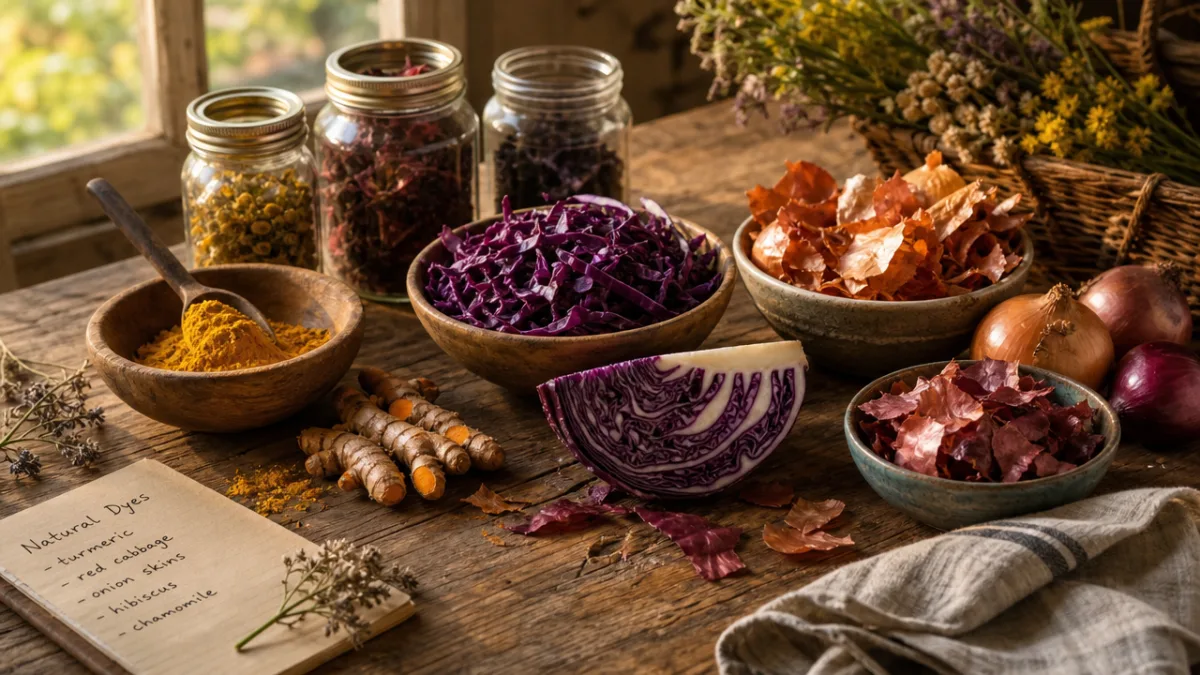
Yellow onion skins are probably the best place to start if you’re new to this. They give you a rich, golden yellow on wool and other protein fibers with very little fuss, and a small amount of alum mordant is all you need to get results that are both vibrant and surprisingly wash-fast. Start saving your onion skins in a paper bag whenever you cook — they pile up faster than you’d think, and a full pot of skins makes for a much richer dye bath.
Avocado pits and skins are another one that tends to surprise people. You’d never guess from looking at them, but these dark, almost black scraps produce the most beautiful range of dusty pinks and warm peach tones. The more pits and skins you have relative to your fiber weight, the deeper the color gets. Lots of natural dyers keep a bag in the freezer and add to it over time — it’s a wonderfully sustainable approach that turns kitchen scraps into something genuinely pretty.
Here are some other kitchen staples that are well worth trying:
- Turmeric: Gives you a bright, punchy yellow, though it’s considered a fugitive dye — meaning it fades faster than some others, especially without careful mordanting and keeping it out of direct sunlight.
- Red cabbage: One of the more magical options because the color it produces — anywhere from blue-purple to pink to green — shifts depending on your water’s pH and whatever modifiers you add afterward.
- Black beans: Soak dried black beans overnight in cold water (no heat needed) and you’ll end up with a gorgeous blue-gray dye bath that works well on both wool and cotton.
- Beets: A bit of a heartbreaker, honestly — for how vivid they are in the kitchen, beet dye fades significantly on fabric, landing more in soft muted pink territory than deep red.
- Chamomile tea: Yields a soft, creamy yellow that’s understated and lovely, especially on silk.
- Coffee grounds: Used in generous quantities, spent coffee grounds give you warm tans and browns that have a really nice earthy quality.
- Red wine: Leftover red wine simmered into a dye bath creates muted lavender and mauve tones, particularly on pre-mordanted wool.
Every one of these ingredients will behave a little differently depending on your local water quality, the fiber you’re working with, your mordant choice, and even when and where the food was grown. Hard versus soft water alone can shift a color pretty dramatically. Adding a splash of vinegar or a pinch of baking soda to your dye bath after you’ve pulled the fabric out can push colors warmer or cooler. It’s this sensitivity to all these small variables that makes natural dyeing feel less like following a recipe and more like an ongoing conversation with your materials.
Step-by-Step Guide to Dyeing Fabric at Home
The actual process is more approachable than it might sound. Start by preparing your fiber: wash it well to get rid of any dirt, oils, or finishes that might get in the way of even dye absorption. Then soak it completely in warm water for at least thirty minutes before it goes near the mordant or dye bath. Dry fiber dropped into a hot dye bath is a recipe for blotchy, uneven results — keeping things damp throughout the process makes a real difference.
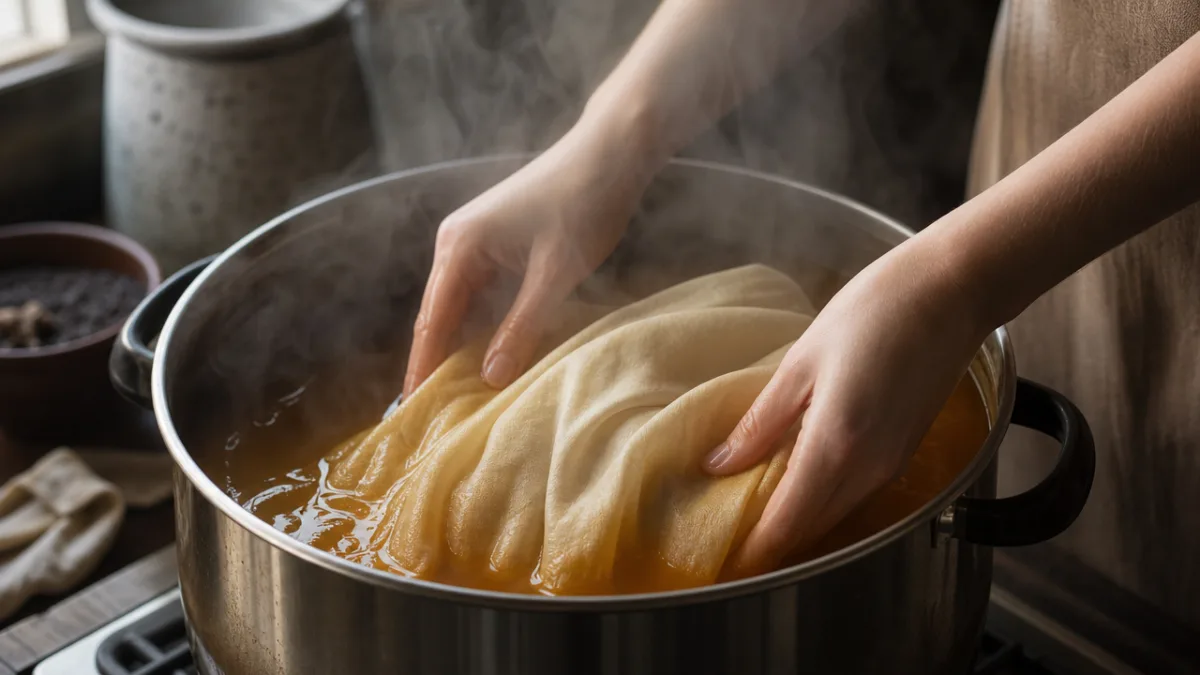
Once your fiber is mordanted and still damp, it’s time to make your dye bath. Add your dye material — a big pile of onion skins, a few avocado pits, a pot of turmeric water, whatever you’re working with — to your dye pot with enough water that the fabric can move around freely. Simmer everything for thirty minutes to an hour to pull out as much color as possible, then strain out the solids and return the liquid to the pot. Add your mordanted fiber, bring it back to a gentle simmer, and hold that temperature for forty-five minutes to an hour, turning the fabric now and then so it colors evenly.
When the dyeing is done, take the fiber out and let it cool gradually before you rinse it. This is especially important with wool — sudden temperature changes can cause it to felt, and that’s not reversible. Rinse in progressively cooler water until it runs clear, then wash gently with a small amount of pH-neutral soap, rinse once more, and hang it somewhere out of direct sunlight to dry. The color will look darker when wet, so don’t panic — the real result shows up once it’s fully dry. Try not to over-rinse or over-wash right away either, since the dye keeps setting a bit as it dries.
Caring for Naturally Dyed Fabrics and Making Colors Last
One of the first questions people ask about natural dyeing is whether the color will hold up. It’s fair — natural dyes, especially fugitive ones like turmeric or beet, do fade faster than synthetic dyes. But with a little care, plenty of naturally dyed fabrics can hold their color beautifully for years. The key is recognizing that they need a gentler kind of attention than your average synthetically dyed item.
Always wash naturally dyed pieces in cool or lukewarm water, never hot, and use a gentle, pH-neutral soap rather than regular laundry detergent. A lot of conventional detergents contain optical brighteners or alkaline compounds that can strip or shift natural colors over time. Hand washing is ideal, particularly for wool or silk. If you need to use a machine, go with the most delicate cycle you have and tuck the item into a mesh laundry bag.
How you store and display naturally dyed things matters just as much as how you wash them. Direct sunlight is the biggest threat — UV light breaks down the molecular bonds holding color in the fiber, and once that fading happens, you can’t undo it. Keep naturally dyed textiles folded in a cool, dark drawer, or wrapped in acid-free tissue if you’re putting them away for a while. If you’re hanging naturally dyed art or weavings, choose a spot away from windows, or use UV-filtering glass if the piece is framed.
Some dyers actually re-dye faded pieces over time and consider it part of what makes natural color feel alive. A garment that’s been gently faded and re-dyed a couple of times carries a kind of history that no synthetically dyed piece ever could. A lot of people find that shift in perspective genuinely freeing — letting go of the expectation that color has to be permanent, and learning to appreciate change as part of working with natural materials.
Exploring Color Modification and Creative Experimentation
Once you’ve got the basics down, things get really fun. Color modifiers are substances you add to the dye bath or apply to the fiber after dyeing to push the color in a new direction. Iron is the most commonly used modifier — it “saddens” colors, darkening them and pulling them toward cooler, more muted tones. An alkaline solution made from baking soda dissolved in water can do something almost theatrical to red cabbage dye, flipping it from purple to green with just a few tablespoons. Playing with modifiers feels a little like magic the first time you try it.
Resist dyeing techniques open up another whole creative dimension. Shibori — the Japanese practice of folding, binding, twisting, or clamping fabric before it goes into the dye bath — creates patterns where the bound areas resist the dye and stay lighter. Rubber bands, wooden clamps, string, even rocks can all create areas of resistance with their own distinctive results. Because the outcome is always at least a little unpredictable, it’s one of the most genuinely playful ways to work with natural dye.
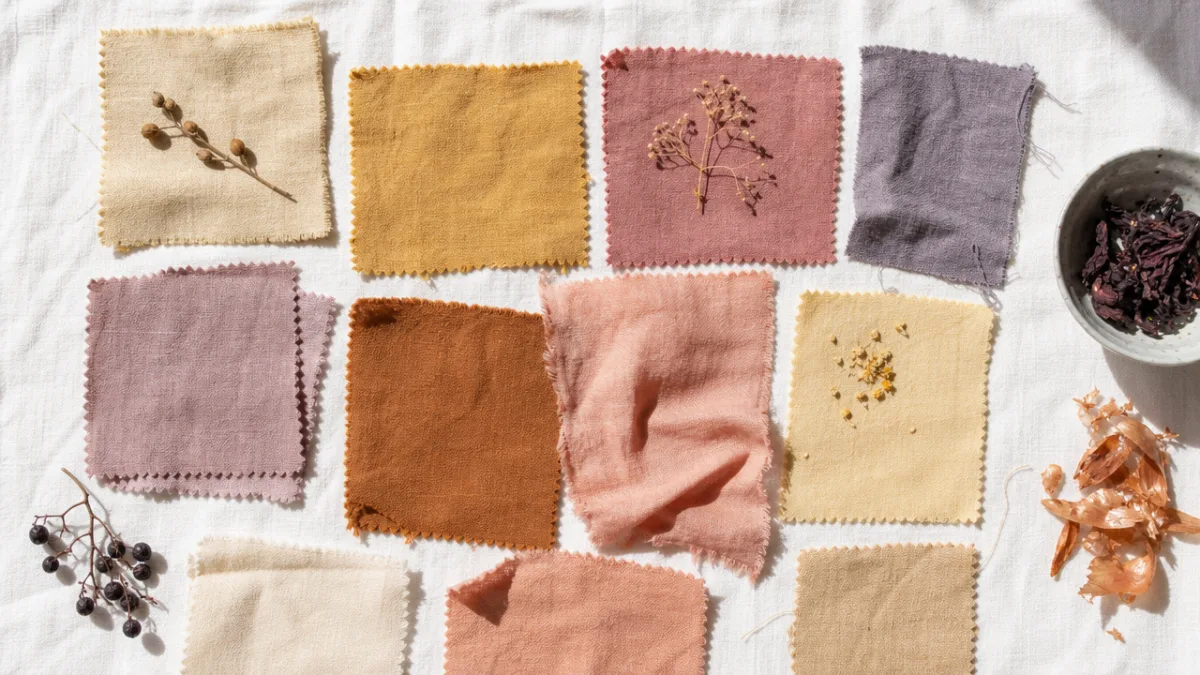
Layering dye baths is worth experimenting with too, once you feel solid with the fundamentals. Running a piece through a chamomile bath and then a red cabbage bath, for instance, can produce a color that neither bath would give you on its own. Keeping good records of what you try — with little fabric swatches stapled to your notes — lets you build up a personal dye library over time. A lot of natural dyers end up filling whole notebooks with process notes and swatches, and those notebooks become genuinely useful the deeper the practice goes.
Building a Sustainable and Mindful Dye Practice
One of the things people find most meaningful about kitchen natural dyeing is how naturally it fits into a more intentional, sustainable way of making. When so much of what we consume is fast, disposable, and forgettable, spending an afternoon dyeing fabric with food scraps feels like a small but real act of pushback. You’re turning waste into something beautiful, using materials that would otherwise head to the compost, and making something that has your time and attention built into it.
Thinking sustainably extends to the end of the process too — specifically, what you do with the dye bath when you’re done. Spent dye baths made from food materials can usually go down the drain without worry, or even out to the garden, since many kitchen dye materials have nutrients that plants appreciate. Mordant baths need a bit more thought — alum baths are fine in small quantities, but iron baths are better stored and reused rather than dumped frequently, since too much iron isn’t great for soil or waterways.
Beyond the practical side, natural dyeing has a way of quietly changing how you approach making things more broadly. It nudges you to slow down, to work with natural processes rather than fighting them, to get comfortable with results you didn’t fully plan, and to build a relationship with materials over time rather than wanting everything to be instant and predictable. A lot of people find that those qualities start to spill over into other parts of their creative life — and into how they think about food, seasons, and the stuff they bring into their homes. That pot of onion skins simmering on your stove is doing more than making dye. It’s an invitation to pay attention differently.








What do you think?
It is nice to know your opinion. Leave a comment.