










DIY Realistic Jellyfish Lamp: Bring the Ocean’s Magic Into Your Home
Introduction: The Enchantment of a Jellyfish Lamp
There is something undeniably hypnotic about the way a jellyfish moves through water — its translucent bell pulsing gently, its tendrils trailing behind like silken ribbons caught in a slow current. For centuries, these mysterious creatures have captivated the human imagination, and today, that fascination has found a beautiful new form in the DIY jellyfish lamp. Whether you are an experienced crafter or someone just beginning to explore the world of handmade decor, this project offers a deeply satisfying way to bring a piece of the ocean’s magic right into your living space.
A jellyfish lamp is not merely a light source — it is a conversation piece, a mood setter, and a work of art. When illuminated, the translucent materials glow with an ethereal warmth that transforms any room into something resembling an underwater dreamscape. The soft, diffused light filtering through delicate fabric tendrils creates a sense of calm that is almost meditative, making this lamp an ideal addition to a bedroom, reading nook, or creative studio. The flickering, color-changing LED options available today make the effect even more spectacular.
What makes this project especially appealing is its accessibility. You do not need expensive equipment or a professional background in crafts to create a stunning, realistic jellyfish lamp. With a modest budget, a few hours of focused work, and the step-by-step guidance provided in this article, you can produce a finished piece that looks like it belongs in a boutique home decor store. From choosing the right materials to adding the final artistic details, every step of this creative journey is designed to be enjoyable, educational, and deeply rewarding.
Why Make Your Own Instead of Buying One?
Commercially produced jellyfish lamps certainly exist, but they rarely capture the organic beauty that a handmade version can achieve. Mass-produced models often rely on rigid plastic forms and generic color palettes that feel sterile rather than lifelike. When you craft your own, you have complete creative control over the size, color, texture, and style of your jellyfish. You can tailor it to complement your existing decor, choose colors that resonate with your personal aesthetic, or even create a whole cluster of jellyfish in different sizes for a truly dramatic installation.
Beyond the aesthetic advantages, there is also a profound personal satisfaction that comes from creating something beautiful with your own hands. The process of designing and assembling a jellyfish lamp is itself a form of mindful, creative practice. Each decision — which fabric to use for the bell, how to arrange the tendrils, how to position the light source — is an opportunity to express yourself and develop your crafting skills. Many people find that the meditative nature of the assembly process is as enjoyable as the finished product itself.
Finally, a DIY jellyfish lamp makes an extraordinary gift. Because you have made it yourself, it carries a personal warmth and thoughtfulness that no store-bought item can replicate. Gifting a handmade jellyfish lamp to a friend who loves ocean life, or to a child who is fascinated by the sea, creates a memory and a lasting connection. It is the kind of gift that people keep for years and display with pride, always ready to tell the story of where it came from.
Materials and Tools You Will Need
Gathering the right materials before you begin is essential to ensuring your project goes smoothly. The good news is that most of what you need is readily available at craft stores, fabric shops, or online retailers, and none of it is prohibitively expensive. The total cost of materials for a single jellyfish lamp typically ranges from fifteen to forty dollars, depending on the quality of materials you choose and the size of the finished piece you are aiming for. Investing in slightly better quality materials, particularly for the main bell fabric, will noticeably elevate the final result.
The most critical material is the fabric for the jellyfish’s bell — the rounded, dome-shaped body. Organza, chiffon, or iridescent mesh fabric works exceptionally well because these materials are translucent enough to allow light to pass through while still holding their shape adequately. You will want a piece large enough to drape over your chosen dome form, which can be a large clear glass bowl, a round paper lantern, or even a purpose-built wire frame. The fabric should be soft, slightly shimmery, and ideally available in colors like soft pink, lavender, pale blue, or luminous white to achieve the most realistic jellyfish appearance.
For the tendrils — the long, trailing strands that give jellyfish their characteristic otherworldly appearance — you have several excellent options to choose from. Strips of the same organza fabric, lengths of holographic tinsel, iridescent ribbon, curling ribbon, or even strips of cellophane can all be used to striking effect. The key is variety; real jellyfish have both long, thick oral arms and shorter, finer tentacles, so layering different widths and textures of trailing material will give your lamp a much more realistic and visually interesting appearance.
Complete Materials List
- One large clear glass bowl or round paper lantern (to serve as the bell form)
- Half a yard of organza, chiffon, or iridescent mesh fabric in your chosen color
- Assorted ribbons, tinsel, and fabric strips for tendrils (at least three different types)
- One LED light source — a color-changing LED puck, fairy lights, or a small RGB bulb
- Clear fishing line or thin wire for hanging
- A hot glue gun with extra glue sticks
- Scissors, both regular and small craft scissors for detail work
- Optional: iridescent glitter, fabric stiffener spray, or pearl beads for embellishment
- Optional: a small electric fan or motor if you want the tendrils to move gently
Having all of your materials laid out and organized before you begin will make the assembly process far more enjoyable and efficient. Consider setting up a dedicated workspace with good lighting, protecting your surface with a craft mat or old newspaper, and keeping a small bowl of water nearby if you plan to work with fabric stiffener. Good preparation is the foundation of good craftsmanship, and taking fifteen minutes to organize your supplies will save you considerable frustration once the creative work begins in earnest.
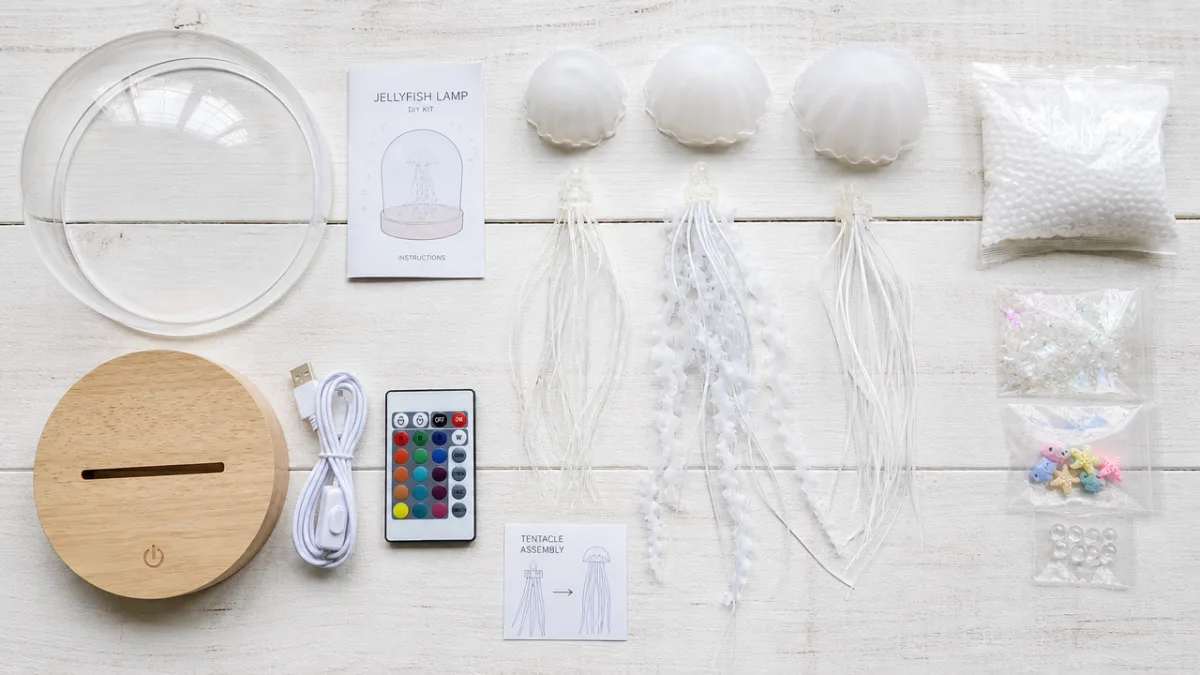
Step-by-Step Assembly Instructions
Begin by preparing your bell form. If you are using a clear glass bowl, turn it upside down so that the rounded base faces upward — this will be the top of your jellyfish bell. If you are using a round paper lantern, remove the wire handle and set it with the open end facing downward. Take your organza or chiffon fabric and drape it loosely over the form, allowing it to fall naturally and create soft, organic folds and ripples. Do not pull it taut; the gentle gathering and bunching of the fabric is what gives the bell its realistic, organic appearance.
Once you are satisfied with the drape of the fabric, begin securing it to the form using small, carefully placed dots of hot glue. Work gradually around the circumference of the bell, gently gathering and pinching the fabric as you go to create those beautiful natural-looking undulations. Take your time with this step, as the quality of the bell will largely determine the overall realism of your finished lamp. If you find that the fabric is slipping or not holding its shape, a light misting of fabric stiffener spray can help it maintain its form as the glue sets.
Once the bell is secured, you can add any embellishments to it before moving on to the tendrils. A light dusting of iridescent glitter applied while the glue is still slightly warm will give the bell a beautiful bioluminescent quality, mimicking the real-life glow that many jellyfish species produce in dark ocean depths. Small pearl beads or rhinestones glued along the edges of the bell can suggest the delicate, lacy fringe that many jellyfish species display along their bell margins. These small details make an enormous difference in the finished realism of the piece.
Crafting and Attaching the Tendrils
Cut your tendril materials into varying lengths, ranging from about twelve inches to thirty inches or more depending on your desired aesthetic. Real jellyfish have tendrils of dramatically different lengths, so do not worry about making them uniform — embracing the variety is precisely what will make your lamp look authentic. Sort your cut materials into groups by type: longer, thicker ribbon pieces for the oral arms, and finer, more delicate strips for the tentacles. Having this mental organization will help you achieve a balanced, layered tendril arrangement.
To attach the tendrils, apply a generous bead of hot glue along the lower interior rim of the bell form and press the tops of your tendril bundles firmly into it. Work in small sections around the circumference, layering different types and lengths of material to build up a full, lush effect. The key to a realistic result is ensuring that the tendrils hang at different depths and angles rather than all falling in a uniform curtain. Gently curling some of the ribbon strips around a pencil before attaching them will add beautiful organic movement to the finished piece.
After the tendrils are attached and the glue has fully cooled and set, it is time to install your light source inside the bell. Thread your LED puck, fairy lights, or small RGB bulb up through the open base of the bell and position it as centrally as possible within the dome. If you are using fairy lights, you can distribute the strands more loosely throughout the interior for a more diffused, magical glow. Secure the light’s power cord by routing it carefully along one of the hanging lines, and test the light to make sure the illumination is even and satisfying before completing the final assembly.
Customization: Colors, Styles, and Advanced Techniques
One of the greatest joys of making your own jellyfish lamp is the virtually unlimited scope for personalization and creative expression. The color palette you choose will have the single biggest impact on the mood and character of your finished piece. Soft pinks and lavenders evoke the delicate beauty of moon jellyfish, while electric blues and greens suggest the eerie bioluminescence of deep-sea species. Golden amber tones create a warm, ancient quality, while pure white with silver accents produces something that looks almost bridal in its ethereal elegance.
For those who want to take their jellyfish lamp to the next level, experimenting with fabric dyeing techniques opens up a world of extraordinary possibilities. Tie-dyeing your base fabric before assembly can create stunning, organic color gradients that look astonishingly realistic. Ombre dyeing — where the color transitions gradually from one hue to another — is particularly effective for jellyfish bells, mimicking the natural color variations found in many real species. You can also hand-paint details onto the fabric using diluted fabric paint applied with a soft brush to suggest the intricate radial patterns found on many jellyfish bells.
Advanced crafters may also want to explore motorized motion, which transforms the lamp from a beautiful static object into a truly mesmerizing kinetic sculpture. A small, quiet DC motor attached to the top of the lamp can be programmed to rotate the entire jellyfish slowly, causing the tendrils to sway in a way that looks remarkably like the real swimming motion of a live jellyfish. Combined with a color-changing RGB LED that cycles slowly through the spectrum, a motorized jellyfish lamp can create an effect so convincing that guests will do a genuine double-take when they first see it.
Creating a Jellyfish Aquarium Display
Instead of hanging a single jellyfish lamp, consider creating a clustered display that mimics the appearance of a jellyfish aquarium. Large glass vases or cylindrical aquarium tanks can serve as beautiful housings for multiple smaller jellyfish, each with its own LED light source and slightly different color palette. Arranged at different heights within the vessel and suspended from thin fishing line attached to a mesh or screen across the top, three to five small jellyfish create a display that is genuinely breathtaking and that will become an instant focal point in any room.
To enhance the aquarium illusion, consider adding elements to the base of your display vessel. A layer of decorative aquarium gravel, polished sea glass, or smooth river stones in colors that complement your jellyfish palette creates a convincing ocean floor effect. Silk aquatic plants, small decorative coral pieces, or even simple strands of iridescent beads draped in loose curves can suggest the underwater environment beautifully. When lit from below with a color-changing LED panel placed under the vessel, the entire display takes on a depth and dimensionality that is truly spectacular.
The aquarium display format also offers wonderful opportunities for seasonal or thematic customization. For a Halloween display, dark-colored jellyfish with orange and purple lighting create a spooky, otherworldly atmosphere. For a winter display, white and silver jellyfish with cool blue lighting evoke an arctic underwater scene. For a child’s room, brightly colored jellyfish in primary colors with cheerful warm white lighting create a magical, playful environment that children absolutely adore. The versatility of this format makes it a craft project that continues to give long after the initial creation.
Display, Safety, and Long-Term Care
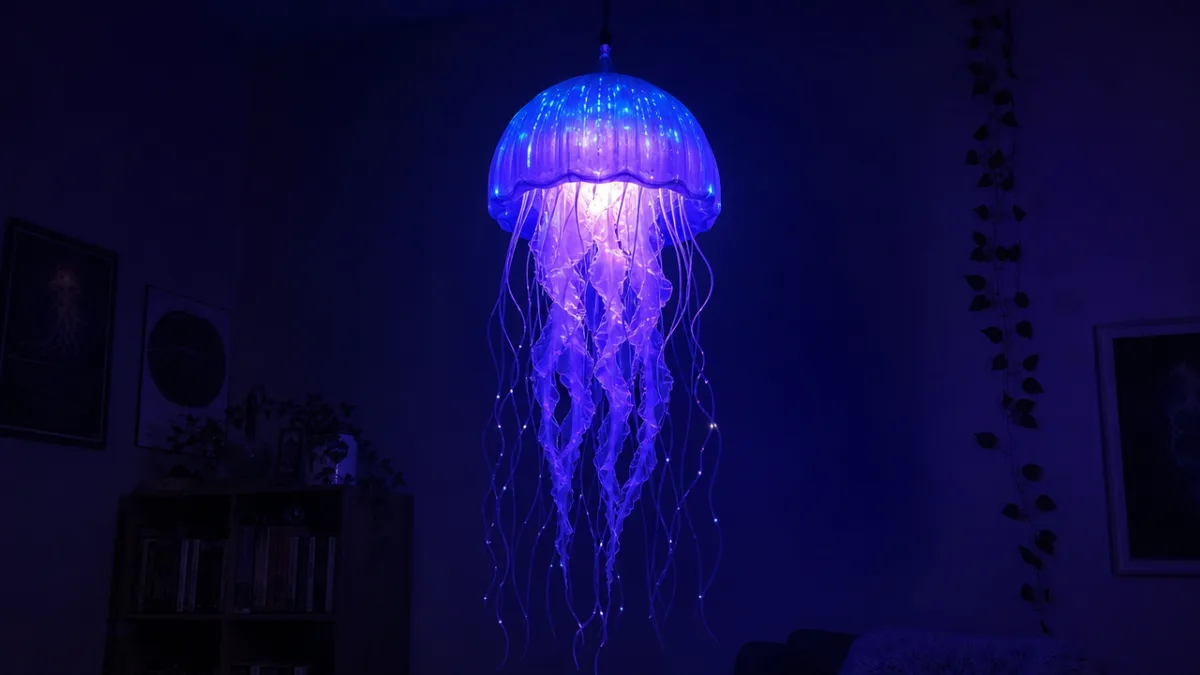
Finding the perfect location for your finished jellyfish lamp is an important decision that will significantly affect how the piece looks and feels in your space. Because the lamp is designed to be most impactful in low-light conditions, it works best in rooms where you have control over the ambient lighting. Bedrooms, reading nooks, home theaters, and meditation spaces are all ideal settings. In these environments, you can dim or turn off other light sources to allow the jellyfish lamp to take center stage and create that full immersive underwater atmosphere.
When it comes to hanging your lamp, safety is paramount. Use a ceiling hook rated for at least three times the weight of your completed lamp, and ensure that it is secured into a ceiling joist or properly anchored into drywall with an appropriate toggle bolt. Clear monofilament fishing line in a weight of at least twenty-pound test is ideal for hanging, as it is virtually invisible and very strong. For lamps that include a motor or heavier construction, consider using thin stainless steel cable instead of fishing line for added security. Always ensure that any electrical connections are properly insulated and that the lamp hangs well away from flammable materials.
LED light sources are strongly recommended over any type of incandescent or halogen bulb for this project, for several important reasons. LEDs generate very little heat, which is critical when your light source is surrounded by lightweight, delicate fabric materials. They also consume very little electricity, making them economical to run. Modern LEDs have exceptional lifespans — often fifty thousand hours or more — meaning you will very rarely need to access the interior of your lamp to replace the light source. The wide availability of color-changing and remote-controllable LED options also greatly enhances the versatility and visual impact of the finished lamp.
Maintenance and Preservation Tips
Like any fabric-based decorative item, your jellyfish lamp will occasionally need a little attention to keep it looking its best. Dust is the primary concern, as it can accumulate on the fabric bell and tendrils and gradually dull their luminosity and visual impact. The most effective way to deal with dust is the gentlest possible approach: use a can of compressed air, held at a safe distance, to blow dust away without touching or disturbing the delicate fabric construction. Alternatively, a very soft makeup brush can be used to gently sweep dust from the bell surface.
Over time, particularly if your lamp is located in a sunny spot, some fading of the fabric colors may occur. To minimize this, avoid placing your lamp in direct sunlight, and consider using UV-protective spray on the fabric materials before assembly if you anticipate this being a concern. If tendrils do become misshapen or tangled over time, they can often be restored to their original appearance by gently steaming them from a safe distance with a clothes steamer, which relaxes the fabric fibers without the direct contact that could damage delicate materials.
If you used a hot glue gun for construction and find that glue joints are loosening over time, they can almost always be re-secured with a fresh small dot of hot glue applied carefully with the gun’s tip. For a more permanent solution in critical structural areas, a clear-drying fabric adhesive or a small amount of clear epoxy will provide a stronger bond. Approach any repairs gently and patiently, working with the existing construction rather than against it, and your jellyfish lamp will continue to delight and inspire for many years to come.
Inspiring Others: Sharing Your Creation and Building a Creative Community
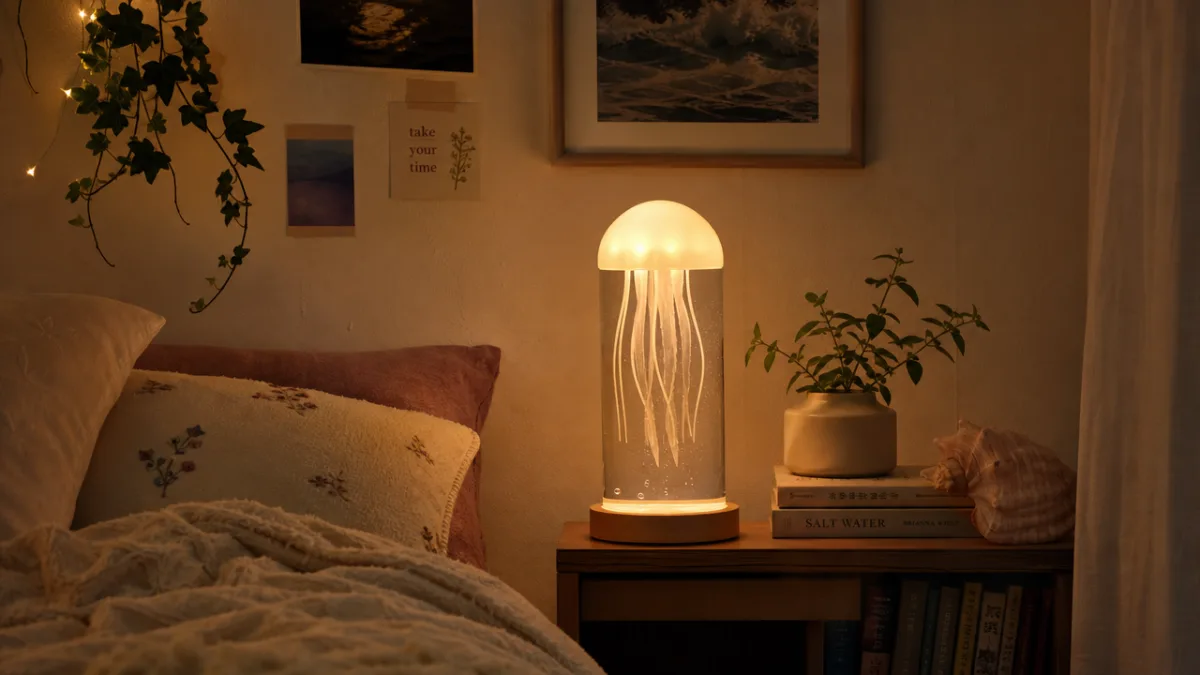
Once your jellyfish lamp is complete and glowing beautifully in its chosen spot, you will almost certainly find yourself wanting to share the experience with others. Social media platforms like Pinterest, Instagram, and TikTok are wonderful venues for showcasing handmade craft projects, and a well-photographed jellyfish lamp will inevitably attract considerable admiration and engagement. The key to photographing your lamp effectively is to shoot in a darkened room, allowing the lamp itself to serve as the primary light source. This creates the dramatic, moody images that showcase the lamp’s true beauty and that perform exceptionally well on visual platforms.
Consider documenting your construction process in photographs or short video clips, as process content tends to generate a great deal of interest and engagement from crafting communities online. Step-by-step construction posts or tutorials not only showcase your finished work but also provide genuine value to others who are inspired to make their own. The crafting community on platforms like Pinterest is exceptionally generous and supportive, and sharing your knowledge freely tends to create meaningful connections and reciprocal inspiration. Many successful craft bloggers and content creators have built entire communities around exactly this kind of generous, practical sharing.
Beyond the digital world, consider sharing your jellyfish lamp skills in person by teaching a small workshop for friends, family, or community members. Craft workshops are a wonderful way to bring people together around a shared creative experience, and the jellyfish lamp project is ideal for this format because it is achievable in a single session of two to three hours, produces a genuinely impressive result, and requires no specialized skills that would exclude beginners. Hosting a craft night centered on this project is a memorable way to spend an evening and creates lasting bonds through the shared experience of making something beautiful together.
Expanding Your Ocean-Inspired Craft Practice
The jellyfish lamp project, with its emphasis on translucent materials, organic forms, and luminous effects, opens a natural pathway into a broader world of ocean-inspired crafting. Many of the materials and techniques you have mastered in making your jellyfish lamp — working with organza and chiffon, using LED lighting for decorative effect, creating three-dimensional organic forms from fabric and wire — translate beautifully into other marine-themed projects. Sea anemone sculptures, coral reef terrariums, bioluminescent artwork panels, and mermaid-themed light installations are all natural extensions of the skills developed in this project.
You might also find that the jellyfish lamp project ignites a deeper interest in the actual marine biology that inspired it. Real jellyfish are among the most biologically fascinating creatures on Earth — they have existed for over five hundred million years, making them among the oldest complex animals ever to have lived on this planet. Some species are effectively immortal, capable of reverting to an earlier life stage when stressed. Learning about the real creatures that inspire your art enriches the creative work and gives it a depth of meaning that transcends mere decoration. Many crafters find that this kind of integrated learning — making with your hands, understanding with your mind — is one of the most satisfying intellectual experiences available.
Ultimately, the DIY jellyfish lamp project is about more than crafting a beautiful object. It is an invitation to slow down, to look closely at the natural world, to find beauty in translucency and light, and to discover the deep satisfaction of making something wonderful with your own two hands. In a world that often moves too quickly and values convenience over craftsmanship, taking the time to create something as ethereal and magical as a glowing jellyfish lamp is a small but meaningful act of beauty. May your lamp glow warmly, your tendrils drift gracefully, and your creative spirit continue to find new and wondrous expressions in everything you make.








What do you think?
It is nice to know your opinion. Leave a comment.