










DIY Lace Scrunchie: Your Complete Guide to a Beautiful and Easy Sewing Project
Introduction: Why Make Your Own Lace Scrunchie?
There’s something really special about wearing something you made yourself. A lace scrunchie is one of those perfect little projects that’s both pretty and practical — and honestly, you don’t need a lot of time, money, or sewing experience to pull it off. Whether you’ve been sewing for years or you’re just getting started, this tutorial walks you through every single step so you can feel confident from beginning to end.
Lace scrunchies have made a serious comeback over the last few years — you’ve probably spotted them on runways, in boutiques, and all over social media. That delicate, textured look adds a romantic, elevated vibe to basically any hairstyle, whether it’s a messy ponytail or a fancy updo. When you make your own, you get to choose the exact color, width, and type of lace, so every scrunchie you create is completely your own.
There’s also a pretty compelling financial case for making them yourself. Boutique lace scrunchies can run anywhere from eight to twenty dollars a pop, but making them at home costs a fraction of that. Once you have your supplies together, you can knock out a whole handful of scrunchies in one afternoon — which makes them great as handmade gifts or as a little personal collection to match every outfit you own. This project is genuinely fun and satisfying all the way through.
Materials and Tools You Will Need
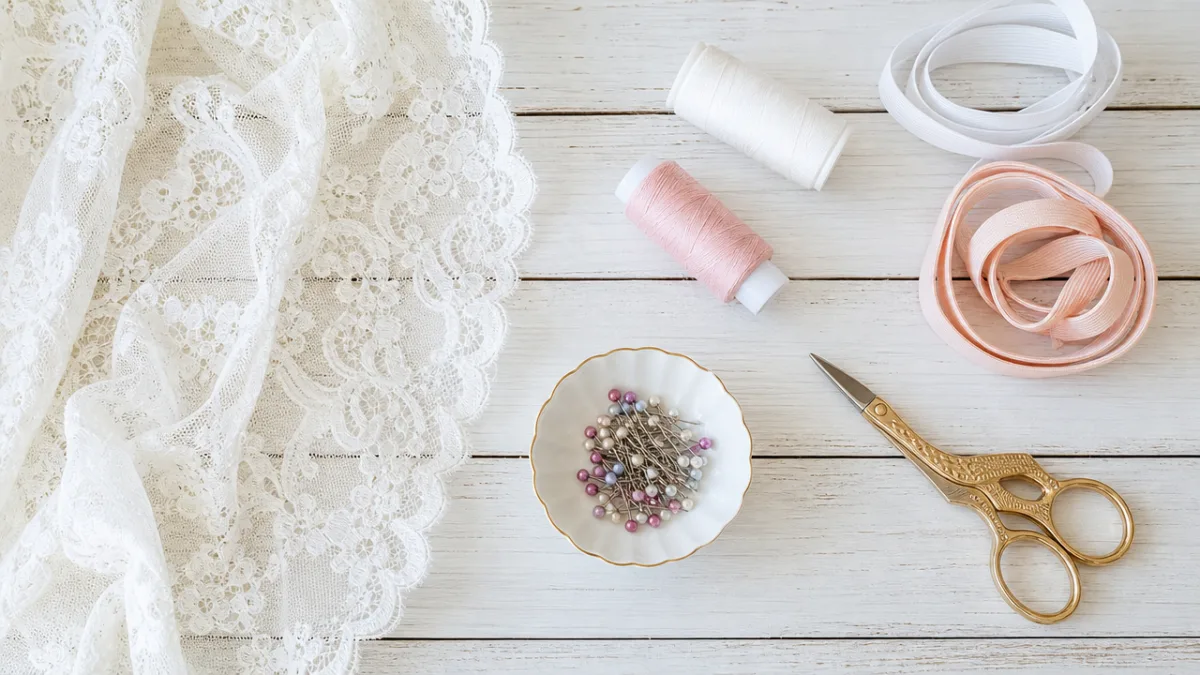
Before you dive in, take a few minutes to get everything together so you’re not hunting for scissors mid-project. Laying out your materials beforehand is one of those habits that makes the whole process so much smoother, and for something as quick as a scrunchie, it really only takes a moment. The good news is the supply list is short, cheap, and easy to find at any craft store or online.
For a standard lace scrunchie, you’ll need a strip of lace fabric about 22 inches long and somewhere between 3 and 5 inches wide — the width depends on how full you want the finished scrunchie to look. You’ll also need a hair elastic that’s roughly 6 to 7 inches around when laid flat, which is basically your standard ponytail elastic from any drugstore or beauty supply shop. Then just grab a needle and thread in a color that matches or plays nicely with your lace.
Beyond those basics, a few extra tools will make things a lot easier and more precise. These are worth gathering before you sit down to sew:
- Fabric scissors or a rotary cutter for clean, accurate edges
- Straight pins to hold fabric in place while you sew
- A sewing machine (optional but helpful for faster results)
- An iron and ironing board for pressing seams flat
- A safety pin to help thread the elastic through the fabric tube
- A ruler or measuring tape for consistent dimensions
If you’re sewing by hand, a thimble is a smart addition — your fingertip will thank you after a few minutes of pushing a needle through. For lace specifically, a fine hand-sewing needle like a sharps needle will glide through the delicate fabric without snagging or tearing it. Thread it with a double strand for a bit of extra strength, especially when you’re securing the elastic at the end.
Step-by-Step Sewing Instructions
Alright, materials are ready — let’s actually make the thing! The whole construction breaks down into just a few key steps: cut the fabric, sew it into a tube, thread in the elastic, and close up the end. It sounds simple because it really is, but a little care at each stage goes a long way toward a finished scrunchie you’ll be excited to wear or give away.
Start by cutting your lace strip to size. A strip that’s 22 inches long and 4 inches wide will give you a nicely gathered, medium-volume scrunchie. Want something a bit more dramatic and oversized? Go ahead and bump the length up to 26 or even 30 inches. Once you’ve cut your strip, fold it in half lengthwise with the right sides facing each other — so the pretty decorative side of the lace is on the inside. Pin along the long raw edge to keep the layers from shifting while you sew.
Sew along that pinned edge with either a sewing machine on a straight stitch or a neat running stitch by hand, using about a quarter-inch seam allowance. Pull the pins out as you go. When you’re done, you’ll have a long fabric tube — turn it right side out, using a pencil or chopstick to gently push the fabric through from one end. Give it a light press with the iron to flatten it into a nice, tidy ribbon shape before moving on to the elastic step.
Clip a safety pin onto one end of your hair elastic and feed it into one open end of the tube. Scrunch the fabric along as you push the safety pin through, gathering it slowly and evenly until the safety pin pops out the other side. The fabric should now be gathered all the way around the elastic. Overlap the two ends of the elastic by about half an inch and stitch them together firmly with several tight passes, making sure the join is solid enough to handle daily stretching.
Last step: tuck one open end of the tube inside the other, folding the raw edges inward so nothing is fraying or showing. Pin it closed and sew it shut with a slip stitch or a whip stitch, taking your time so the closure looks neat from the outside. Finish with a gentle press from the iron and step back to admire what you made. The whole process, from the first cut to that final stitch, usually takes somewhere between 20 and 40 minutes depending on how familiar you are with sewing.
Choosing the Right Lace for Your Scrunchie
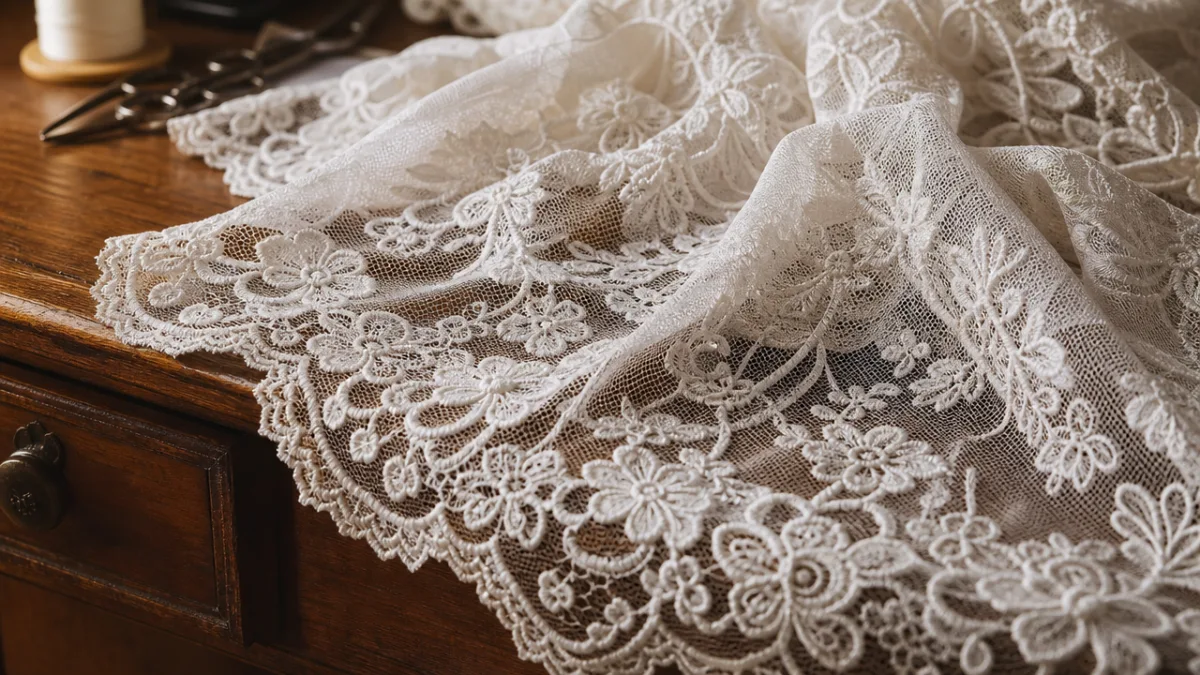
Not all lace is the same, and the type you choose will genuinely shape how your finished scrunchie looks, feels, and holds up over time. Lace fabric comes in a wonderfully wide range of styles — from delicate Chantilly lace with its intricate floral designs to stretchy, flexible lace that’s much easier to work with. Knowing a little about your options will help you pick something that matches both your aesthetic and your skill level.
If you’re just starting out, stretch lace or a simple eyelet cotton lace is your best friend. It handles easily, doesn’t fray as aggressively as some other types, and gives you a clean result even if your stitching isn’t perfectly even. Stretch lace is especially popular for scrunchies because the natural give means the finished piece sits comfortably in your hair without feeling stiff or bulky. It comes in basically every color you can imagine, from classic ivory and black to bright jewel tones and soft pastels.
For those with more experience — or anyone who just wants something a bit more luxurious — Chantilly lace, Venice lace, and guipure lace all produce stunning results. These denser, more structured laces give scrunchies an elegant, vintage-inspired character that feels genuinely special, especially with a dressier outfit. That said, they’re a bit trickier to work with since they have no stretch, so precision in cutting and sewing matters more. Some of these finer laces also do better with a specific needle, like a microtex or universal, to avoid snags during machine sewing.
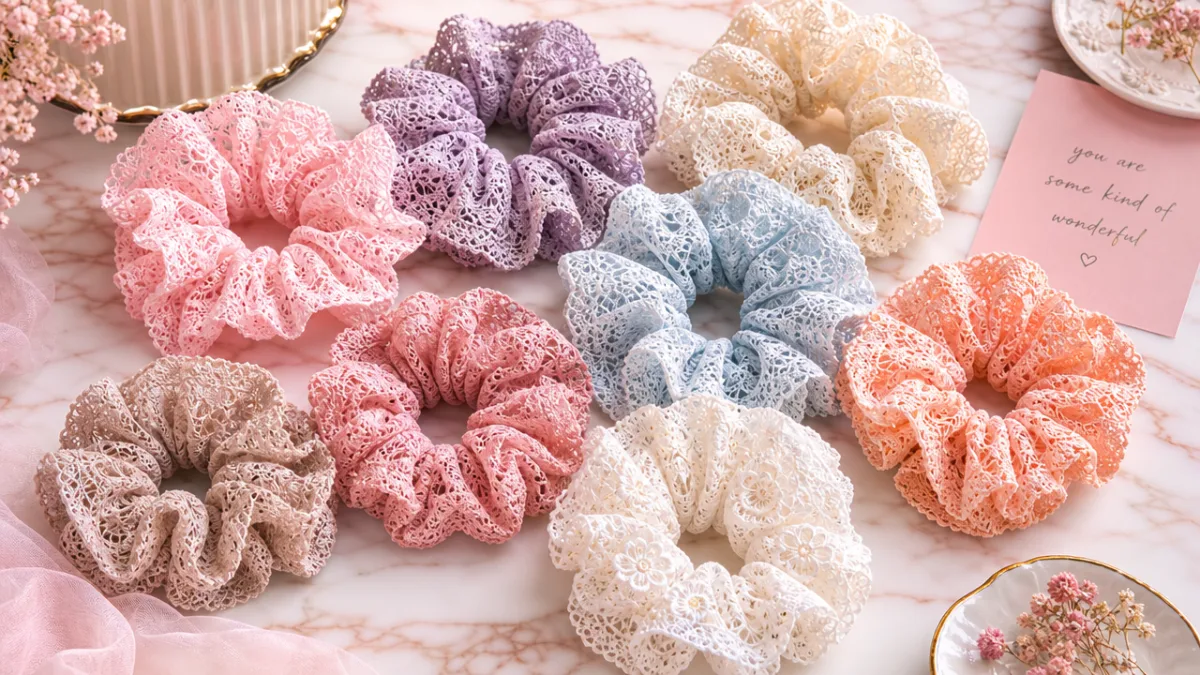
Color is where things get really fun. White, ivory, and blush pink are timeless and work with almost anything, but there’s truly no rule here. A deep burgundy scrunchie looks gorgeous with rich autumn tones, while a cobalt or emerald one makes a bright, playful statement in warmer months. Making a small collection across a range of colors means you’ll always have something to pull out that works perfectly with whatever you’re wearing.
Tips for Achieving a Professional Finish
The difference between a scrunchie that looks charmingly handmade and one that could pass for something out of a boutique usually comes down to a few small finishing touches. Even if your sewing isn’t flawless yet, these tips will make a noticeable difference and give you something you’re genuinely proud to show off. As with most crafts, it really is all in the details.
One of the most impactful things you can do is press your seams as you go instead of saving it all for the end. Pressing the long seam flat before you turn the tube right side out gives the finished scrunchie a much cleaner, more structured shape. Giving the completed scrunchie a gentle once-over with a cool iron after all the sewing is done helps it hold that shape and look polished. Just be careful with heat on delicate lace — some synthetic laces can melt or warp under high temperatures, so always test a small corner of your fabric first.
Another thing beginners sometimes miss: make sure the elastic isn’t twisted inside the tube. Before you stitch the ends together, hold the assembled scrunchie up and run your fingers all the way around it to check that the elastic is lying flat. A twisted elastic makes the scrunchie bunch unevenly and feel weird in your hair, so this quick check is absolutely worth the few extra seconds.
The closing seam — where the two ends of the tube come together — is the most visible seam on the whole scrunchie, so give it some extra love. Use a fine needle and thread that blends into the lace, and take small, even stitches that draw the two sides together smoothly without any puckering. If the raw lace edges are starting to fray before you can get them closed, a tiny dab of Fray Check applied to those edges will stop it in its tracks and make the whole closing step a lot neater.
Creative Variations and Customization Ideas
Once you’ve got the basic scrunchie down, the fun really opens up. This simple little project is a great foundation for experimenting with embellishments, fabric combinations, and different shapes that can turn a basic hair tie into something totally unique and personal. The skills you pick up making your first one will quickly give you the confidence to try more adventurous versions.
Adding a fabric bow is one of the most popular ways to dress a scrunchie up. Just cut a small rectangle of matching or contrasting lace, sew it into a bow, and tack it onto the front of the scrunchie with a few hand stitches — sweet, feminine, and completely your own. Another option is to sew a wide satin ribbon into the tube alongside the elastic, which creates a scrunchie with a beautiful trailing bow that looks especially stunning worn in a high bun or low ponytail.
For something a bit more luxurious, try combining lace with a complementary fabric like satin, velvet, or silk charmeuse. Cut your strip so that one half is lace and the other half is satin, sew them together end to end before you start constructing the tube, and you end up with a gorgeous two-tone scrunchie that catches the light in more than one way. This technique is great for making gift-worthy scrunchies that look like they came from somewhere expensive.
For special occasions, beaded embellishments are a lovely touch. Hand-sewing a line of small pearls, seed beads, or crystal rhinestones along the finished scrunchie takes a little extra time, but the result is genuinely breathtaking for weddings, proms, or any formal event. You can also play around with elastic width — thinner elastic gives you a more compact, streamlined look, while wider elastic creates that oversized, dramatically gathered silhouette that makes a real statement.
And don’t overlook the gifting potential here. A set of three to five coordinating lace scrunchies tucked into a small organza bag or tied up with a ribbon makes a genuinely lovely gift — for birthdays, bridesmaids, teachers, or anyone who appreciates something handmade. Because each one takes so little time and material, you can afford to be generous, and the fact that you made them yourself adds a warmth and meaning that no store-bought gift can quite replicate.
Caring for Your Lace Scrunchie
A scrunchie you put time and care into making deserves to be looked after properly. Lace is a delicate material that doesn’t respond well to harsh washing, too much heat, or rough handling, so a few small precautions when you’re laundering and storing your scrunchies will keep them looking beautiful for a long time. With the right routine, a handmade lace scrunchie can stay in great shape through years of regular wear.
Hand washing is the safest way to go. Fill a small bowl or clean sink with cool water, add a drop or two of gentle lingerie wash or mild liquid soap, and swish the scrunchie through the water for about a minute. Rinse it thoroughly under cool running water until all the soap is gone. Don’t wring or twist it to remove the water — that can stretch the elastic and distort the lace. Instead, gently press it between two clean towels to soak up the moisture, then lay it flat on a dry towel and let it air dry completely before you wear or store it.
If you’d rather use the washing machine, pop the scrunchie inside a mesh laundry bag to protect it from snagging and run it on the delicate or hand-wash cycle with cold water and a slow spin. Keep it away from heavy items like jeans or towels, since the extra agitation and weight can cause real damage to the lace. Machine washing works fine as a backup, but hand washing is the better option when you have a few minutes to spare.
For storage, a clean drawer or a small decorative dish on your vanity is ideal — somewhere the scrunchies won’t get crushed under heavier accessories. Try not to leave them stretched around a wrist or doorknob for long stretches of time, since that constant tension wears out the elastic faster than you’d expect. If the elastic does start to lose its stretch eventually, you can carefully open the closing seam, swap in a fresh elastic, and re-sew the scrunchie good as new — no need to toss the lace just because the elastic gave out.








What do you think?
It is nice to know your opinion. Leave a comment.