










Introduction to Crochet Storage Baskets: A Practical and Beautiful Craft
Crochet storage baskets have quietly become one of the most popular projects in the fiber arts world, and honestly, it’s easy to see why. They hit that sweet spot between practical and pretty — something you actually use every day that also happens to look lovely sitting on a shelf. Whether you’ve been crocheting for years and want a satisfying weekend project, or you’re a newer crafter who’s ready to move on from dishcloths, a storage basket is a fantastic next step. You’ll pick up real skills and end up with something genuinely useful.
What really makes these baskets special is how adaptable they are. The same basic pattern can become a tiny desktop organizer for paper clips or a big floor hamper that swallows a week’s worth of laundry — all by tweaking your yarn weight, hook size, and how many rounds you work. That flexibility is a huge part of why free crochet basket patterns are consistently among the most searched and saved things in the crafting world.
Speaking of free patterns, they’ve genuinely changed things for the crochet community. Having access to well-written Free patterns means anyone can learn new techniques and build skills without having to spend a lot of money first. A good free pattern — like the one this article walks you through — can produce a basket that looks like it came straight from a boutique home goods store. All you really need is some yarn, the right hook, a few hours, and a willingness to follow along one step at a time.
Why Storage Baskets Make Perfect Crochet Projects
Unlike sweaters or socks, baskets don’t require any tricky shaping, and you don’t have to stress about gauge for fit or whether it’ll look right on a particular body type. They’re forgiving in a way that a lot of crochet projects just aren’t. If your tension runs a bit loose or tight, your basket will come out slightly bigger or smaller — and in most cases, that’s completely fine.
Baskets are also a great way to get comfortable working in the round, which is one of those core crochet skills that shows up everywhere, from stuffed animals to hats to bowls. You start at the center of the base and spiral outward, then switch to working straight up for the sides. By the time you finish your first basket, you’ll have hands-on experience with two of the most common construction methods in crochet — and you’ll feel noticeably more confident for it.
And then there’s the speed factor. With a bulky or super bulky yarn, many crafters knock out a medium-sized basket in a single afternoon. That feeling of starting and finishing something in one creative session? It’s pretty hard to beat. It also makes baskets a great go-to for last-minute gifts — thoughtful, handmade, and done before the weekend’s over.
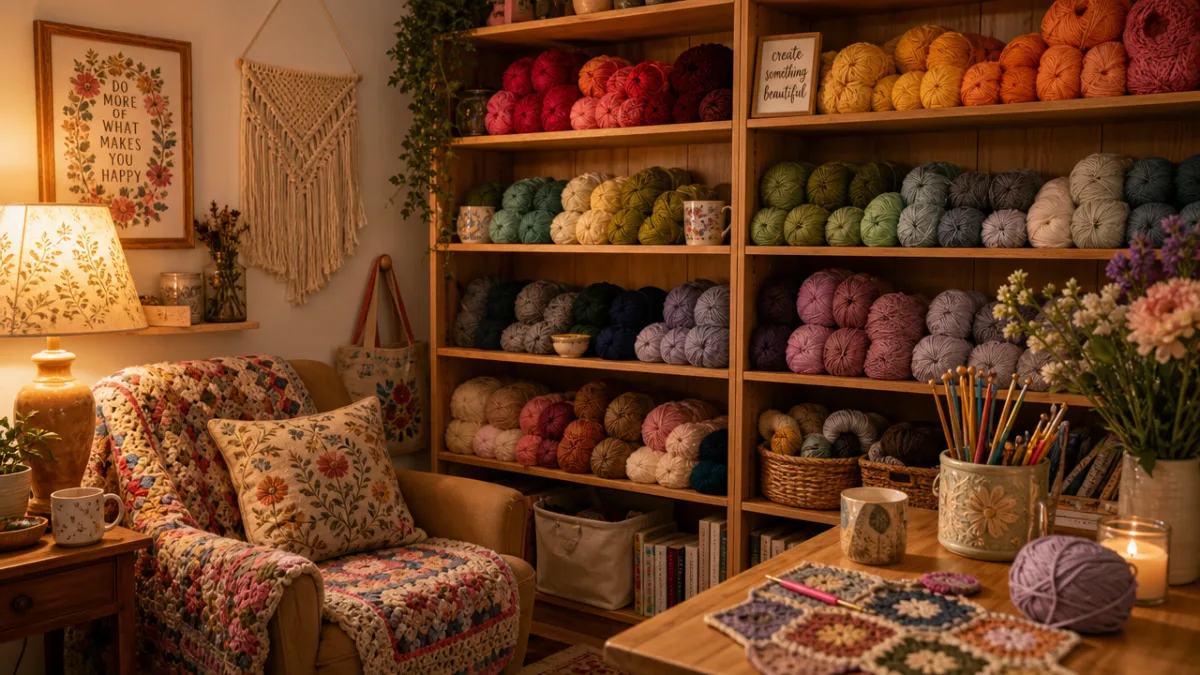
Materials and Tools You Will Need
Before you dive in, it’s worth taking a few minutes to get everything together so you’re not hunting for scissors mid-project. The most important decision you’ll make is your yarn choice. For a basket that holds its shape without needing stiffening spray or an insert, you’ll want cotton or a cotton blend. Cotton doesn’t stretch the way wool or acrylic does, and that firmness is exactly what gives you a basket with clean edges and a flat, stable base.
Yarn weight matters a lot here too. Most popular basket patterns call for bulky yarn — around a size 5 or 6 — paired with a hook in the 6mm to 9mm range. That said, worsted weight works beautifully if you hold two or three strands together and treat them as one. This is called holding yarn double or triple, and it gives you the same density as a thicker yarn. It’s also a brilliant way to use up stash yarn you’ve been sitting on.
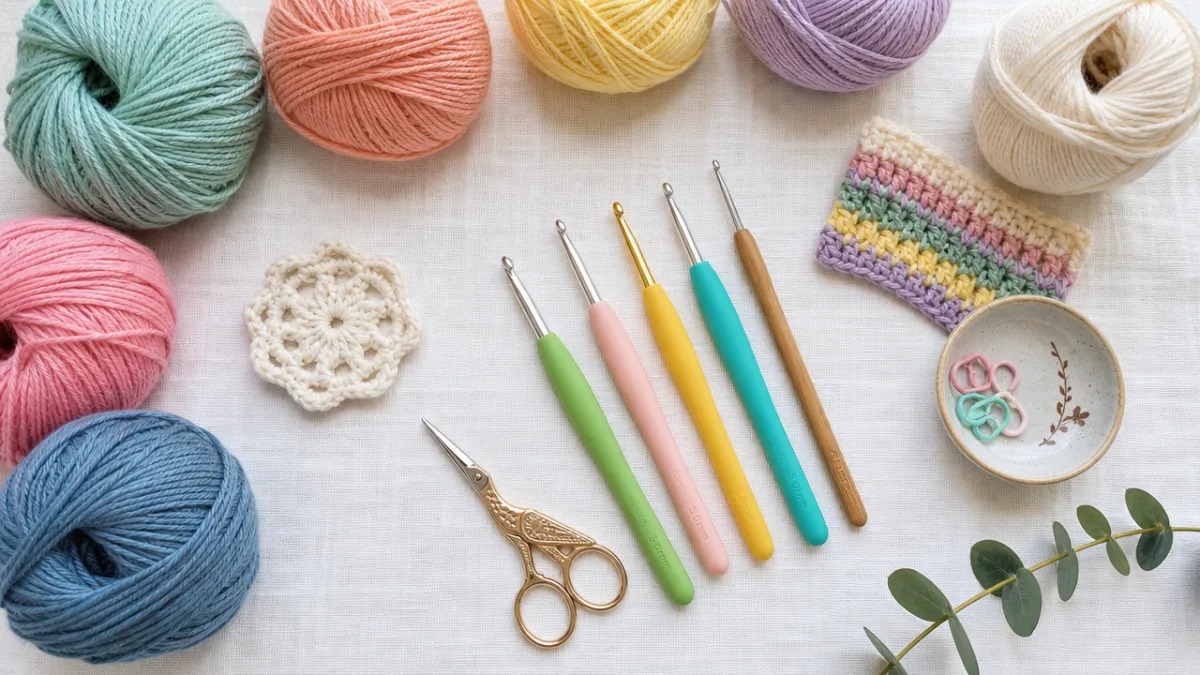
Beyond yarn and a hook, the list of supplies is pretty short. You’ll need a tapestry needle for weaving in ends, a pair of sharp scissors, and some stitch markers to keep track of where each round begins (technically optional, but you’ll be glad you have them). A row counter or a simple tally sheet can also be helpful when you’re working up the sides and want to know exactly how many rounds you’ve done.
Choosing the Right Yarn for Durability and Aesthetics
Color and texture are where you get to make the basket your own. Natural undyed cotton in creamy whites and warm beiges gives baskets a timeless, organic feel that works really well in modern farmhouse, Scandinavian, and boho-style interiors. If you want something bolder, a solid terracotta, sage green, or navy can anchor a shelf or countertop display with a confident pop of color.
Variegated and ombre yarns are worth a special mention because they produce a genuinely stunning effect in basket form. As you work round after round, the color gradually shifts, creating stripes or a gradient that looks way more complex than the simple stitch pattern underneath it. Because baskets are worked continuously in the round, you get those pleasing, organic-looking color flows that can be tricky to achieve in flat projects — and every basket ends up looking a little different.
It’s also worth thinking about what the basket will actually hold before you commit to a yarn. If it’s going to live in the bathroom or hold damp swimsuits, cotton is your best bet since it dries quickly and resists mildew. If it’s purely decorative or holding dry things like blankets or books, you have a lot more freedom to choose whatever fiber you enjoy working with. A little planning upfront goes a long way toward making sure your basket actually serves you well.
- Bulky cotton yarn (size 5 or 6) in your preferred color or colorway
- Crochet hook sized to match your yarn, typically between 6mm and 9mm
- Yarn needle or tapestry needle for weaving in ends
- Sharp scissors for trimming yarn tails cleanly
- Stitch markers to indicate round beginnings and track increases
- A ruler or flexible tape measure for checking dimensions as you work
- Optional: stiffening spray for extra structure on decorative baskets
Step-by-Step Crochet Pattern Instructions
Once you understand the basic structure of a crochet basket, the whole thing clicks into place pretty quickly. Every basket starts at the center of the base and grows outward through a series of increasing rounds until you hit your target diameter. Then, without cutting your yarn, you shift gears and start building the walls straight up — no more increases, just steady rounds. That two-phase construction is the backbone of almost every round basket pattern out there.
Start by making a magic ring, sometimes called a magic loop or adjustable ring. This is the technique that closes up that little hole you sometimes see at the center of crocheted items. To make one, wrap your yarn around two fingers, insert your hook through the loop, pull up a working loop, and chain one to secure it. Then work your starting stitches right into the ring and pull the tail to close the center completely. For a single crochet basket, six single crochets into the ring is a solid starting point. If you’re using half doubles or doubles, you might start with eight to twelve stitches instead.
The increase rounds follow a satisfyingly predictable pattern. In round two, you work two stitches into each stitch from round one, doubling your count. Round three alternates between one stitch in a stitch and two stitches in the next, adding six total. Every round after that adds another six stitches by spreading the increase points evenly around the base. Keep going until your base reaches the diameter you’re after, then join and start climbing upward for the sides.
Working the Sides and Adding Handles
The moment you transition from building the base to working the sides is one of the most satisfying parts of the whole project. After joining your round, chain one and work your first side round by inserting your hook into the back loop only of each stitch all the way around. That back-loop-only round creates a crisp, clean fold line between the base and the walls — and it’s the little detail that makes a basket look professionally made rather than homemade.
Once that fold line is established, go back to working through both loops as usual and just keep going, round after round, with no increases or decreases. The walls will climb straight up while keeping the same circumference as the base. Work until the basket is as tall as you need it to be, keeping in mind that the sides tend to compress a little once the basket is full. Erring on the side of a little extra height is usually a good call.
Handles are an optional touch that can really add to the practicality of a larger basket, especially one you’ll be carrying between rooms. The easiest approach is to work a chain at two opposite points on your second-to-last round, skipping the stitches underneath it to create the opening. On the final round, you fill that chain space with single crochets to complete the loop. If you want something sturdier, working a few slip stitches or single crochets along the underside of the handle chain before you finish off will reinforce it nicely.
- Create a magic ring and work six single crochets into the ring to begin the base.
- Work increase rounds, adding six stitches per round, until the base reaches your desired diameter.
- Transition to side rounds by working the first wall round in back loops only to create a clean fold line.
- Continue working side rounds through both loops until the basket walls reach your desired height.
- Add handle openings in the second-to-last round if handles are desired, then complete the final round.
- Fasten off and weave in all yarn ends securely using a tapestry needle.
- Block the basket lightly with steam or damp blocking if needed to even out the stitches.
Finishing Techniques and Blocking Your Basket
The finishing stage is where a project either comes together beautifully or starts to look a little rough around the edges, and baskets are no different. Once you’ve worked your final round and fastened off, you’ll have at least two yarn tails to deal with — the starting tail from your magic ring and the tail from your bind-off — plus any extras from color changes or joining new yarn. Every single one of those tails needs to be woven in thoroughly, especially on a basket that’ll see regular use.
To do it right, thread each tail onto your tapestry needle and weave through the back of several stitches in one direction, then reverse and go back through a few stitches the other way to lock it in. For a basket that’s going to get a lot of use, you can also split the plies of the tail and weave them in different directions before trimming, which gives you multiple anchor points and makes it nearly impossible for the end to ever work loose.
Blocking is one of those steps that some crafters skip, but it genuinely makes a noticeable difference. For wet blocking, soak the finished basket in cool water, gently squeeze out the excess without wringing it, then shape it the way you want it and let it dry completely. For cotton especially, this process evens out uneven tension, sharpens the stitch definition, and helps the basket hold its shape long-term. If the basket still feels a bit floppy after blocking, a light spray of starch or commercial fabric stiffener will give it the extra rigidity it needs to stand up on its own.
Creative Variations and Styling Ideas for Your Home
One of the best things about working from a solid base pattern is how much room you have to make it your own. Color is the most obvious place to start, but you can go so much further than just picking a favorite shade. A two-tone basket — one color for the base, a contrasting color for the sides — is simple to pull off and looks really striking. Or try changing colors every few rounds on the walls to get clean horizontal stripes with a graphic, modern feel.
Texture is another fun direction to explore, especially for crafters who’ve been at it for a while. Single crochet gives you a tight, dense fabric that’s great for baskets, but bobble stitches, puff stitches, or simple cable crossings in the side rounds add a whole new dimension of interest. A row of evenly spaced bobbles around the circumference creates a charming, bumpy texture that catches the light and makes the basket feel more handcrafted and playful. Even a simple shell stitch border along the top rim can completely change the vibe.
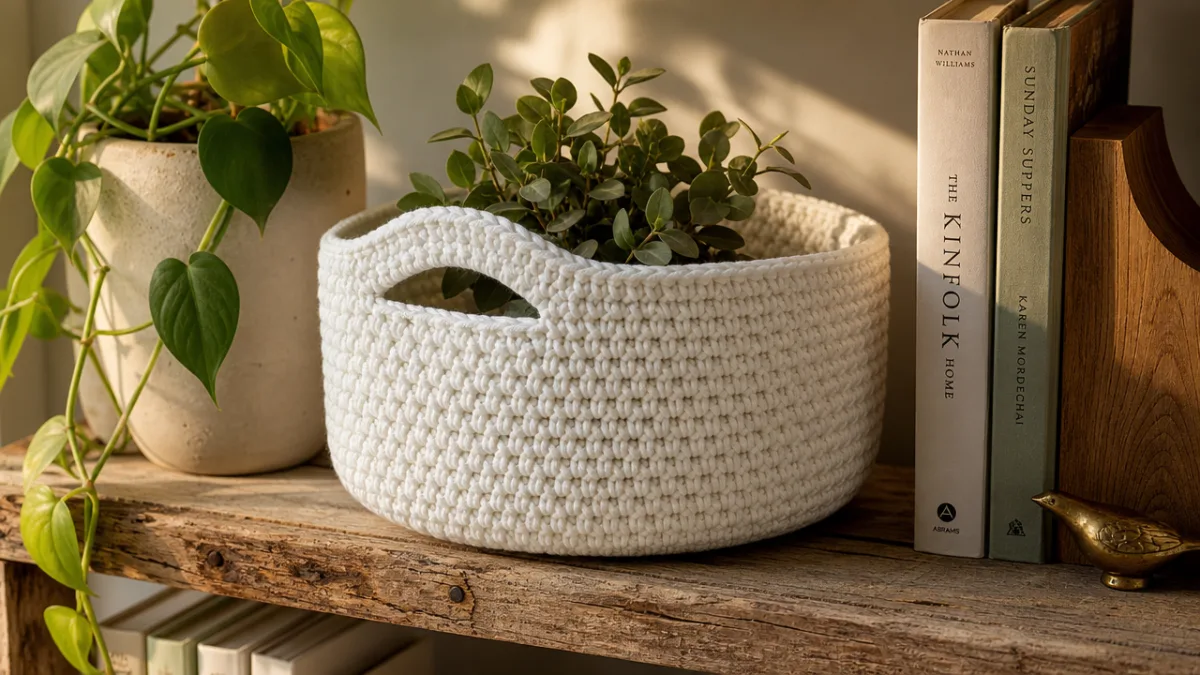
As for where to actually use your finished baskets at home, the options are pretty much endless — and thinking about this ahead of time can inform your color and size choices. Three nesting baskets in graduated sizes, worked in the same yarn, make a cohesive little storage set for a bathroom countertop: one for cotton balls, one for hair accessories, one for hand lotion. A large floor basket in neutral cotton is elegant and practical for living room blankets, keeping everything accessible and tidy without adding visual noise to the space.
Gifting and Selling Your Handmade Baskets
Handmade crochet baskets make incredibly thoughtful gifts for almost any occasion. A new homeowner will love a beautiful basket that immediately earns its place in their space. A new parent will appreciate a soft, toxin-free cotton basket for holding nursery essentials. An organization-obsessed friend will genuinely light up at a set of coordinating desktop baskets that make their home office feel instantly more put-together. Because you can adjust the size and colors for each person, every basket feels tailor-made.
If you’re interested in selling your work, baskets are one of the more commercially viable things you can crochet. They photograph really well, they ship without too much trouble in flat-rate boxes (especially if you compress them slightly), and they appeal to a wide range of buyers — home decorators, gift shoppers, organizers. Pricing handmade work is a perennial challenge, but a useful starting point is to tally your material costs, multiply by three to account for overhead, and then add a fair hourly rate for your time. Don’t sell yourself short.
If you plan to sell finished items made from a free pattern, it’s worth checking the designer’s terms of use, since policies vary. Many designers who offer free patterns do allow you to sell finished objects, usually with a credit. When you’re not sure, just send them a quick message — it’s always appreciated and helps build a genuinely respectful relationship within the community. And however you’re able to support the designers whose work you use — buying a paid pattern, leaving a kind review, tagging them when you share your finished makes — it all helps keep the creative ecosystem going and those wonderful free resources available to everyone.








What do you think?
It is nice to know your opinion. Leave a comment.