










“`html
How To Make a Box at Home: A Complete Step-by-Step Guide
Making your own box at home is one of those crafts that just feels good — it’s practical, it’s creative, and the finished product has a personal quality that you simply can’t get from something off a store shelf. Whether you’re putting together a gift box, looking for a storage solution, or just want a pretty container for something, a handmade box has its own charm. And with a handful of basic materials and a little patience, you can turn out something that looks like you actually knew what you were doing.
This guide covers everything: what tools and materials you’ll need, how to get clean folds and straight cuts, and some fun ideas for decorating once you’re done. Whether you’ve never touched a craft knife in your life or you’ve done a bit of paper crafting before, the instructions here are meant to be easy to follow without assuming you already know what you’re doing.
There’s also something genuinely relaxing about making boxes. The measuring, cutting, and folding has a rhythm to it that a lot of people find calming — almost meditative. And when you’re holding a finished box that you built from a flat sheet of paper, there’s a quiet satisfaction to it that’s hard to beat. Fair warning: most people who make one box immediately want to make another one in a different size or style.
Materials and Tools You Will Need
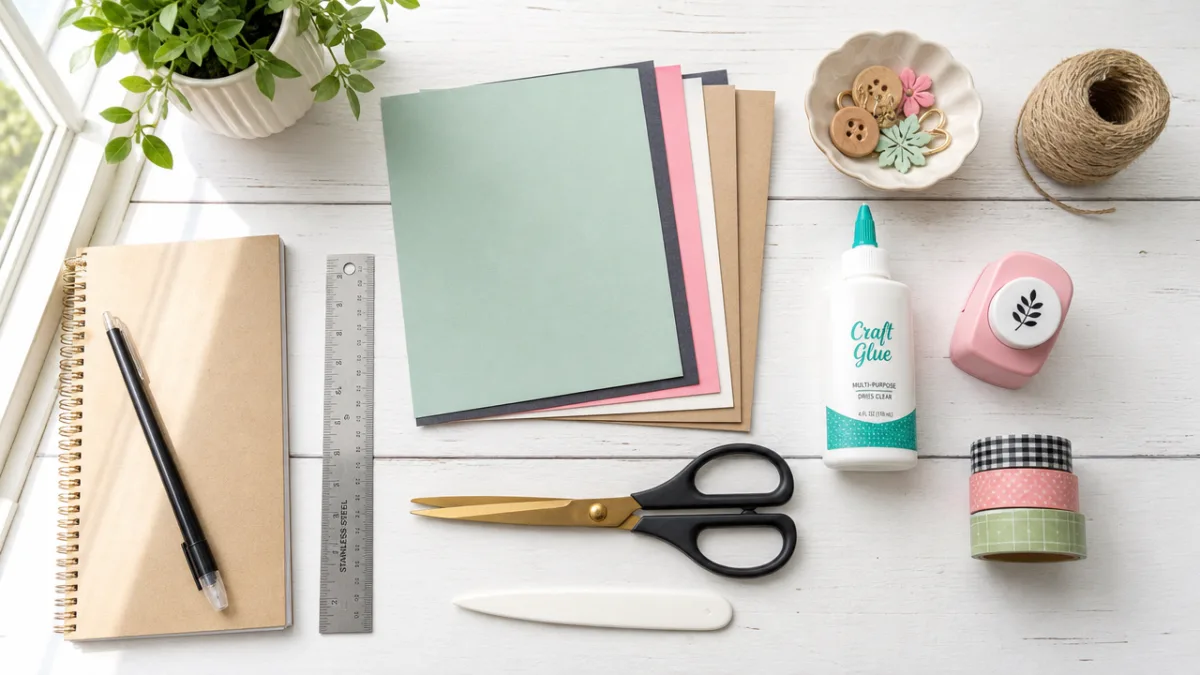
Before you dive in, take a few minutes to gather everything you need. There’s nothing more annoying than getting halfway through a project and realizing you’re missing something. For box making, your most important material is whatever you’re building from — cardstock, cardboard, thick craft paper, or even a repurposed cereal box all work well. Pay attention to the weight of your material, because thin paper won’t hold its shape and very thick cardboard can crack when you try to fold it.
You’ll also want a good pair of sharp scissors or, better yet, a craft knife and cutting mat for cleaner edges. A ruler is non-negotiable. A bone folder — a flat tool used to score paper before folding — is one of those things that sounds optional but really isn’t; it makes your creases so much crisper and more precise. If you don’t have one, the back of a butter knife or a dried-out ballpoint pen can fill in, though the results won’t be quite as sharp.
Glue is the other big decision. A glue stick is fine for lighter paper, but if you’re working with cardboard, you’ll want PVA glue or a hot glue gun. Double-sided tape is a great option when you want clean, invisible seams. Get everything laid out before you start and the whole process will go much more smoothly.
- Cardstock, cardboard, or thick craft paper in your chosen color or pattern
- Ruler and pencil for measuring and marking
- Sharp scissors or a craft knife with a cutting mat
- Bone folder or substitute scoring tool
- Glue stick, PVA glue, double-sided tape, or hot glue gun
- Decorative materials such as ribbon, stamps, washi tape, or stickers
Choosing the Right Box Style for Your Needs
Not every box is built the same way, and picking the right style before you start can save you a lot of backtracking. For beginners, the simple tray box is the place to start. It’s just a flat base with four sides folded up and glued in place — minimal measuring, very few cuts, and a finished result you can actually be proud of. Tray boxes are great for keeping small things organized on a desk or shelf.
The classic lidded gift box takes a little more effort, but it’s still very doable. Essentially it’s two tray-style pieces — one slightly larger than the other — that nest together to make a box with a removable lid. It looks really elegant when you use patterned paper or add a ribbon, and it’s the kind of thing people assume took way more skill than it did. The trick to a well-fitting lid is making it just two to three millimeters larger than the base in each direction.
Once you’re comfortable with the basics, there’s a lot more to explore. The origami-style or self-locking box is a single-sheet design that holds together without any glue at all — beautiful in decorative origami paper and surprisingly satisfying to fold. Pillow boxes, hexagonal boxes, and pyramid boxes are other fun directions to go when you’re ready to branch out a bit.
Common Box Styles at a Glance
- Simple tray box: Ideal for beginners, no lid, great for organization and storage.
- Lidded gift box: Two-piece construction, perfect for presenting gifts with a professional look.
- Origami box: No glue required, made from a single sheet, elegant and reusable.
- Pillow box: Curved, rounded sides with tuck-in ends, great for small gifts and treats.
- Hexagonal or pyramid box: Multi-sided, decorative, best suited for intermediate crafters.
Step-by-Step Instructions for a Basic Lidded Box
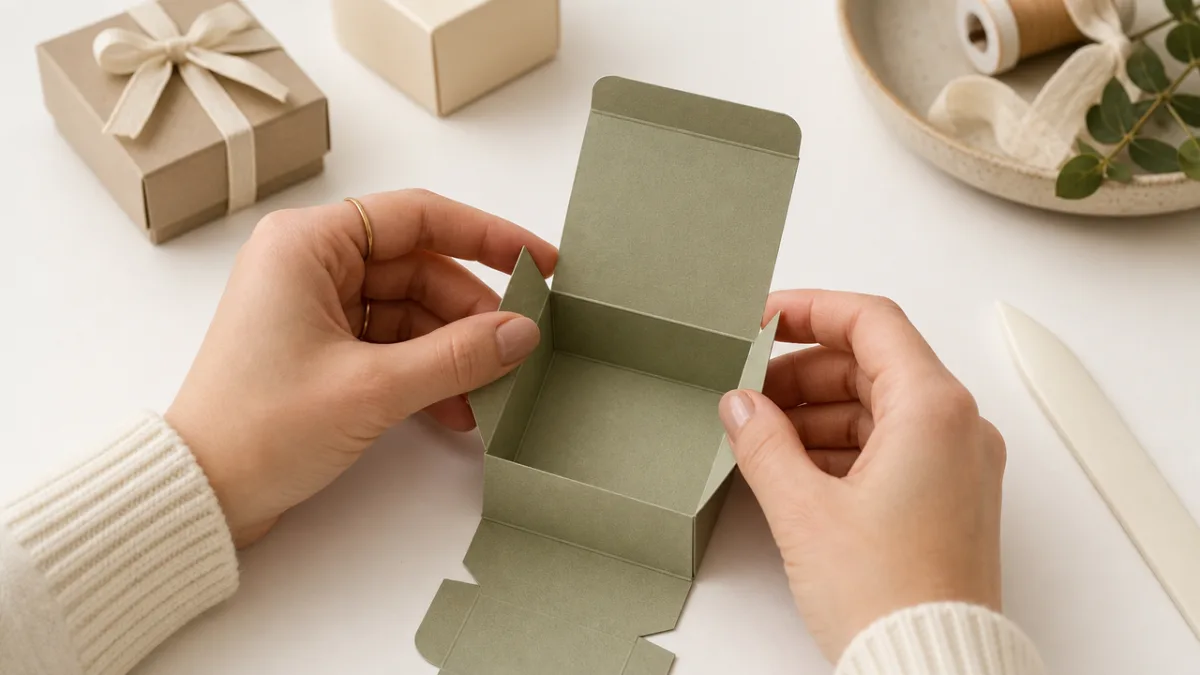
Start by settling on your dimensions. A ten-centimeter square base with two-centimeter-tall walls is a good starter size — small enough to manage easily, but big enough to actually be useful. On your cardstock, draw a cross-shaped template: a square in the center for the base, with four rectangles extending out from each side for the walls. Add a small square at each corner that matches your wall height — these become the tabs that hold the corners together once you fold everything up.
Before you cut anything, score along every fold line using your ruler and bone folder. Scoring means pressing firmly along the line without cutting all the way through, which creates a channel that lets the paper fold cleanly and precisely. Once everything is scored, cut out the full template shape, being careful to remove those small corner squares between the wall flaps. Take your time here — neat cuts really do make a visible difference in how the finished box looks.
Fold all four sides up along your scored lines, then use your adhesive to attach the corner tabs to the inside of the adjacent walls. Hold each joint for a few seconds while it sets. Then do the whole thing again for the lid, making each dimension two to three millimeters larger so the lid fits over the base snugly but still lifts off easily. Let everything dry fully before you start decorating or loading it up.
Tips for Clean, Professional Results
- Always measure twice and cut once to avoid wasting materials.
- Score before folding every single time, even if it feels unnecessary on thinner paper.
- Use a ruler as a guide when cutting straight lines with a craft knife.
- Apply glue in thin, even layers to prevent warping or lumpy seams.
- Let each glued joint dry before moving on to the next step.
- Work on a clean, flat surface to ensure your base stays perfectly square.
Creative Ideas for Decorating Your Handmade Box
Once your box is built and dry, the fun part starts. The easiest approach is to use patterned or colored cardstock from the very beginning, so the box is already decorated without any extra effort on your part. Scrapbooking papers, Japanese washi paper, and even pages from old books or maps can produce really striking results — the kind of thing that looks intentional and considered rather than like you just grabbed whatever was nearby.
If you’d rather start with plain white or kraft cardstock and decorate afterward, you have a lot of options. Rubber stamping with an ink pad is a classic that can produce beautiful patterns with very little practice. Washi tape — which comes in a seemingly endless range of colors and patterns — can be applied in stripes, borders, or wherever you feel like it, and requires zero special skills. Paint, colored markers, and watercolor washes can also take a plain box somewhere genuinely interesting.
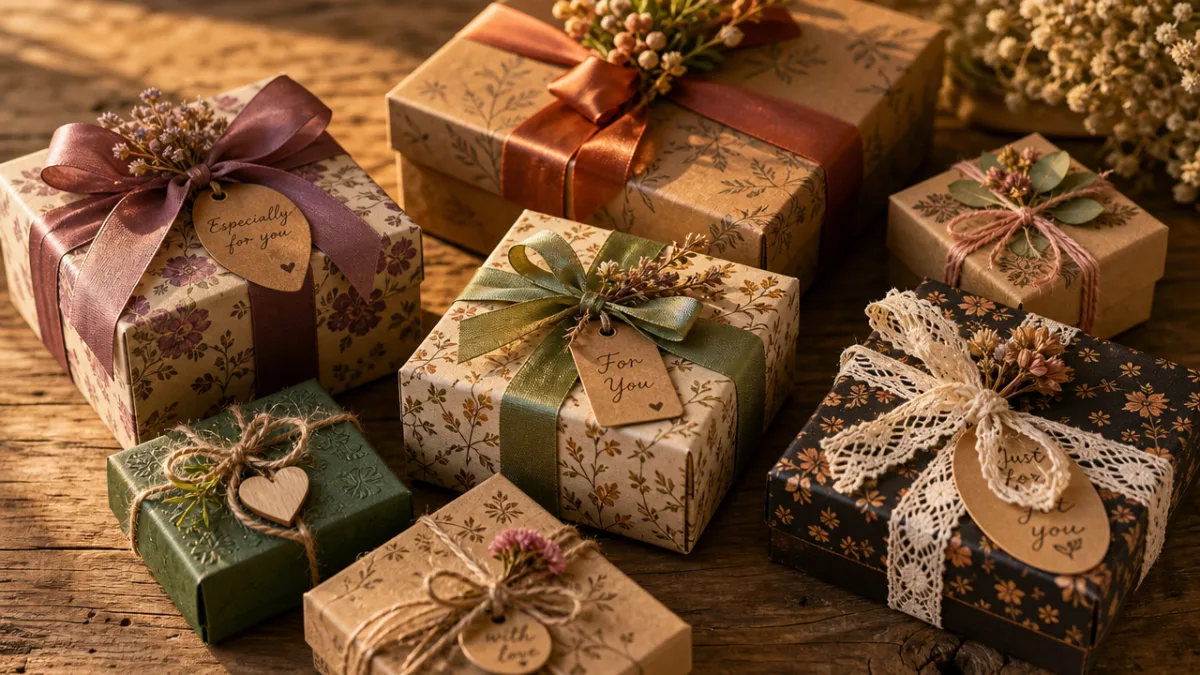
For gift boxes, it’s the finishing touches that really make a difference. A ribbon tied around the box and finished with a bow is a classic for a reason — it never looks wrong. Twine or raffia gives a more rustic feel, while strips of fabric can be unexpectedly lovely. A handwritten gift tag, a small dried flower, a sprig of greenery, or a wax seal pressed into the ribbon knot are all little touches that make the whole thing feel like it was made specifically for that person. Which, of course, it was.
Decoration Technique Ideas
- Use patterned scrapbooking paper as your base material for instant pattern without extra effort.
- Apply washi tape in geometric or striped patterns for a modern, graphic look.
- Stamp designs using rubber stamps and pigment ink for an artisan handmade feel.
- Paint with watercolors or acrylics for a soft, painted finish that feels artistic and personal.
- Decoupage tissue paper or magazine cutouts onto the surface for a collage effect.
- Tie with ribbon and add a handmade gift tag for an elevated presentation.
Practical Uses for Homemade Boxes Around the House
Handmade boxes aren’t just for gift giving. Once you realize how quick and satisfying they are to make, you’ll probably start seeing uses for them all over your home. Small tray boxes are perfect for organizing desk drawers — paper clips, rubber bands, sticky notes, all that stuff that just rattles around loose. Cover them in coordinating paper and suddenly a chaotic drawer looks like something out of a stationery catalog.
In the kitchen they can hold recipe cards, loose tea, or small snacks. In a craft room, a collection of handmade boxes in different sizes can corral buttons, beads, ribbons, and stamps far more attractively than a pile of plastic bags. One of the real advantages of making your own boxes is that you control the dimensions — you can build something that fits a specific shelf or drawer exactly, which pre-made storage almost never does.
They also make wonderful seasonal decorations. A cluster of boxes in festive papers arranged on a mantelpiece or under a tree looks beautiful even with nothing inside. For birthdays, anniversaries, or housewarmings, giving a gift inside a handmade box tells the recipient that you put real thought into the whole thing — not just what’s inside, but the wrapping itself. That extra layer of care has a way of sticking with people.
Troubleshooting Common Box-Making Problems
Even experienced crafters run into problems sometimes, and knowing what to look for makes them a lot less frustrating. One of the most common issues is a base that bows or curves instead of lying flat. This almost always comes down to using too much liquid glue — the paper absorbs the moisture and warps. The fix is to use less glue, switch to double-sided tape, or set the finished box under a heavy book while it dries.
Another thing that trips people up is walls that aren’t quite perpendicular to the base, making the box lean slightly to one side. This is usually a measuring or cutting issue rather than a folding one. Before the glue dries, use a set square or the corner of a thick book to check your angles. If you catch it after the glue has already set, you can carefully pry the joint open with a craft knife, realign, and re-glue.
Tearing along fold lines is something that catches a lot of beginners off guard, especially with heavier cardboard. It almost always means the material wasn’t scored before folding, or wasn’t scored firmly enough. Heavier materials need a good firm score — sometimes multiple passes with the bone folder. If a tear does happen, a thin strip of washi tape or decorative paper applied along the inside of the fold will reinforce it and stay completely out of sight once the box is assembled.
Quick Reference Troubleshooting Guide
- Warped or bowed base: Use less glue, switch to tape, or dry under weight.
- Walls that lean or tilt: Check angles before glue dries, use a set square as a guide.
- Tearing along folds: Score more firmly, reinforce tears with paper tape inside the fold.
- Lid that does not fit properly: Recheck measurements, ensure lid is 2-3mm larger than base.
- Visible glue marks on the exterior: Use less glue, apply more carefully, or cover with decorative paper.
- Corners that pop open: Re-glue with stronger adhesive and clamp or tape while drying.
Box making gets easier every time you do it. Your first one probably won’t be perfect — that’s completely normal and nothing to stress about. Each box teaches you something: how your particular paper or cardboard behaves, how much glue is too much, where to be careful with the knife. Give yourself room to experiment and mess up a little. Pretty soon you’ll be turning out boxes that genuinely impress people, and there’s a good chance you’ll want to teach someone else how to do it too.
“`








What do you think?
It is nice to know your opinion. Leave a comment.