










“`html
Make Your Own DIY Tetherball Set: A Complete Guide to Backyard Fun
Introduction: Why Build Your Own Tetherball Set?
Tetherball is one of those backyard classics that never really gets old. Whether you grew up playing it at recess or you’re trying to get your kids off their screens for an afternoon, there’s something genuinely fun about watching that ball wind tighter and tighter around the pole while two people go head-to-head. Building your own DIY tetherball set is a great weekend project — and honestly, once you’ve done it, you’ll be glad you didn’t just grab something off a shelf.
Store-bought sets can cost more than you’d expect, and a lot of the cheaper ones are made with flimsy materials that start bending or rusting after a season or two. When you build it yourself, you’re in charge of every piece — the pole, the rope, the ball, all of it. That means you can make something that will actually hold up to years of real play, which is a much better deal in the long run for any family that spends time outside.
There’s also something genuinely satisfying about building something yourself that your family will use and love for years. You can even rope in older kids to help — it’s a great way to teach them some basic construction skills and show them what it looks like when you make something with your own hands instead of just buying it. By the time you finish this guide, you’ll have everything you need to build and install a solid, regulation-quality tetherball set right in your own backyard.
Materials and Tools You Will Need
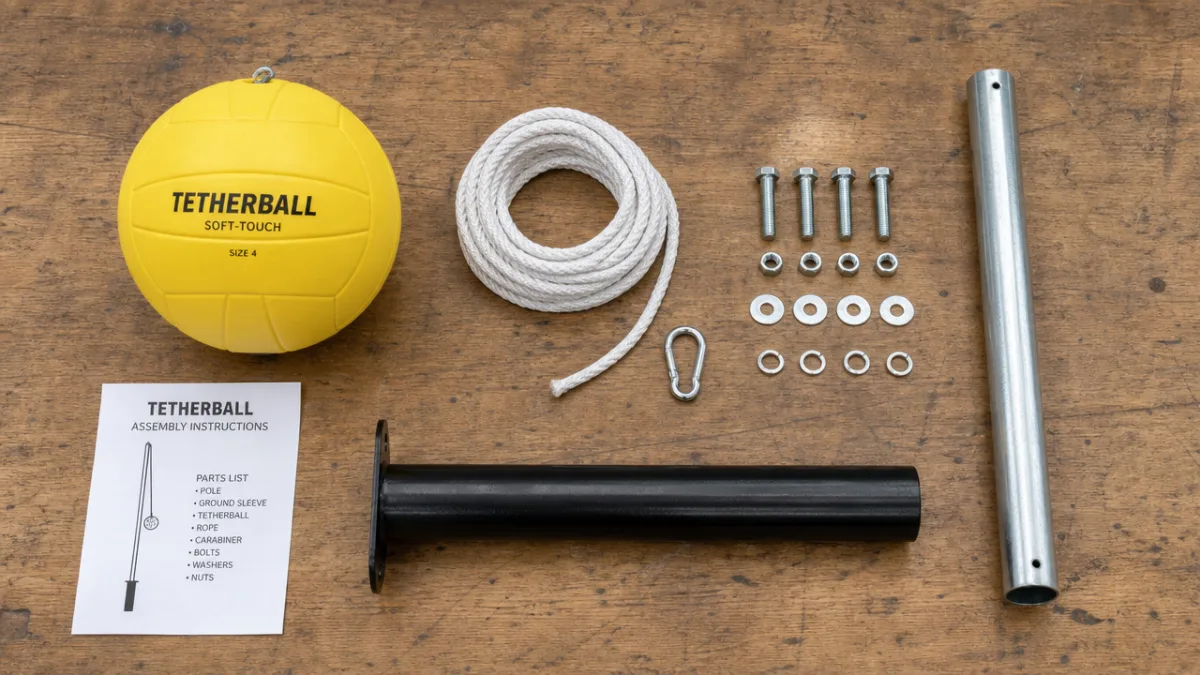
Before you make a hardware store run, it’s worth taking a minute to get a clear picture of everything this project needs. At its core, a tetherball set is pretty simple — a pole, a rope, a ball, and something solid in the ground to keep it all upright. The trick is picking materials that can handle real weather, real impact, and real kids going all-out. The most common mistake first-timers make is skimping on quality here, and it almost always means a shorter-lived set.
For the pole, you want a 10-foot length of schedule 40 galvanized steel pipe, 2 inches in diameter. Galvanized steel handles rain and humidity much better than plain steel, which matters a lot when it’s sitting outside year-round. You’ll also need a concrete tube form — sometimes called a Sonotube — at least 10 inches across and 2 to 3 feet long. That’s what creates the underground anchor that keeps your pole from leaning or wobbling when someone really goes after the ball. Quick-setting concrete mix works great for this.
For the tether itself, you’ll need a heavy-duty swivel hook rated for at least 200 pounds, about 7 to 8 feet of braided nylon rope, and a regulation tetherball. Braided nylon is the way to go over twisted rope — it doesn’t kink, and it holds up far better through thousands of hits. A rope thimble at the attachment point is a nice touch too, since it keeps the rope from fraying right where it meets the swivel. Here’s everything you’ll need to pull together:
- One 10-foot length of 2-inch diameter schedule 40 galvanized steel pipe
- One concrete tube form, 10 inches in diameter and 2 to 3 feet long
- Two 80-pound bags of quick-setting concrete mix
- One heavy-duty swivel hook rated for 200+ pounds
- Seven to eight feet of braided nylon rope, at least 3/8-inch thick
- One regulation tetherball (rubber or leather)
- One rope thimble and two heavy-duty zip ties or rope clamps
- One eyebolt or welded ring to mount at the top of the pole
On the tool side, you’ll need a post-hole digger or a rented power auger, a level, a mixing bucket or wheelbarrow, a drill with metal bits, a wrench set, and a hacksaw or reciprocating saw if your pipe needs trimming. Safety glasses are a must any time you’re cutting metal or mixing concrete. And seriously — having a second person to hold the pole straight while the concrete sets isn’t just helpful, it’s pretty much essential if you want it to come out plumb.
Step-by-Step Construction Guide
With everything gathered up, it’s time to actually build the thing. Your first job is finding the right spot in your yard. You want flat ground with at least 10 feet of clear space in every direction — no fences, windows, or garden beds close enough to catch a stray ball. Before you dig anything, call 811 if you’re in the US to check for underground utilities. Mark your center point with a stake or a little spray paint once you’ve settled on a location.
Dig your hole about 30 to 36 inches deep, wide enough to fit the concrete tube form comfortably. Drop the form in and check that the top sits level — if your ground is uneven, a few inches of gravel at the bottom can help you dial it in. Once the form is set, mix your quick-setting concrete following the package directions (usually around half a bag per gallon of water, but check your specific product). Get it mixed and ready to pour before the next step, because timing matters.
Setting the pole straight is the most important part of this whole build, so take your time here. Lower the pipe into the center of the tube form all the way to the bottom — that depth is what gives it stability. Have your helper hold it upright while you check it with a level on two sides that are 90 degrees apart. Pour the concrete in slowly, tapping the tube form now and then to knock out air bubbles, and keep checking the level as you go since the weight of the mix can nudge the pole. Once the concrete is in, brace the pole so it can’t move and leave it alone for at least 24 hours before you put any weight or tension on it.
When the concrete has fully cured, you can put together the tether. Drill a hole through the top of the pole and thread your eyebolt through it, locking it down with a nut on the inside. If you have access to a welder, a welded ring is even more secure. Tie your braided nylon rope to the swivel hook using a bowline knot — it creates a fixed loop that holds under load without slipping or cinching tighter. Then attach the other end to the tetherball through its built-in loop or by threading through and clamping it off with rope clamps.
Safety Considerations and Best Practices
It’s easy to underestimate just how much force a tetherball set deals with during real play. A ball being whipped around repeatedly puts real lateral stress on the pole, and every component gets tested over time. Getting the safety stuff right from the start protects the people playing and keeps the set in good shape for years — the single most important thing is making sure that pole is properly installed and that concrete is solid before anyone plays.
Make a habit of inspecting the set at the start of each play season and after any big storms. Focus especially on the rope where it meets the swivel hook and the ball — those attachment points take the most abuse. Braided nylon is tough, but UV exposure and constant impact do eventually wear it down. If you spot significant fraying, swap the rope out right away rather than waiting for it to snap mid-game. Check the eyebolt or ring at the top too, making sure it hasn’t loosened or started showing cracks or rust around where it’s attached to the pole.
Kids under six should always have an adult nearby when they’re playing. Tetherball is pretty safe overall, but the ball can come swinging back after hitting the pole in a way that younger kids don’t see coming, and the rope can catch someone off guard too. Before anyone plays, set some ground rules — one beginner at a time while kids are learning the rhythm of the game, and everyone keeps at least an arm’s length from the pole during active play.
- Always call 811 (USA) before digging to check for underground utilities
- Allow concrete to cure fully for at least 24 hours before testing the installation
- Inspect the rope, swivel, and pole connections before each play session
- Replace the rope immediately if fraying is detected
- Establish a clear safety zone of at least 10 feet around the pole
- Supervise children under six years old during play
- Never allow climbing on the pole
Customization Ideas and Creative Upgrades
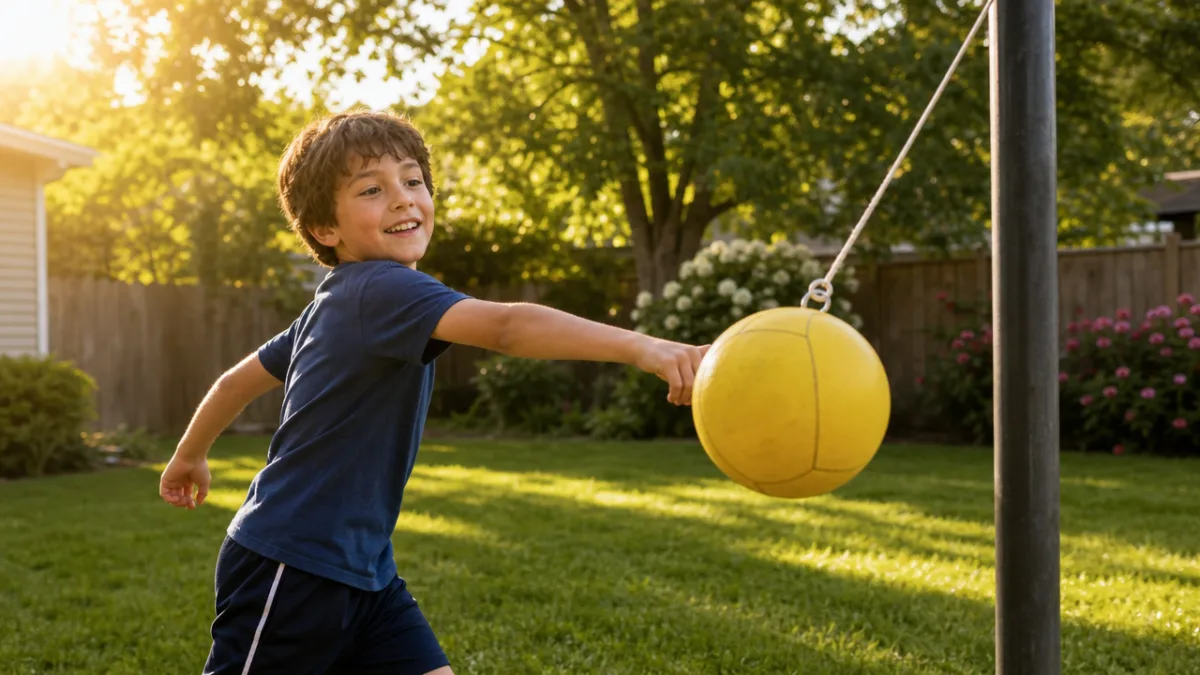
Here’s where building your own really pays off — you can make it look and work however you want. One of the easiest and most satisfying upgrades is painting the pole. A coat of rust-inhibiting spray paint in a bold color, like red or royal blue, or even a two-tone pattern, turns a plain steel pipe into something that actually looks like it was meant to be there. It’s a small thing, but it makes a noticeable difference in how the whole setup feels.
If you want to take it a step further, add a scorekeeping system. A small whiteboard on a nearby fence post works great, or you can paint a simple numbering system right on the pole with outdoor enamel. Some builders also mark a specific height on the pole as the official “wrap line” — the point at which a game is won — just like you’d see on a regulation setup. It’s a small touch, but it makes games feel more real and gives players something concrete to aim for.
For households with kids of different ages, think about installing multiple attachment points at different heights on the pole. A lower hook with a lighter, smaller ball gives younger kids a chance to actually play the game, while the standard top attachment stays ready for older kids and adults. You can also try different balls depending on what you’re after — rubber holds up better outdoors and in rough weather, while leather gives you that classic sound and feel on contact. Keeping an extra ball and a spare rope in your outdoor storage means you’re never stuck waiting when someone’s ready to play.
Official Rules and How to Play
Once your set is up, it helps to actually know the rules so everyone’s playing the same game. The idea is simple: two players take opposite sides of the pole, one person serves by hitting the ball in a direction, and then both players try to wrap the rope around the pole their way. You’re trying to get the rope to wind all the way around until it hits the pole — do that before your opponent reverses direction and does the same, and you win the point.
The full rules add a little more structure to keep things fair. Each player has to stay on their own half of the court, divided by an imaginary line through the pole — cross into your opponent’s half and that’s a foul. You can only hit the ball with your hands or forearms; catching it, holding it, or throwing it isn’t allowed. And touching the rope with any part of your body is also a foul. When someone commits a foul, the other player gets a free hit from a still position, which is a pretty significant advantage in a close game.
You can play a single-point game or set up a longer match, which is especially fun when you’ve got a group over. Best-of-five or best-of-seven works well, with players switching serve and sides between games so neither wind nor sun angle gives anyone an unfair edge the whole time. If you’re hosting a backyard party, a six- or eight-person elimination bracket can keep things going for hours — there’s something about a little friendly competition that keeps everyone engaged way longer than you’d expect.
- Decide who serves first with a coin flip or rock-paper-scissors
- Server hits the ball in their chosen direction to begin play
- Each player tries to wrap the rope fully around the pole in their direction
- Players must stay on their own half of the court at all times
- Only hands and forearms may contact the ball — no catching or throwing
- Touching the rope with any body part results in a foul and a free hit for the opponent
- First player to wrap the rope completely so it touches the pole wins the game
Maintenance, Troubleshooting, and Long-Term Care
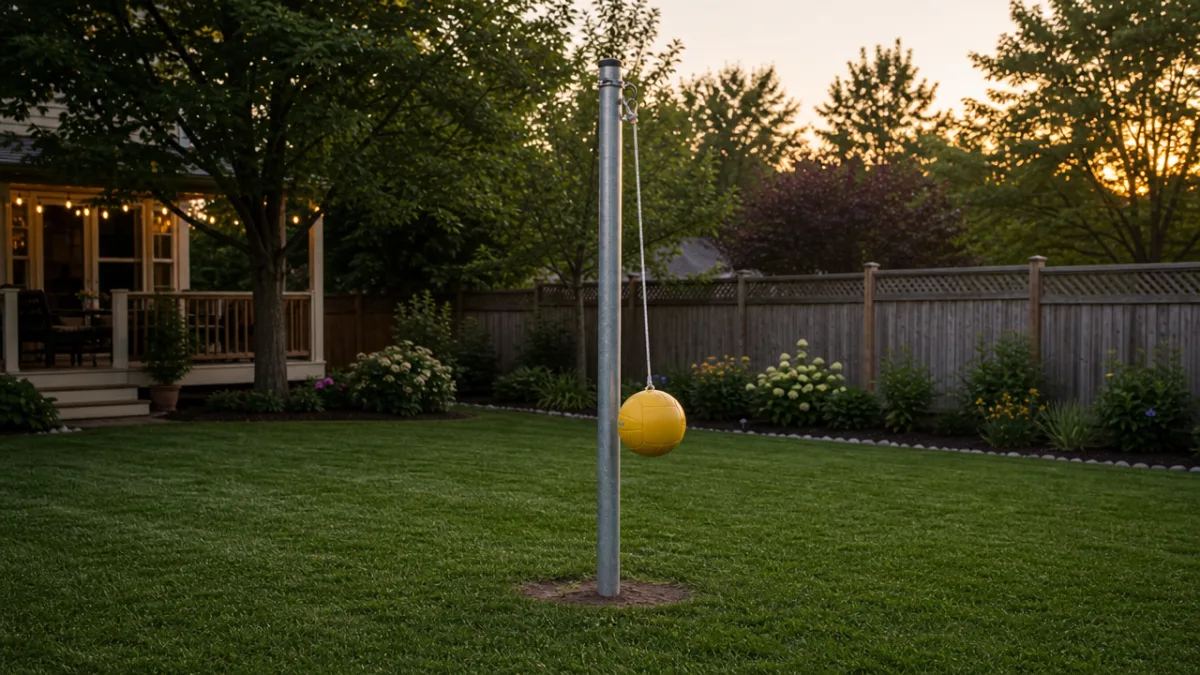
A well-built set can easily last ten years or more — but only if you take care of it. Each spring, before anyone starts playing again, do a full walkthrough of every component. Start at the top and work down: check the eyebolt or ring for loosening or corrosion, look over the rope for UV damage or fraying, test that the swivel hook still rotates smoothly and isn’t rusting up, and look the ball over for any cracks or surface damage. Small problems are always cheaper and easier to fix early than after something fails completely.
Rope wear from sun exposure is probably the most common issue people run into. Even good braided nylon starts losing tensile strength after two or three seasons of sitting outside in direct sunlight, especially in hotter climates. The easiest fix is to take the ball and rope assembly down during the off-season and store it somewhere out of the weather — a garage or shed works perfectly. That one habit can easily double the life of your rope and swivel. If you’d rather leave it up year-round, look for UV-resistant rope rated for marine or outdoor use; it’ll hold up noticeably better than standard hardware store nylon.
For the pole, periodic repainting is your best long-term maintenance move. Even galvanized steel can develop surface rust eventually, especially right at the base where it meets the concrete. When that happens, sand the rust down to bare metal, hit it with a rust-converting primer, and finish with a good quality rust-inhibiting outdoor enamel. Doing this every three to five years keeps the pole looking good and structurally sound for the long haul. If you ever notice the pole starting to lean — which can happen as soil settles around the concrete over time — don’t put it off. Carefully dig around the base, re-level it, and add fresh concrete to shore up the anchor. A leaning pole affects gameplay and, if it goes on long enough, becomes a real safety concern.
“`








What do you think?
It is nice to know your opinion. Leave a comment.