










Melted Candles 3D Model: A Complete Guide to Creation, Techniques, and Applications
Introduction to Melted Candle 3D Modeling
The art of creating melted candle 3D models sits at a fascinating intersection of digital craftsmanship and the imitation of organic, fluid natural processes. Unlike rigid architectural structures or mechanical components, a melted candle demands that the artist capture something inherently unpredictable: the way wax drips, pools, and hardens over time under the influence of heat and gravity. This challenge makes it one of the most rewarding and technically stimulating subjects in the world of 3D modeling and digital art.
For digital artists, game designers, and visual effects professionals, a well-executed melted candle model can serve as a powerful storytelling device. It communicates the passage of time, the intimacy of a quiet evening, or the eerie atmosphere of an abandoned space. The subtle imperfections in pooled wax, the translucency of thin wax sheets clinging to a candlestick, and the complex surface irregularities all contribute to a sense of realism that audiences recognize and respond to on an almost subconscious level.
Whether you are a beginner exploring the fundamentals of organic modeling or an experienced artist looking to refine your workflow for producing highly realistic assets, understanding the principles behind melted candle 3D models will elevate your work considerably. This guide covers everything from the initial conceptual phase through to texturing, lighting, and final rendering, giving you a thorough foundation for tackling this beautiful and nuanced subject in your own creative projects.
Understanding the Physics of Melting Wax for Realistic Results
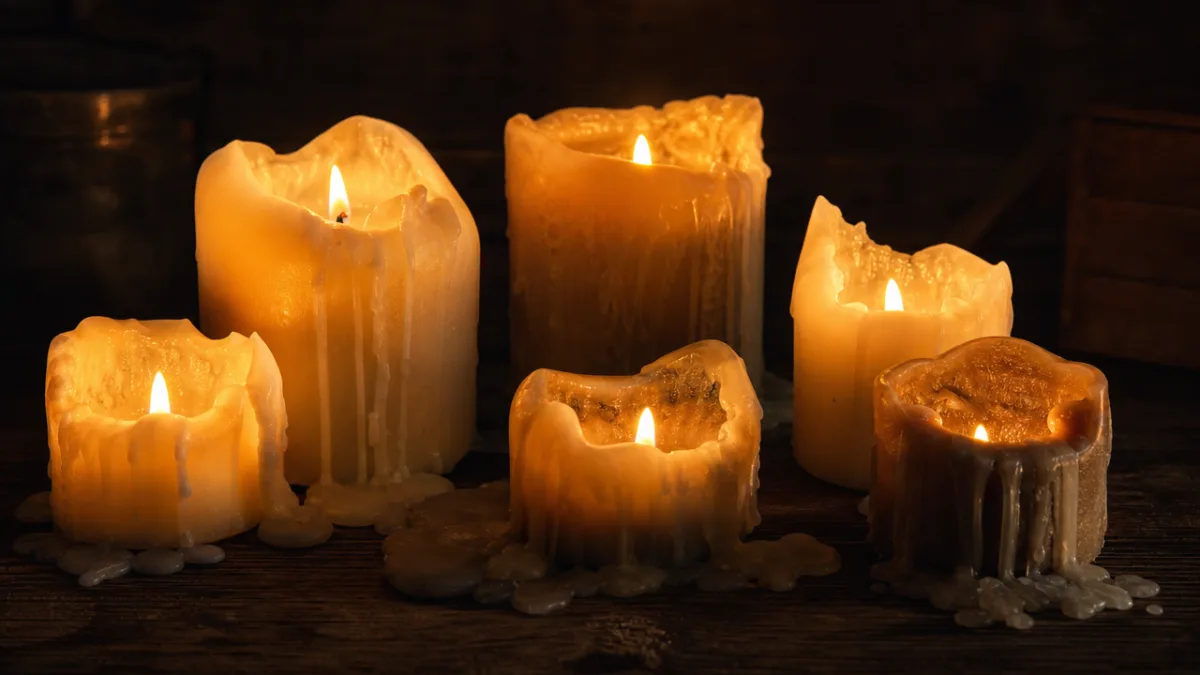
Before opening any 3D software, a skilled modeler takes time to study the real-world subject. Wax is a fascinating material with very specific physical behaviors governed by temperature, viscosity, and surface tension. When a candle burns, the heat from the flame liquefies the surrounding wax into a small pool. As that liquid wax flows over the edge of the candle or down its side, it immediately begins to cool and solidify, creating the characteristic drip formations that define the melted candle aesthetic. The speed of this process and the ambient temperature around the candle dramatically affect the shape and character of the resulting drips.
Observational study is indispensable here. Spend time watching real candles burn, noting how the wax pool forms concentrically around the wick, how the first drip runs down the side and leaves a raised ridge as it cools, and how subsequent drips interact with the hardened formations below them. Collect reference photographs from multiple angles and lighting conditions. Pay close attention to the way thin drips become translucent while thick accumulations of wax appear opaque and matte. These observational details will directly inform every modeling and shading decision you make.
Key physical characteristics worth noting before you begin modeling include the following important properties that define wax behavior in the real world and must be replicated in a 3D environment. Wax contracts very slightly as it cools, which can create subtle surface dimpling in pooled areas. The surface of solidified wax is rarely perfectly smooth; it often shows tiny ripples, bubbles, or stress marks from rapid cooling. Understanding these nuances allows the artist to add authentic micro-detail that separates a convincing model from a generic one. Consulting macro photography of real candles is strongly recommended as part of a thorough reference-gathering phase.
Choosing the Right 3D Software and Tools
The choice of 3D software plays a significant role in how efficiently and effectively you can model a melted candle. Several industry-standard packages are well-suited to this task, each with distinct strengths. Blender, the free and open-source powerhouse, is an excellent choice for artists at any level. Its sculpting tools, combined with its fluid simulation system, provide multiple viable pathways to creating convincing melted wax geometry. The software’s robust shader editor also makes it straightforward to build the complex materials that wax requires.
ZBrush is another exceptional option, particularly for artists who want to sculpt the fine surface details that give melted wax its characteristic texture. The high polygon counts that ZBrush handles comfortably allow for micro-surface detail work such as the tiny ripple marks left in cooling wax. Many professional pipelines combine ZBrush for high-resolution sculpting with Blender or Autodesk Maya for final scene assembly, rendering, and animation. Cinema 4D is also popular, especially in motion graphics contexts where melted candles might appear in atmospheric product visualization or title sequences.
Beyond the primary modeling application, several complementary tools deserve mention for artists pursuing a high-quality result. Substance Painter or Adobe Substance 3D is invaluable for creating the layered, nuanced texture maps that wax materials demand, including roughness variation, subtle subsurface scattering maps, and hand-painted drip details. Marvelous Designer, while primarily a cloth simulation tool, can occasionally be repurposed for creating interesting organic draping forms that serve as a starting point for wax flow geometry. The right combination of tools depends on your budget, existing skill set, and the specific requirements of your project.
Step-by-Step Modeling Workflow for Melted Candles
A structured workflow ensures consistency and efficiency when building your melted candle model. The process generally divides into four major phases: base mesh construction, sculpting and detailing, UV unwrapping, and finally texturing and shading. Beginning with a clear plan for each phase prevents common pitfalls such as topology issues that make sculpting difficult or UV seams that appear in visible areas of the final render. Take the time to plan your mesh density requirements based on the intended use of the model, whether that is a game asset, an architectural visualization prop, or a hero asset for a film production.
For the base mesh, start with a simple cylinder that represents the main candle body. Use proportional editing or subdivision surface modeling to taper the candle slightly if desired, and add a concave depression at the top where the wax pool forms around the wick. The drip formations can be initially blocked out using elongated blob shapes or by manually extruding faces downward along the sides of the candle. At this stage, precision is less important than establishing correct proportions and the general flow direction of each drip. Think of this as your rough sketch in three-dimensional space before the detailed work begins.
The sculpting phase is where the model truly comes to life. Using dynamic topology sculpting in Blender or a similar approach in ZBrush, refine each drip so that it tapers naturally at the tip, widens as it meets the candle body, and shows the slight flaring at the edges caused by surface tension as the wax cooled. Add ripple marks to the surface of pooled wax areas using a subtle flatten or scrape brush. The following elements should be addressed during the sculpting phase to ensure a comprehensive and convincing result:
- Wax pool surface with concentric cooling ripples and a slight depression toward the wick
- Primary drip formations with natural taper, edge flaring, and thickness variation
- Secondary micro-drips and splatter marks at the base of major drip formations
- Subtle surface texture across the entire candle body suggesting the slight roughness of real wax
- Wick detail including a slight bend and the charred, darkened appearance of a burned wick
- Base accumulation zone where pooled wax has collected at the bottom of the candlestick
After sculpting, retopologize the high-resolution mesh down to a manageable polygon count appropriate for your intended use case, then bake the high-frequency detail into normal maps and displacement maps. This workflow preserves the visual richness of the sculpted detail while keeping the final mesh performant. The UV unwrapping step requires careful attention to placement of seams; hiding seams along the back of the candle or within deep crevices between drip formations keeps them invisible in typical camera angles and preserves the integrity of the texture work that follows.
Texturing and Shading Melted Wax Materials
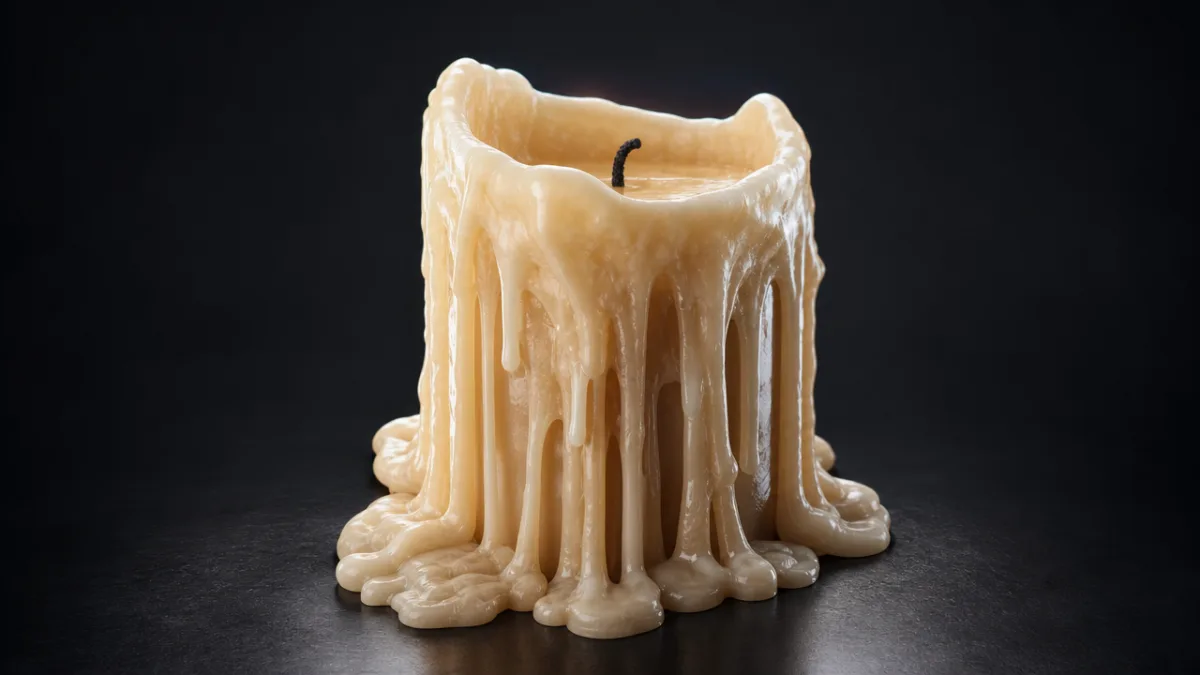
Creating a convincing wax shader is one of the most technically rewarding challenges in the entire melted candle production pipeline. Wax is a subsurface scattering material, meaning that light does not simply bounce off its surface but instead penetrates the surface, scatters within the material, and exits at a slightly different point. This gives wax its characteristic soft, glowing appearance when backlit or side-lit, and it distinguishes wax convincingly from plastic or ceramic surfaces that might otherwise look superficially similar. Most modern rendering engines including Cycles in Blender, Arnold, V-Ray, and Redshift include dedicated subsurface scattering components in their material systems.
Color variation across the surface is essential for realism. Pure white candles in the real world are never uniformly white; they show subtle warm yellowing near the flame, slight grayness in areas of accumulated soot, and warm amber tones where the wax is thinnest and most translucent. Building these color variations into your texture maps using a combination of procedural noise and hand-painted detail in Substance Painter gives the material a lived-in quality that pure procedural shaders struggle to achieve. The roughness map is equally important: the surface of solidified wax is generally smooth but not glossy, with slightly higher roughness in thick accumulated areas and lower roughness in the glassy surface of a recently cooled wax pool.
The following material parameters are critical when building a wax shader from scratch in a physically based rendering pipeline, and each deserves careful attention and iterative adjustment based on your reference imagery:
- Base Color: A warm off-white or cream tone for standard paraffin wax, adjusted for any dye color present in the candle
- Subsurface Scattering Radius: Controls how far light travels beneath the surface; typically set higher in the red and green channels to mimic real wax optical properties
- Roughness: Generally between 0.4 and 0.7 for most wax types, with variation driven by a texture map
- Specular: Low to moderate specular intensity with a slightly broadened highlight to avoid a plastic appearance
- Normal Map Intensity: Moderate strength to convey surface texture without appearing overly bumpy or artificial
- Emission Contribution: A very slight emission value near the wick area can enhance the illusion of internal wax illumination from the flame
Testing your shader under multiple lighting conditions before finalizing it is a practice that pays significant dividends. A wax material that looks convincing under a single warm key light may appear flat or unconvincing under neutral studio lighting or in an outdoor daylight scenario. If your model is destined for use in a game engine such as Unreal Engine 5 or Unity, testing the material within the actual target environment is essential, since real-time subsurface scattering approximations behave differently from offline rendering solutions and may require additional parameter adjustment to achieve comparable visual quality.
Lighting and Rendering Your Melted Candle Scene
Lighting is arguably the single most transformative element in presenting a melted candle 3D model. The characteristic romantic and atmospheric quality associated with candles is inseparable from the quality of light they produce: warm, flickering, and low in intensity with deep, soft shadows. Replicating this lighting environment in your 3D scene requires a thoughtful layered approach that uses both the candle flame itself as a light source and carefully placed supplementary lights to reveal the geometry of your model in the most flattering and informative way possible.
For a standalone hero render of your melted candle model, consider a three-point lighting setup modified to suit the intimate scale of the subject. Position a warm orange-yellow point light very close to the wick position to simulate the candle flame, setting its intensity carefully so that it creates strong but not overexposed illumination on the surrounding wax pool and upper drip formations. A very soft, cool fill light positioned to the opposite side prevents the shadow areas from going completely black while maintaining the warm-cool contrast that makes candlelit scenes visually appealing. A subtle rim light from behind can help separate the candle silhouette from a dark background and highlight the translucency of thin wax edges.
Render settings deserve careful consideration to ensure that the subsurface scattering and fine surface detail of your wax model are captured accurately. In path tracing renderers like Blender’s Cycles, increasing the light bounce count is important for accurately simulating subsurface scattering and the way light bounces within the translucent wax material. Enabling denoising helps manage render times while maintaining clean output. For still image renders intended to showcase the model, a resolution of at least 3000 pixels on the long edge combined with 16-bit or 32-bit color depth output provides sufficient quality for portfolio presentation, print, or commercial use. Post-processing in compositing software can add a gentle bloom effect around the candle flame and wax pool to heighten the atmospheric warmth of the final image.
Applications and Use Cases for Melted Candle 3D Models
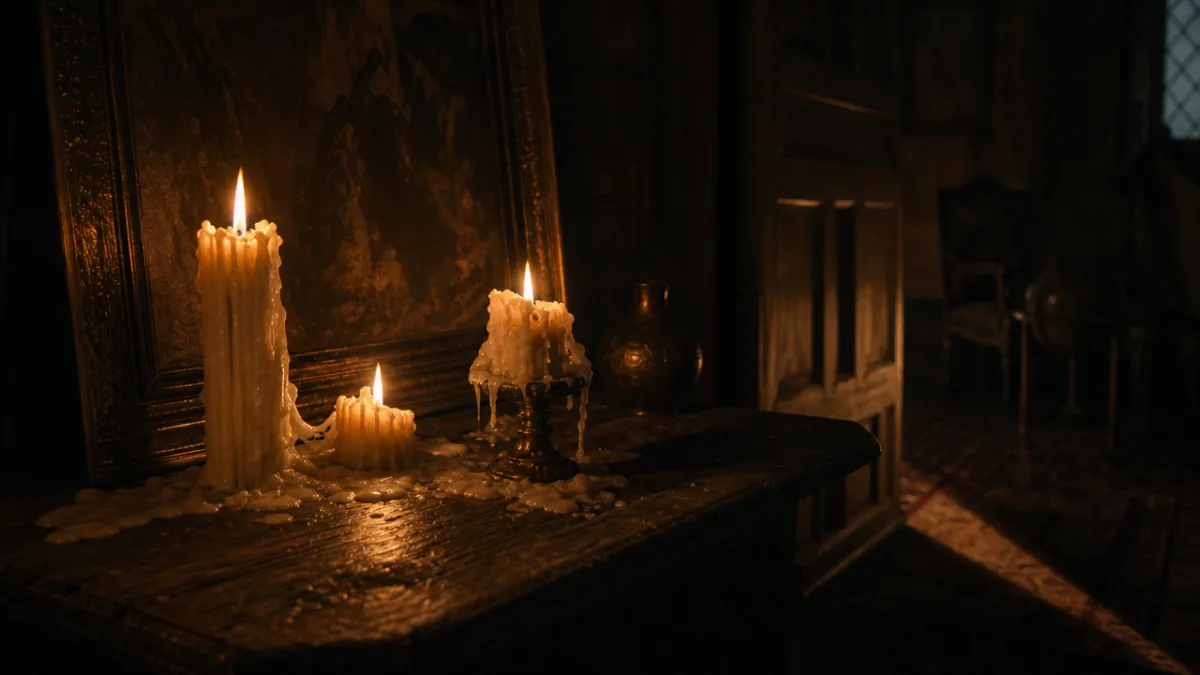
The commercial and creative applications for high-quality melted candle 3D models are remarkably diverse, reflecting the broad cultural significance of candles as objects across many different contexts. In the video game industry, candles are ubiquitous environmental assets appearing in medieval fantasy settings, horror environments, gothic dungeons, cozy inn interiors, and historical simulations. A well-crafted melted candle model with proper level-of-detail configurations can be deployed across multiple game projects and contexts, making the time invested in its creation an excellent use of resources for studios and independent developers alike.
Architectural visualization and interior design rendering represent another major use case where photorealistic melted candle models add meaningful value. Luxury residential renders, boutique hotel visualizations, and restaurant interior presentations all benefit from the atmospheric warmth that candles introduce into a scene. Clients responding to architectural visualizations are often influenced by atmospheric and lifestyle-associated details as much as by the architectural elements themselves, and a beautifully rendered candle on a dining table or bathroom ledge can significantly enhance the emotional resonance of the overall composition.
Product visualization for candle manufacturers and home décor brands is a growing commercial sector where 3D modeling is increasingly preferred over traditional photography for its flexibility and cost-effectiveness. A single high-quality melted candle 3D model can be re-colored, re-scaled, and repositioned across dozens of marketing images without the logistical costs of a traditional photo shoot. E-commerce platforms, catalog design, social media content, and advertising campaigns can all be served from the same foundational asset library. Additionally, animated versions of melted candle models featuring simulated flickering flames and dynamic wax drip simulations are increasingly used in motion graphics, title sequences, and atmospheric video content for streaming platforms and branded entertainment.
Educational and cultural applications also deserve recognition as valuable contexts for melted candle 3D models. Museum and heritage organizations use 3D assets to digitally reconstruct historical interiors from periods when candlelight was the primary illumination source. Interactive historical reconstructions, virtual reality museum experiences, and educational software all benefit from accurate and visually compelling candle models that help audiences connect with the past. The melted state of the candle, in particular, carries strong narrative weight in these contexts, visually implying the passage of time and the lived experience of historical spaces in ways that pristine, unmelted candle models cannot achieve.
Tips for Optimizing and Distributing Your 3D Model
Once your melted candle model is complete and rendered to your satisfaction, preparing it for distribution or integration into a larger project requires attention to optimization and file organization. For real-time applications such as games or interactive architectural visualization, polygon count management is critical. A hero melted candle model might justify a polygon count of fifty thousand to one hundred thousand polygons when it appears prominently in the scene, but background assets should be aggressively decimated to as few polygons as the visual quality requirements will permit. Level-of-detail systems automate this process in most modern game engines, displaying higher-resolution versions of the mesh when the camera is close and switching to lower-resolution versions at distance.
Texture map optimization is equally important for real-time performance. Packing multiple maps into channel-packed textures, where the roughness, metalness, and ambient occlusion maps share the R, G, and B channels of a single texture file, significantly reduces memory usage and draw calls in a game engine environment. For offline rendering pipelines where performance is less critical, higher-resolution textures and more complex shader networks can be used freely, but maintaining an organized naming convention and folder structure for all associated texture files ensures that the asset remains manageable and shareable across a team or over time.
When preparing your model for sale on 3D asset marketplaces such as TurboSquid, CGTrader, Fab, or the Blender Market, presentation quality directly influences commercial success. Invest time in creating multiple high-quality render previews that showcase the model from multiple angles and under different lighting conditions, clearly demonstrating the quality of the geometry, texturing, and shader work. Include wireframe renders, texture map previews, and detail close-ups in your product listing. Write a clear and thorough description specifying the polygon count, texture resolution, supported file formats, and any software-specific requirements. A well-presented, accurately described 3D model builds trust with potential buyers and generates positive reviews that improve the long-term commercial performance of your asset listing.








What do you think?
It is nice to know your opinion. Leave a comment.