










Ice Cream Candles: The Sweet Art of Dessert-Inspired Wax Creations
What Are Ice Cream Candles?
Ice cream candles are a delightful and increasingly popular form of novelty candle-making that replicates the look of real frozen desserts using wax, pigments, and fragrance oils. From swirling soft-serve cones to overflowing sundae cups dripping with colorful wax “toppings,” these creations blur the line between functional home décor and edible-looking art. They have taken the crafting and home fragrance world by storm, appearing everywhere from boutique gift shops to handmade marketplaces like Etsy.
The appeal of ice cream candles lies in their uncanny realism. Skilled makers use techniques like whipped wax, poured wax drips, and hand-sculpted details to reproduce the look of scooped ice cream, waffle cones, hot fudge, sprinkles, and even maraschino cherries — all rendered in wax. When displayed on a shelf or countertop, many of these creations are so convincing that people instinctively want to take a bite, which makes them endlessly entertaining as conversation pieces.
Beyond their visual appeal, ice cream candles are also functional objects. They are typically made with paraffin, soy wax, or a blend of both, and are scented with fragrance oils that complement their aesthetic — think vanilla bean, strawberry shortcake, or birthday cake. When lit, they fill a room with a warm, inviting aroma while slowly transforming into an even more dramatic display as the wax melts and pools in realistic ways. They make exceptional gifts, home accents, and collector’s items for dessert lovers and candle enthusiasts alike.
The History and Rise of Dessert Candles
The concept of novelty candles has existed for decades, with shaped and themed wax figures appearing as holiday decorations and gift items throughout the twentieth century. However, the specific trend of dessert-inspired candles, and ice cream candles in particular, gained significant momentum in the early 2010s with the rise of visual social media platforms. Pinterest, Instagram, and later TikTok became the perfect environments for showcasing these hyper-realistic, photogenic creations, and the trend spread rapidly through DIY communities and small artisan businesses.
As the handmade movement gained cultural traction alongside platforms like Etsy, individual crafters began experimenting with wax to push the boundaries of what a candle could look like. Early dessert candles were relatively simple — a round scoop shape in a glass jar — but techniques evolved quickly. Crafters began studying real ice cream photography to understand how whipped cream swirls, how fudge drips down a scoop, and how sprinkles catch the light. This obsessive attention to detail elevated ice cream candles from a cute novelty into a legitimate art form.
Today, ice cream candles represent a thriving niche within the broader candle industry, which itself generates billions of dollars in global revenue annually. Specialty makers have built entire brands around the concept, offering custom scent pairings, seasonal flavors, and even edible-looking candle subscription boxes. Larger retailers have taken notice as well, and dessert candle collections now appear in mainstream home goods stores and gift boutiques around the world. What began as a niche Pinterest trend has become a lasting fixture of modern candle culture.
Materials and Tools Needed to Make Ice Cream Candles
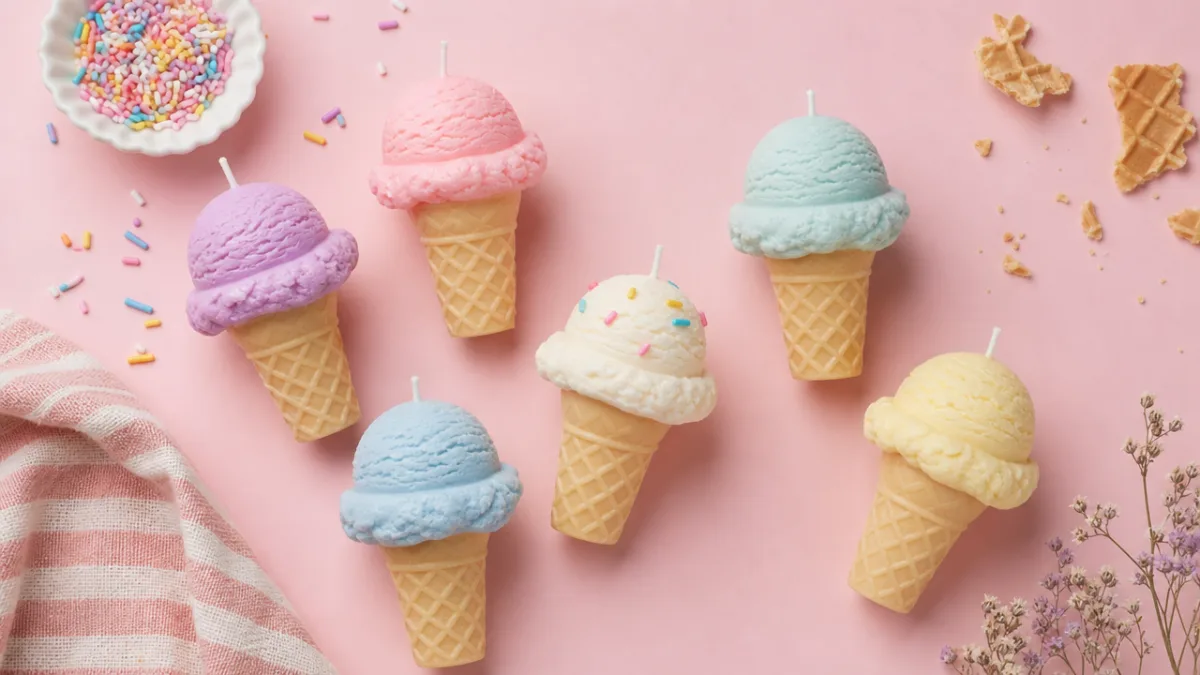
Creating ice cream candles at home requires a thoughtful selection of materials, most of which are readily available through candle-making suppliers or craft stores. The foundation of any good ice cream candle is the wax itself. Paraffin wax is the most commonly used type for dessert candles because it can hold its shape well and produces a smooth, glossy finish that mimics the look of real ice cream. Soy wax is a popular alternative for makers who prefer a more natural product, though it tends to have a softer texture that works particularly well for whipped wax effects.
Beyond the base wax, makers rely on a range of colorants, fragrance oils, and decorative additives to achieve their realistic results. Cosmetic-grade mica powders and candle dyes are used to tint the wax in ice cream shades like pastel pink, mint green, chocolate brown, and creamy vanilla white. Fragrance oils — always chosen for candle use to ensure safe, even burning — are blended into the wax before pouring to create the signature scents. Decorative elements like wax sprinkles, faux cherries molded from wax, and piped whipped wax toppings add the finishing touches that make these candles truly convincing.
The essential tools for ice cream candle making include the following items that every aspiring maker should gather before starting:
- A double boiler or dedicated wax melting pot for safely melting wax without direct heat
- A digital thermometer to monitor wax temperatures precisely, which is critical for proper pouring and texturing
- Candle molds in scoop, cone, cup, and sundae glass shapes, available in silicone or plastic
- A hand or stand mixer for whipping wax to a fluffy, airy consistency used in soft-serve and whipped cream effects
- Pre-tabbed candle wicks in appropriate sizes for the diameter of each finished candle
- Piping bags and tips, similar to those used in cake decorating, for creating swirled soft-serve tops and rosette shapes
- Spray bottles and brushes for applying color accents and creating realistic texture details on finished pieces
Safety equipment is equally important and should never be overlooked when working with hot wax. A heat-resistant work surface, oven mitts, and a fire extinguisher kept nearby are all essential precautions. Because fragrance oils and hot wax are involved, working in a well-ventilated space is also strongly recommended. With the right materials assembled and a safe workspace prepared, even beginners can begin creating charming ice cream candles that rival those sold by professional makers.
Step-by-Step Guide to Making Your First Ice Cream Candle
Making a basic ice cream scoop candle is an excellent starting point for newcomers to this craft. Begin by melting your chosen wax in a double boiler, heating it to approximately 160 to 170 degrees Fahrenheit for paraffin, or 120 to 130 degrees Fahrenheit for soy wax. While the wax melts, prepare your mold by securing a pre-tabbed wick at the center using a wick holder or a simple pencil laid across the top. Lightly spray the interior of a silicone scoop mold with mold release spray to ensure easy demolding once the wax has set.
Once the wax reaches the correct temperature, remove it from heat and stir in your chosen candle dye gradually until the desired color is achieved. Allow the wax to cool slightly — to around 130 to 140 degrees Fahrenheit — before adding your fragrance oil, typically at a ratio of one ounce of fragrance per pound of wax. Stir slowly and deliberately for at least two minutes to ensure the fragrance is fully incorporated and evenly distributed. Then pour the wax carefully into your prepared mold, filling it to just below the rim. Allow the wax to cool and set fully, which typically takes several hours or overnight.
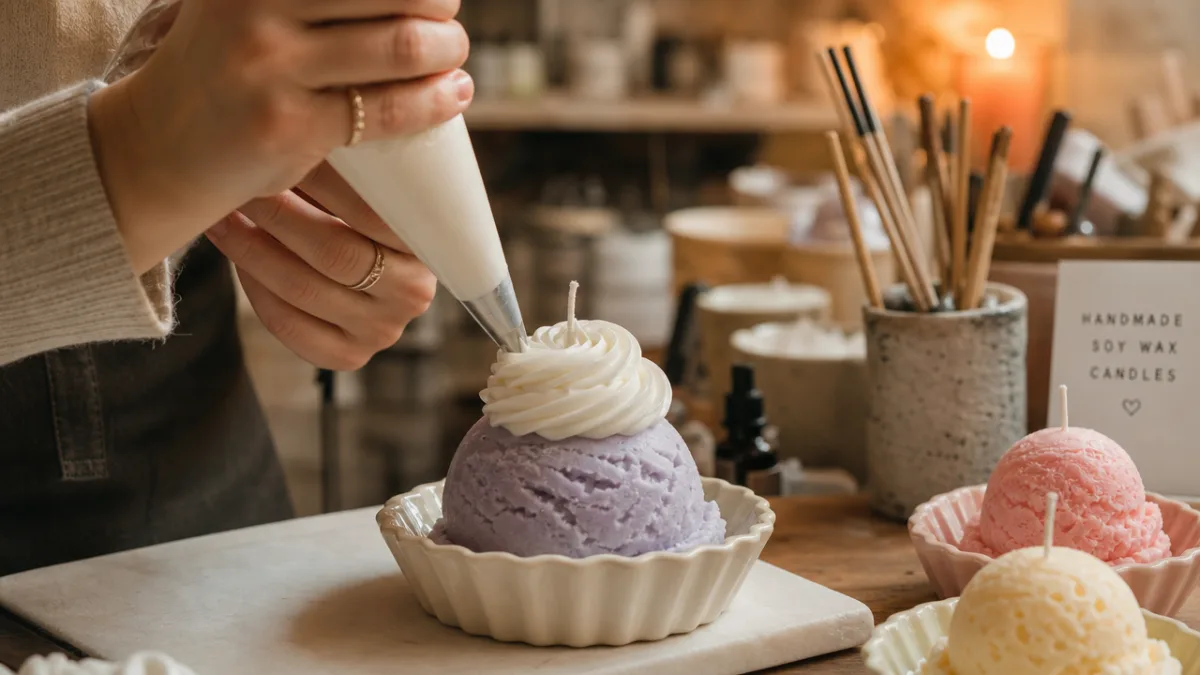
Once the base scoop has set and been removed from the mold, the real fun begins. Whipped wax — made by beating cooled, partially set wax with a mixer until it reaches a fluffy, frosting-like consistency — can be applied to the top of the scoop using a piping bag fitted with a large star tip, creating a perfect soft-serve swirl or whipped cream peak. Additional details like sprinkle-shaped wax pieces, a wax cherry, or a drizzle of colored wax “sauce” poured from a spoon can be added while the whipped layer is still slightly tacky. The result is a strikingly realistic frozen dessert that happens to smell incredible and cast a warm, flickering glow when lit.
Here are some helpful tips for achieving the best results with your first attempt:
- Test your fragrance oil’s flashpoint before use — it must be higher than your pouring temperature to ensure safety and proper scent throw when the candle burns.
- Work quickly once your whipped wax reaches the right consistency, as it firms up fast and becomes difficult to pipe smoothly if it cools too much.
- Use a heat gun or hair dryer set to low heat to gently smooth any surface imperfections or blend color transitions on the finished candle.
- Allow your completed candle to cure for at least 48 hours before burning it to ensure the fragrance has fully bonded with the wax for optimal scent throw.
Creative Variations and Design Ideas
One of the most exciting aspects of ice cream candles is the virtually unlimited creative territory they open up. While a classic single-scoop candle in a waffle cone mold is a beautiful starting point, experienced makers push the concept into wildly elaborate territory. Banana split candles feature three wax scoops nestled in an elongated dish mold, drizzled with streaks of chocolate, caramel, and strawberry-colored wax, and finished with a wax cherry on top. Ice cream sundae candles overflow from cup molds with generous piles of whipped wax and colorful “toppings.” Each design is both a technical challenge and an artistic statement.
Seasonal and thematic variations provide another rich avenue for creativity. For summer collections, makers might craft ice cream sandwich candles or popsicle-shaped wax bars in tropical fruit colors with matching scents like mango, coconut, and passion fruit. Winter holiday versions might feature peppermint stick–style striped candles or eggnog-scented scoops dusted with faux cinnamon powder made from cinnamon-scented wax shavings. Valentine’s Day inspires heart-shaped scoops in rose and raspberry hues, while Halloween calls for gothic black and orange color palettes applied to classic sundae forms.
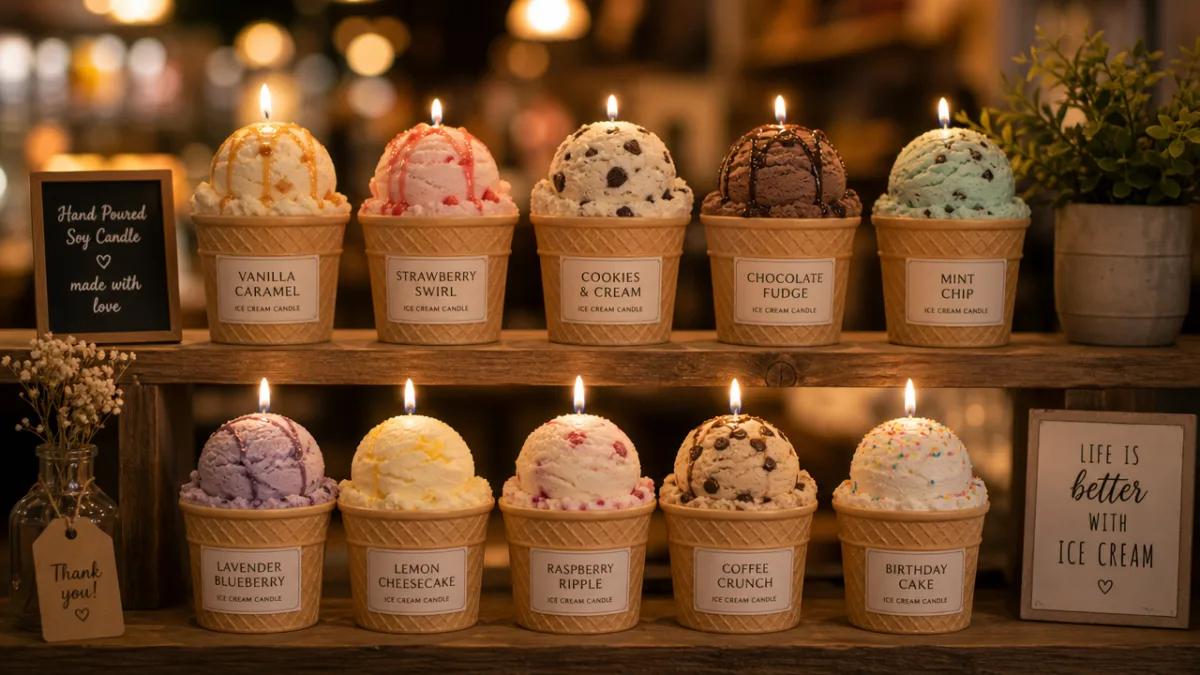
For those interested in personalization, ice cream candles offer exceptional opportunities for customization. Many artisan makers offer bespoke services where customers can choose their own color palette, fragrance blend, and topping combination, essentially “ordering” their ideal dessert in wax form. This makes them particularly popular as wedding favors, birthday gifts, and branded merchandise for dessert shops, bakeries, and cafés looking for on-theme décor. Some makers even incorporate name tags, custom labels, or edible-looking wax “price tags” designed to look like vintage parlor signs, adding a whimsical storytelling element to each piece.
Selling and Sharing Your Ice Cream Candles
For those who discover a genuine passion for making ice cream candles, transforming the hobby into a small business is a natural and achievable next step. Online marketplaces like Etsy remain the most accessible starting point for selling handmade candles, offering a built-in audience of shoppers who specifically seek out unique, artisan-made products. Creating a compelling shop with high-quality photography — ideally styled to look as mouthwatering and inviting as actual dessert photography — is essential for standing out in a crowded marketplace. Investing time in learning basic product photography pays dividends quickly when it comes to generating interest and sales.
Social media platforms are indispensable tools for building an audience around ice cream candle work. TikTok and Instagram Reels are particularly effective because the process of making these candles — pouring, whipping, piping, decorating — is inherently satisfying to watch and tends to perform extremely well as short-form video content. Many successful candle makers have built audiences of tens or even hundreds of thousands of followers simply by sharing behind-the-scenes glimpses of their process, product reveals, and packing videos. This organic social media presence translates directly into shop traffic and sales without requiring a large advertising budget.
Pricing ice cream candles correctly is an area where many new makers struggle, often undervaluing their labor and materials in an attempt to compete with mass-produced products. A healthy pricing formula accounts for the full cost of all materials — wax, fragrance, wicks, dyes, packaging, and molds amortized over their lifespan — plus a fair hourly wage for the labor involved, plus a reasonable profit margin. Because ice cream candles are highly detailed and time-intensive to produce, they command premium prices in the market, and customers who appreciate handmade goods are generally willing to pay for quality. Positioning the product clearly as a luxury gift item rather than a commodity candle helps justify and communicate its value effectively.
Safety Considerations and Best Practices
As with all candle making, safety is a paramount concern when working with ice cream candles, and it deserves serious attention from every maker regardless of experience level. Hot wax can cause severe burns if it comes into contact with skin, so protective gear including heat-resistant gloves and long sleeves should always be worn during melting and pouring stages. Wax is also flammable, and leaving a double boiler unattended even briefly can create a fire hazard if the wax overheats. A dedicated thermometer should be used at all times rather than estimating temperatures by eye, as the margin between a safe pour temperature and a dangerous one can be surprisingly small.
Fragrance oils and dyes also require careful handling. Not all fragrance oils are created equal — some contain compounds that can cause skin sensitization or react poorly with certain types of wax, producing discoloration, separation, or inconsistent burning behavior. Always purchase fragrance oils specifically formulated for candle use from reputable suppliers, and review the safety data sheet for each product before working with it. Similarly, candle dyes should be cosmetic or candle-grade rather than food coloring or craft store alternatives, which may not be heat-stable and can produce unpredictable results in finished candles.
When it comes to burning the finished candles, providing customers or recipients with clear care instructions is both a safety responsibility and a sign of professional craft. Every ice cream candle should be accompanied by guidance that includes the following key points:
- Always trim the wick to approximately one-quarter inch before each lighting to prevent excessive flame height, soot, and mushrooming.
- Never leave a burning candle unattended, and always keep lit candles away from flammable materials, drafts, and the reach of children and pets.
- Burn the candle for no more than four hours at a time to prevent the wax from overheating and the container from becoming dangerously hot.
- Place the candle on a heat-resistant surface and never burn it all the way down — extinguish it when approximately half an inch of wax remains at the bottom.
- Decorative whipped wax and topping elements may melt and shift as the candle burns, which is a normal and often visually dramatic part of the candle’s life cycle.
By following these best practices, both makers and candle users can enjoy ice cream candles safely and confidently. The combination of technical care, creative expression, and sensory pleasure that these remarkable little objects provide is truly one of the most joyful corners of the modern crafting world. Whether you are a seasoned candle maker looking for your next creative challenge or a complete beginner inspired by a single Pinterest scroll, ice cream candles offer an endlessly rewarding journey into the sweet art of wax.








What do you think?
It is nice to know your opinion. Leave a comment.