










Easy Homemade Massage Candle – The Perfect DIY Gift Idea
What Is a Massage Candle and Why You Should Make One
A massage candle is one of those genius two-for-one inventions that I honestly can’t believe more people don’t know about. On your shelf, it looks just like any other candle — pretty flame, lovely scent, warm glow. But once it melts? That liquid wax becomes a luxurious, skin-safe massage oil you can pour straight onto the body. It’s a completely different experience from anything you’d get out of a lotion bottle.
The reason they work so well comes down to the ingredients. Regular paraffin candles burn way too hot to go anywhere near skin, but massage candles are made with nourishing oils and butters — things like soy wax, shea butter, and coconut oil — that melt at a much gentler temperature. What pools in the jar is a warm, silky oil that sinks right into your skin without clogging pores or leaving that sticky, greasy feeling you sometimes get with body products. It’s actually good for your skin, not just a gimmick.
And honestly? They make some of the best gifts I’ve ever given. It doesn’t matter if you’re making one for a romantic partner, a best friend who’s been running on empty, a parent who never treats themselves, or really anyone who could use a little quiet time — a handmade massage candle says something a store-bought present just can’t. You chose the scents, sourced the ingredients, and poured it yourself. People feel that effort, and they remember it.
Gathering Your Ingredients and Supplies
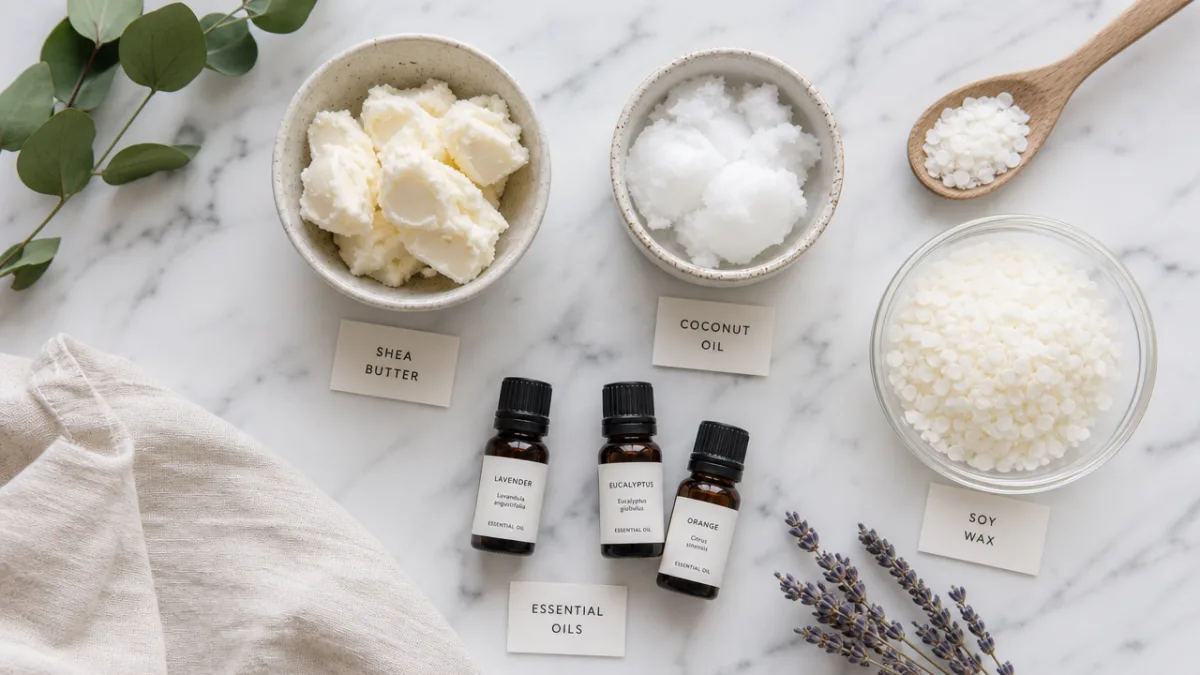
Before you dive in, it’s worth taking a minute to understand what each ingredient actually does, because that’ll help you make smart swaps and adjustments later. The whole recipe hinges on using waxes and butters that melt at a skin-safe temperature — somewhere in the 100°F to 130°F range. Cosmetic-grade soy wax is the go-to base for most people because it’s natural, burns clean, and plays nicely with skin. You can find it at craft stores or online, and it’s pretty affordable, especially if you buy in bulk.
You’ll also want to work in some nourishing butters and oils alongside the soy wax. Shea butter is a classic for good reason — it’s deeply moisturizing, packed with vitamins A and E, and most skin types tolerate it well. Coconut oil gives the finished product a silky, smooth feel and has this subtle natural sweetness that pairs beautifully with all kinds of fragrance oils. If you want something that absorbs really quickly and feels lighter on the skin, sweet almond oil is a great addition. Together, these ingredients make a massage oil that actually nourishes rather than just sitting on top of your skin.
For scent, you’ve got a lot of room to play. Essential oils are a wonderful natural option — lavender for relaxation, peppermint for sore muscles, ylang-ylang or jasmine for something a little more romantic, eucalyptus if you want that fresh spa feeling. Cosmetic fragrance oils open things up even further, from warm vanilla and sandalwood to bright citrus blends. Whatever you use, make sure it’s rated safe for skin contact and stick to the recommended usage rate, which is usually around six percent of your total wax weight — going over that is a fast track to skin irritation.
On the equipment side, you’ll need a double boiler or a heat-safe pitcher sitting in a pot of simmering water, a kitchen thermometer, a silicone spatula, and your containers. Tins, small glass jars, and wide-mouthed vessels all work great. Grab some pre-tabbed cotton wicks with metal sustainers — they make life so much easier — and either wick stickers or a tiny drop of melted wax to anchor them to the bottom of the container before you pour.
Step-by-Step Instructions for Making Your Massage Candle
Start by setting up your workspace before anything goes on the heat. Lay down some newspaper or a silicone mat — wax spills happen to everyone and they’re a pain to scrub off a counter. Get everything you need within arm’s reach, because once the wax starts melting, things move quickly and you don’t want to be hunting for your thermometer mid-pour. Use a kitchen scale to weigh your ingredients rather than measuring by volume; it’s more accurate and makes it much easier to reproduce a batch you love.
A solid starting recipe for about eight ounces of finished candle is four ounces of cosmetic-grade soy wax, two ounces of shea butter, one ounce of coconut oil, and one ounce of sweet almond oil. Add the soy wax and shea butter to your double boiler first since they take the longest to melt. Keep the heat at medium-low and stir gently until everything is completely liquid, then add the coconut oil and sweet almond oil and stir until the whole blend is smooth and combined.
Take the mixture off the heat and let it cool a bit before adding your fragrance. You’re aiming for around 140°F — if you add scent when it’s too hot, the aromatic compounds just burn off and you end up with a candle that barely smells like anything. Once you’re at the right temperature, pour in your fragrance or essential oils and stir slowly and thoroughly for a full two minutes. This isn’t the step to rush; even distribution here is what gives you a consistent scent throw throughout the whole candle.
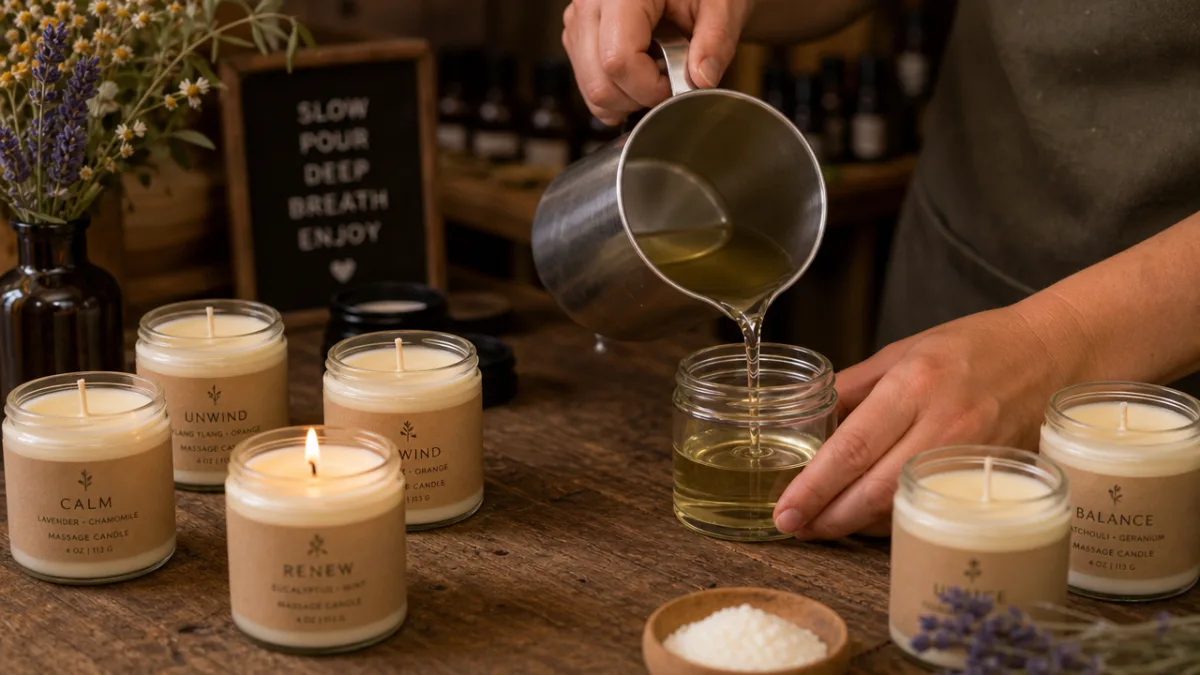
Let the mixture cool a little more, to somewhere between 120°F and 130°F, then pour it into your prepared containers in a slow, steady stream to avoid air bubbles. Fill to about half an inch from the top. Center your wick right away using a wick centering tool, a chopstick, or the classic trick of laying two pencils across the container with the wick running between them. Then leave the candles completely alone at room temperature for at least 24 hours before you trim the wick to a quarter inch and do your first test burn.
Customizing Your Massage Candle for Different Recipients
This is honestly my favorite part of making massage candles — the fact that you can fine-tune everything for the specific person you have in mind. Fragrance is the most obvious place to start. For someone who loves a spa day, try eucalyptus, peppermint, and a touch of rosemary for something clean and invigorating. For a romantic partner, ylang-ylang, rose, and warm sandalwood blend into something genuinely intoxicating. For a friend who’s been anxious or overwhelmed lately, lavender and chamomile with a hint of vanilla is more than just a pleasant smell — it’s genuinely calming.
You can also tweak the texture to better suit different skin types. Bumping up the shea butter ratio gives you a richer, thicker oil that’s wonderful for dry or mature skin. Leaning into sweet almond or jojoba oil instead makes the blend lighter and faster-absorbing, which is ideal for oilier skin types or anyone in a warmer climate where heavy oils can feel a bit suffocating. If you want to cut down on any potential greasiness without losing the moisturizing benefits, you can stir in a small amount of arrowroot powder when the mixture has cooled down toward the end of mixing.
Container choice matters more than people realize. A vintage-style tin has this nostalgic, artisanal quality to it. A frosted glass jar with a lid feels elegant and spa-like. A wide-mouthed terracotta vessel suits someone with a more earthy, natural aesthetic. You can also add some visual beauty on the surface — press a sprig of dried lavender or a few rose petals into the top layer just before the wax fully sets, or pour a swirl of a contrasting wax color in at the last moment. A candle that looks stunning in the jar makes an impression before anyone even lights it.
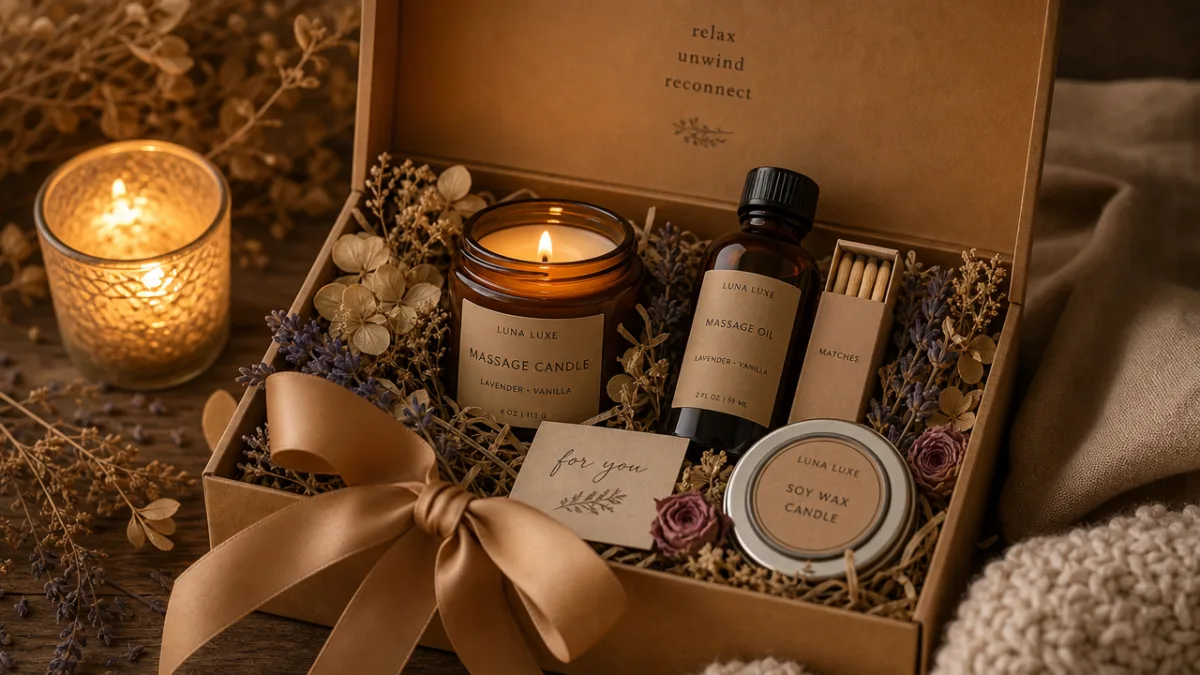
Themed gift sets are worth considering too. A relaxation bundle might include the candle, a small bag of bath salts, a handwritten instruction card, and a simple wooden massage tool. A romantic gift could nest the candle in a box alongside rose petals, a small bottle of complementary perfume oil, and some nice chocolates. Wrapping it all up in a kraft box with ribbon or some simple tissue paper immediately takes a homemade item and makes it feel genuinely boutique.
How to Use a Massage Candle Safely and Effectively
Using a massage candle is pretty simple, but a couple of things are worth knowing upfront. Light the candle and let it burn for about 15 to 20 minutes until you have a good pool of liquid wax across the surface. You really do need to wait for that full pool to form — extinguishing it too soon leaves you with barely any oil to work with, and the experience falls a little flat. Use that waiting time to set the mood; the fragrance will have been diffusing through the room the whole time anyway.
Once the pool looks ready, blow out the flame and give it 30 to 60 seconds before you use it. That brief pause cools the liquid just enough to be comfortable against skin while keeping it warm and soothing. Before applying it broadly, especially if you’re using a new batch or the recipient has sensitive skin, test a small drop on the inner wrist first. Then tilt the container and pour a gentle stream of the warm oil directly onto skin or into your palm and start massaging right away. The warmth really does make a difference — it improves circulation and helps all those nourishing ingredients absorb more deeply.
Storing and caring for your candle is straightforward. Keep it out of direct sunlight, which can discolor the natural butters over time, and store it somewhere cool and dry between uses. Trim the wick to a quarter inch before every burn to keep the flame at a safe height and minimize soot. Massage candles made with natural waxes and butters typically stay fresh for 12 to 18 months, after which the oils can start to oxidize and the scent may shift. Making smaller batches more often is the easiest way to keep everything smelling and performing at its best.
Packaging, Labeling, and Gifting Your Homemade Massage Candles
How you present a homemade gift really does matter, and with massage candles especially, a good label pulls double duty — it looks beautiful and gives the recipient the information they actually need. At minimum, your label should include the product name, the key ingredients, a note that it’s a massage candle and not a standard decorative one, and simple usage instructions. If you know the person you’re gifting to has any allergies or skin sensitivities, go back through your ingredient list carefully before you finalize the recipe.
Designing labels can be a fun little project on its own. Canva has a ton of free templates you can customize with your own fonts, colors, and botanical imagery to match the feel of the candle. Printing on kraft paper or a cream matte label stock gives everything that handmade, small-batch look that feels right at home with the natural ingredients inside. That said, there’s something genuinely warm about a handwritten label too — neat calligraphy or even just your own handwriting communicates a personal touch that no printed label can quite replicate.
When it comes to the actual gift presentation, think about the full unboxing experience. A layer of tissue paper in a complementary color, a few sprigs of dried herbs tucked alongside the jar, a handwritten card describing the scent profile and a little bit about what went into making it — all of that turns a single candle into something the person will actually remember. If you’re making candles for the holidays, the recipe scales really easily and you can make them two to three weeks ahead without any loss in quality. A set of three small candles in different but complementary fragrances, labeled and nestled together in a box, makes a gift that looks and feels far more expensive than it actually is.
There’s also a really lovely community of candle makers out there on Pinterest, Instagram, and various crafting forums who share recipes, troubleshoot problems, and post genuinely inspiring ideas. Tapping into that community can speed up your learning significantly and introduce you to ingredients and techniques you might never have stumbled on otherwise. Whether you’re pouring one candle for someone special or putting together a whole batch of personalized gifts, every pour teaches you something — and the candles really do keep getting better.








What do you think?
It is nice to know your opinion. Leave a comment.