










Introduction to Easy DIY Colourful Wall Art
There is something deeply satisfying about decorating your home with artwork you created yourself. DIY wall art has surged in popularity over recent years, and for good reason — it allows you to express your personality, match your exact colour palette, and fill your walls with pieces that carry genuine meaning. Whether you are a complete beginner or someone who has dabbled with brushes before, painting your own wall art is one of the most rewarding creative projects you can undertake at home.
Colourful, simple paintings inspired by nature — think soft florals, abstract botanicals, and loose brushstroke compositions — have become a dominant trend in interior design. These styles are particularly well-suited to beginners because they embrace imperfection. The beauty of a tulip painted with a few confident strokes lies precisely in its looseness and energy. You do not need to be a trained artist to produce something beautiful; you just need the right guidance, the right materials, and the willingness to enjoy the process.
This tutorial walks you through everything you need to know to create your own stunning, colourful wall art at home. From choosing your supplies and preparing your canvas to applying colour with confidence and finishing your piece for display, each step is broken down in a way that feels approachable and fun. By the end, you will have a finished painting ready to hang and a new creative skill you can return to again and again.
Why Painting Your Own Wall Art Is Worth It
Custom wall art from galleries and interior design shops can cost hundreds of dollars for a single piece, and even then it may not perfectly match your space. When you paint your own artwork, you have complete control over dimensions, colours, and style. You can paint a piece that is exactly the right shade of terracotta to complement your living room, or choose a format that fits that awkward narrow wall perfectly. The financial savings are significant, but the personal satisfaction is arguably even greater.
There is also a growing body of evidence suggesting that engaging in creative activities like painting reduces stress and promotes a sense of wellbeing. Setting aside an afternoon to paint — putting on a favourite playlist, mixing colours, and losing yourself in the rhythm of brushstrokes — is a form of mindfulness that many people find deeply calming. It is a chance to step away from screens, slow down, and engage with something tangible and physical in a way that modern life rarely offers.
Gathering Your Supplies: What You Need to Get Started
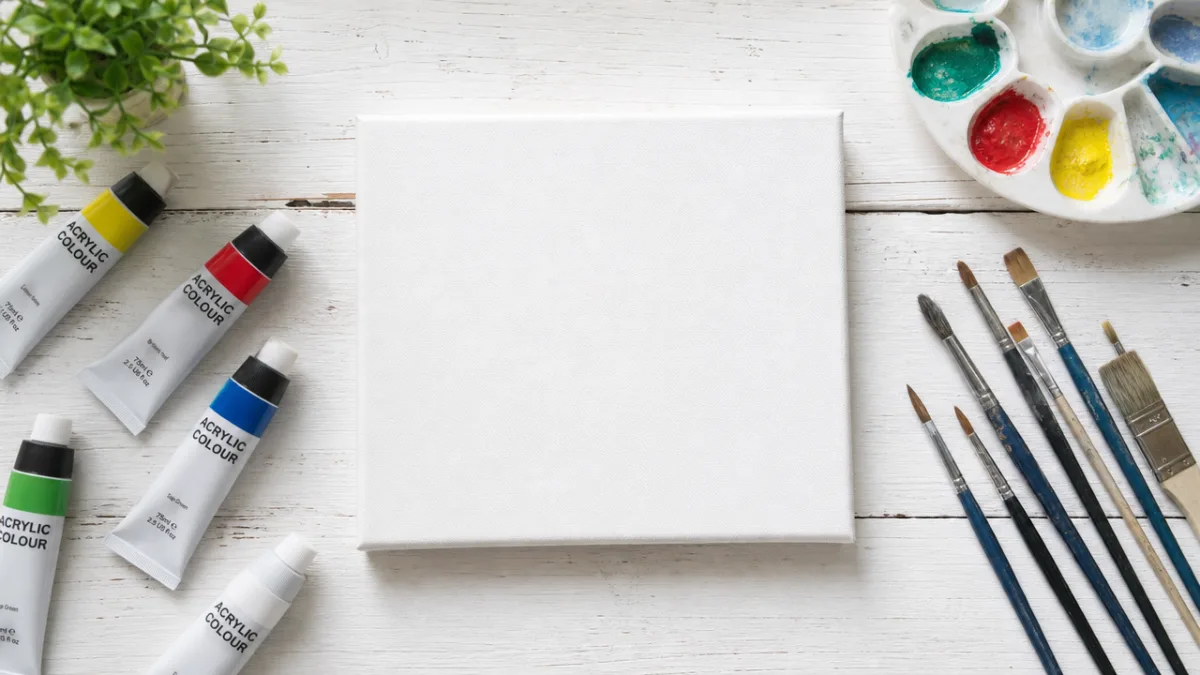
One of the most common misconceptions about painting is that you need expensive, professional-grade supplies to produce good results. In reality, a modest selection of affordable materials is all you need to create beautiful wall art. Acrylic paints are the most popular choice for DIY home art projects because they dry quickly, clean up with water, are widely available, and come in a huge range of vibrant colours. A basic starter set will serve you well for many projects.
When it comes to canvas, you have several options. Pre-stretched canvases are the most convenient and come in a wide variety of sizes at most craft stores and online retailers. For a set of coordinated wall art, consider purchasing three small canvases of the same size — a triptych arrangement looks striking on any wall. Alternatively, heavyweight watercolour paper or thick card stock can work well if you plan to frame your finished piece. Canvas panels (canvas glued to a firm board) are another budget-friendly option that stores flat and frames easily.
For brushes, you do not need many. A small selection covering a few different sizes and shapes will handle almost everything this tutorial requires. Look for a flat wide brush for background washes, a medium round brush for painting petals and leaves, and a fine liner brush for delicate details and stems. Synthetic brushes are perfectly adequate for acrylic work and are much more affordable than natural hair options.
Your Essential Supply Checklist
- Acrylic paints in your chosen colour palette — soft pinks, coral, warm white, sage green, and a deep earthy tone work beautifully for floral pieces
- One or more pre-stretched canvases or canvas panels in your preferred size
- A flat wash brush (approximately 1 inch wide) for backgrounds and broad strokes
- A medium round brush (size 8 or 10) for petals, leaves, and main shapes
- A fine detail brush (size 2 or 4) for stems, outlines, and small accents
- A palette for mixing colours — a ceramic plate or piece of wax paper works just as well as a dedicated palette
- A jar of clean water and a cloth or paper towels for wiping brushes
- A pencil for lightly sketching your composition before you begin painting
- Painter’s tape if you want to create clean geometric borders or blocked sections
Before you begin, set up your workspace thoughtfully. Cover your table with newspaper or a plastic sheet, have your water jar and paper towels within easy reach, and lay out your paints so you can see all your colours at once. Good preparation means you can stay in a creative flow without interruption once you start painting. Make sure you have good light — natural daylight is ideal, but a bright lamp pointed at your work surface will do well in the evening.
Choosing Your Colour Palette and Design
Colour is the heart of any vibrant wall art piece, and choosing a cohesive palette before you begin is one of the most important steps you can take toward a successful result. A palette of three to five colours is ideal — enough to create depth and interest without becoming muddy or overwhelming. For floral and botanical-inspired pieces, consider working with a warm, spring-inspired palette: blush pink, coral, soft peach, warm ivory, and a couple of muted greens. These tones feel fresh and modern while remaining easy to live with on a wall.
If you prefer something bolder, a high-contrast palette of deep jewel tones — cobalt blue, rich magenta, golden yellow, and forest green — creates a dramatic, eye-catching piece that works beautifully in spaces that need a strong focal point. For a more minimalist aesthetic, limit yourself to one or two accent colours against a neutral or white background, and let the shapes and brushwork carry the visual interest. The key principle is harmony: choose colours that work together and feel intentional rather than random.
For the design itself, simple floral motifs — particularly tulips and poppies — are among the most beginner-friendly subjects because their forms are built from just a handful of basic shapes. A tulip is essentially a rounded cup shape on a graceful curved stem; a poppy is a series of overlapping rounded petals surrounding a dark centre. You can arrange these loosely across your canvas in a scattered pattern, cluster them in a vase or bunch, or create a more abstract interpretation where the flowers are suggested rather than precisely rendered. Sketching a few thumbnail compositions in pencil first will help you find an arrangement you love before you commit paint to canvas.
Understanding Colour Mixing for Beginners
You do not need to purchase every single colour you want to use — in fact, learning to mix your own colours is one of the most satisfying aspects of painting. Start with a core set of colours: a warm red, a cool blue, yellow, white, and black. From these five colours you can mix virtually any hue you need. Adding white to any colour creates a tint — those soft, pastel versions that look so lovely in floral paintings. Adding a tiny touch of the complementary colour (the one directly opposite on the colour wheel) will tone down a colour that feels too intense.
For a cohesive painting, it helps to mix a small amount of one unifying colour into all your other colours before you apply them. For example, if your background has a warm peachy tone, mixing a tiny touch of that same peach into your greens and pinks will create a subtle harmony that makes the whole piece feel unified and intentional. This technique is used by professional painters and is something you can easily apply in your DIY project with beautiful results.
Step-by-Step Painting Tutorial: Simple Floral Wall Art
Begin by preparing your canvas with a background wash. Load your flat brush generously with a light, diluted colour — soft white, warm cream, or a very pale blush all work beautifully as a base. Apply the paint across the entire canvas in loose, horizontal strokes, allowing some variation in thickness and tone. This creates a more interesting background than a flat, opaque layer and gives the finished piece a sense of depth and warmth. Let this dry completely before moving forward, which should only take ten to fifteen minutes with acrylic paint.
Once your background is dry, lightly sketch your floral composition in pencil. Keep the marks light — you are just establishing placement and basic shapes, not drawing a detailed outline you need to follow precisely. Place your largest flowers first, then add smaller blooms and leaves around them to fill the composition. Leave some breathing room; a painting that is too crowded can feel busy and restless, while one with thoughtful negative space feels balanced and serene. Step back from your canvas as you sketch to check the overall arrangement from a distance.
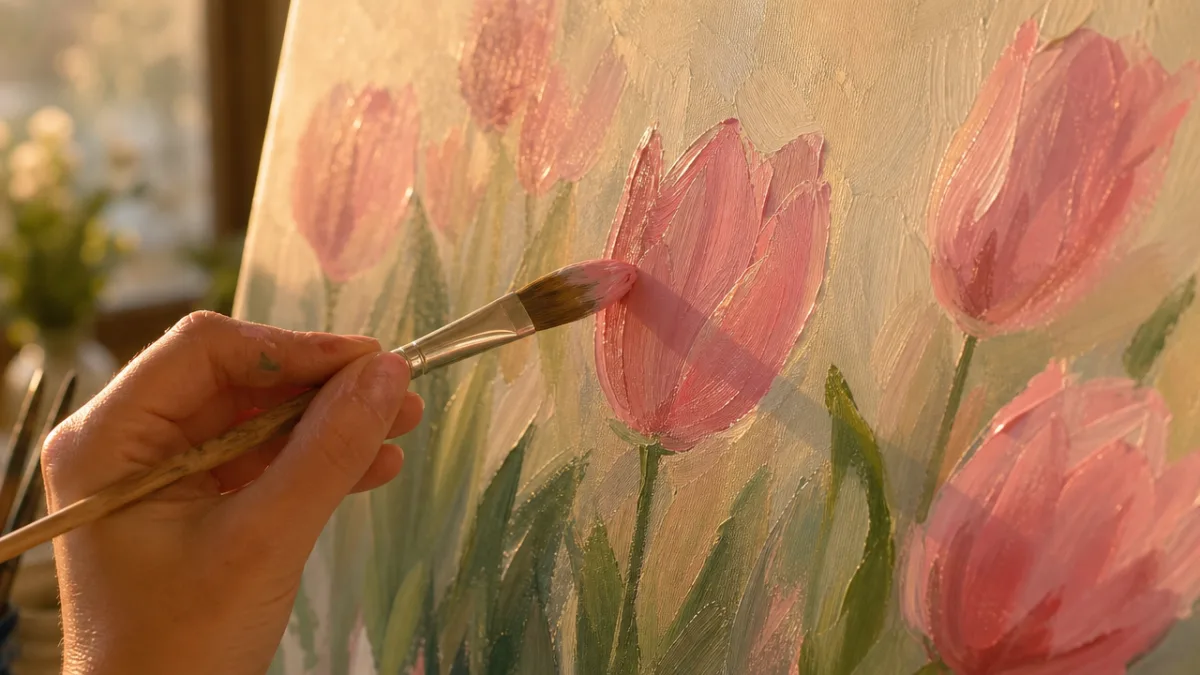
Now begin painting your flowers. Using your medium round brush, load it with your chosen petal colour and apply the paint with confident, curving strokes that follow the natural shape of each petal. For tulips, use a smooth upward stroke with slight pressure at the base and a lighter touch at the tip to create that characteristic cup shape. Do not overwork the paint — two or three strokes per petal is usually enough, and the slight variations in tone and texture this creates are part of what makes loose floral painting so lively and appealing. Build up the flowers one by one, rinsing your brush between colours.
Adding Leaves, Stems, and Details
Once your main flower shapes are in place and dry, it is time to add the botanical elements that bring the composition to life. Switch to your fine detail brush for stems, painting them as single fluid lines that curve naturally downward from each flower head. Real flower stems are never perfectly straight — they have gentle curves and slight bends that give them organic grace. Paint each stem with one confident stroke rather than building it up gradually, as this creates a much more natural-looking line.
For leaves, load your medium round brush with your green colour and use a press-and-lift technique: press the brush down to spread the bristles, then lift as you reach the tip of the leaf to create that pointed end. Vary the angle and size of your leaves, and try adding a second, slightly different green tone to some leaves while the first is still wet — the two colours will blend slightly at the edges, creating a beautiful, natural variation in tone. Small groups of dots or tiny buds made with the tip of your detail brush add charming accents without requiring any technical skill.
Finally, consider adding some light highlights to your flowers using a small amount of white or very pale colour applied with the tip of your detail brush. A single highlight stroke on one side of a petal instantly creates the illusion of dimension and makes the flowers feel more three-dimensional and luminous. Conversely, a touch of deeper shadow colour at the base of petals where they meet the centre adds depth. These finishing details take only a few minutes but make a significant difference to the overall quality and polish of your finished piece.
Finishing, Framing, and Displaying Your Wall Art
Once your painting is completely dry — allow at least an hour for acrylic paint to cure fully, or overnight to be completely safe — you can apply a finishing varnish if you wish. A thin coat of acrylic varnish in a matte, satin, or gloss finish protects the surface from dust and moisture and gives the piece a professional appearance. Matte varnish creates a subtle, gallery-quality look, while gloss makes colours appear more vivid and saturated. Apply varnish with a wide, soft brush in thin, even strokes, and allow it to dry fully before hanging or framing.
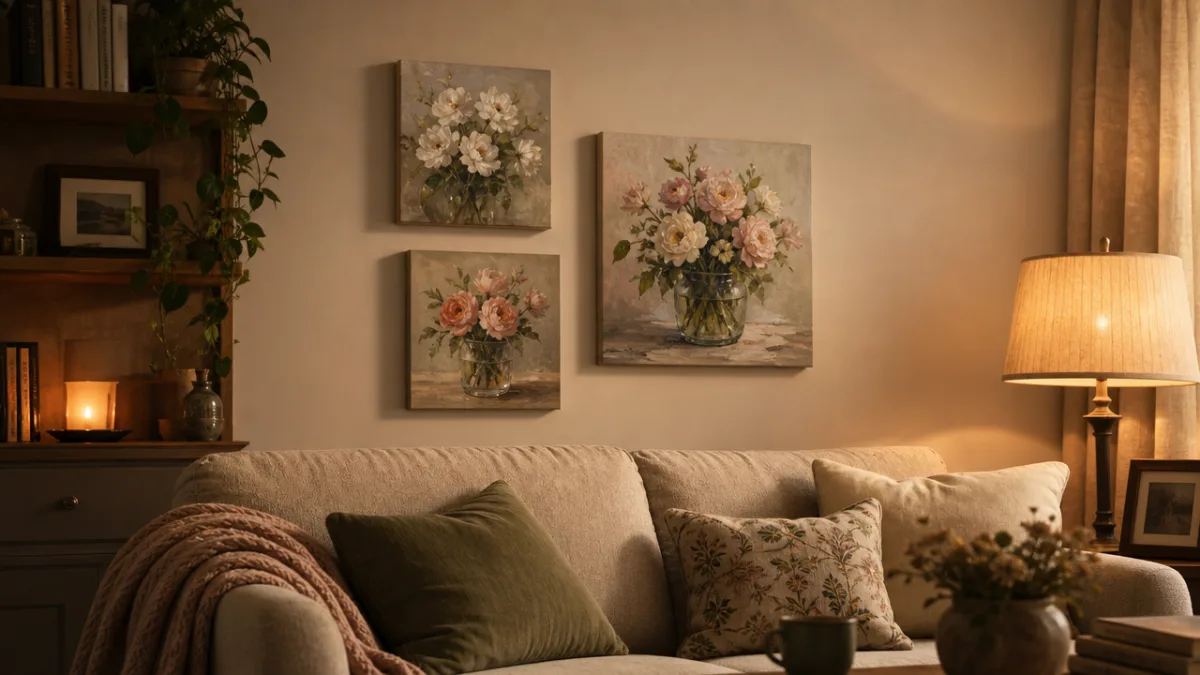
If you painted on a pre-stretched canvas, it is ready to hang directly on the wall with no framing required. A simple sawtooth hanger or D-ring attached to the back of the frame is all you need. For a group of small canvases, consider arranging them as a triptych or gallery cluster — lay them out on the floor first to experiment with different arrangements before committing to nail holes in the wall. A consistent gap of two to three inches between canvases creates a cohesive, intentional look.
If you painted on paper or a canvas panel, framing your work will protect it and give it a finished appearance. Simple wooden frames in natural or painted finishes are widely available and affordable. Floating frames — where the canvas sits slightly recessed within the frame with a visible gap around the edges — are particularly popular for contemporary art and give even a small painting a striking, high-end look. Measure your canvas carefully before purchasing a frame, and consider whether you want a mount or whether you prefer the painting to fill the frame completely.
Styling Your Wall Art in Your Home
The way you display your finished artwork can be just as important as the painting itself. In a living room, a single large floral canvas hung at eye height above a sofa or console table creates a beautiful focal point. In a bedroom, a cluster of three small coordinated canvases arranged symmetrically above a headboard adds colour and personality without overwhelming the space. Hallways and entryways are wonderful places for wall art because they set the tone for the whole home — a vibrant, colourful painting is a joyful welcome every time you come through the door.
Consider the relationship between your artwork and the other elements in the room. A painting that picks up one or two colours already present in your cushions, rug, or furniture will feel harmoniously integrated rather than like an afterthought. If your room is largely neutral, your colourful wall art can serve as the one bold accent that gives the space energy and warmth. Lighting also plays a significant role — a small picture light or directed spotlight above your painting will dramatically enhance its colours and make it a true feature of the room.
Do not be afraid to rearrange and experiment. One of the great joys of having made your own art is that you can paint new pieces as your tastes evolve or your interiors change. You might find yourself returning to painting regularly, building a collection of small works that rotate on your walls with the seasons or your mood. What begins as a single afternoon tutorial can easily grow into a lasting and deeply enjoyable creative practice that continuously enriches your home and your life.
Tips for Continuing Your Painting Journey
Completing your first wall art painting is a genuine achievement, and it is worth pausing to appreciate what you have made before jumping straight into the next project. Notice what you enjoyed most about the process, what came naturally, and what felt challenging. These observations are the starting point for your continued development as a painter. Most people find that their second and third paintings improve dramatically simply because they feel more relaxed and less self-conscious — the first project teaches you that mistakes are not disasters, they are part of the creative process.
To continue building your skills, try experimenting with one new element in each subsequent project. This might mean trying a different colour palette, working on a larger canvas, experimenting with a new technique such as palette knife painting or dry brushing, or exploring a different subject — abstract shapes, simple landscapes, or still life arrangements. Online platforms like Pinterest and YouTube are rich sources of inspiration and tutorial content, and many communities of beginner painters share their work and encouragement with one another, making it easy to find support and motivation.
Investing in a few higher-quality materials as you progress can also make a noticeable difference to your results and your enjoyment. Artist-grade acrylic paints have better pigment concentration and more vibrant, lightfast colours than student-grade options, and a quality set of brushes that hold their shape will respond more predictably to your hand. These upgrades do not need to happen all at once — gradually improving your materials as your enthusiasm grows is a natural and rewarding progression that marks your development as a creative person.
Building a Creative Habit Around Painting
The most successful DIY artists are those who make creativity a regular habit rather than an occasional activity. Even setting aside one afternoon every two weeks for a painting session creates a meaningful rhythm of creative practice. You do not need to produce a finished, frameable piece every time — sometimes the most valuable sessions are exploratory ones where you mix colours, practice brush techniques on scrap paper, or simply play without a specific goal in mind. This kind of low-stakes practice builds skill and confidence in ways that purposeful projects sometimes cannot.
Creating a dedicated, welcoming space for painting in your home also makes it much easier to develop a regular practice. This does not need to be a separate room — a corner of a table with your supplies neatly stored in a small box or caddy is enough. When your materials are accessible and your space is ready, the barrier to beginning is dramatically lower, and you are far more likely to pick up a brush on a whim. Over time, these small sessions add up to real skill and a growing collection of beautiful, personal artwork that makes your home entirely your own.








What do you think?
It is nice to know your opinion. Leave a comment.