










Step-by-Step Crochet Teddy Tutorial for Beginners
Introduction to Crocheting Your First Teddy Bear
There is something undeniably magical about creating a stuffed animal entirely from scratch with your own two hands. A crocheted teddy bear is one of the most beloved and rewarding beginner amigurumi projects you can tackle, combining basic stitch techniques with the deeply satisfying result of a huggable, personalized keepsake. Whether you are making this little bear as a gift for a child, a loved one, or simply as a creative challenge for yourself, this project will walk you through every step of the process with patience and clarity.
Amigurumi is the Japanese art of knitting or crocheting small stuffed figures, and teddy bears are among the most iconic subjects in this craft tradition. Unlike flat crochet projects like scarves or dishcloths, amigurumi involves working in continuous rounds to build three-dimensional shapes that can then be assembled into a recognizable figure. For beginners, this might sound intimidating at first, but the good news is that most amigurumi pieces rely on just a handful of fundamental stitches that are easy to learn and quick to master with a little practice.
This comprehensive tutorial is designed for absolute beginners who may have never held a crochet hook before, as well as those who have some basic experience and are ready to tackle their first stuffed animal project. We will cover everything from choosing the right materials and understanding basic stitches, to assembling all the individual parts of your bear and adding those charming finishing details that give your creation a personality all its own. By the end, you will have a beautiful handmade teddy bear that you can be genuinely proud of.
Materials and Tools You Will Need
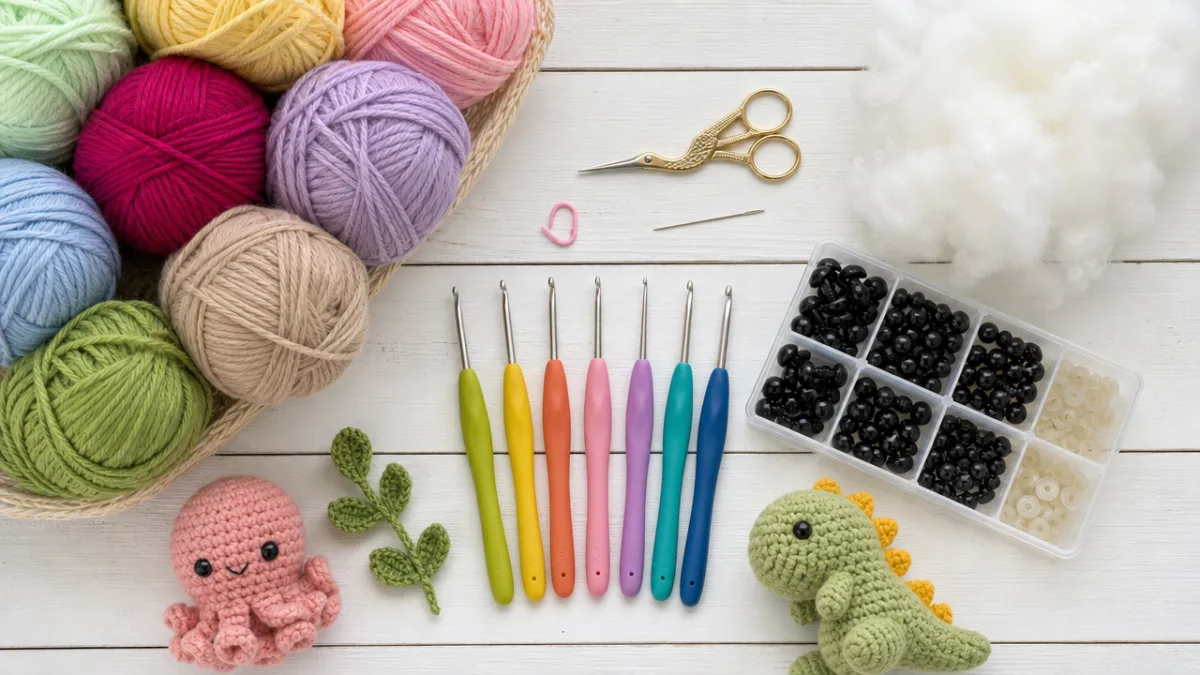
Before you begin crocheting, gathering the right materials will make your entire experience smoother and more enjoyable. The most important supply is your yarn. For a beginner teddy bear, a medium-weight yarn — commonly labeled as worsted weight or size 4 — is ideal because it is easy to handle, works up quickly, and creates a fabric with just the right amount of body and structure for a stuffed toy. Choose a soft, acrylic or cotton blend yarn in the color of your choice. Classic teddy bear shades include warm brown, caramel, cream, and honey, though there is absolutely no rule against making a lilac, mint green, or rainbow bear if that suits your vision.
In addition to yarn, you will need a few essential tools to complete this project. A crochet hook in size 3.5mm to 4.0mm is typically recommended when working with worsted weight yarn for amigurumi, as using a slightly smaller hook than the yarn label suggests creates a tighter fabric that prevents the stuffing from showing through. You will also need polyester fiberfill stuffing to fill your bear, a yarn needle or tapestry needle for sewing the pieces together, stitch markers to keep track of your rounds, and scissors for cutting yarn. Optional but helpful tools include a row counter and pins for positioning pieces before sewing.
For the facial features and embellishments, you have several options depending on the bear’s intended recipient. Safety eyes, which are plastic eyes with a locking washer mechanism, are popular for their polished appearance and come in a variety of sizes and colors. However, if your bear is intended for a young child under three years old, it is strongly recommended to embroider the eyes using yarn or embroidery floss instead, as small parts pose a choking hazard. You might also want a small piece of black yarn or embroidery floss for stitching the nose and mouth. Here is a quick checklist of everything you will need:
- Worsted weight yarn in your chosen color (approximately 100–150 yards)
- Crochet hook, size 3.5mm or 4.0mm
- Polyester fiberfill stuffing
- Yarn or tapestry needle
- Stitch markers
- Scissors
- Safety eyes (12mm recommended) or black embroidery floss
- Black yarn or floss for nose and mouth embroidery
- Optional: pins, row counter, fabric glue
Understanding Basic Stitches and Techniques
If you are brand new to crochet, spending a little time familiarizing yourself with the fundamental stitches before diving into the bear pattern will save you a great deal of frustration later on. The most essential stitch for amigurumi is the single crochet, abbreviated as sc in most patterns. It is a short, compact stitch that creates a dense, firm fabric — exactly what you want when making a stuffed toy. To make a single crochet, insert your hook into the stitch, yarn over and pull up a loop so you have two loops on the hook, then yarn over again and pull through both loops. That is it. One stitch down.
In addition to the basic single crochet, this pattern uses two key shaping techniques: the increase and the decrease. An increase, written as inc, involves making two single crochets into the same stitch, which adds a stitch and causes your work to widen outward. A decrease, written as sc2tog or dec, joins two stitches together into one, reducing your stitch count and causing your work to narrow and curve inward. Together, these three techniques — single crochet, increase, and decrease — are all you need to construct every single piece of your teddy bear, from its round head to its little ears.
Most amigurumi patterns, including this one, begin with a magic ring (also called a magic circle or adjustable ring). This technique allows you to start crocheting in the round without leaving a hole in the center of your piece, which is important for a clean, professional-looking stuffed toy. To make a magic ring, wrap the yarn around your fingers to form a loop, insert your hook, pull up a loop of working yarn, and chain one to secure. You then work your first round of single crochets into the ring before pulling the tail to close the hole. It may feel awkward the first few times, but after a bit of practice it becomes second nature. Here are the core stitches summarized:
- Magic Ring (MR): The adjustable starting loop for crocheting in the round.
- Chain (ch): A foundation stitch used occasionally to start or create structure.
- Single Crochet (sc): The primary stitch throughout this entire project.
- Increase (inc): Two single crochets worked into the same stitch to add width.
- Decrease (dec / sc2tog): Two stitches joined together to reduce width.
- Slip Stitch (sl st): Used occasionally to join rounds or finish off sections neatly.
Working in continuous rounds is another technique that sets amigurumi apart from other crochet styles. Rather than joining each round with a slip stitch and chaining up, you simply continue crocheting in a spiral, using a stitch marker placed in the first stitch of each round to help you track where one round ends and the next begins. This creates a seamless, smooth surface that is ideal for stuffed animals. Move your stitch marker up with every new round, and always count your stitches at the end of each round to make sure you are on track with the pattern.
Crocheting Each Part of the Teddy Bear
The teddy bear is assembled from several individual pieces that are crocheted separately and then sewn together. The main pieces include the head, the body, two arms, two legs, and two ears. Starting with the head is a great idea because it is the largest and most central piece, and getting comfortable with the pattern’s increase and decrease rhythm on a bigger piece will prepare you well for the smaller components. Begin with a magic ring and work 6 single crochets into the ring. Pull the ring closed tightly and place your stitch marker in the first stitch of the next round.
For the head, you will gradually increase from 6 stitches to 36 stitches over the course of several rounds, creating a satisfying sphere shape. Each increase round adds 6 stitches evenly spaced around the circle: round 1 is 6 increases for 12 stitches total, round 2 alternates one sc and one increase for 18 stitches, round 3 alternates two sc and one increase for 24 stitches, and so on until you reach 36. You then crochet several even rounds with no increases or decreases to build the height of the sphere. Once the head is about halfway stuffed — and this is the moment to attach your safety eyes, positioning them between rounds 14 and 15, approximately 6 stitches apart — you begin decreasing in the same even pattern, reducing 6 stitches per round until the opening is small enough to close completely with your yarn needle.
The body is made in the same spherical fashion but starts with 6 stitches and increases to only 30, creating a slightly smaller and more elongated oval shape when stuffed. The arms and legs are worked as small tubes: start with a magic ring, increase evenly to about 8 or 9 stitches, and then work straight rounds until the limb reaches the desired length before decreasing back down to close. The ears are the simplest pieces of all — tiny flat semicircles made by increasing from 6 to 12 stitches and finishing off without stuffing. Here is a simplified breakdown of each piece:
- Head: Magic ring, increase to 36 stitches, work even rounds, stuff firmly, decrease to close.
- Body: Magic ring, increase to 30 stitches, work even rounds, stuff, decrease to close.
- Arms (make 2): Magic ring, increase to 8 stitches, work 8–10 even rounds, stuff lightly, close.
- Legs (make 2): Magic ring, increase to 9 stitches, work 10–12 even rounds, stuff, close.
- Ears (make 2): Magic ring, increase to 12 stitches, finish off flat, no stuffing needed.
Assembling and Stuffing Your Teddy Bear
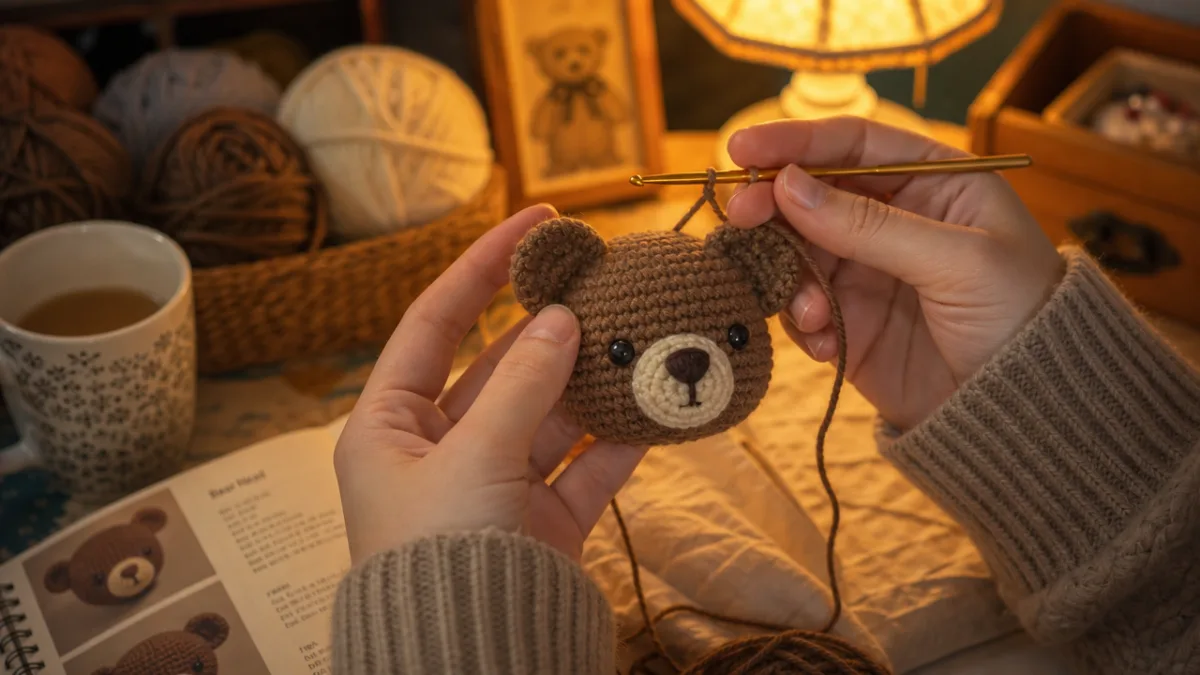
Once all your individual pieces are crocheted and finished off with a yarn tail for sewing, the exciting stage of assembly begins. This is where your collection of separate round and tube shapes starts to look unmistakably like a teddy bear, and it is genuinely one of the most delightful moments in the entire crafting process. Start by laying all your pieces out on a flat surface and arranging them approximately how they will look on the finished bear. This gives you a chance to assess proportions, check that all pieces look consistent in tension and size, and plan your sewing order before you commit anything to thread.
Attach the head to the body first, as this is the most structurally important connection. Thread the yarn tail from one piece through your tapestry needle and use a whip stitch or mattress stitch to sew the two pieces together, working around the entire circumference of the joining point. Pull your stitches firmly but not so tight that you distort the shape of either piece. If you find the yarn tail from the piece is not long enough to go all the way around, you can cut a fresh length of yarn in the same color, thread it through the needle, and continue from where you left off. Make sure to weave in all yarn ends securely inside the bear when you are done.
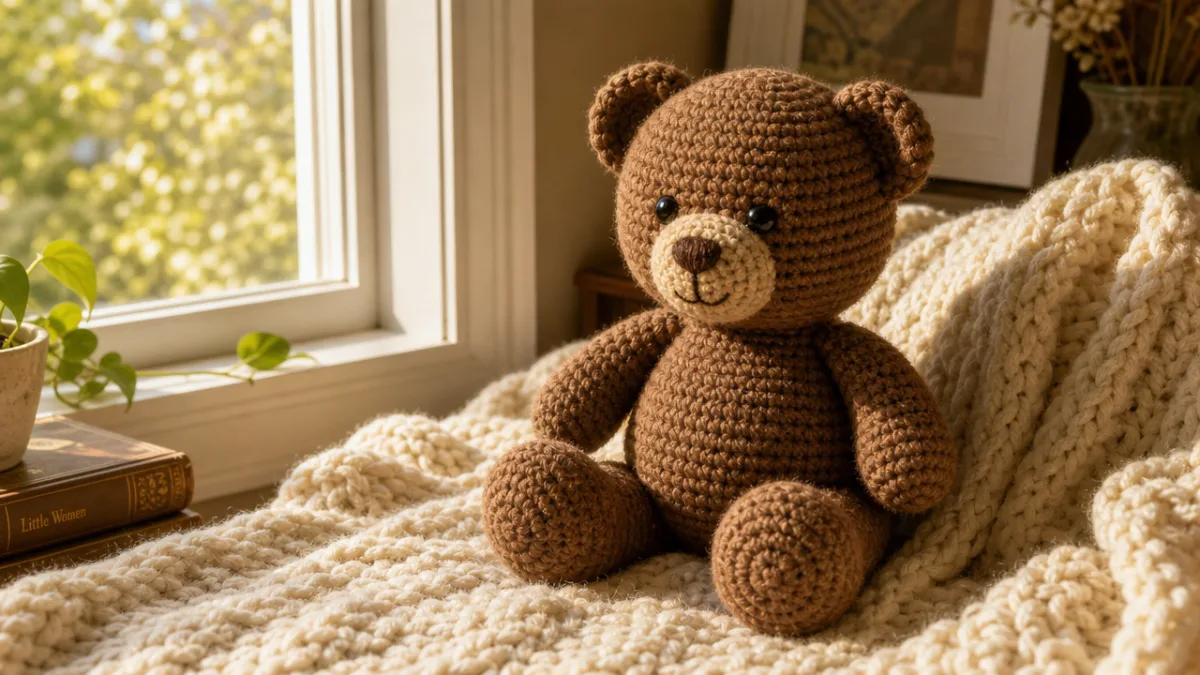
Position the arms on the sides of the body, roughly level with where the head and body meet. Pin them in place before sewing to ensure symmetry — holding the bear up and looking at it from the front will help you judge placement. The legs attach to the underside of the body, angled slightly outward so the bear can sit on its own when propped up. The ears go on top of the head, positioned evenly on either side. Flatten each ear slightly and sew along the straight edge to attach it to the head. Take your time with each attachment; careful, even stitching at this stage is what distinguishes a polished, professional-looking bear from one that looks a little lopsided or uneven.
Facial embroidery is the final structural step and the one that will most define your bear’s character and expression. Using black yarn or embroidery floss and a tapestry needle, stitch a small triangle or oval shape for the nose just below the center of the face. From the base of the nose, bring your needle down and out to stitch a simple V-shape or curved line for the mouth. The placement and size of these stitches have an enormous impact on the bear’s overall expression — a nose placed higher and a slightly curved mouth creates a cheerful look, while a flatter mouth and wider-set eyes can give a more contemplative expression. Do not be afraid to experiment and find the face that feels right for your bear.
Finishing Touches and Care Tips
With the bear fully assembled and the face embroidered, there are a few finishing touches that can elevate your creation from a simple craft project to a truly special handmade toy. Many makers like to add a small ribbon or bow tied around the bear’s neck, which instantly gives it a charming, gift-ready appearance. A length of narrow satin ribbon in a complementary color, tied in a simple bow and secured with a few stitches so it does not slip, is all it takes. You might also consider adding a small embroidered heart on the bear’s chest, a tiny crocheted hat or scarf, or even a miniature flower stitched to one ear for a whimsical touch.
Blocking your finished bear — gently wetting it, reshaping it by hand, and allowing it to air dry — can make a noticeable difference in the final appearance, particularly if your tension was inconsistent in places or if the bear looks a little lumpy or uneven after assembly. Most acrylic yarns are not suitable for steam blocking, but a light wet blocking works beautifully to even out stitches and give the bear a more polished, professional finish. Simply mist your bear lightly with water, gently smooth and reshape each part with your hands, and lay it flat on a clean towel to dry completely before presenting or storing it.
Caring for a crocheted teddy bear is relatively straightforward, but knowing the proper method will keep it looking its best for years to come. Most acrylic yarn projects can be machine washed on a gentle cycle in cold water and laid flat to dry, though always check the yarn label for specific care instructions. Avoid putting the bear in a dryer at high heat, as this can cause the yarn fibers to pill or even melt in the case of some synthetics. Stuffed bears that are well-loved and frequently handled may need occasional re-stuffing over time as the fiberfill compresses; simply open a small section of seaming, add more stuffing, and re-sew to restore the bear’s shape.
If you have caught the amigurumi bug — and many beginners do after completing their first teddy bear — there is a wonderful, supportive online community of crochet enthusiasts ready to welcome you. Platforms like Ravelry, Pinterest, and Instagram are filled with free and affordable patterns for every kind of crocheted creature imaginable, from cats and elephants to fantasy characters and seasonal holiday figures. The skills you have learned through this teddy bear project — the magic ring, increasing, decreasing, working in continuous rounds, and sewing pieces together — are the exact same skills used in virtually every amigurumi pattern out there, which means you are now genuinely equipped to tackle a wide and exciting range of projects.
Troubleshooting Common Beginner Mistakes
Even with the clearest instructions in the world, crocheting your first amigurumi will likely come with a few hiccups along the way, and that is completely normal and expected. One of the most common issues beginners encounter is losing track of their stitch count as they work through rounds. If you find that your piece has more or fewer stitches than the pattern calls for at the end of a round, do not panic. It is worth frogging — a crochet term meaning to unravel your work back — to the point where your count was correct and starting again from there. Using a stitch marker consistently and counting stitches at the end of every single round will prevent this problem from becoming a recurring headache.
Another frequent challenge is achieving consistent tension throughout your work. Tension refers to how tightly or loosely you hold and pull the yarn as you crochet, and inconsistent tension can result in a finished piece that looks uneven, with some stitches noticeably tighter or looser than others. For amigurumi specifically, working with slightly tighter tension than you might use for other projects is beneficial, as it creates a firmer fabric with smaller holes. If you notice your stuffing showing through your stitches, try dropping down a hook size or consciously working more tightly. With time, your tension will naturally become more consistent as your hands develop muscle memory for the craft.
Sewing the pieces together neatly is another area where beginners sometimes struggle, often because they rush through this step after the excitement of finishing all the crocheted pieces. Take your time positioning each piece carefully, using pins to hold everything in place before committing to any stitches, and sew slowly with even tension on each stitch. If a sewn attachment looks uneven or one piece seems to be sitting at an awkward angle, it is worth taking the stitches out and repositioning — a few extra minutes spent on placement will make a significant difference to the overall look of your finished bear. Remember, every handmade item is unique, and even imperfect stitches carry the warmth of the hands that made them.
Finally, do not underestimate the value of practice and patience with yourself as a beginner. Crochet is a skill that genuinely improves with repetition, and your second bear will almost certainly look better than your first, your third better than your second, and so on. Many experienced makers look back fondly on their early, slightly wonky creations as precious reminders of where they started. The most important thing is to enjoy the process, celebrate each completed step, and remember that every stitch you make is building a skill that will bring you creative joy and the ability to make heartfelt, handmade gifts for years to come.








What do you think?
It is nice to know your opinion. Leave a comment.