










Use Stones To Create Stairs Garden You’ll Want To Copy
The Timeless Appeal of Stone Stair Gardens
There’s something deeply satisfying about a garden that looks like it’s always been there — like nature itself nudged the stones into place and coaxed the plants to grow over generations. Stone stair gardens pull off exactly that trick, marrying the clean structure of steps with the loose, living beauty of plants. Whether your yard slopes gently or drops off sharply, stone stairs can turn what feels like a landscaping headache into the most eye-catching part of your entire property.
Stone has been a garden staple for thousands of years — think of the terraced hillsides of ancient Rome or the moss-softened pathways of traditional Japanese gardens. In both traditions, people understood that stone and plants belong together. The weight and permanence of natural stone gives everything around it a kind of anchor, making delicate flowers and trailing vines look even more beautiful by contrast. That push and pull between hard and soft is exactly what makes stone stair gardens so endlessly appealing.
Today, more and more homeowners are rediscovering this, turning away from poured concrete and pressure-treated lumber in favor of natural stone that actually belongs in the landscape. And honestly, it’s not just about looks. Stone staircases are remarkably durable — they often outlast every other structure in a garden by decades. They need very little upkeep once they’re in place, and unlike synthetic materials, they genuinely look better with age, picking up patinas and mosses and gradually settling in like they were always meant to be there.
Choosing the Right Stones for Your Garden Stairs
The single most important decision you’ll make when planning a stone stair garden is choosing your stone. Not all stone works equally well for this, and what you pick will shape everything — the look of your finished stairs, how safe they feel underfoot, how well they hold up over time, and how naturally they blend with whatever plants you’re growing alongside them. Spend a little time understanding your options before you buy anything, and you’ll save yourself a lot of headaches later.
Flagstone is one of the most popular picks, and for good reason. Its flat, broad surface gives you solid footing and a generous ledge along each riser for plants to spill over. Bluestone, sandstone, and limestone are the most common varieties, and each brings its own personality. Bluestone’s cool gray-blue tones pair beautifully with silver-leaved plants like lamb’s ear or lavender. Sandstone’s warm honey and amber hues feel right at home in a cottage garden full of roses, foxgloves, and hollyhocks. Limestone leans toward pale creams and whites, which gives a design a more formal, put-together feel.
If you’re after something more rustic, fieldstone and river rock are wonderful alternatives. They take more skill to stack properly, but when it’s done well, the result looks like the staircase grew straight out of the earth. Granite is another solid choice, especially if it’s quarried locally — it’s incredibly hard, weathers beautifully, and its speckled texture holds up well under heavy foot traffic. Whatever stone you land on, look for pieces with at least one naturally flat face for the tread surface, and try to keep a consistent thickness throughout your steps so the whole thing feels safe and looks cohesive.
Planning and Designing Your Stone Stair Garden
Good design is everything here, and the planning phase deserves just as much effort as the actual building. Start by taking a close look at your slope. The ratio of rise to run — meaning how tall each step is versus how deep — matters a lot for both comfort and safety. For outdoor stairs, a rise of four to seven inches and a run of at least twelve inches is a comfortable standard, though wider treads of fifteen to eighteen inches give you that slow, meandering feel that works really well in naturalistic gardens.
Sketch out how the stairs will connect the different levels of your space, and think about what someone will see as they walk up or down. Will the staircase run straight, or will it curve through the landscape? Curved staircases are more work to build, but they can be stunning — especially when you edge them with low-growing flowering plants that soften those outer curves. Straight runs have a clean, confident look of their own and are generally easier to build accurately.
Don’t overlook drainage when you’re designing. Water running downhill will always take the easiest path, and if your staircase is sitting right in its way, you’ll end up with erosion under the stones and slippery, algae-covered treads. A slight backward pitch on each tread — angling the surface just a hair back into the slope rather than forward — will send rainwater off to the sides instead of washing down the front. A gravel or crushed stone sub-base helps with drainage too, and it also reduces frost heaving in climates where the ground freezes in winter.
Step-by-Step Construction Guide
Once your design is set and your materials are on site, you’re ready to start building. There’s something genuinely enjoyable about constructing stone garden stairs — it’s part puzzle, part craft, part creative problem-solving. While you’d definitely want professional help for a very steep or large-scale project, most homeowners with reasonable fitness and basic tool familiarity can pull off a modest stone stair garden over a weekend or two.
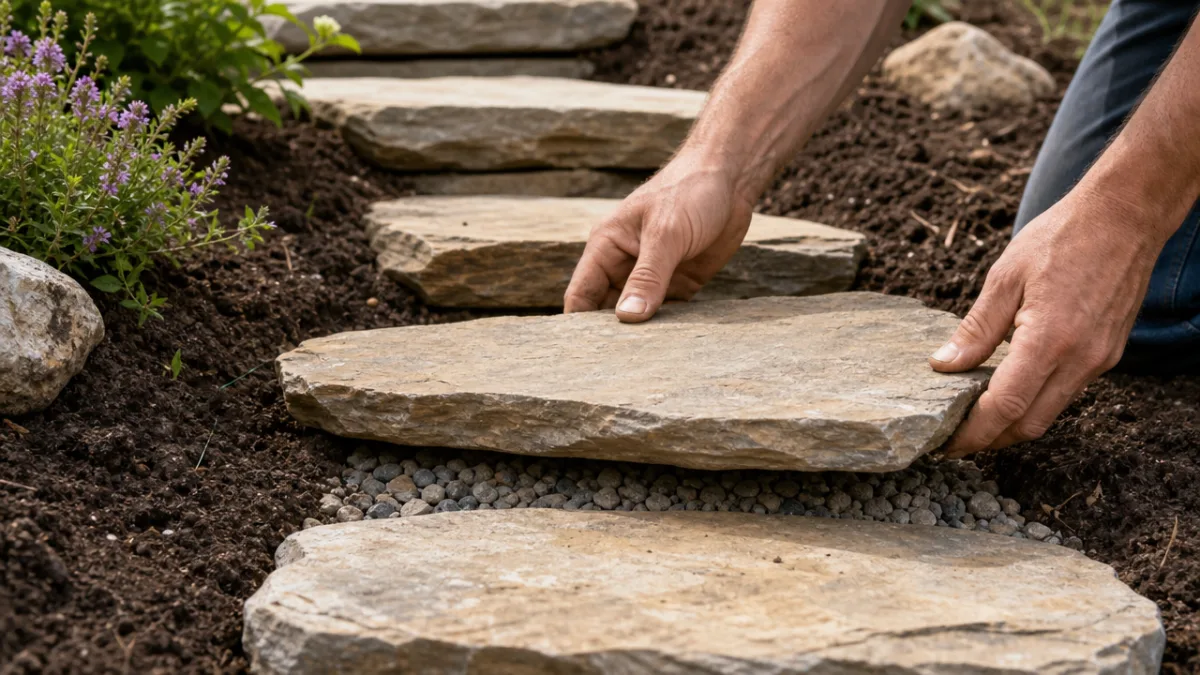
Start by excavating along your planned staircase route. Dig out the topsoil and organic material to a depth of at least six inches, cutting a rough series of terraces into the slope that will form the foundation for each step. Compact that exposed subsoil well, then fill each terrace with two to four inches of compacted crushed gravel. Don’t skip this part — the gravel base is what keeps your stairs stable for the long haul, preventing stones from sinking or shifting as the soil cycles through wet and dry, freeze and thaw. Lay your base stones first, using your largest and flattest pieces for the bottom step since it carries the most weight and sets the visual tone for everything above it.
Work your way up the slope one step at a time, fitting each stone as snugly as possible against the ones beside and below it. Leave intentional gaps at the sides and back of each tread where you plan to plant, but make sure the main structural stones have solid, wobble-free contact with the sub-base. Tap stones in with a rubber mallet, and keep checking the level of each tread as you go. A few things worth keeping in mind throughout construction:
- Test every stone for stability before you move on — a rocking stone is a real safety hazard, so don’t leave it for later.
- Overlap joints between adjacent stones by at least three inches to keep things from pulling apart over time.
- Keep that backward pitch consistent at about one to two degrees so drainage is even across all the treads.
- Fill gaps between stones with a coarse sand and topsoil mix — this gives groundcovers something to root into.
- Step back regularly and look at the whole picture. Visual balance matters, and it’s much easier to adjust things while they’re still loose.
- Keep sharp, protruding edges away from the leading lip of any tread where they could catch someone’s foot.
Once all the structural stones are in and the staircase feels solid, you can move on to refining the edges and getting your planting pockets ready. Fill and define the risers between steps with smaller stones, and pack all the gaps with your sand-soil mixture, tamping it down firmly. Give the whole staircase a thorough watering to help the fill settle, then top it up where it’s dropped. Let everything rest for a few days before you plant — the stones and fill need a bit of time to find their final positions.
Choosing Plants for Your Stone Stair Garden
The plants you choose will ultimately shape the whole mood of the finished garden, and this is where you really get to have fun. The guiding principle is contrast — the hard, angular solidity of stone becomes infinitely more beautiful when it’s softened by the movement, texture, and color of living plants. Look for things that will cascade over step edges, creep into crevices, and billow above the risers in soft, generous clumps.
For planting in gaps between stones and along tread edges, low-growing groundcovers are your best friends. Creeping thyme is a perennial favorite — it forms dense, fragrant mats that release a wonderful herbal scent when brushed lightly underfoot, and it puts on a gorgeous flush of tiny purple flowers in summer that pollinators can’t resist. Corsican mint offers a similar low, mat-forming habit with an intensely refreshing scent. Woolly thyme, moss phlox, and ajuga are all great options too, handling the tough conditions of staircase planting — shifting moisture, heat radiating off the stone, the occasional footstep — with surprising resilience.
For the planting pockets alongside the stairs and at the edges of each step, you have a much wider range to work with depending on your climate and the look you’re going for. Some favorites by garden style:
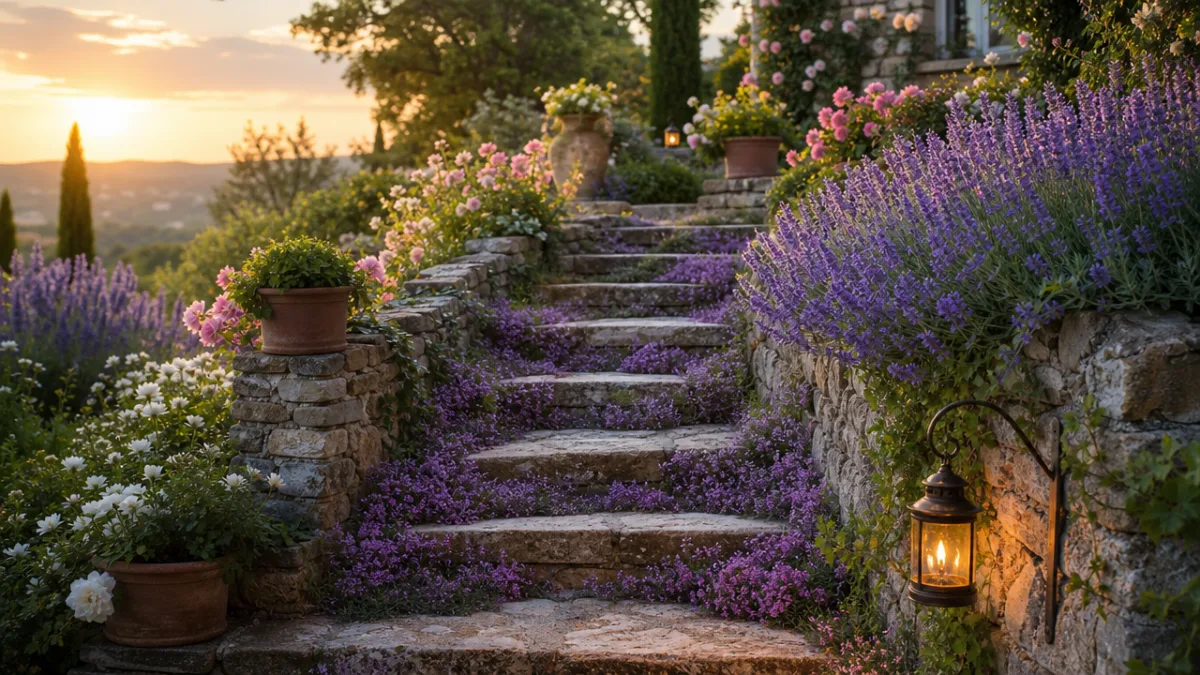
- Cottage Garden Style: Lavender, catmint, lady’s mantle, foxglove, and hardy geraniums create a romantic, tumbling look that’s perfect with warm-toned stone.
- Mediterranean Style: Rosemary, santolina, euphorbias, and ornamental grasses love the excellent drainage of a stone staircase and look striking against pale limestone or bluestone.
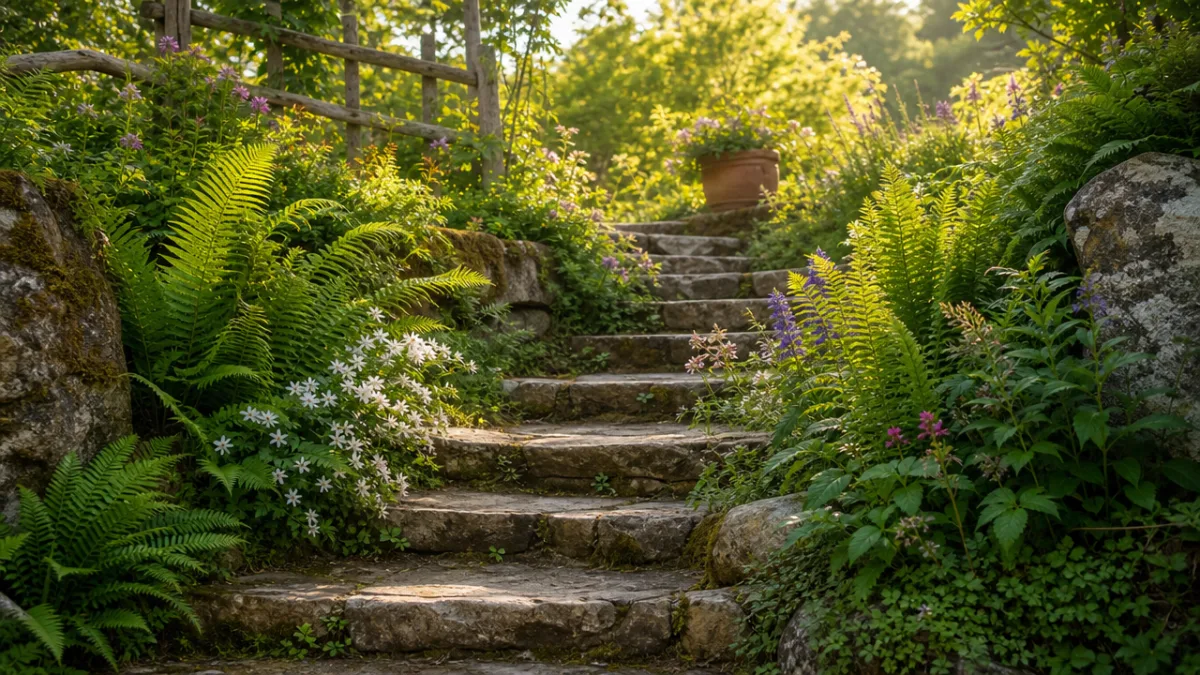
- Woodland Style: Ferns, hostas, astilbes, and epimediums bring lush, layered texture to shaded stairs, making the whole space feel cool and serene.
- Modern Minimalist Style: Ornamental grasses, agaves, sedums, and architectural yuccas offer bold form and strong contrast against the geometry of the steps.
- Japanese-Inspired Style: Mosses, mondo grass, Japanese forest grass, and carefully chosen ferns bring that quiet, meditative quality of traditional Japanese garden design.
Maintenance and Long-Term Care
One of the best things about a stone stair garden is how little it asks of you once it’s settled in. The structural elements of your staircase really just need an annual check for any stones that have shifted or settled, plus a bit of topping-up where fill material has washed or settled away. That’s largely it — which makes this kind of garden genuinely appealing if you want something beautiful without a heavy maintenance commitment.
The plants will need a bit more attention during their first year, mainly regular watering through dry spells while they’re getting their roots established. After that, most of the tough, adaptable species that work well in staircase settings are pretty self-sufficient. On an annual basis, you’ll typically want to cut back anything that’s crept beyond where you want it, top-dress your planting pockets with a bit of compost in early spring, and pull any self-seeded weeds before they get a foothold. Avoid chemical weedkillers near your stairs — they can damage the plants you actually want growing in the crevices, and some can stain or discolor certain stone types.
Come autumn, hold off on cutting everything back completely. Plenty of low-growing groundcovers and spreading perennials carry their foliage through winter and give the garden some life even in the coldest months. Dried seed heads on taller plants can look genuinely beautiful frosted on a winter morning. In early spring, a light trim is usually all it takes to get most staircase plants looking fresh and ready to go. If anything didn’t make it through winter, early spring is the perfect time to try something new in that spot — it’s one of the nice things about this kind of garden, that you can keep tweaking and improving it year after year.
Inspiring Design Variations and Creative Ideas
The great thing about stone stair gardens is how much room there is to make them your own. You don’t have to stick rigidly to one style or recreate something you saw in a magazine. The most memorable stone stair gardens are the ones that feel personal — that reflect the tastes of whoever made them and genuinely belong in their specific landscape.
One beautiful option is building planting beds directly into the staircase structure. Instead of relying only on crevices and tread edges for planting, you can design wider landings or deliberately broadened sections of staircase where raised beds are built up from stacked stone walls. These little gardens-within-a-garden can hold larger plants, small shrubs, or even dwarf trees, creating dramatic focal points and a sense of abundance that makes the staircase feel like a destination rather than just a way to get from one level to another.
Water features are another inspired addition for the adventurous builder. A narrow channel of water running alongside or even beneath a series of stone steps — dropping in small cascades from level to level — brings the extraordinary elements of movement and sound into the garden. And if you want to extend the experience into the evening, integrating low-voltage lighting into the staircase structure is a simple but transformative touch. Small fixtures tucked under the lip of each tread to illuminate the step below turn an ordinary staircase into something magical after dark, keeping it both beautiful and safely visible on dark nights. Details like these are what take a solid, well-built stone staircase and make it something you — and everyone who visits — will find endlessly rewarding to walk through, in every season and every kind of light.








What do you think?
It is nice to know your opinion. Leave a comment.