










DIY Screwball Flowers: The Ultimate Guide to Stunning Yard Art
What Are Screwball Flowers and Why You Need Them in Your Yard
Screwball flowers are a wonderfully quirky and eye-catching form of yard art that transforms ordinary outdoor spaces into vibrant, whimsical gardens bursting with personality. Unlike real flowers that wilt with the seasons, these handcrafted creations are built to last through rain, wind, and the relentless march of time. They are crafted from repurposed materials, found objects, and a generous helping of creative imagination, making each piece completely one of a kind and deeply personal to the maker.
The name “screwball” perfectly captures the playful, unconventional spirit behind these DIY garden decorations. They can be tall or short, brightly colored or subtly toned, made from metal or wood or recycled plastics — the only real rule is that there are no rules. This freedom is precisely what draws so many crafters and garden enthusiasts to the project. Whether you are a seasoned DIYer or someone just dipping a toe into the world of handmade yard art, screwball flowers offer an accessible and endlessly rewarding creative outlet.
Beyond their visual charm, screwball flowers serve a deeper purpose in the garden. They add structure and interest during the off-season when real plants have died back, they provide focal points that draw the eye through a landscape design, and they spark conversation among guests and neighbors alike. A well-placed cluster of screwball flowers near a garden gate, along a fence line, or nestled among living plants creates a layered, gallery-like effect that elevates the entire outdoor space from ordinary to extraordinary.
Materials and Tools You Will Need to Get Started
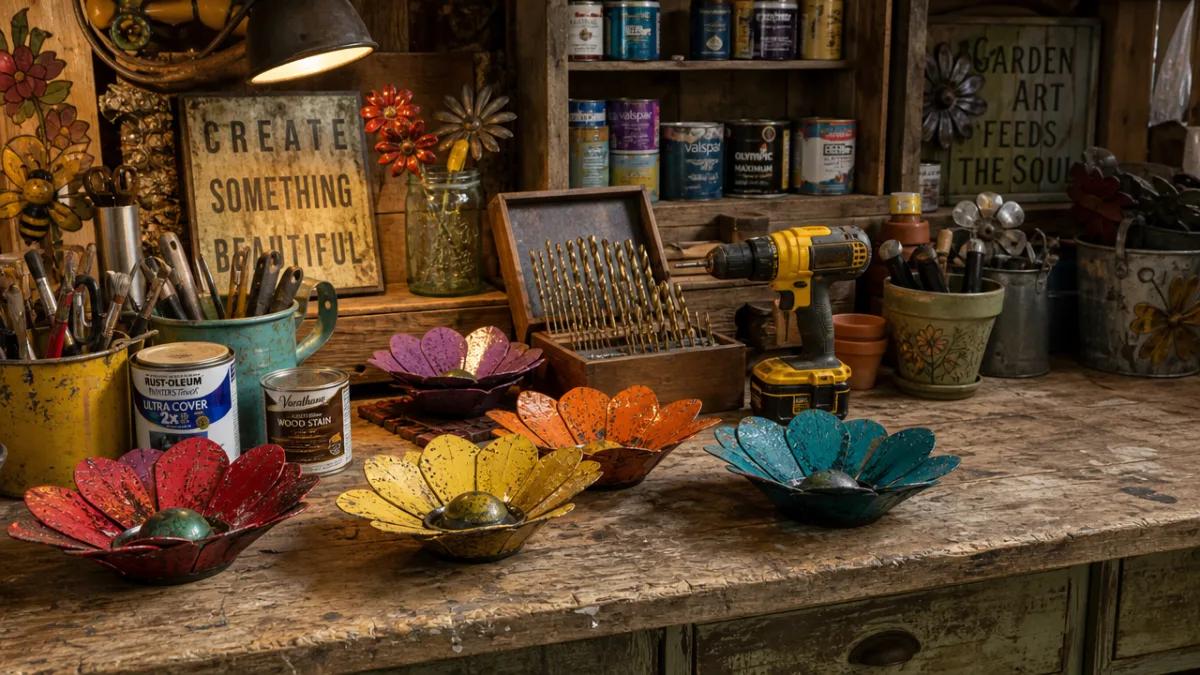
Gathering your materials before you begin is one of the most enjoyable parts of the screwball flower-making process because it often involves treasure hunting at thrift stores, garage sales, and hardware shops. For the flower heads, common choices include old metal cake pans, hubcaps, colanders, plastic bowls, jar lids, and even vintage tea trays. The key is to look for circular or petal-shaped objects that can be layered, stacked, or fanned out to mimic the look of a blooming flower. Do not overlook broken or mismatched kitchenware — its imperfections often add the most character.
For the stems, most screwball flower artists rely on metal rebar, copper pipe, wooden dowels, or repurposed metal conduit. The stem needs to be sturdy enough to support the flower head and weather outdoor conditions without bending or rotting. Metal stems are generally preferred for longevity, especially when they will be sunk directly into garden soil. If you plan to display your flowers in a planter or pot rather than in the ground, you have a bit more flexibility with lighter-weight stem options.
Your basic toolkit should include the following items to ensure a smooth building process:
- Power drill with metal and wood drill bits for creating attachment holes
- Wire cutters and pliers for shaping and securing metal components
- Outdoor-grade spray paint in a rainbow of colors for finishing and weatherproofing
- Epoxy adhesive or waterproof construction adhesive for bonding non-drillable materials
- Bolts, nuts, and large washers to assemble layered flower heads
- Sandpaper or a wire brush for surface preparation before painting
- Safety gloves and goggles to protect yourself during cutting and drilling
Do not underestimate the importance of surface preparation before you paint. Metal surfaces benefit enormously from a coat of rust-inhibiting primer, which prevents oxidation and helps the topcoat adhere more durably. Wooden components should be sanded smooth and sealed with an outdoor primer as well. Taking the extra time at this stage means your screwball flowers will retain their vibrant color and structural integrity for many seasons rather than peeling and rusting after the first winter.
Step-by-Step Instructions for Building Your First Screwball Flower
Begin by selecting your flower head components and arranging them on a flat surface to experiment with different layering combinations before committing to a final design. A classic approach is to use three graduated sizes of circular objects — a large base layer, a medium middle layer, and a small center accent — to create the illusion of depth and dimension. Offset the layers slightly so that the edges of each piece peek out from behind the one in front of it, just as real flower petals overlap naturally and organically.
Once you are satisfied with your arrangement, mark the center point of each layer and use your power drill to create a hole through which your central bolt will pass. Thread the bolt through all layers from back to front, slipping large washers between each layer to create spacing and visual separation. Secure everything firmly with a nut at the front, and consider adding a decorative center element — a large glass marble, a vintage button, a wooden spool, or a painted bottle cap — to cover the bolt head and add a charming finishing touch to the flower’s face.
Next, prepare your stem by cutting it to your desired height and drilling or grinding a small hole near the top end where you will attach the completed flower head. You can attach the flower head to the stem using a bolt that passes through both the stem hole and the back of the flower assembly, secured with a locking nut. Alternatively, many builders weld the stem directly to the back plate if they have access to welding equipment. For a more casual and forgiving connection, heavy-gauge wire wrapped tightly in multiple directions can also do the job effectively.
After assembly, give your creation a thorough coat of rust-inhibiting primer and allow it to dry completely before applying your color coats. Bright, saturated colors tend to look most striking in garden settings, as they pop against the greens and browns of the surrounding landscape. Do not be afraid to use multiple colors on a single flower — painting each layer a different hue creates a stunning ombre or rainbow effect that catches the light beautifully at different times of day. Finish with a clear outdoor sealer for maximum weather resistance.
Creative Design Variations to Personalize Your Flowers
One of the greatest joys of screwball flower making is that the design possibilities are virtually limitless once you understand the basic structure. For a sunflower-inspired look, use a large round base plate and cut petal shapes from sheet metal or aluminum flashing, bending them outward at varied angles to create a three-dimensional burst of color. Paint the petals in warm yellows and oranges with a dark brown or black center, and the result is a garden focal point that rivals any real sunflower in visual impact and drama.
For a more delicate, daisy-like aesthetic, try using vintage spoons as individual petals arranged in a circle around a central hub. Flatten the spoon bowls slightly with a hammer, drill a hole through the handle of each one, and bolt them around the perimeter of a small decorative plate or lid. This technique requires a bit more patience during assembly but produces a result that is utterly charming and surprisingly realistic from a distance. Painting each spoon petal in white with a pale yellow center completes the illusion beautifully.
Consider these additional design ideas to expand your screwball flower garden:
- Mosaic flowers: Apply broken ceramic tile or stained glass fragments using waterproof tile adhesive and grout for a stunning, jewel-like effect that glitters in sunlight.
- Recycled CD flowers: Stack old compact discs in layered arrangements to create iridescent blooms that shimmer and change color as light hits them from different angles.
- Bottle cap blossoms: Flatten metal bottle caps and arrange them in concentric rings to create textured, industrial-chic flower faces with real vintage character.
- Windmill flowers: Cut and bend the petal layers so they catch the breeze and spin gently, adding movement and sound to your yard art installation.
- Upcycled garden tool blooms: Fan out old trowel heads or fork tines to create rustic, tool-themed flowers that nod to the garden setting in a witty and self-aware way.
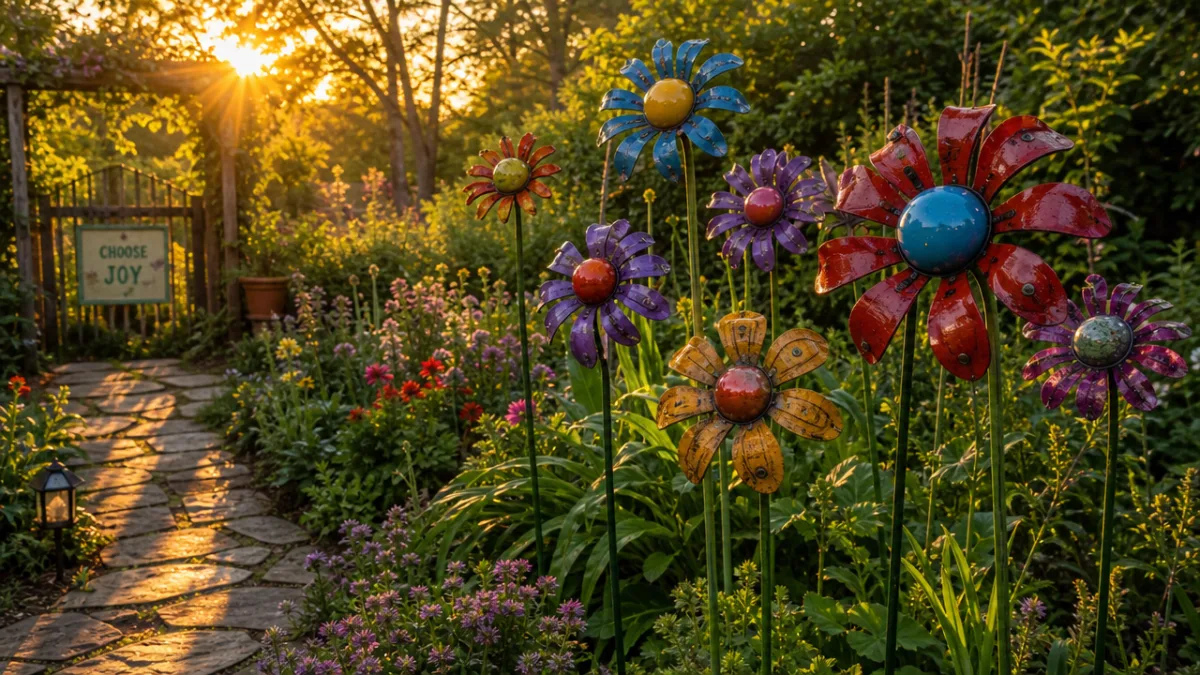
Grouping several different flower varieties together at varying heights creates a naturalistic meadow effect that feels both intentional and charmingly spontaneous. Vary the stem heights dramatically — some flowers barely peeking above ground level while others tower overhead — to create visual rhythm and movement throughout your display. Adding foliage elements crafted from painted metal leaves or repurposed garden forks pressed into the soil completes the illusion of a fully realized garden vignette made entirely from found and repurposed materials.
Siting, Installing, and Displaying Your Yard Art
Choosing the right location for your screwball flowers is just as important as building them well. These pieces work best when they are positioned to be seen from a primary vantage point — the front porch, a kitchen window, or the end of a garden path — so that their colors and shapes can be fully appreciated. Avoid hiding them deep in dense plantings where they will be obscured by foliage; instead, site them at the front or edge of a garden bed where they can stand proud and be enjoyed from multiple angles as you move through the yard.
Installing metal-stemmed flowers into the ground is straightforward but requires a bit of muscle and the right technique. Use a metal stake driver or simply a hammer and a scrap piece of wood placed over the stem top to drive it firmly into the earth without bending or damaging the stem. Aim for at least twelve to eighteen inches of burial depth for shorter flowers, and a full two feet for taller specimens that might be subject to tipping in high winds. In areas with particularly heavy clay or rocky soil, pre-drilling a pilot hole with a narrow metal rod makes installation much easier.
If you prefer not to install directly in the ground, there are several attractive alternatives worth considering. Heavy ceramic or terra cotta planters filled with fast-drying concrete make excellent portable bases that can be moved with the seasons or rearranged as your design vision evolves. Decorative metal buckets filled with smooth river stones are another option that adds textural interest at the base of the flower while providing ample stability. For a cohesive installation on a deck or patio, line several planter-based flowers along a railing or fence to create a colorful living wall effect without any ground penetration at all.
Maintenance, Weatherproofing, and Long-Term Care
Proper maintenance is what separates a screwball flower display that looks great for years from one that deteriorates into a rusty, peeling eyesore by the second season. The most important step is the initial weatherproofing — investing in high-quality outdoor paint products and applying them in the correct sequence of primer, color coat, and clear sealer will pay enormous dividends over the life of the piece. Spray paints formulated specifically for metal surfaces and outdoor exposure are widely available at hardware stores and offer significantly better durability than standard craft paints, which were never designed to withstand UV exposure, rain, and temperature fluctuations.
Plan on doing a seasonal inspection of your screwball flowers at least once a year, ideally in early spring before the main growing season begins. Look for chips, cracks, or flaking in the paint surface, and address any bare metal areas immediately with a touch-up coat of primer and color before rust has a chance to take hold. Check that all nuts, bolts, and wire connections remain tight and secure, tightening anything that has worked loose over the course of the previous season. A little preventive attention each spring will keep your yard art looking vibrant and structurally sound for a decade or more.
In regions with harsh winters characterized by heavy snowfall, freezing rain, or extreme cold, consider bringing your screwball flowers indoors or storing them in a sheltered outbuilding for the coldest months. While well-sealed metal pieces can generally tolerate winter conditions, the freeze-thaw cycle is particularly hard on paint surfaces and on any connections involving dissimilar metals or materials. If bringing them in is not practical, at minimum wrap the flower heads loosely in burlap or breathable fabric to protect the painted surfaces from direct ice contact and reduce the mechanical stress of ice accumulation.
Finally, remember that a bit of natural weathering and patina is not necessarily a bad thing. Many yard art enthusiasts deliberately embrace the aged look that develops over time, considering it part of the piece’s evolving character and charm. Rust blooming around edges, paint fading to softer tones, and metals developing their natural oxidation patinas can all lend a beautiful, time-worn quality to your screwball flowers that feels right at home in a natural garden setting. The decision to maintain a crisp, freshly painted look or to allow graceful aging is entirely yours — and either choice results in a garden that is uniquely and unmistakably your own.
Inspiring Your Community and Sharing the Screwball Flower Tradition
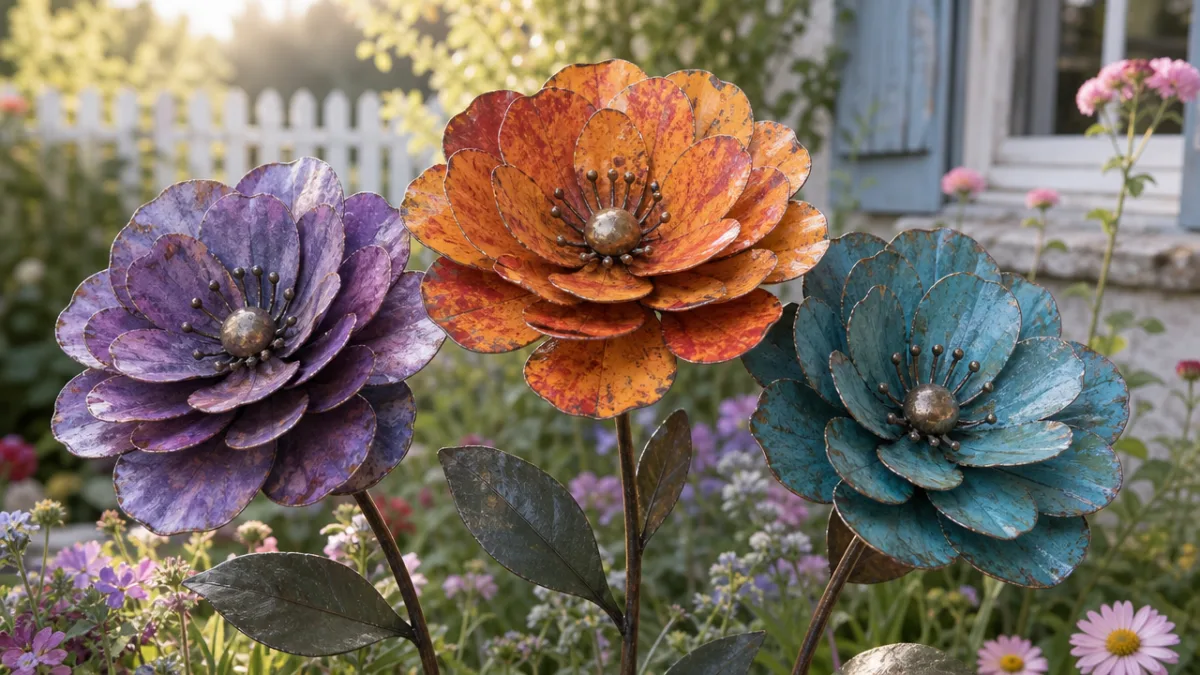
One of the most rewarding aspects of yard art in general and screwball flowers in particular is the way they invite connection with neighbors and passersby. A colorful collection of handmade flowers along your front walkway or garden fence inevitably becomes a neighborhood landmark — a spot that people slow down to admire, photograph, and smile at as they pass. In this way, your personal creative expression becomes a small gift to your entire community, adding beauty and whimsy to the shared visual landscape of your street and neighborhood.
Consider organizing or participating in a neighborhood screwball flower workshop where participants can share materials, tools, and techniques in a collaborative and social setting. These events are wonderful for all ages — children love the painting and decorating stages, while adults enjoy the assembly and design problem-solving aspects. A shared workshop also makes the project more economical since the cost of tools and specialty materials can be distributed among participants. The result is a block or neighborhood where multiple households display their handmade creations, creating a cohesive and joyful artistic theme that defines the character of the area.
Document your builds and share them on social media platforms like Pinterest, Instagram, and Facebook craft groups where the yard art community is large, enthusiastic, and wonderfully encouraging. Seeing your work appreciated by fellow makers from around the world is deeply satisfying, and the comments and questions you receive will inspire new ideas and refinements for your next project. More importantly, your shared photos and tutorials may be exactly the spark of inspiration that encourages someone else — perhaps someone who has never made anything with their hands before — to pick up a drill, raid their recycling bin, and create something beautiful and lasting for their own yard.
The tradition of yard art and folk sculpture has deep roots in many cultures around the world, representing a democratic, accessible approach to artistic expression that does not require formal training, expensive materials, or institutional validation. Screwball flowers sit proudly within this tradition, carrying forward the spirit of make-do ingenuity and personal expression that has always characterized the best of handmade American folk art. When you plant your first metal flower in your garden soil, you are joining a lineage of makers who believed that beauty belongs everywhere — not just in galleries and museums, but right outside the front door, catching the light and making the neighbors smile.








What do you think?
It is nice to know your opinion. Leave a comment.