










21 Adorable DIY Easter Crafts for Kids: A Complete Guide to Festive Fun
Why DIY Easter Crafts Are Perfect for Kids of All Ages
Easter is one of those holidays that practically begs you to get creative with your kids. All that color and excitement? It’s the perfect excuse to spread out some paper, break out the paint, and make something together. And honestly, the benefits go way beyond just keeping little hands busy — crafting helps kids build fine motor skills, tap into their imagination, and create the kind of memories that stick around long after the candy is gone. Whether you’ve got a toddler who’s obsessed with finger paint or a older kid who’s getting into origami, there’s an Easter project out there with their name on it.
One of the best things about homemade Easter crafts is how accessible they are. Most projects only need supplies you’ve probably already got lying around — construction paper, glue sticks, googly eyes, pipe cleaners, a little paint. That makes DIY crafting a genuinely budget-friendly swap for store-bought decorations, and the end result is usually way more charming anyway. There’s something about a decoration a child made with their own hands that no mass-produced version can touch.
But really, the finished product isn’t even the best part. The real magic happens during the making — sitting around a table that’s slowly getting buried in glitter, giggling over a lopsided bunny, or marveling at how an egg actually turned out kind of amazing. Those are the moments kids remember. Easter crafts have this wonderful ability to pull people together across generations, giving grandparents, parents, and little ones a shared activity that everyone genuinely enjoys. Rain or shine, quiet afternoon or loud Easter party, crafting just sets the right tone.
Essential Supplies to Stock Before You Start
Before you dive into any projects, it’s really worth taking ten minutes to gather everything you’ll need upfront. Nothing derails a crafting session faster than having to stop and hunt for scissors while a four-year-old is losing interest and a glue stick is drying out. When you’re prepared, the whole thing just flows — the kids stay engaged, you stay relaxed, and the results are genuinely better too.
Here’s a solid list of core supplies that’ll cover you for pretty much any DIY Easter project. Stock these and you can say yes to almost any idea without a last-minute store run.
- Construction paper in pastel shades including yellow, pink, lavender, mint green, and sky blue
- White and colored cardstock for sturdier projects like stand-up bunnies and egg garlands
- Washable tempera paint in a full rainbow of colors, plus white and metallic gold
- Foam paintbrushes in multiple sizes as well as round detail brushes
- Googly eyes in assorted sizes for giving personality to every creature you create
- Pipe cleaners, pom-poms, and cotton balls for fluffy bunny tails and decorative touches
- Craft glue, glue sticks, and a low-temperature hot glue gun for adult use
- Scissors with both straight and decorative edges, child-safe versions for younger crafters
- Ribbon, twine, and baker’s twine for hanging decorations and finishing touches
- Stickers, washi tape, and foam sticker sheets for easy embellishment
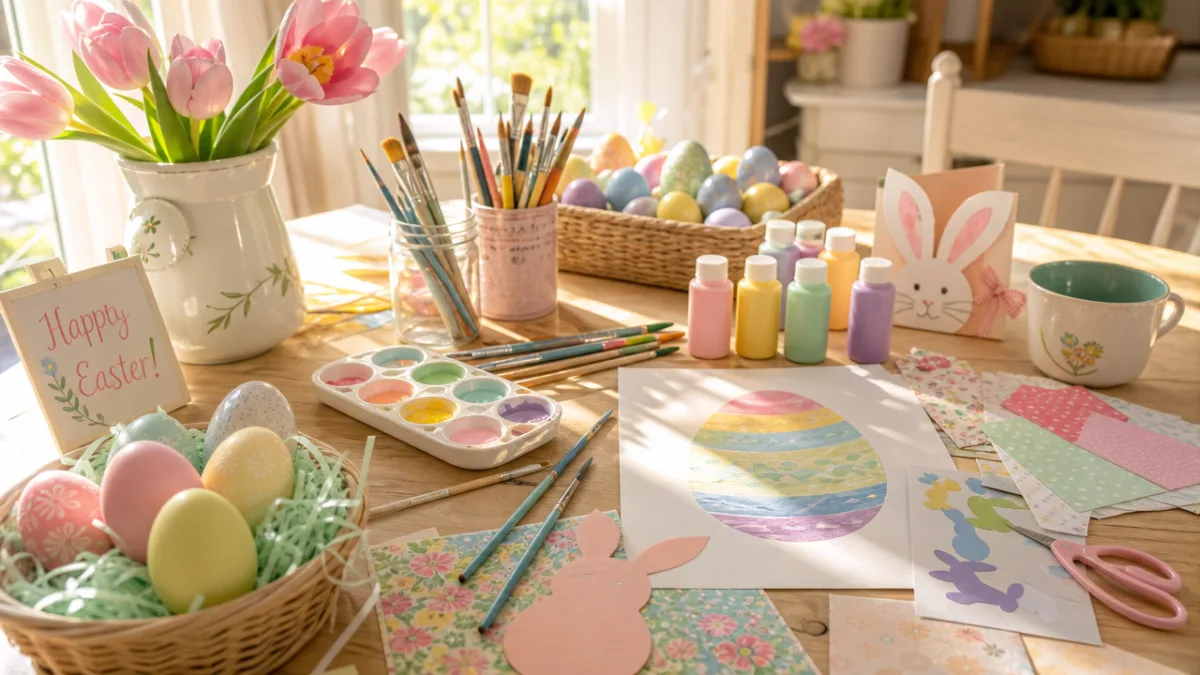
Beyond the basics, a few specialty items are really worth having around because they take Easter crafts from cute to genuinely impressive. Glitter glue pens add that little shimmer that kids absolutely love on decorated eggs and chick drawings. Tissue paper in pastel colors creates gorgeous translucent effects when you layer or scrunch it. Wooden craft sticks are surprisingly useful — they work as frames, puppet handles, and structural support for 3D projects. And never underestimate a stack of white paper plates. With some paint and a bit of imagination, they become bunny faces, chick bodies, Easter wreaths, and about a dozen other things.
Adorable Easter Bunny Crafts That Kids Will Love
The Easter Bunny is basically the star of the whole holiday, so bunny crafts are a non-negotiable part of any Easter lineup. One of the most popular beginner-friendly options is the classic paper plate bunny face. Paint a paper plate white, let it dry, cut out some ear shapes from cardstock, and let your kids go wild adding features — a pink nose, a big smile, pipe cleaner whiskers. It’s instantly recognizable as a bunny, and kids are so proud of the result. Stick a cotton ball on the back for a tail and you’ve got yourself a winner.
For slightly older kids, handprint bunny art is one of those projects that doubles as a keepsake. Press a child’s hand onto pastel paper with white paint, fingers pointing up to form the ears and the thumb curving to suggest a face. Once it’s dry, they can go in with markers or a small brush and add details — pink inner ears, button eyes, rosy cheeks, maybe a tiny carrot. What makes these so special is that they capture exactly how big a child’s hand was at this particular moment in time. Parents and grandparents treasure them, and honestly, it’s easy to see why.
Toilet paper roll bunnies are another classic that truly never gets old. Covered in white paint or white felt, those humble cardboard tubes transform into the sweetest little standing figures with some paper ears, a drawn-on face, and a ribbon bow tie. Because they stand up on their own, they make great table decorations or even place markers at an Easter dinner. Line up a whole row of them on a windowsill or mantel and the effect is genuinely charming — like a little handmade warren greeting everyone who walks in the room.
Creative Easter Egg Decorating Ideas Beyond the Dye Kit
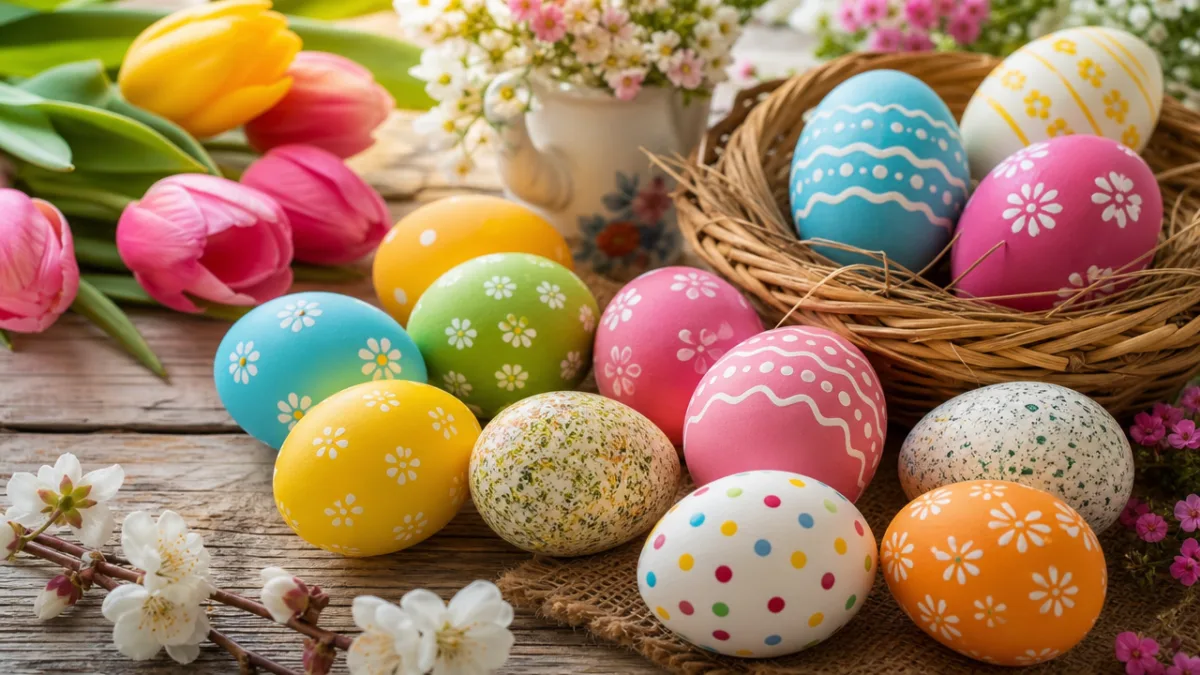
The classic dye tablet kit is great, but once you step outside that box, there’s a whole world of egg decorating techniques that produce jaw-dropping results and keep kids genuinely excited. Watercolor resist eggs are a perfect example — draw designs on a hard-boiled or blown-out egg with a white crayon or wax candle, then paint over the whole surface with diluted watercolor. The wax repels the paint and the hidden design magically appears. Stars, swirls, flowers, zigzags — it all works beautifully, and the reveal moment never fails to get a reaction from kids.
Tissue paper decoupage eggs are another technique that produces results that look almost too beautiful to have been made by small hands. Tear up small squares of colorful tissue paper, layer them onto a white egg with diluted craft glue, and watch the colors bleed and overlap into gorgeous, watercolor-like patterns as they dry. The glossy finish gives each egg a polished look that feels surprisingly professional. This technique is especially great with blown-out eggs since they can be kept as permanent decorations you’ll actually want to bring back out every year.
For kids who prefer something more precise and less messy, washi tape eggs have become hugely popular for good reason. Just wrap strips of washi tape in different patterns and widths around a plain egg, mixing directions and colors to create stripes, chevrons, geometric designs, or whatever abstract pattern strikes their fancy. If something doesn’t look right, the tape peels off cleanly — no harm done. And with the incredible variety of washi tape designs out there (polka dots, florals, metallics, you name it), every single egg ends up looking completely unique.
Fun Easter Chick and Spring Animal Crafts
Fluffy yellow chicks are just as much an Easter icon as bunnies, and they happen to be incredibly easy to make with kids. Pom-pom chicks require almost no cutting at all — glue a large yellow pom-pom to a smaller one for the body and head, add googly eyes, fold a tiny orange felt diamond in half for a beak, and cut out two little felt feet. That’s it. The result is almost unreasonably cute, and these little guys are perfect for tucking into a mini Easter basket, perching on top of a decorated egg, or arranging into a whole springtime scene on a windowsill.
Fingerprint chick cards are a sweet way to combine a personalized craft with an Easter greeting. Press a thumb or fingertip into yellow paint, stamp it onto card stock, and once it’s dry, use fine-tipped markers to add wings, feet, eyes, and a beak. Each little thumbprint becomes its own expressive chick with a personality all its own. Arrange a cluster of them to look like a nestful of chicks, add some fingerprint flowers and grass around the edges, and you’ve got an Easter card that any grandparent or teacher would absolutely love to receive.
Spring crafts don’t have to stop at bunnies and chicks, though — ladybugs, butterflies, and caterpillars are all fair game and open up some genuinely fun creative territory. Coffee filter butterflies are a particular favorite because they feel like a science experiment and an art project at the same time. Wet a white coffee filter, drop food coloring onto the surface, and watch the colors bleed and bloom into wild, beautiful patterns. Once dry, pinch the center and twist a pipe cleaner around it to form the body and antennae. Hang them from windows or string a bunch together into a mobile — they look absolutely stunning in the light.
Easter Basket and Gift Craft Ideas to Share the Love
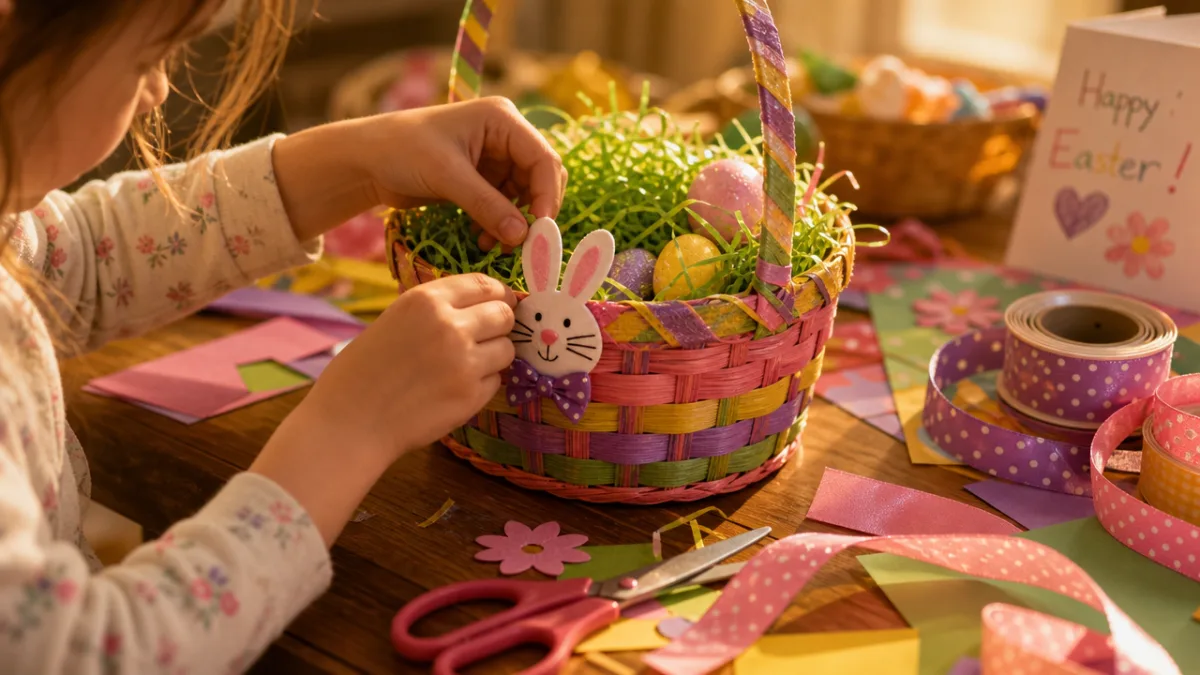
There’s something extra meaningful about making an Easter basket or small gift by hand — it teaches kids that giving is something you can put real effort and creativity into, not just something you grab off a shelf. A paper bag Easter basket is a perfect starting point for younger kids and comes together in minutes. Fold down the top of a brown paper lunch bag to create a sturdy cuff, punch holes on opposite sides, and thread a pipe cleaner through for handles. Let kids paint or stamp Easter motifs all over the outside — eggs, flowers, bunnies, chicks — then fill it with shredded green paper grass and a few treats. Simple, sweet, and genuinely adorable.
Older kids might want to try weaving a more elaborate basket from paper strips, which is more of a project but incredibly satisfying to finish. Cut construction paper into long strips about two centimeters wide, alternate colors, and weave them over and under in a basic basket weave pattern. Secure the edges with tape or glue and fold up the sides to form the walls. It takes patience and focus, which is exactly why it works so well for school-age kids who are ready for a real challenge. The finished basket is surprisingly sturdy and actually holds Easter eggs, small toys, or homemade goodies without any trouble.
Handmade Easter cards are also worth highlighting as gifts that are simple enough for the youngest crafters but genuinely treasured by the people who receive them. Accordion-fold paper chicks that pop out when the card opens, watercolor Easter egg cards stamped with fingerprint flowers, bunny cards with little ears that wiggle when you pull a tab — these small creations carry so much more warmth than anything store-bought. Encourage kids to write their own message inside, even if it’s just a wobbly version of their name. That little personal touch is what turns a cute card into something a grandparent keeps for years.
Tips for a Successful and Stress-Free Easter Crafting Session
Even the best-planned crafting session can unravel quickly if you’re not set up for it, especially with little kids in the mix. The single most important thing you can do beforehand is protect your surfaces before a single lid comes off. Cover the table completely with a plastic tablecloth, old newspaper, or a drop cloth, and put the kids in paint shirts or clothes you won’t cry over. Keep wet wipes, damp cloths, and paper towels within arm’s reach so small messes can be handled before they become big ones. When you’re not anxious about the mess, everyone relaxes — including you — and the whole session just feels easier and more fun.
Matching the project to the child’s age and ability makes a huge difference in how the session goes. Toddlers do best with open-ended, sensory-rich activities — finger painting eggs, pressing pre-cut stickers onto paper, squishing playdough into egg shapes. Preschoolers are usually ready for more structured projects with clear steps and a recognizable result they can point to proudly. Older, school-age kids often love the challenge of multi-step crafts where they have to figure something out or learn a new technique. When a project is pitched at just the right level, kids get into that creative flow where they’re completely absorbed and genuinely surprising themselves with what they can do.
And finally — and this one really matters — remember that the process is always more important than the product when you’re crafting with kids. Try not to correct the lopsided ear or re-do the step that didn’t go quite right. Kids grow through experimenting, making choices, and making mistakes without someone jumping in to fix things. A bunny with purple ears and a green nose isn’t a failed craft — it’s the mark of a kid who felt free to follow their own creative instincts. Celebrate the weird and wonderful results, display them with genuine pride, and let the laughter flow. The slightly crooked, wildly colorful, completely imperfect handmade Easter crafts are always the ones that end up meaning the most.








What do you think?
It is nice to know your opinion. Leave a comment.