










Photoshoot Ideas: A Complete Guide to Creating Stunning Images
1. Understanding Your Creative Vision Before the Shoot
Before you even touch a camera or start hunting for a location, the single most important thing you can do is get clear on your creative vision. That means sitting down and actually thinking about what story you want to tell, what feeling you want to capture, and what kind of look you’re naturally drawn to. Mood boards, Pinterest collections, and reference photos are your best friends at this stage — they help you take those vague, floaty ideas in your head and turn them into something concrete you can actually show other people involved in the shoot.
It also helps to think about who you’re shooting for and why. A personal portfolio shoot is a completely different animal from a brand campaign or an engagement session. Ask yourself how you want someone to feel when they see your final images — inspired? Nostalgic? Empowered? Once you know the emotional destination you’re aiming for, all the smaller decisions that follow — wardrobe, location, lighting — start to fall into place much more naturally.
Getting clear on your visual style early on makes a huge difference too. Do you love soft, warm, golden tones, or are you more drawn to bold contrast and deep shadows? Do you like clean, minimal compositions with breathing room, or layered scenes packed with texture and detail? Being honest with yourself about both your aesthetic preferences and your current skill level will help you set realistic expectations and keep the whole shoot feeling cohesive and authentically you.
2. Choosing the Perfect Location for Your Photoshoot
Your location isn’t just a backdrop — it’s practically a character in the story you’re telling. The right setting can take a simple idea and make it feel extraordinary, while the wrong one can quietly undermine even the most carefully planned shoot. When you’re scouting, try to look past the surface and think about how the space will actually interact with your subject. How does the light move through it at different times of day? What colors and textures are present? Is there enough room to move around and try different angles?
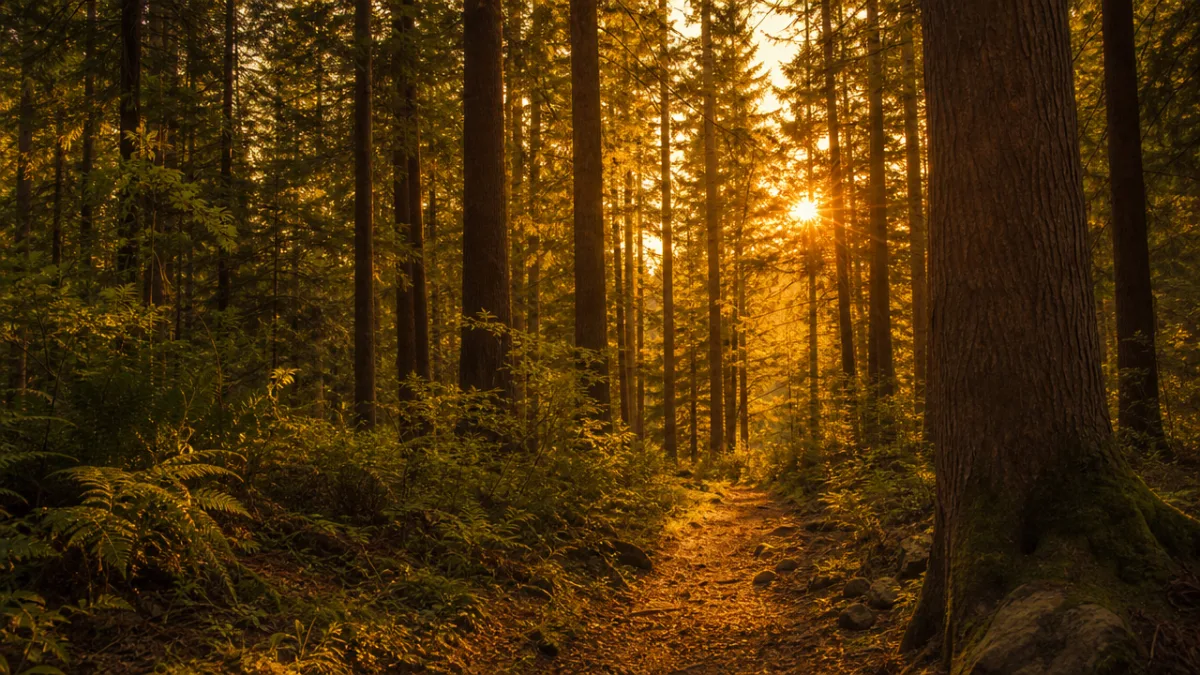
Outdoor locations give you an enormous variety of natural backdrops and lighting conditions that are genuinely hard to fake in a studio. Urban settings bring gritty texture, interesting geometry, and the occasional burst of street art that works really well for editorial and fashion work. Natural landscapes — forests, beaches, open fields, mountain trails — give portraits a timeless, almost dreamy quality. And if you haven’t shot during golden hour yet, make it a priority. That warm, soft light just after sunrise or right before sunset is universally flattering and creates an atmosphere that’s almost impossible to recreate artificially.
Studio and indoor locations trade spontaneity for control, which is often exactly what you need. A proper studio with swappable backdrops, adjustable lighting, and a climate-controlled environment lets you execute very specific creative ideas without worrying about clouds rolling in or the wind picking up. That said, don’t sleep on unconventional indoor spaces. A worn-in vintage diner, a dusty old library, a greenhouse spilling over with tropical plants, or even a beautifully decorated home can all make for stunning shoot locations — and they bring a sense of life and authenticity that a plain studio backdrop sometimes just can’t match.
3. Wardrobe and Styling: Dressing for the Camera
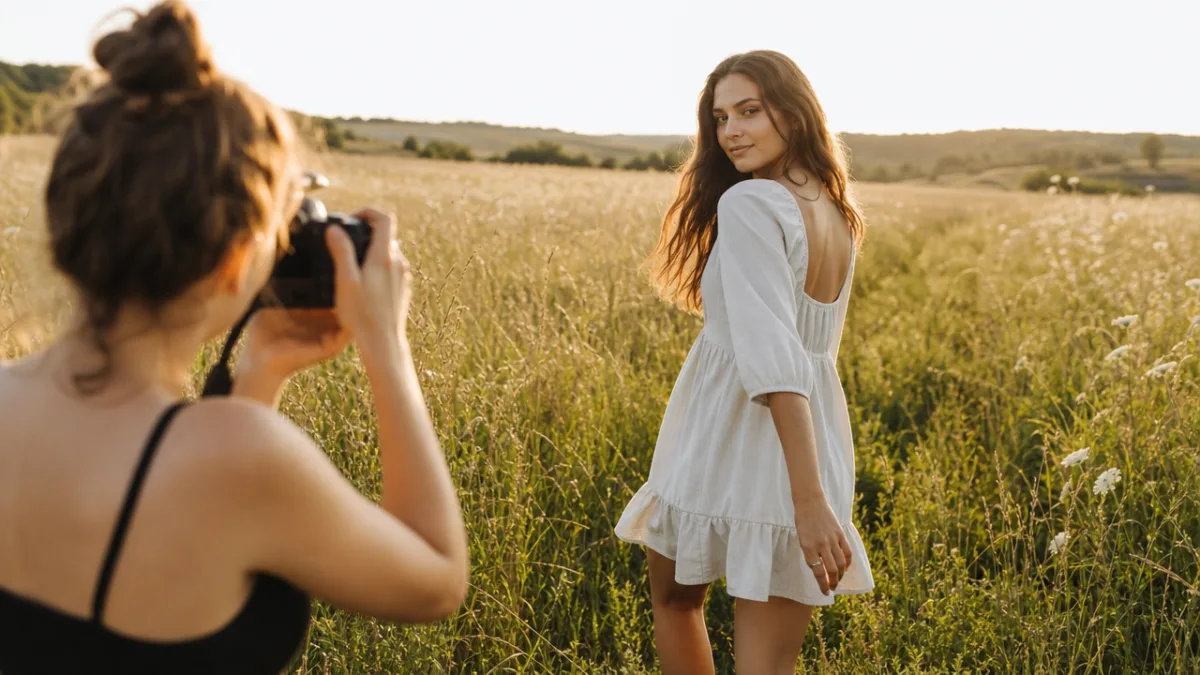
Clothing tells a story before a single expression is captured. What your subject wears instantly communicates personality, context, and tone — so it deserves real thought. Start by considering how each outfit works with your location and color palette. A flowing white dress looks stunning against lush greenery or a textured stone wall. A structured blazer in a jewel tone pops against urban concrete. Every piece should feel like it belongs in the visual story you’re building, not like it just wandered in from somewhere else.
Always bring multiple outfit options to a shoot. Beyond giving you more variety in the final gallery, having options is a lifesaver when something that looked great at home just isn’t working on camera. As a general rule, solid colors and subtle textures tend to hold up better than busy prints or oversized logos, which can pull the viewer’s eye away from your subject and date the image fast. Layering is also a great trick — a jacket, a hat, a scarf, or a bold accessory can completely change the feel of a look without requiring a full costume change between setups.
Accessories and props deserve just as much attention as the clothing itself. Jewelry, bags, shoes, hats, and sunglasses can shift the mood of an image dramatically. And beyond personal accessories, think about props that connect to the concept — a vintage camera for a creative entrepreneur shoot, fresh flowers for a romantic portrait session, or a steaming coffee cup for a cozy lifestyle image. The key is that props should feel like they naturally belong in the scene, not like they’ve been plopped in for effect. Ideally, they’re doing some narrative work — reinforcing the story the image is trying to tell.
Key Wardrobe Tips to Remember
- Steam or iron everything before the shoot — wrinkles are much more noticeable on camera than they are in real life, and they’re a pain to deal with in post.
- Bring a range of tones — light, medium, and dark — so you have flexibility across different backgrounds and lighting setups.
- If you want images that still feel relevant in five years, steer clear of anything too trend-dependent.
- Keep colors coordinated across outfits so the overall gallery feels like a cohesive body of work rather than a random collection of looks.
- Always have a backup option ready — something that seems perfect in the planning stage doesn’t always translate the way you expect once you’re actually shooting.
4. Lighting Techniques That Transform Your Photos
Light is everything in photography — it’s literally what the camera is recording. Learning to work with it, and eventually to shape it, is what separates photographers who take decent pictures from ones who take genuinely great ones. Natural light is the most accessible starting point, and for portrait and lifestyle work, it’s often the most beautiful option available. A north-facing window produces a soft, even light that’s incredibly flattering for indoor portraits — none of the harsh shadows that direct sunlight tends to create. Simply paying attention to where the best natural light is and when it shows up will improve your images without spending a penny on equipment.
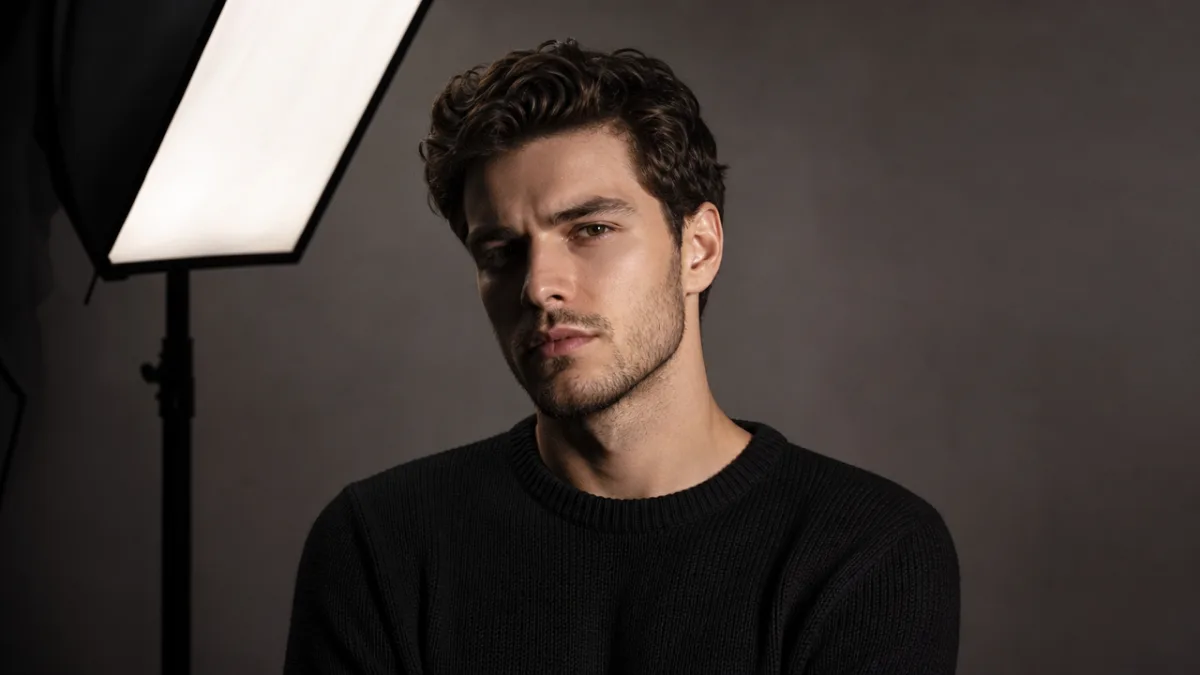
Once you start working with artificial lighting, a whole new range of creative possibilities opens up. Continuous LED panels and softboxes let you shape light with real precision, adding depth and dimension that’s hard to achieve otherwise. A single softbox positioned just off to one side of your subject gives you Rembrandt lighting — that classic portrait style with a small triangle of light on the shadowed cheek that adds instant depth and a sense of sophistication. Add a second light as a fill and you get much more control over contrast and shadow, letting you dial in the exact mood you’re going for.
But lighting gets really interesting when you start treating it as an artistic tool rather than just a technical one. Neon signs, string lights, candles, fairy lights, and colored gels over flash heads can produce images that feel genuinely cinematic and editorial. Backlighting your subject against a bright window or an open sky creates a beautiful rim of light that lifts them off the background and gives the image a luminous quality. And don’t be afraid of shadows — letting deep blacks exist in your frame rather than trying to light everything evenly gives your images drama, texture, and emotional weight that fully illuminated scenes just can’t deliver.
Popular Lighting Setups for Different Styles
- Butterfly lighting: Key light placed directly in front and above the subject, creating a butterfly-shaped shadow under the nose. Elegant and widely flattering for beauty and fashion work.
- Rembrandt lighting: Key light at a 45-degree angle above and to one side, producing rich shadows and a characteristic light triangle. Ideal for dramatic portraits with depth and character.
- Loop lighting: Similar to butterfly but with the light shifted slightly to one side, creating a small shadow loop beneath the nose. Versatile and natural-looking for a wide range of portrait styles.
- Golden hour lighting: Warm, low-angle natural sunlight just after sunrise or before sunset. Universally flattering, romantic, and ideal for outdoor portraits and lifestyle photography.
5. Posing and Direction: Getting Natural, Authentic Shots
You can have the most beautiful location and perfect light in the world, and the shoot will still fall flat if your subject looks stiff, uncomfortable, or like they’re not sure what to do with their hands. Learning to actually direct people is one of the most valuable skills you can develop as a photographer, and it takes both technical know-how and genuine warmth. Start every shoot with a bit of relaxed conversation before you even pick up the camera. Let your subject get comfortable in the space, check in about how they feel about being in front of a lens, and reassure them that it’s normal to feel a little awkward at first — and that you’ll be walking them through everything.
Movement is one of the best tools you have for getting images that feel real. Instead of putting someone in a pose and asking them to freeze, give them something to do. Ask them to walk slowly toward you, glance away and then back at the lens, laugh at something you say, or reach up to adjust their hair. These little moments of motion break the stiffness that makes photos look posed and staged, and they’re often where you capture the most memorable frames of the whole shoot — the ones that feel genuinely alive rather than performed.
It also helps to have a solid grasp of basic posing principles. Encourage your subject to angle their body slightly rather than standing square to the camera — it creates a more dynamic, slimmer silhouette. Having them shift their weight onto one hip introduces a natural curve and a sense of ease. For seated poses, leaning slightly forward keeps posture engaged and avoids that sunken-back look. And hands — everyone struggles with hands. Give them something to do: hold a prop, rest a hand on their face, tuck one into a pocket. Anything is better than leaving them dangling awkwardly at their sides.
Posing Prompts That Work Every Time
- Walk toward me slowly and look down until the last moment, then make eye contact with the lens.
- Lean against this wall as if you are waiting for someone you are excited to see.
- Look off into the distance at something that makes you genuinely happy or curious.
- Spin around slowly and let your clothing or hair move naturally with you.
- Sit on the ground, knees up, arms resting casually — and just breathe and relax.
6. Post-Processing and Editing Your Photoshoot Images
Post-processing is where your raw files actually become finished photographs — where everything you captured in camera gets shaped into the fully realized images you envisioned at the start. Software like Adobe Lightroom, Capture One, and even mobile apps like VSCO and Snapseed give you powerful tools for adjusting exposure, contrast, color grading, skin tones, and overall mood. Developing a consistent editing style and applying it across a gallery is what gives your work that cohesive, professional feel — and it’s especially important if you’re building a portfolio or delivering images to commercial clients.
A strong edit always starts with getting the technical foundations right before you touch anything creative. Make sure your exposure is balanced and your white balance is dialed in before you start playing with color. Shadows that are too deep will swallow important detail in your subject’s face, and blown-out highlights are gone for good — no amount of editing skill can bring them back. Once the technical layer is solid, color grading is where the real personality comes in — whether you’re going for a warm, golden vintage feel, a cool and airy Scandinavian look, or a rich, moody cinematic tone with deep greens and teal shadows.
When it comes to portrait retouching, a light hand goes a long way. Cleaning up temporary blemishes, softening harsh shadows, and taming distracting flyaway hairs is widely considered standard practice. But heavy retouching that fundamentally changes someone’s face shape, skin tone, or body is a different matter — it crosses into territory that’s both artistically dishonest and potentially harmful to how your subjects feel about themselves. Approach retouching with an eye toward enhancement, not transformation, and have an open conversation with your clients upfront about what they’re comfortable with before you deliver the final gallery.
Essential Editing Workflow Steps
- Culling: Review all captured images and select only the strongest frames to edit, typically the top 10 to 20 percent of the total shoot.
- Basic corrections: Adjust exposure, highlights, shadows, whites, and blacks to achieve a balanced, well-exposed base image.
- White balance: Set the correct white balance so that skin tones appear natural and the overall color temperature matches the intended mood.
- Color grading: Apply your creative color grade using HSL adjustments, tone curves, or a preset as a starting point to develop your signature look.
- Retouching: Perform any necessary portrait retouching with a light touch, preserving natural texture and authentic appearance.
- Export: Export files in the appropriate resolution and format for their intended use — high resolution for print, web-optimized for digital delivery.








What do you think?
It is nice to know your opinion. Leave a comment.