










21 Easy Halloween Wood Projects You Can Make This Weekend
Why Wood Projects Are the Perfect Halloween Craft
Halloween is one of the most beloved holidays of the year, and nothing transforms a home quite like handmade decorations that carry genuine character and warmth. While plastic store-bought decorations have their place, there is something deeply satisfying about crafting your own Halloween pieces from wood. Wood projects have a rustic, timeless quality that synthetic materials simply cannot replicate, and they age beautifully season after season, becoming cherished traditions rather than disposable trinkets you toss after a single October.
The beauty of wood as a crafting medium lies in how forgiving and accessible it truly is. You do not need a professional woodworking shop or years of experience to create stunning Halloween decorations. Basic tools like a jigsaw, sandpaper, paint, and a drill are enough to produce pieces that look like they came straight from a boutique home décor store. Many of the projects in this collection can be completed in just a few hours, making them ideal for a cozy Saturday or Sunday crafting session with family or friends.
Beyond their visual appeal, wood Halloween decorations are also an environmentally responsible choice. Reclaimed pallet wood, scrap lumber from home improvement projects, and thrift store picture frames can all be repurposed into hauntingly beautiful seasonal displays. By choosing wood over plastic, you are reducing waste while simultaneously creating art that will last for decades. This combination of creativity, sustainability, and festive spirit is exactly why wooden Halloween crafts have surged in popularity across crafting communities and social media platforms alike.
Essential Tools and Materials to Get Started
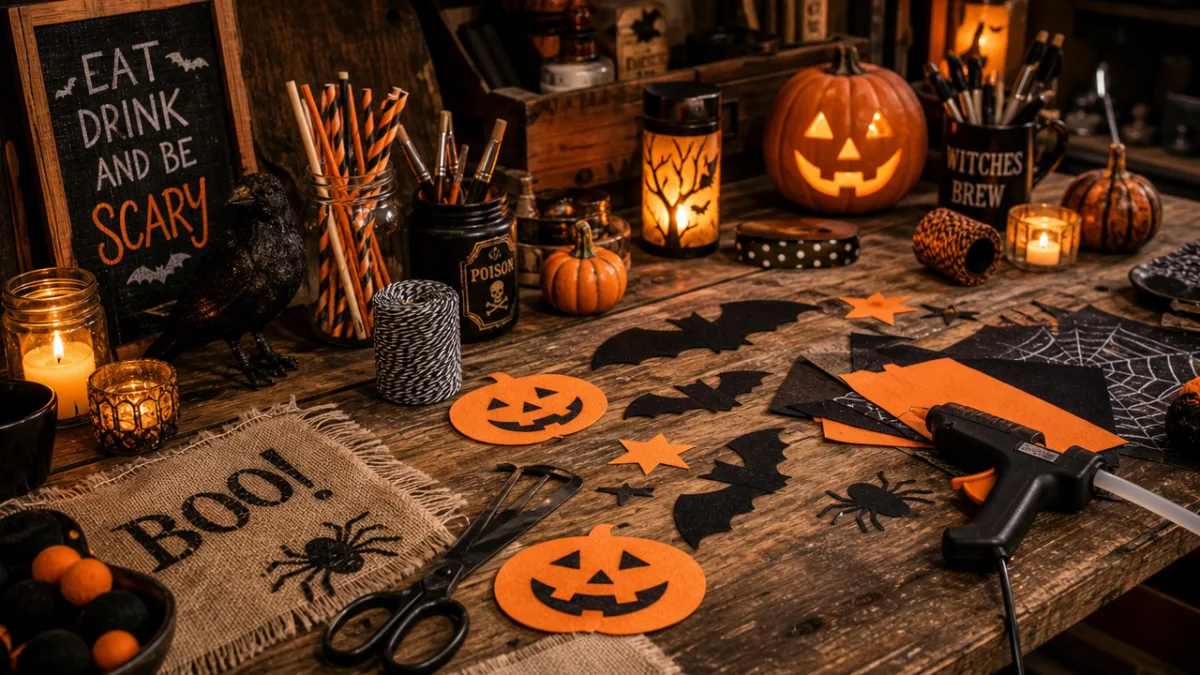
Before diving into any of these projects, it helps enormously to gather your supplies in advance so your crafting sessions flow smoothly without interruption. The most fundamental tool you will need is a jigsaw, which allows you to cut curves, arcs, and silhouettes that give Halloween decorations their signature spooky shapes. A scroll saw is even better for intricate detailed work, but a standard jigsaw purchased from any hardware store for under fifty dollars will serve you well for the vast majority of these twenty-one projects.
Paint selection is equally important and deserves thoughtful attention. Acrylic craft paints in classic Halloween colors — flat black, deep orange, blood red, ghostly white, and mossy green — form the backbone of your palette. Look for outdoor-rated acrylic paints if any of your pieces will be displayed on a porch or in a garden, as these resist moisture and UV fading through the unpredictable autumn weather. A set of foam brushes in various widths, a detail brush for fine lettering, and a dry-brush technique brush will cover nearly every painting need you encounter across these projects.
Additional materials worth stocking include the following essentials that appear repeatedly throughout these projects:
- Sandpaper in 80-grit and 220-grit for smoothing rough cuts and creating a distressed vintage finish
- Wood glue and a brad nailer or finish nails for assembling multi-piece projects without visible hardware
- A wood burner tool for adding fine scorched lettering and decorative detail lines
- Mod Podge or a clear sealer to protect finished painted surfaces from chipping
- Sawtooth picture hangers and D-rings for mounting wall décor securely
- Stencils in Halloween motifs such as bats, spiders, skulls, and typography
- Chalk paint for a soft matte look that photographs beautifully and requires no primer
Wood selection is the final piece of the preparatory puzzle, and it has a bigger impact on your results than most beginners expect. Birch plywood in the quarter-inch and half-inch thicknesses is an excellent all-purpose choice because it is smooth, stable, and takes paint evenly without excessive grain showing through. Pine boards are wonderful for chunkier three-dimensional projects like pumpkin stacks and tombstones because they are easy to cut, inexpensive, and widely available at every hardware and lumber retailer.
Beginner-Friendly Halloween Wood Projects
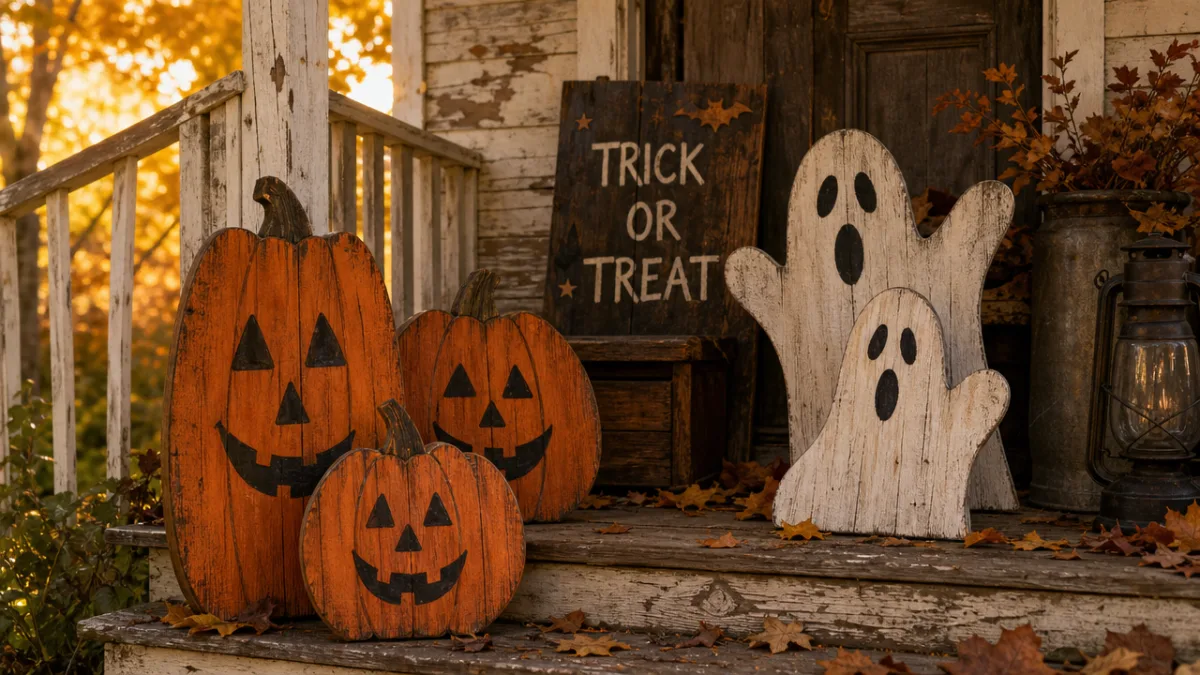
If you are new to wood crafting or simply want a relaxed, low-pressure project to ease into the Halloween season, there are several wonderful options that require minimal cutting and maximum visual impact. One of the most popular beginner choices is the simple wooden pumpkin made from a short length of two-by-six pine board cut into a rounded pumpkin silhouette with a jigsaw. Sand the edges smooth, paint it orange, add black triangle eyes and a jagged mouth, and finish with a short twig or dowel rod painted brown as the stem. These charming pumpkins can be made in under an hour each and grouped in clusters of varying sizes for a striking porch display.
Another supremely approachable beginner project is the Halloween sign board made from a single plank of wood. Purchase a pre-cut craft wood plank from a hobby store or rip a piece of pine board to your desired width, then sand it smooth and paint it with a base coat of black or deep charcoal gray. Once dry, use a white or orange chalk marker or paint and a lettering stencil to write phrases like “Trick or Treat,” “Beware,” “Happy Haunting,” or “Enter If You Dare.” Distress the edges lightly with sandpaper to give the sign an aged, weathered appearance, then apply a clear matte sealer to lock in the finish.
Wooden ghost cutouts represent another beginner project that delivers tremendous visual impact for very little effort. Trace a simple rounded ghost shape onto a sheet of quarter-inch birch plywood — you can find free templates online and print them at full size — then cut along the outline with your jigsaw. Sand the edges, paint the entire piece white, and use a small detail brush to add simple black dot eyes and a slightly open oval mouth for a classic friendly ghost expression. These ghosts look especially charming when hung from tree branches with clear fishing line, appearing to float mysteriously in the breeze as trick-or-treaters approach your home.
Intermediate Projects for the Ambitious Crafter
Once you have built confidence with simpler shapes and basic painting techniques, a whole new world of more elaborate Halloween wood projects opens up. Layered dimensional pieces become possible when you are comfortable with your jigsaw and assembly skills. A layered haunted house silhouette is a particularly impressive intermediate project where you cut multiple building shapes from different pieces of plywood and layer them at slight offsets to create genuine depth and shadow. Paint the foreground pieces darkest and the background pieces slightly lighter to enhance the three-dimensional illusion, and add tiny LED string lights behind the layers for a glowing window effect that is absolutely enchanting after dark.
Wooden tombstone yard stakes are another beloved intermediate project that rewards a bit of extra effort with stunning results. Cut tombstone shapes from half-inch pine boards in a variety of styles — rounded tops, pointed Gothic arches, flat-topped slabs — and paint them in shades of gray, taupe, and weathered white. Use a wood burner or black paint and a fine brush to inscribe darkly humorous epitaphs like “Here Lies Ed, He Said the Wi-Fi Was Fine” or classic Halloween phrases like “RIP” and “Rest In Pieces.” Attach a wooden stake to the back of each tombstone with wood glue and screws so they can be pushed directly into your lawn for an instant graveyard scene.
Witch hat wooden displays are also a favorite at the intermediate level. By combining a cone shape cut from plywood with a circular brim piece, you construct a convincing three-dimensional witch hat that stands on its own or mounts flat on a wall. Paint the hat solid black and embellish it with painted stars, moon phases, and spider webs in metallic gold or silver paint. These hats look spectacular in groupings of three arranged at ascending heights, and they photograph beautifully for social media, which is part of why they have become such a viral sensation in the Halloween crafting community over the past several years.
Advanced Wood Projects That Will Wow Your Neighborhood
For the experienced woodworker ready to create truly showstopping Halloween decorations, advanced projects combine multiple woodworking techniques, larger scale, and intricate decorative detail to produce pieces that genuinely look like professional artwork. A large-scale wooden bat silhouette measuring three or four feet across makes a jaw-dropping focal point for a garage door, barn wall, or fence panel. Cut the bat shape from three-quarter-inch plywood, sand all edges to smooth curves, and paint it in flat black with subtle deep purple shading along the wing edges. The oversized scale alone creates an instant dramatic statement that passersby will stop and photograph from the street.
A scrollwork skeleton hand emerging from the ground is another advanced project that generates enormous admiration. By cutting individual elongated finger bones and a palm piece from plywood, then assembling them with small hinges or fixed-angle glue joints, you create a skeletal hand that appears to claw its way up from the earth of your garden bed. Age the wood with a brown-gray paint wash, add subtle ivory highlights, and partially bury the wrist portion in soil or leaf mulch for maximum realism. These hands become conversation pieces that guests discuss for weeks after Halloween has passed.
For the most ambitious crafters, a full-panel wooden haunted window frame is the ultimate statement project. Build a frame from two-by-four lumber that mimics an old window, complete with interior muntins dividing the pane sections. Behind the frame, mount a black foam board backing on which you paint or cut silhouettes of a witch on a broomstick, a cat arching its back, or a cauldron with rising swirls. Mount the entire assembly on your exterior wall with proper outdoor hardware, and add battery-operated LED candles inside for a soft flickering glow. This project requires a weekend of dedicated work but produces a decoration that becomes a neighborhood landmark every Halloween season.
Displaying and Storing Your Halloween Wood Creations
Creating beautiful Halloween wood decorations is only half the equation — displaying them thoughtfully and storing them correctly ensures they remain stunning year after year. For outdoor displays, consider creating small easels from scrap wood that allow your flat pieces to stand upright in garden beds or on porch steps without requiring nails or permanent mounting. Group decorations in odd numbers, typically threes or fives, as this principle from interior design translates perfectly to seasonal outdoor displays and creates a naturally pleasing visual arrangement that draws the eye and feels intentionally curated rather than randomly scattered.
Indoor display options are equally varied and creative. A wooden Halloween vignette on a fireplace mantel might combine a ghost cutout, a painted sign, miniature wooden pumpkins, and a few real or faux autumn leaves for a layered tableau that changes slightly each year as you add new handmade pieces. Floating wall shelves become dramatically more interesting when styled with your wooden Halloween creations alongside black taper candles, dried flowers, and vintage-style books with Halloween-themed cover wraps. The beauty of wooden décor is that it pairs gracefully with both rustic farmhouse interiors and sleek modern spaces depending on your paint finish and styling choices.
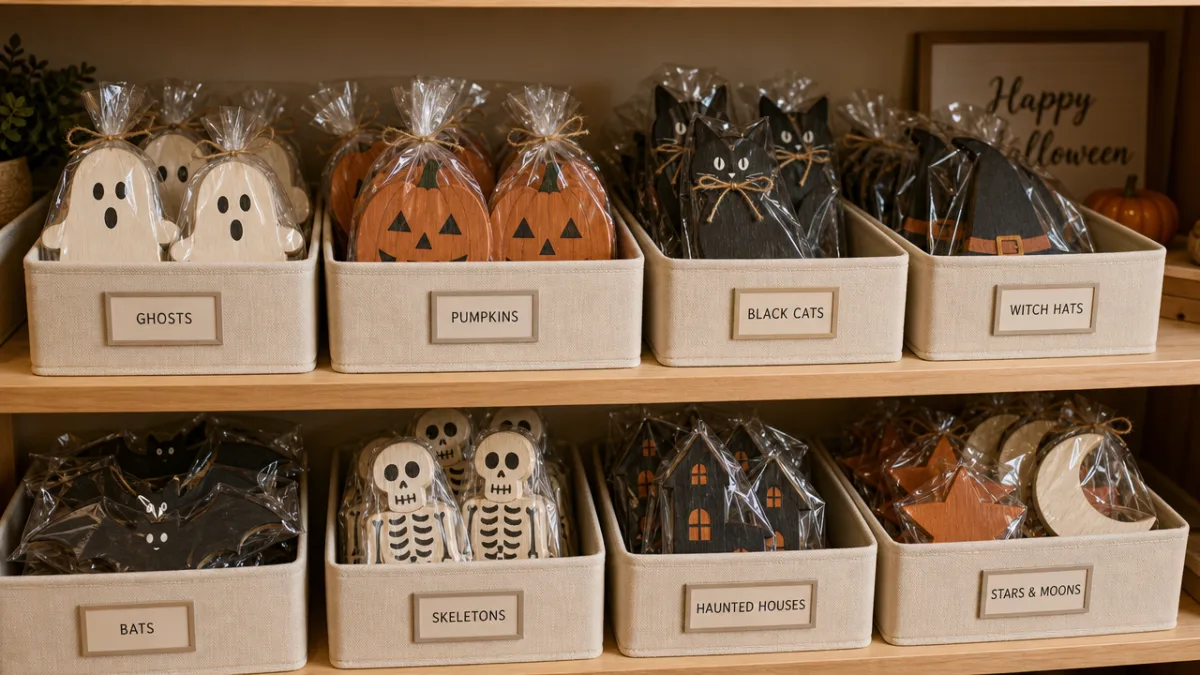
Proper storage is what separates Halloween decorations that last twenty years from ones that deteriorate after two or three seasons. Wrap each wooden piece individually in acid-free tissue paper or clean cloth before placing it in a sturdy plastic storage tote. Avoid cardboard boxes for long-term storage as they attract moisture and pests that can damage wood and painted surfaces over time. Label each tote clearly on multiple sides, and include a handwritten inventory list inside the lid so you can quickly locate specific pieces the following year. Store totes in a climate-controlled space rather than an attic or outdoor shed where extreme temperature swings can cause wood to warp and paint to crack and peel.
The investment of proper care pays genuine dividends across many years of Halloween decorating. Wooden pieces that are sealed, stored correctly, and handled with reasonable care become heirlooms — objects that carry the warmth of memory and the satisfaction of personal creation. Unlike mass-produced plastic decorations that crack, fade, and end up in landfills, your handmade wooden Halloween projects will be pulled out each October with a sense of joy and pride, growing more meaningful with every passing season and potentially becoming the kind of family tradition your children and grandchildren carry forward long into the future.
Tips for Making Your Projects Faster and More Professional
Even experienced crafters can dramatically improve their speed and quality by adopting a few smart workflow strategies that professional makers use consistently. Batching is perhaps the single most effective technique: rather than completing one project from start to finish before beginning the next, cut all your shapes in a single session, then sand everything in a batch, then paint all base coats together before moving on to detail work. This assembly-line approach minimizes tool setup and cleanup time while also ensuring your paint colors are mixed consistently across multiple pieces since you are working from the same paint supply in a single sitting.
Template creation is another professional habit that pays compound returns across multiple crafting seasons. Once you have perfected a ghost shape, pumpkin silhouette, or tombstone design that you love, trace it onto a piece of thin cardboard or hardboard and cut it out carefully to create a reusable template. In future years — or when making multiples of the same shape — you can simply trace around your template quickly and accurately without re-drawing or measuring. Store your templates flat in a large envelope or folder labeled by project type so they remain in good condition and are easy to retrieve when inspiration strikes.
Color consistency and professional-looking finishes come down largely to the quality of your sealing and finishing steps, which beginning crafters often rush or skip entirely. Always apply at least two thin coats of clear sealer over your finished painted surfaces, allowing complete drying time between each coat. For outdoor pieces, a UV-resistant polyurethane or exterior-grade Mod Podge provides superior protection against sun fading and moisture penetration that would otherwise cause paint to peel within a single season. For indoor pieces, a simple matte varnish spray gives a beautiful even finish that eliminates brush strokes and makes your work look truly polished and intentional rather than homemade in the least flattering sense of that word.








What do you think?
It is nice to know your opinion. Leave a comment.