










DIY Doll Decoration Made From Cotton Pads: A Complete Creative Guide
Introduction to Cotton Pad Doll Crafting
If you’ve been looking for a craft project that’s easy to pick up but produces results that genuinely impress people, cotton pad doll making might be exactly what you need. All it takes is the humble cotton round — the kind sitting in a basket on your bathroom counter right now — and you can create these soft, sweet little decorative dolls that work beautifully as gifts, nursery decor, or holiday ornaments. The best part? You don’t need any special skills or expensive supplies to get started.
There’s something really lovely about the way cotton pads look once they’re shaped and layered together. That soft, white, almost fluffy texture gives finished dolls a dreamy quality that’s perfect for angel figures, snowmen, fairy characters, and seasonal decorations. And unlike a lot of crafting materials, cotton rounds are incredibly forgiving — if something doesn’t look right, you can adjust it without much fuss. Even your very first attempt is likely to turn out something you’re genuinely happy with.
This guide covers everything from gathering your supplies to putting on the finishing touches, including how to build a sturdy body, create clothing without any sewing, paint a tiny expressive face, and come up with display ideas that really show off your work. Whether you’re spending a quiet afternoon crafting solo, running a kids’ workshop, or making handmade Christmas decorations, you’ll find everything you need here to feel confident and inspired throughout the process.
Materials and Tools You Will Need
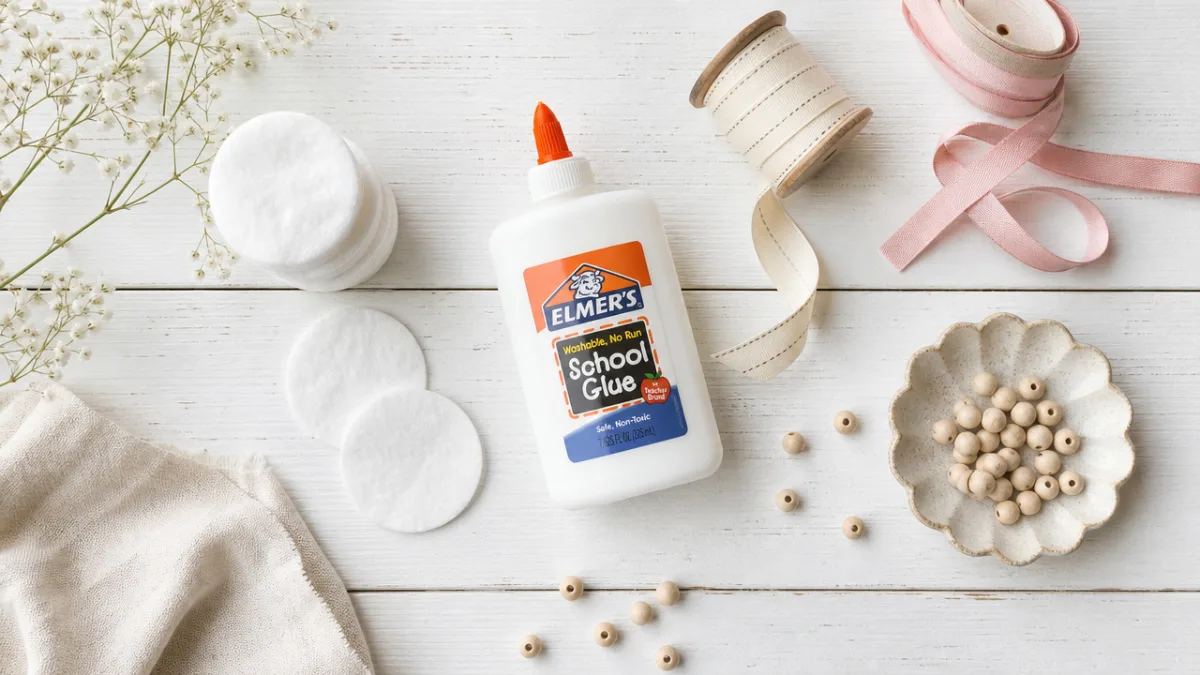
Before you dive in, it’s worth taking a few minutes to pull everything together so you’re not hunting around mid-project. The star of the show is, obviously, cotton pads — and it’s worth going for a thicker variety here, since the thin budget ones tend to tear or go floppy when you’re trying to shape them. A standard pack of 50 to 100 cosmetic cotton rounds is plenty to start with, and they’re usually very affordable wherever you find them.
To actually hold everything together and give your doll its shape, you’ll need strong white craft glue or a low-temperature glue gun. Small wooden beads or styrofoam balls make great head forms — they give you something solid to attach the face to and layer cotton over. If you want your doll to have poseable arms or a bit of personality in its stance, thin wire or pipe cleaners threaded through the body create a simple skeleton that makes a big difference to the finished look.
For the decorative side of things, think about what theme or character you’re going for and collect embellishments accordingly. Miniature ribbons, lace trim, tiny buttons, seed beads, yarn or embroidery floss for hair, small fabric scraps, acrylic paints or permanent markers — these are the kinds of things that really bring a doll to life. A small pair of scissors, tweezers for handling fiddly bits, and a piece of wax paper or a foam mat to work on will also make the whole process a lot smoother.
- Cotton pads or cotton rounds (thick, high-quality variety, at least 50 pieces)
- Low-temperature glue gun or strong white craft glue
- Wooden beads or small styrofoam balls for head forms
- Thin wire or pipe cleaners for internal armatures
- Miniature ribbons, lace, and fabric scraps for clothing
- Acrylic paint or permanent markers for facial features
- Yarn or embroidery floss for hair
- Small scissors, tweezers, and a protective work surface
Building the Doll’s Body Structure
Getting the body structure right is honestly the most important part of the whole process — everything else builds on it. Start by deciding how big you want your doll to be, since that affects how much cotton you’ll use and what size embellishments will look right. For a doll around 10 to 15 centimeters tall, cut a piece of wire or pipe cleaner about 20 centimeters long and bend it into a rough figure shape, making small loops at the ends for hands and feet. This wire skeleton is what gives your doll its form and lets you pose it later.
Once the armature is ready, start wrapping cotton pads around it to build up the body. Tear the pads into strips or fold them lengthwise, wrap them snugly around the torso section, and add small dots of glue as you go to keep things in place. The torso should be the fullest part, while the arms and legs stay thin and delicate by comparison. Don’t rush this step — a solid, well-proportioned body makes all the decorating that comes next so much easier, and it’s the difference between a doll that holds together beautifully and one that feels a bit wobbly and unfinished.
For the head, glue your wooden bead or styrofoam ball firmly onto the top of the wire and give it plenty of time to dry before you move on. The head gets the most visual attention, so it really does need to be secure. If you’d like a softer, rounder look, wrap the bead in a thin layer of cotton pad material first — it smooths out the surface nicely and actually gives the paint something better to grip onto. Take a moment here to check your proportions. A head that’s just slightly too big or too small can throw off the whole look, so it’s worth adjusting before the glue sets.
Shaping and Layering Cotton Pad Clothing
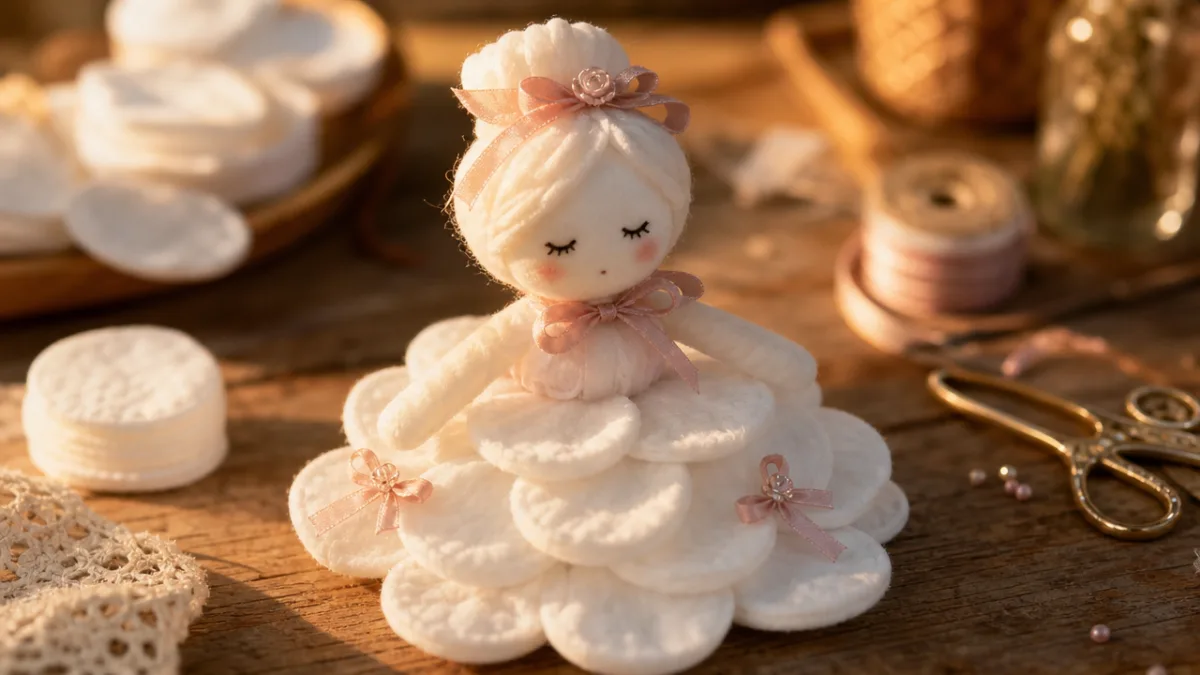
Here’s where things start to get really fun. Cotton pads are surprisingly good at mimicking fabric — the round shape naturally suggests skirts, capes, ruffled collars, and layered petticoats, and you don’t need to sew a single stitch. For a classic doll skirt, layer five to seven cotton rounds around the lower half of the body, fanning them out slightly and securing each one with a small dab of glue at the waist. The way the cotton drapes and overlaps creates this soft, ethereal skirt effect that looks far more elaborate than it is.
For the bodice or dress top, fold cotton pads in half and wrap them around the torso, overlapping the edges a little and gluing as you go. You can suggest a fitted look by drawing very lightly down the sides with a fine marker, or just tie a tiny ribbon around the waist to cinch everything together. Once you start experimenting with different folding methods, you’ll be surprised how much variety you can get — simple peasant dresses, full ball gowns, Christmas angel robes, Easter fairy outfits. The same basic technique adapts to a really wide range of styles.
Wings, capes, and little accessories are also easier to make than you’d expect. For angel wings, take two cotton rounds and gently pull them from opposite sides to stretch them into an oval, then pinch one end to create a tapered point. Glue the pinched ends together at the back of the doll and fan the wings out a little — the effect is genuinely lovely. A small hat is as simple as rolling a single cotton pad into a cone and wrapping a narrow ribbon around the base to hold it. Little touches like this are what give each doll its own distinct character and make them feel truly finished.
Painting and Decorating the Doll’s Face
The face is what gives your doll its personality, and on something this small, a light touch goes a long way. If your wooden bead head is very smooth, a quick light sanding will help the paint stick better. Start with a thin base coat of skin-toned acrylic and let it dry completely before adding any details — and when I say thin, I mean it. Multiple light coats will always look better than one thick one, which tends to crack or look clumpy on a small surface.
For the eyes, a very fine-tipped permanent marker or a tiny round brush with dark brown or black paint works well. Simple oval shapes or even just dots can be surprisingly expressive when they’re placed well, especially if you add a tiny white highlight dot to each one — that little speck of light makes the face feel alive in a way that’s hard to explain until you try it. For rosy cheeks, tap a barely-loaded brush or a cotton swab dipped in diluted pink paint onto the cheek area very lightly, building up the color slowly. It’s very easy to overdo this one, so less really is more.
Hair is one of my favorite parts because it changes the whole personality of the doll so dramatically. Short lengths of yarn, embroidery floss, or unraveled twine glued onto the top and back of the head can be arranged into bangs, loose styles, curly ringlets (try wrapping floss around a toothpick), or even tiny braids. If the idea of painting hair sounds fiddly, you can also skip it entirely and give your doll a hat instead — this works especially well for gnomes, elves, and holiday characters where a whimsical hat is actually more fitting than detailed hair anyway.
Creative Themes and Display Ideas
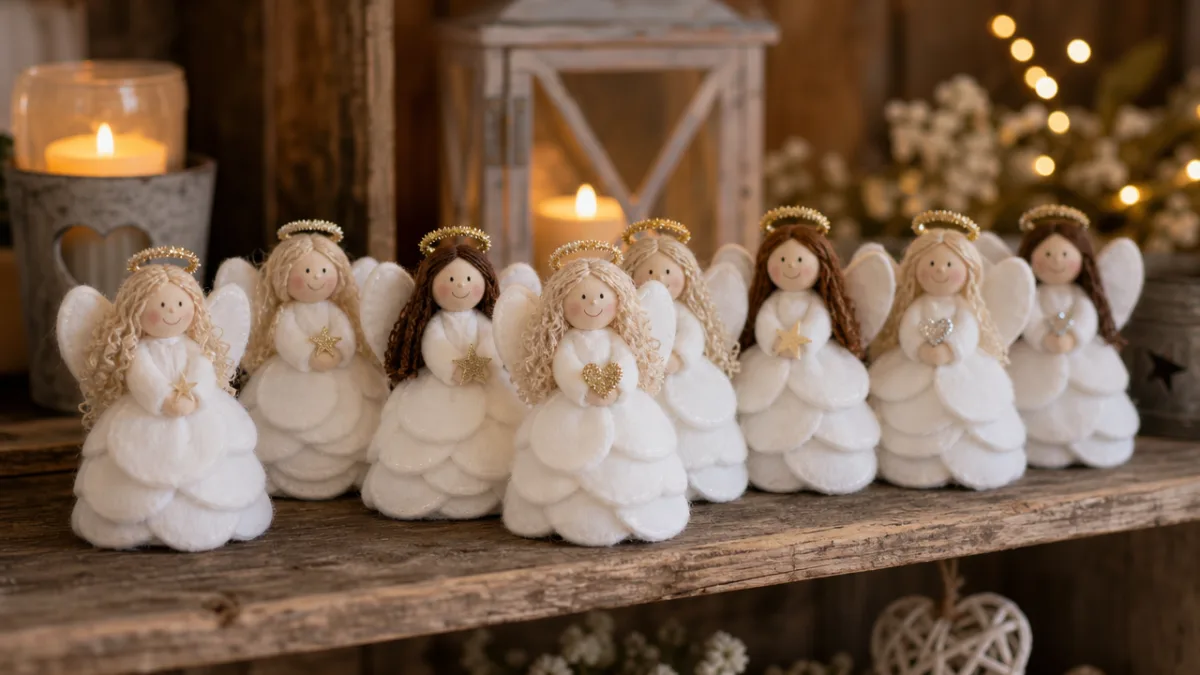
One of the things that keeps this craft so interesting is how many different directions you can take it. The natural white of cotton rounds makes winter and holiday themes an obvious starting point — a little cluster of angel dolls or snowmen on a mantelpiece looks genuinely beautiful, especially when you add tiny gold wire halos, a dusting of silver glitter, or miniature star details. People always want to know how you made them, which makes them wonderful as handmade gifts too.
But it’s worth looking beyond the winter holidays, because cotton pad dolls translate just as well into spring and autumn themes. For Easter or springtime decorating, pastel ribbons, tiny paper flowers, and small painted egg accessories turn your basic doll into a garden fairy or spring sprite. For autumn, try incorporating small dried flowers, rust-toned ribbons, and little pumpkin or leaf picks from the craft store. Building a seasonal collection that rotates through the year gives you a reason to keep crafting and keeps your home feeling fresh and personal all year long.
When it comes to displaying your finished dolls, the setting really does matter. A small wooden tray with a little moss and a few pebbles makes a sweet base for a fairy garden scene. A glass cloche or bell jar turns a single well-made doll into something that looks genuinely sophisticated on a bookshelf or side table. And if you hang a group of dolls from a piece of driftwood or a decorative branch using thin thread, you get a beautiful mobile that moves gently and catches the light — particularly stunning when the dolls have filmy or sparkly wing details.
- Gather all materials and set up a clean, organized workspace before beginning any construction.
- Build and shape the wire armature to your desired doll proportions.
- Wrap and layer cotton pads over the armature to create the body volume, securing with glue.
- Attach the head form securely and allow adequate drying time before continuing.
- Layer cotton pad clothing elements starting from the bottom of the doll and working upward.
- Paint and detail the facial features once all structural elements are dry and secure.
- Add hair, accessories, wings, or hats to complete your doll’s character and theme.
- Allow all glue and paint to dry fully before displaying or gifting your finished creation.
Tips for Crafting With Children and Beginners
One of the nicest things about this project is how adaptable it is. Kids, beginners, experienced crafters — there’s a version of this that works for everyone. If you’re making dolls with young children, skip the wire armature entirely and swap it for a small cardstock cone as a base. The doll just sits on it, there’s no wire to worry about, and the kids still end up with something they’re genuinely proud of and excited to display or give away.
For adults who are new to this kind of detailed craft work, the single most useful thing I can tell you is to slow down and let things dry properly between steps. It’s tempting to keep building, but adding the next layer before the glue has set is how things go wobbly or misaligned. Start with something simple — a basic angel with a round head, a layered cotton skirt, and a ribbon belt is a great first project. It comes together quickly, it looks lovely when it’s done, and it gives you the confidence to try something more complex next time.
If you want ongoing inspiration, it’s worth browsing Pinterest boards or joining one of the online communities dedicated to this style of crafting. The range of what people create with cotton pads is genuinely surprising — from incredibly delicate, realistic miniatures to bold, graphic art pieces — and seeing what others have made has a way of sparking ideas you wouldn’t have arrived at on your own. Taking photos of your own work as you go is also really useful: it helps you track what’s working, remember techniques that clicked, and share your progress with others who love this kind of creative work just as much as you do.








What do you think?
It is nice to know your opinion. Leave a comment.