










“`html
The Art of Paper Folding: A Complete DIY Tutorial for Beginners and Beyond
Introduction to Paper Folding: A Timeless Craft
Paper folding has been around for centuries, and honestly, it never gets old. From the Japanese tradition of origami to the geometric paper crafts of Europe, there’s something almost magical about taking a flat sheet of paper and turning it into something three-dimensional. Whether you’ve never folded anything more ambitious than a paper airplane or you’re rediscovering a hobby you loved as a kid, there’s a real satisfaction to this craft that tends to surprise people.
One of the things that makes paper folding so appealing is how accessible it is. You don’t need a dedicated craft room, expensive tools, or a big supply budget — just paper and your hands. That’s really it. This makes it a great creative outlet for pretty much anyone: kids, adults, casual hobbyists, and serious artists all find something to love here. The materials cost next to nothing, cleanup is a non-issue, and you can make it as easy or as challenging as you want depending on what you decide to tackle.
There’s also a surprisingly meaningful side to paper folding that goes beyond the finished product. Studies and educators have pointed out that working through a fold sequence actually engages both sides of the brain, helping with spatial thinking, fine motor skills, and patience. A lot of therapists use it in mindfulness work too, because the slow, deliberate movements naturally pull your attention into the present moment. Whatever draws you to it, this guide will walk you through everything you need to get started and keep going with real confidence.
Choosing the Right Paper: Materials and Supplies
Before you fold a single crease, it’s worth thinking about your paper. Not all paper behaves the same way, and using the wrong kind for a project can turn something fun into something frustrating fast. The three things to pay attention to are weight, texture, and memory — that last one meaning how well the paper actually holds a crease after you fold it. Too thick and it fights you on precise folds; too thin and it tears or loses its shape partway through a complicated sequence.
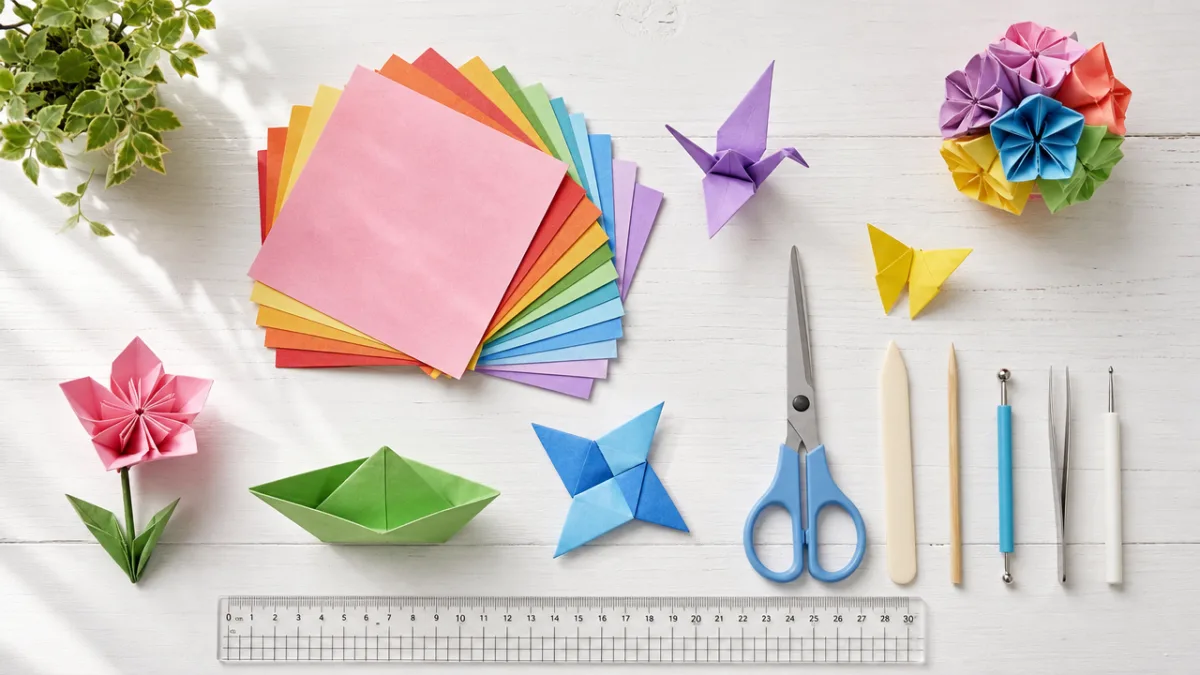
If you’re just starting out, traditional origami paper — called kami — is genuinely your best bet. It’s designed specifically for folding, so it creases cleanly, holds its shape well, and isn’t so delicate that it falls apart on you. It usually comes as pre-cut squares with one colored side and one white side, which is more helpful than it sounds when you’re trying to track which surface faces out during tricky folds. You can find it at craft stores and online in an enormous range of colors, patterns, and sizes, from tiny 5cm squares all the way up to large 35cm sheets.
Once you’ve got some experience under your belt, it’s fun to branch out into other materials. Washi paper, made from plant fibers in the Japanese tradition, has a beautiful texture and a slight translucency that makes finished pieces look genuinely artistic. Foil-backed papers are favorites among more advanced folders because they hold complex shapes with impressive precision. For bigger decorative projects — fans, wreaths, architectural forms — regular copy paper or cardstock works just fine and has the obvious advantage of being something most of us already have lying around.
- Kami (origami paper): Best for beginners; lightweight, pre-squared, available in many colors and sizes
- Washi paper: Traditional Japanese fiber paper; beautiful texture and translucency for decorative finished pieces
- Foil-backed paper: Holds complex folds precisely; ideal for advanced models and wet-folding techniques
- Cardstock: Heavier weight; excellent for structural projects like boxes, frames, and large decorative items
- Tissue foil: Ultra-thin and highly responsive; used by expert folders for incredibly detailed, lifelike models
Essential Folds: The Building Blocks of Every Paper Design
Here’s the reassuring thing about paper folding: no matter how complex a finished model looks, it’s almost always built from a small set of fundamental moves. Get comfortable with those core techniques and everything else starts to make sense. The two you’ll use constantly are the valley fold and the mountain fold. A valley fold brings the paper toward you, creating a concave crease — like the bottom of a valley. A mountain fold pushes the paper away from you, forming a convex ridge — like a peak. Virtually every other fold you’ll ever learn is some variation or combination of these two.
The squash fold is usually the first intermediate technique that new folders run into, and it’s a bit of a gateway move. You open a flap along its fold line and press it flat symmetrically, creating a new shape — usually a square or diamond. It’s a key step in building the preliminary base and the bird base, which are the starting points for hundreds of classic models. The main thing to focus on here is making sure your edges line up properly before you press down. A little patience at this stage makes a big difference in how neat and symmetrical your finished piece ends up looking.
The inside and outside reverse folds are two more techniques that really open things up once you get the hang of them. An inside reverse fold inverts a point or flap inward along existing crease lines — it’s how you make things like animal heads, beaks, and subtle curved forms. The outside reverse fold does the opposite, wrapping a point outward to create sweeping shapes and more expressive movement. Both of these work best when you’ve pre-creased the fold lines sharply first, so the paper knows exactly where it’s supposed to go before you commit to the full movement.
- Valley fold — fold paper toward you; creates a concave crease line
- Mountain fold — fold paper away from you; creates a convex crease line
- Squash fold — open and flatten a flap symmetrically along a central axis
- Inside reverse fold — invert a point or flap inward along existing creases
- Outside reverse fold — wrap a point or flap outward over existing creases
- Petal fold — a combination fold used to create pointed, petal-like forms
- Sink fold — push an internal section of paper inward to create a recessed cavity
Step-by-Step Beginner Projects to Practice Your Skills
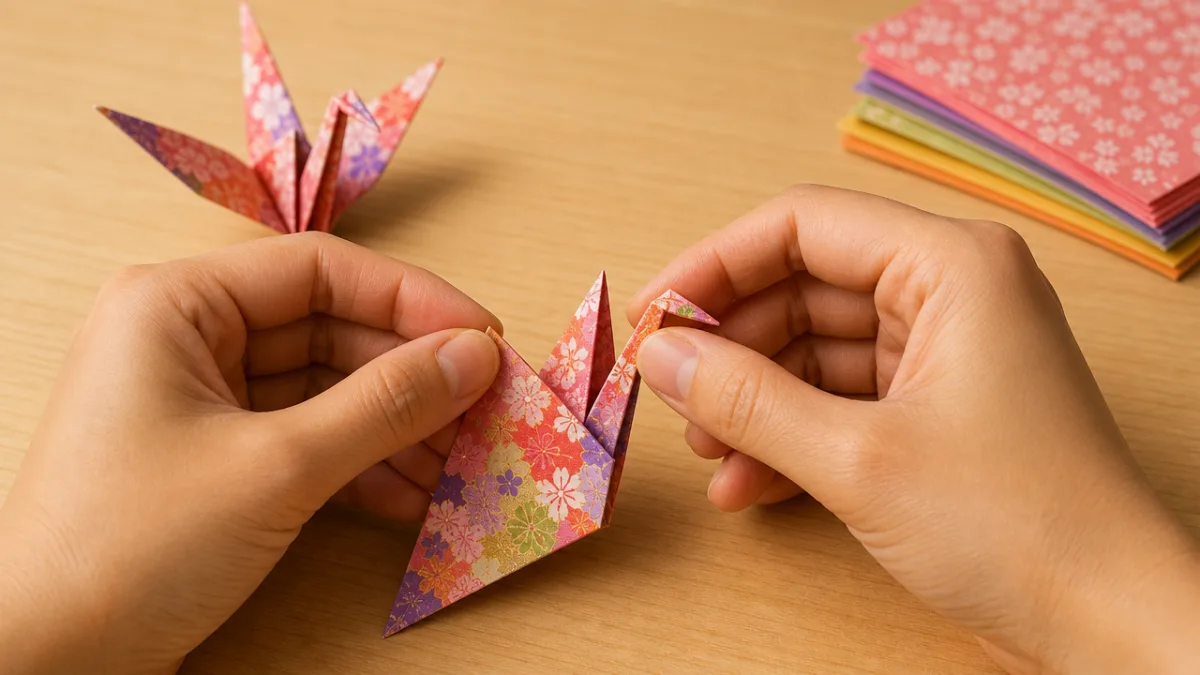
Starting with a handful of well-chosen beginner projects will do more for your confidence and muscle memory than trying to jump straight into something complex. The classic paper crane is one of the best models a new folder can take on — it’s a great introduction to the bird base, and the finished result looks genuinely impressive even though the steps are manageable. There’s also a wonderful cultural dimension to it: in Japanese tradition, folding a thousand cranes is said to grant a wish, so the whole process feels a bit more meaningful than just practicing technique.
That said, if you’re truly just starting out, it’s worth warming up with a few even simpler projects first. A basic origami box teaches precise square folding and three-dimensional shaping without any complex sequences to navigate. A simple tulip or lily flower is a great introduction to petal folds, and a jumping frog gets you comfortable with the mountain-valley combination that shows up in a lot of action models. Spending a session or two with each of these before moving on to the crane will make a noticeable difference in how ready your hands feel.
The paper fan is another beginner favorite — all you’re doing is accordion folding, alternating valley and mountain folds along parallel lines — and the result is immediately useful and pretty. You can decorate the paper with stamps, watercolors, washi tape, or hand-drawn designs before folding to make something that actually feels like a gift. Once accordion folding clicks for you, it naturally leads into pleated bookmarks, decorative butterflies, pinwheels, and layered rosettes, all built on exactly the same basic movement.
While you’re working through these early projects, there are three habits worth building from the start. First, always fold on a hard, smooth surface — not in your lap or on a cushion — so your creases come out crisp and accurate. Second, take a moment to line up your edges before pressing any fold; a few extra seconds of alignment will save you a lot of frustration when later steps demand precision. Third, crease firmly and fully by running your thumbnail or a bone folder along the entire fold line. Strong creases make everything that comes after easier and your finished model will look noticeably cleaner.
Intermediate and Advanced Techniques: Taking Your Folding Further
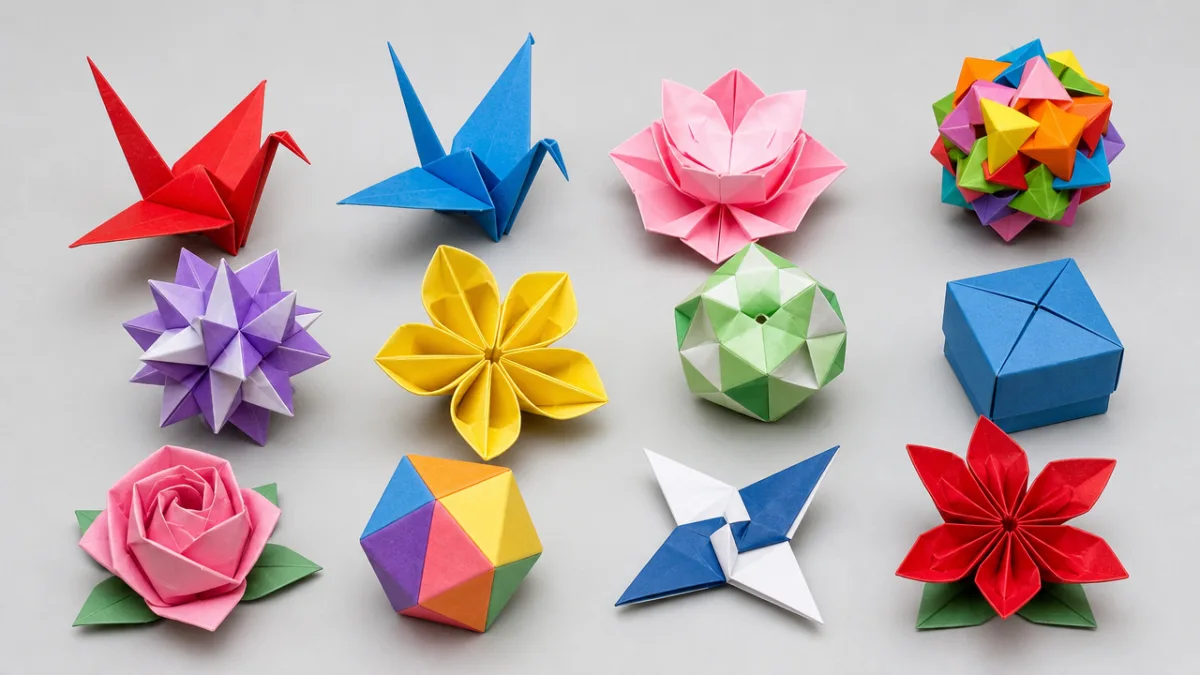
Once you’re comfortable with the basics and have a few finished projects to show for it, a whole new world of techniques becomes available to you. Modular origami, for instance, is where you fold lots of identical units — called modules or sonobe units — and interlock them without any glue to build geometric solids, spheres, and decorative polyhedra. A twelve-module sonobe ball is something you can put together in an afternoon and it makes a genuinely striking decorative object. Scale up to sixty, ninety, or hundreds of modules and the results start looking less like craft projects and more like mathematical sculptures.
Wet folding is another technique that completely changes what paper can do. Developed by the legendary origami master Akira Yoshizawa, it involves lightly dampening the paper before you fold so the fibers soften and the paper becomes almost clay-like. You can coax it into curves and organic shapes that would be impossible with dry paper, and it holds those shapes as it dries. Animals made this way have a lifelike, sculptural quality that feels like a different art form entirely. It takes some experimentation to find the right moisture level for whatever paper you’re using, but once it clicks, the results are genuinely remarkable.
Kirigami is a related tradition that brings cutting into the mix alongside folding. Purist origami avoids scissors entirely, but kirigami embraces them as part of the process, and the combination unlocks levels of detail and complexity that folding alone can’t reach. Pop-up greeting cards, paper snowflakes, and elaborate paper-cut lanterns all come from this tradition, and they make satisfying intermediate projects for anyone ready to push beyond pure folding.
Three-dimensional paper tessellations are probably the most mathematically ambitious corner of contemporary paper folding. A tessellation is a repeating pattern of shapes that tile together with no gaps, and when that concept is applied to folded paper, you get extraordinary results — rippling geometric surfaces, interlocking star patterns, and lattice structures that seem almost impossible given how simple the material is. Artists like Ron Resch, Robert Lang, and Eric Gjerde have taken this well beyond decorative craft; their folded structures have actually influenced aerospace engineering, medical device design, and sustainable packaging.
Creative Applications and Project Ideas for Every Occasion
One of the best parts of getting good at paper folding is realizing how many real-world uses it opens up. Gift wrapping is a great example — once you know a few folding techniques, you can turn a simple box or bottle into something beautifully presented without needing ribbon, a gift bag, or a bow. Drawing on furoshiki-inspired paper wrapping methods produces elegant diagonal wraps and envelope folds that make even a modest gift feel thoughtful. A hand-folded paper bag or box carries a personal quality that store-bought packaging just doesn’t have.
Home decoration is another area where paper folding really shines. Geometric wall installations, origami mobiles, folded paper lanterns, and pleated paper lamp shades can all be made at a fraction of what you’d spend on purchased decor, with far more control over color, size, and style. Paper stars and geometric ornaments made from folded strips or modules are particularly popular for seasonal decorating — make them in a coordinated palette and hang them at different heights and the effect is genuinely beautiful. A paper installation made specifically for your own space becomes something that no store could sell you.
For events, paper folding is almost surprisingly practical. Folded paper flowers in bulk create lush, full floral arrangements and backdrops that photograph wonderfully and never wilt. Origami table number holders, folded menu cards, name place settings, and decoratively folded napkins all add a handmade elegance to a table that people notice. More and more couples and event planners are incorporating paper folding workshops into their planning process — they make great group activities and guests walk away with something they made themselves.
In educational and therapeutic settings, the benefits of paper folding are well worth highlighting. In classrooms, it weaves together math, geometry, sequencing, and instruction-following into something hands-on that tends to reach students who tune out during abstract lessons. Fractions, symmetry, area, and angles all become visible and intuitive when you’re physically folding them into existence. In occupational therapy, the fine motor demands support hand strength, pinch grip, and bilateral coordination — making it a useful and enjoyable tool for children and adults working through injury recovery or developmental challenges.
And then there’s the social side of all this, which is easy to underestimate. Origami circles, folding clubs, and online communities bring together people of wildly different ages and backgrounds around a shared love of the craft. Teaching a friend a new fold, collaborating on a large community installation, or simply handing someone a small crane you made yourself — there’s a warmth and intimacy to that kind of giving that a purchased gift rarely matches. That might be the truest thing about paper folding: no matter how much the technique or artistry grows, it stays one of the most genuinely human crafts anyone can pick up.
“`








What do you think?
It is nice to know your opinion. Leave a comment.