










Fun Crochet Laptop Sleeve: A Complete Guide to Making Your Own
Introduction to Crochet Laptop Sleeves
In a world full of generic, mass-produced accessories, there’s something really special about pulling out a laptop sleeve you made yourself. A crochet laptop sleeve is one of those projects that just hits differently — it’s practical, it’s personal, and it’s genuinely satisfying to make, whether you’ve been crocheting for years or you’re just getting started. These sleeves actually protect your device while showing off a little of your creative personality, so every coffee shop or library session becomes just a bit more you.
The idea is pretty simple: a snug, padded yarn pouch that cushions your laptop from the everyday bumps and scratches of life on the go. Unlike a store-bought neoprene sleeve, a crocheted one has a texture and warmth that feels genuinely unique. Good crochet fabric is surprisingly tough, and once you add a fleece or felt lining, you’ve got something that holds its own for daily commutes and travel.
What crafters tend to love most about this project is how much room there is to make it your own. You pick the colors, the stitch pattern, the dimensions — everything is tailored to your laptop and your taste. Whether you want something sleek and minimal or bold and textured and bursting with color, you really can go either way. This guide walks you through everything: designing, building, and finishing your own crochet laptop sleeve from start to finish.
Choosing the Right Materials and Tools
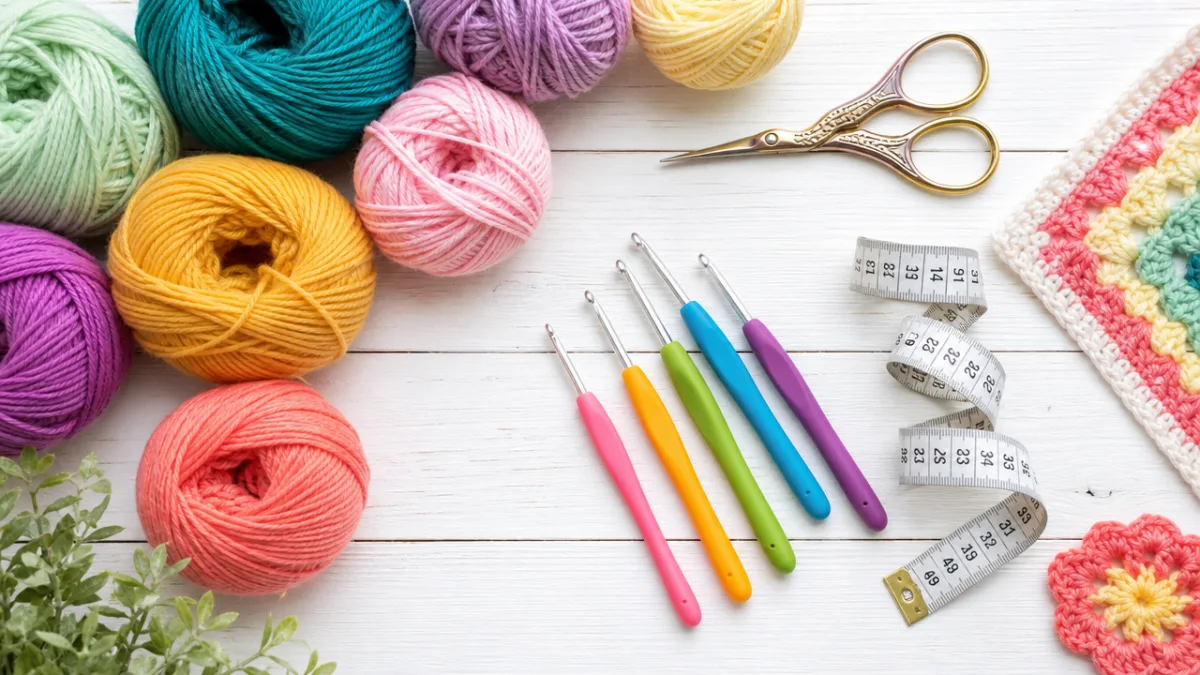
Before you grab your hook, it’s worth taking a little time to choose the right materials — it makes a bigger difference than you might expect. Yarn is the most important call you’ll make. For a laptop sleeve, you want something sturdy enough to hold its shape, dense enough to offer real cushioning, and smooth enough to show off clean, defined stitches. Cotton and cotton-blend yarns are a go-to choice for a lot of crocheters because they’re firm, washable, and come in a ton of great colors.
For yarn weight, worsted or bulky tends to work best. These create a denser fabric with fewer stitches, so your project comes together faster while still giving you solid protection. Some people like to hold two strands of a lighter yarn at once, which gets you a similar density but opens up fun options for color mixing and gradient effects. Whatever you go with, pay attention to the fiber content — some synthetic blends have a tendency to stretch out over time, which can cause the sleeve to loosen up and stop fitting as snugly as you’d like.
Hook size matters too. Going a size or two smaller than what the yarn label recommends gives you a tighter, firmer fabric, which is exactly what you want for something protective. Beyond that, you’ll need a yarn needle for weaving in ends, scissors, a measuring tape, and optionally some fleece or felt for lining the inside. It’s also worth thinking about your closure — a zipper, button, or snap — before you even start, since planning for it early makes the finishing process a lot smoother.
Understanding Stitch Patterns for Laptop Sleeves
The stitch you choose shapes both the look and the structure of your sleeve, so it’s worth thinking through. If you’re newer to crochet, single crochet is a fantastic place to start. It produces one of the tightest, most durable fabrics in all of crochet — dense, a little rigid, and excellent at holding its shape through regular use. It’s not flashy, but for something that needs to actually protect your laptop, it really delivers.
If you’ve got a bit more experience and want to add some visual interest, textured stitches are a great option. The moss stitch (also called the granite or linen stitch) alternates single crochet and chain stitches to create a subtly woven texture that looks really polished. Half double crochet is another solid pick — a little more flexible and drapey than single crochet, but still structured. And if you want something truly dimensional, bobble or puff stitches create raised clusters that add both texture and a little extra padding.
Color work is another fun direction to explore. Simple stripes are easy and can make even a basic stitch pattern look striking. If you’re feeling adventurous, tapestry crochet lets you carry two or more colors at once to build geometric or pictorial designs right into the fabric — it takes a bit more planning and focus, but the results are genuinely impressive. Whatever direction you go, always crochet a swatch first. It takes maybe ten minutes and saves you from finishing a sleeve that ends up the wrong size.
Step-by-Step Construction Process
Once your materials are ready and your stitch is chosen, it’s time to actually start building. First, measure your laptop carefully — length, width, and thickness — and add about half an inch to an inch of ease to each dimension so the sleeve fits comfortably without being so baggy it’s useless. Write those numbers down and keep checking back against them as you work. It’s easy to get into a rhythm and forget to measure.
The most common approach is to work two flat rectangular panels and seam them together. Chain enough stitches to match your laptop’s width plus ease, work rows of your chosen stitch until you hit the right length, then make a second identical panel. Some patterns instead have you work in the round from the bottom up, which means one fewer seam and a cleaner overall look — once you get the hang of it, it can feel more intuitive too. Either method works well, so go with whichever sounds more appealing to you.
When it comes to seaming, take your time to keep the edges aligned and the seam tight without puckering. A slip stitch seam along three sides creates a firm, visible join that can actually become a design feature if you work it in a contrasting color. A whip stitch or mattress stitch done with a yarn needle gives you a flatter, more hidden seam if that’s more your style. Once the body is seamed, focus on your closure — whether that’s a zipper, a button and loop, a magnetic snap flap, or a drawstring along the top.
Adding a lining is really worth doing if you’re serious about protecting your laptop. Cut a piece of fleece or felt to the interior dimensions of your sleeve, fold and press the edges, and hand-stitch it carefully to the inside of the crocheted fabric. It keeps your laptop from snagging on the yarn, adds a soft cushioning layer, and helps the whole sleeve hold its shape for years. Some people also slip a thin layer of foam padding between the crochet and the lining for extra impact resistance, which is a nice touch if your laptop travels a lot.
Customization Ideas and Creative Variations
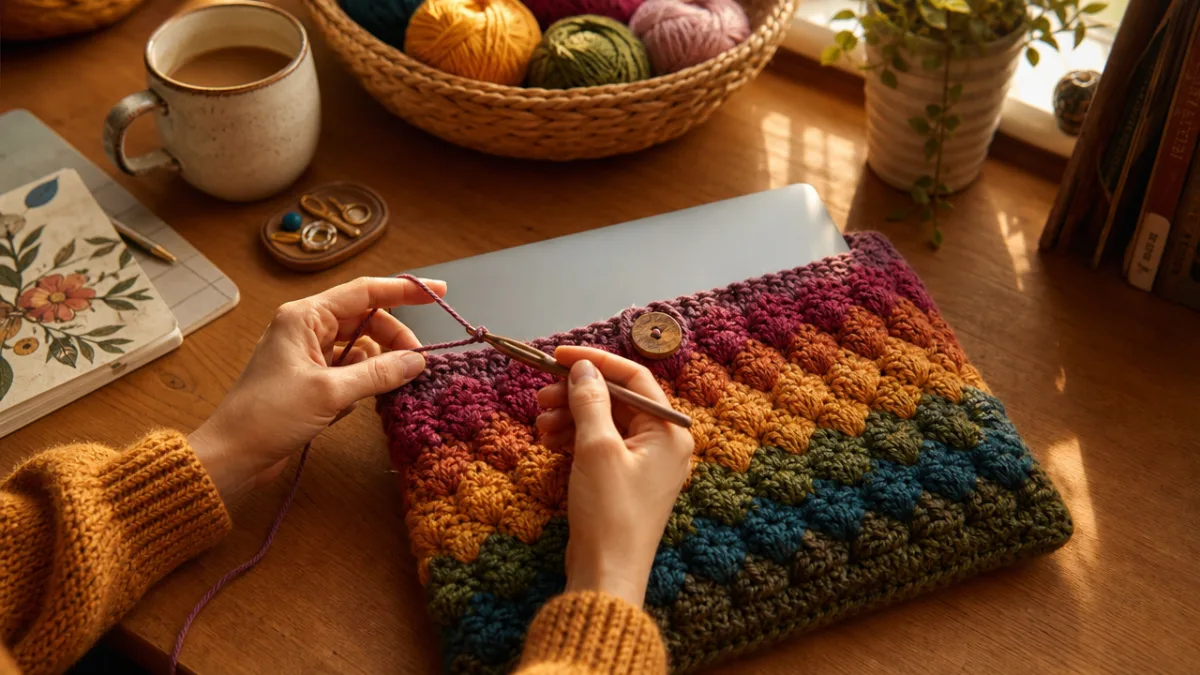
This is where things get really fun. Beyond your color choices, there are so many ways to make your sleeve feel genuinely one of a kind. Appliqués are one of the easiest ways to add a personal touch — crochet a little flower, a geometric shape, or a small animal separately and stitch it onto the exterior. It’s a low-effort addition that adds a lot of charm without requiring any extra technical skills.
If you like the idea of something more functional, adding a carrying strap takes the sleeve from a simple case to a proper mini-bag. A braided yarn strap or crocheted chain attached to both sides with D-rings means you can carry your laptop hands-free. An exterior pocket — just a small crocheted rectangle seamed to the front — gives you a handy spot for a charging cable, a mouse, or earbuds. These small additions really do make the sleeve feel like a finished, thought-out accessory rather than just a pouch.
Color gradients and striping open up a lot of creative territory too. Fading through several related shades of one color creates a sophisticated, contemporary look that’s easier to pull off than it sounds. Self-striping and variegated yarns are another option — the color shifts happen on their own as you work, so you get beautiful, unpredictable results with zero extra effort. For something bolder, a high-contrast black and white geometric pattern in tapestry crochet produces a sleeve that looks more like a piece of modern art than a laptop case.
Personalization doesn’t have to stop at color, either. Mixing yarn textures within the same project — say, a smooth mercerized cotton for the main body and a slightly fuzzy alpaca for an accent stripe — creates a sensory richness that makes the piece feel as interesting to touch as it looks. Leather or faux-leather handles or closures add a material contrast that gives the whole thing a more high-end, artisanal feel. And don’t underestimate the button: a vintage find, a carved wooden button, or a handmade ceramic one can each say something completely different about the finished piece.
Care, Maintenance, and Longevity
A well-made crochet laptop sleeve can last for years — but it does need a little different care than a synthetic store-bought case. How you wash it depends mostly on your yarn’s fiber content. Cotton and acrylic are pretty forgiving and usually handle a gentle machine wash just fine without much shrinking or distorting. Wool and wool blends, though lovely to work with, really do need to be hand-washed in cool water with a mild detergent to avoid felting and shrinkage — it’s worth the extra few minutes.
Whatever your fiber, always lay the sleeve flat to dry rather than hanging it — hanging lets gravity stretch the fabric out over time, which can throw off the fit. If you’ve added a fleece or felt lining, check that material’s care instructions separately, since lining fabrics sometimes have their own quirks. Keeping the sleeve clean matters more than people often realize — oils and grime can gradually weaken yarn fibers, so a regular gentle wash actually helps the piece last longer.
Over time you might notice a loose stitch, a tiny hole, or a fraying edge here and there. These are almost always quick fixes with a yarn needle and a little matching yarn, and the sooner you address them the better. A broken closure is just as easy to swap out. With a bit of attentive upkeep, a crochet laptop sleeve can genuinely outlast a lot of commercially made alternatives — and it only gets more charming with age.
Sharing Your Work and Finding Inspiration
Finishing a crochet laptop sleeve is a real accomplishment, and the handmade community online is a genuinely great place to share it. Pinterest, Instagram, and Ravelry are especially good for crochet makers — they’re packed with finished projects, pattern ideas, and technique tutorials. Posting your own photos adds to that community, and the feedback and encouragement you get back can be surprisingly motivating for whatever you make next.
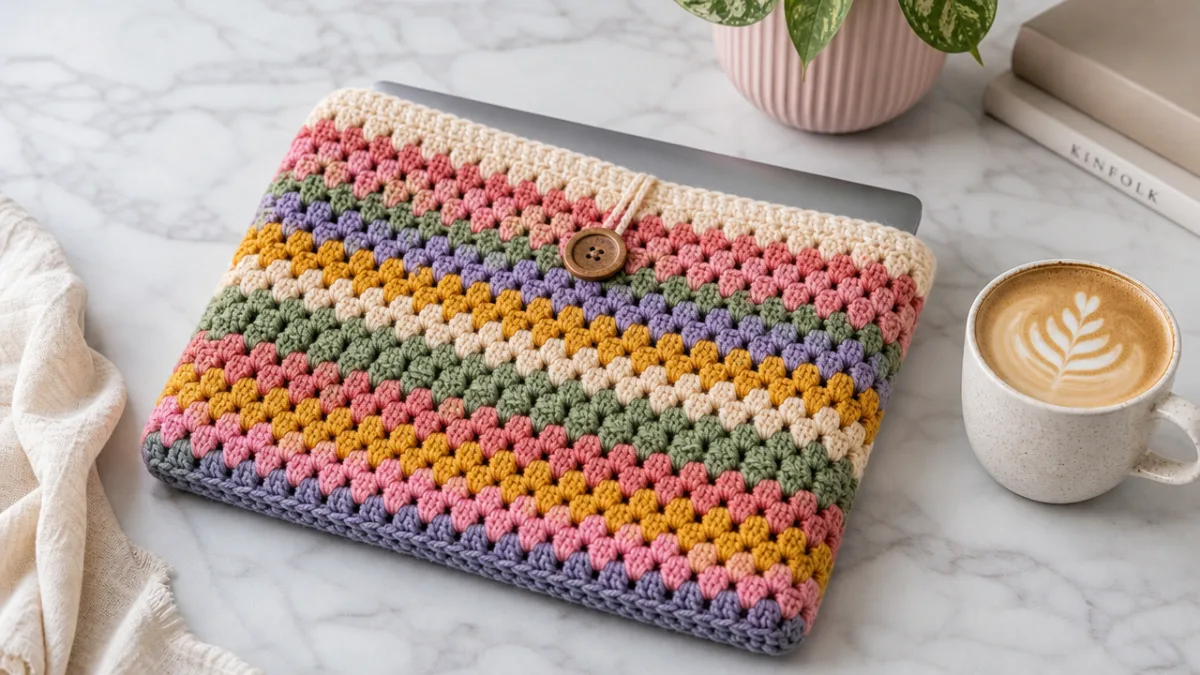
When it comes to photographing your sleeve, a little effort goes a long way. A clean background, good natural light, and thoughtful framing really do make your work look its best. Showing the sleeve with a laptop inside gives viewers a sense of scale and reminds them what it actually does. A few well-chosen props — a coffee cup, a notebook, some greenery — can set a mood that makes the image feel more relatable and inviting to other crafters.
And beyond sharing your own work, staying engaged with the broader crochet community is honestly one of the best things you can do for your skills. Following designers you admire, joining a crochet-along, hopping into an online forum, or finding a local crafting group all expose you to techniques and approaches you might never have stumbled onto on your own. The crochet community is remarkably generous with knowledge and encouragement — it’s a genuinely great space to grow in. Your fun crochet laptop sleeve might just be the first step in something you end up loving for a long time.
- Always swatch before beginning to confirm your gauge matches the pattern dimensions.
- Use stitch markers to keep track of your row counts and pattern repeats throughout the project.
- Consider reinforcing the bottom seam with a double row of stitching for extra durability.
- Store your finished sleeve away from direct sunlight to prevent color fading over time.
- Label your yarn with the brand and colorway before starting so you can easily purchase more if needed.








What do you think?
It is nice to know your opinion. Leave a comment.