










Easy Crochet Flower Shirt Buttons Pattern: A Complete Guide to Crafting Beautiful Floral Accents
Introduction to Crochet Flower Shirt Buttons
If you’ve ever wanted to add a little something extra to a plain cardigan or blouse, crochet flower shirt buttons might be exactly what you’re looking for. These tiny handmade flowers replace boring, ordinary buttons with something that actually makes people stop and say “wait, did you make those?” Whether you’ve been crocheting for years or you’re just getting started, this is the kind of project that’s surprisingly doable and completely addictive once you get going.
What makes these buttons so great is how versatile they are. You can use them on cardigans, blouses, kids’ clothes, handbags, decorative pillows — really anything that needs a button. Swapping out plain buttons for handmade floral ones, whether in a matching color or a fun contrast, instantly transforms a basic garment into something that feels personal. There’s also a texture to crochet that no store-bought button can replicate. It just has that handmade warmth that’s hard to put into words but easy to notice.
There’s a very practical side to this too. When you make your own buttons, you can match colors exactly to your yarn stash, size them to fit any buttonhole, and have a perfectly coordinated set without digging through notions bins at the craft store. This guide covers everything from picking the right materials to finishing your buttons so they look polished and hold up well through regular wear and washing.
Materials and Tools You Will Need
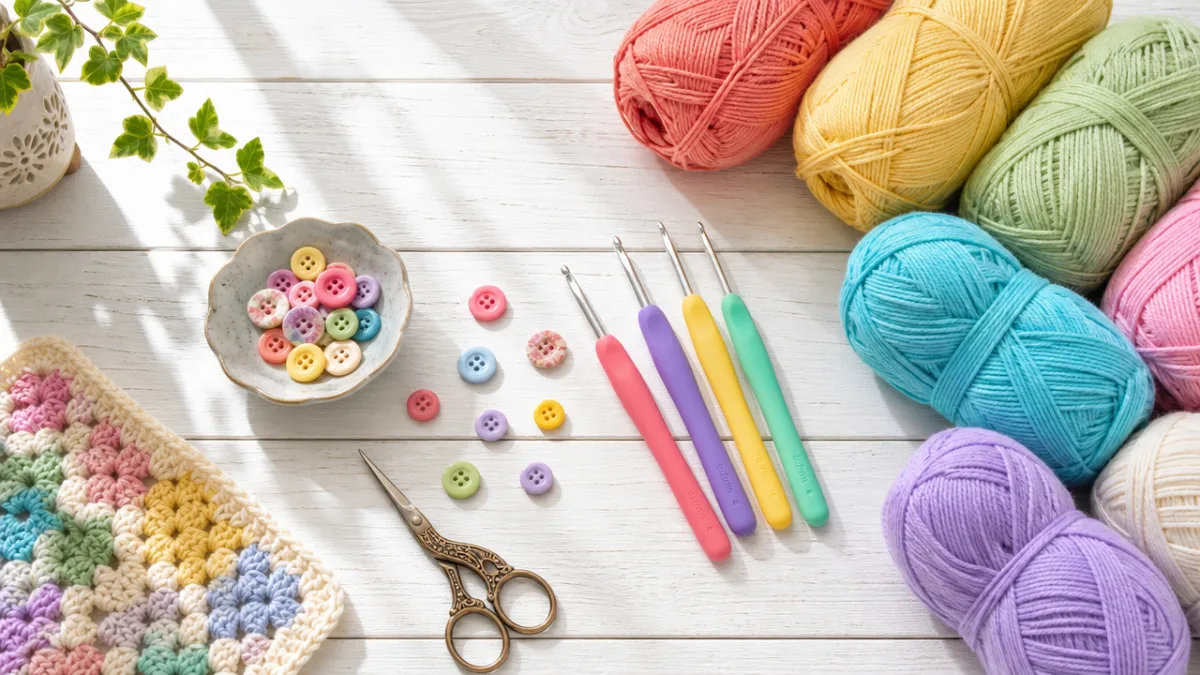
Getting the right supplies together before you start makes the whole process so much smoother. Yarn is obviously the most important thing, and for buttons specifically you want something that holds its shape and can handle being fastened and unfastened over and over. Cotton yarn is pretty much the gold standard here — it’s durable, shows off stitch detail beautifully, and comes in just about every color you could want.
For your hook, go one or two sizes smaller than what the yarn label suggests. Buttons need a tighter gauge than a typical project, so sizing down helps keep everything firm and well-defined. A size B-1 (2.25mm) or C-2 (2.75mm) hook pairs really nicely with fingering or sport weight cotton. You’ll also want a yarn needle for weaving in ends, sharp scissors, and small flat buttons or plastic rings to use as backings — these give each flower button structure and make it much easier to sew onto fabric later.
A few extras worth having on hand: stitch markers to keep track of your rounds, a small ruler or button gauge to make sure your finished buttons all come out the same size, and fabric stiffener spray if you want them extra crisp. Once you’re comfortable with the pattern, each button takes about fifteen to twenty minutes, so having everything ready means you can knock out a full set in one focused afternoon.
- 100% cotton yarn in your chosen colors (fingering or sport weight works best)
- Crochet hook sized one to two sizes smaller than yarn label recommendation
- Flat backing buttons or plastic button rings in the appropriate diameter
- Yarn needle and sharp scissors
- Stitch markers for tracking rounds
- Optional: fabric stiffener spray for extra stability
Understanding the Basic Crochet Stitches Required
The good news is that you only need a handful of basic stitches to make these buttons, and most beginners can pick them up pretty quickly. The starting point for almost every crochet flower pattern is the magic ring — sometimes called a magic circle or adjustable ring. It lets you begin crocheting in the round and then pull the center closed so there’s no gap in the middle. If it’s new to you, spending a few minutes practicing on scrap yarn before starting your actual buttons will make a big difference in your confidence.
From there, you’ll be working chain stitches, slip stitches, single crochet, half double crochet, and double crochet. Chain stitches create the arches between petal bases. Single crochet builds the tight foundation rounds that give your flower its structure. Half double and double crochet add height to the petals, creating that rounded, dimensional shape that makes these buttons look like actual little blossoms. Once you understand how the stitch heights differ, following any flower button pattern becomes much more intuitive.
You’ll mostly be crocheting in the round rather than back and forth in rows, which is what gives the button its circular shape. Joining rounds with a slip stitch and starting new rounds with the right number of chain stitches keeps your petals fanning out evenly. Pay attention to your tension as you go — too loose and the button won’t hold its shape; too tight and it’ll be stiff and tricky to fasten through a buttonhole. Both are easy to adjust once you know what to look for.
Step-by-Step Crochet Flower Button Pattern
This pattern makes a classic five-petal flower button that comes out roughly three-quarters to one inch across — just right for most adult shirt buttonholes. Start with a magic ring and work six single crochet stitches into it, then pull the tail to close the ring snugly and join with a slip stitch to the first single crochet. This first round forms the tight, neat center of your flower and is what makes it look tidy and professional from the front.
For the petal setup round, chain one and work a single crochet into the same stitch, then work two single crochet stitches into each remaining stitch around until you have twelve total. Join with a slip stitch to the first single crochet. This increase round is really important — it creates enough stitches so your petals can fan out gracefully without bunching up or puckering in the middle.
Now for the petals: slip stitch into the next stitch, then for your first petal chain two, work two double crochet into the same stitch, then two more double crochet into the next stitch, chain two, and slip stitch into the following stitch. Repeat that petal sequence four more times so you end up with five petals total. Each one should curve naturally away from the center. When you’re done, fasten off and leave a long tail — you’ll need it to attach the flower to its backing.
- Make a magic ring; work 6 single crochet into the ring and pull closed.
- Join with a slip stitch and chain 1 to begin round 2.
- Work 2 single crochet into each stitch around for 12 stitches total, then join.
- Slip stitch to next stitch; work petal sequence: ch 2, 2 dc in same st, 2 dc in next st, ch 2, sl st.
- Repeat petal sequence 4 more times to complete all 5 petals.
- Fasten off, leaving a 6-inch tail for finishing.
- Use yarn needle to attach flower to backing button and weave in all ends securely.
Once your five petals are done, thread the long tail onto your yarn needle and stitch through the back of the flower and around the flat backing button or plastic ring several times, pulling firmly so the two pieces are really secure. The backing button does two jobs: it gives your flower structure, and it creates the shank — the loop that thread passes through when you sew the button onto your garment. Take your time weaving in all the ends very thoroughly here. Button ends take a lot of stress in regular use, and any tail that isn’t locked down well can work itself loose over time.
Color Choices and Creative Variations
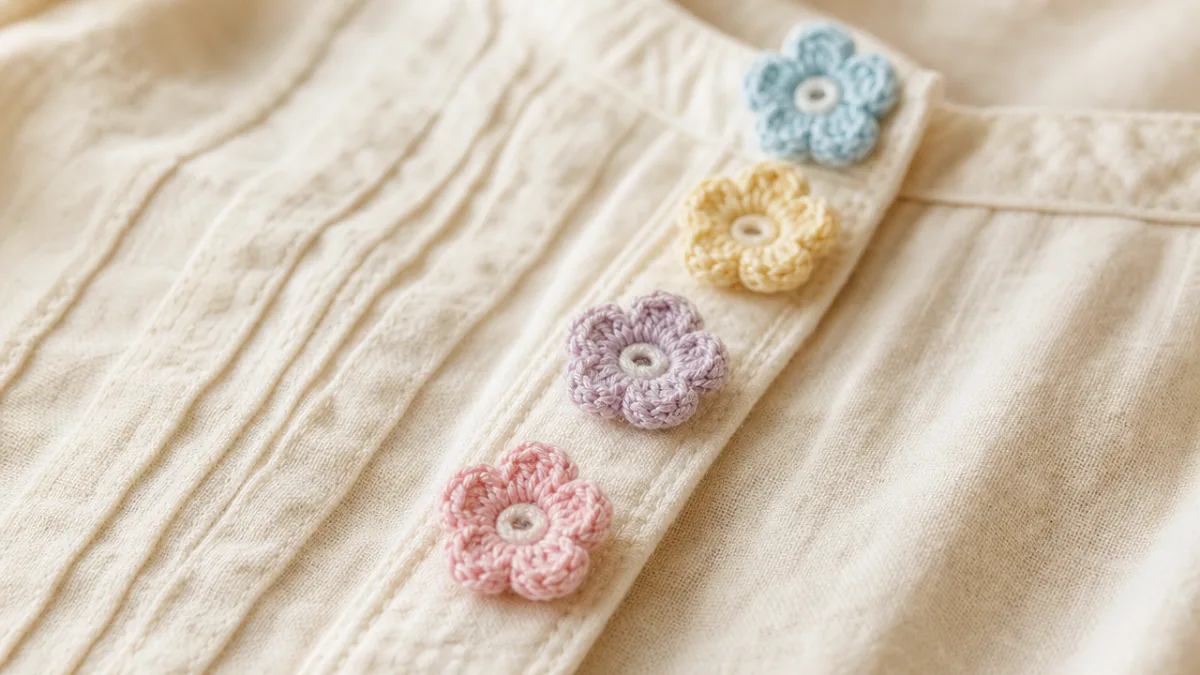
Honestly, choosing colors is one of the most fun parts of this whole project. You can go tonal and match your buttons closely to the garment, letting the floral texture speak for itself rather than the color. Or you can go the opposite direction and pick something bold that really pops — think bright yellow flower buttons on a navy cardigan for that vintage, garden-party kind of look that gets compliments every single time.
Using two colors opens things up even further. You can crochet the center rounds in one color and then switch to a new color when you start the petals, which gives you a flower with a distinct, contrasting center — just like a real daisy or black-eyed Susan. Another lovely option is working the petals in a variegated yarn that shifts through several hues, so each petal comes out slightly different. Done well, it looks sophisticated and organic rather than random.
You can also play around with the structure of the pattern itself. Adding a second round of petals behind the first creates a layered, full bloom that reads more like a rose or peony than a simple daisy. Switching to half double crochet for the petals makes them shorter and more compact, which is great for smaller buttons. And if you want to go all out, stitch a tiny French knot or glue a small bead to the center — it adds dimension and a little sparkle that makes these buttons genuinely special for a dressier piece.
Attaching and Caring for Your Crochet Flower Buttons
Sewing your finished buttons onto a garment is worth doing carefully — even spacing and a secure attachment make the difference between buttons that look intentional and ones that look a little off. Before you sew anything down, pin all your button positions first and step back to check that they’re evenly spaced and centered on the band. Then thread a hand sewing needle with strong thread in a color that blends with either your garment or your button, and use a cross stitch or figure-eight stitch through the backing shank to attach each flower.
The number of passes you make through the shank really does matter for how long the button stays put. Aim for at least six to eight passes before you knot off, then bring your thread up through the shank a few more times and wrap it around the base of your stitches to build a firm thread shank. This keeps the button sitting upright on the fabric rather than flopping flat. Knot securely on the wrong side, clip your thread close, and give each button a gentle tug before you wear the garment just to make sure everything is solid.
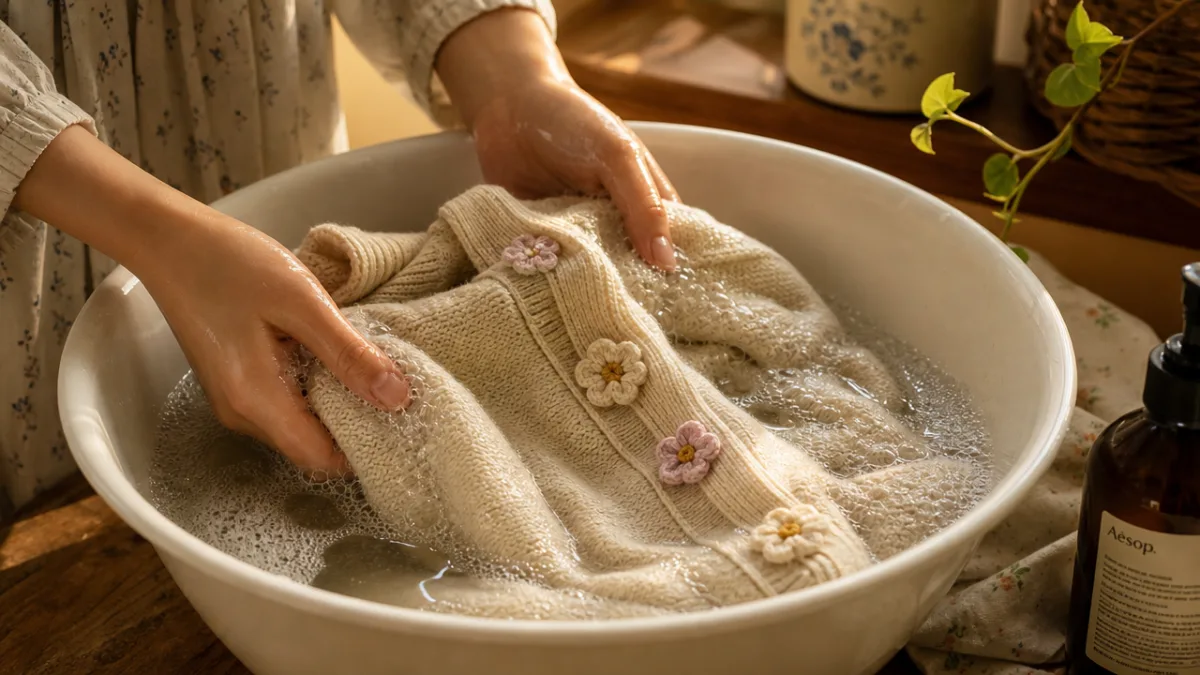
Taking care of garments with crochet buttons is pretty straightforward as long as you’re a bit gentle with them. Most cotton buttons do well with a hand wash in cool water and mild detergent — just reshape them and lay flat to dry. If you used fabric stiffener, a light reapplication after washing will bring the firmness back. Skip the hot dryer; heat can shrink cotton fibers and distort those carefully shaped petals. Treat them well and these little buttons will stay beautiful for a long time.
- Always pre-mark button placement with pins before sewing for even spacing.
- Use strong thread and make at least six to eight passes through the shank for security.
- Create a thread shank at the base to keep buttons sitting upright on the fabric.
- Hand wash gently in cool water; never machine wash on a hot or heavy cycle.
- Lay flat to dry and reshape petals with your fingers while still damp.
- Reapply fabric stiffener after washing if needed to restore original firmness.
Tips, Troubleshooting, and Inspiration for Your Next Project
Even if you’ve been crocheting for a while, tiny projects like buttons come with their own little quirks. The most common issue people run into is uneven petals, which usually comes down to tension shifting between petals as your hands get tired or distracted. The fix is pretty simple: practice the petal sequence on scrap yarn until it feels automatic before you start on your real buttons. You can also block your finished flowers — mist them lightly, pin them flat on a foam board, and let them dry — to even out any small inconsistencies and give the petals a crisper look.
Getting all the buttons in a set to match in size is another thing that trips people up. Even a small difference in hook pressure can make one button noticeably bigger than the others. A button gauge or a simple cardboard circle template is great for checking each flower before you weave in the ends, so you can catch the problem early and adjust your tension on the next one. Too big? Go down a hook size. Too stiff to fasten easily? Try going up a size or using a lighter yarn weight.
Once the five-petal flower button feels comfortable, a whole world of crochet floral embellishments opens up. The same skills translate directly to flower appliqués for hat brims, bag flaps, and hair accessories. You could try crocheting a tiny flower brooch using the same basic pattern with wire worked into the petals for a sculptural, three-dimensional effect. And if you’re looking for gift ideas, a handmade cardigan or blouse with a coordinated set of crochet flower buttons is one of those presents that really lands — it shows craftsmanship and genuine thoughtfulness in a way that something store-bought just can’t match.
The crochet community is also a genuinely wonderful resource as you keep going. There are thousands of flower button variations out there, from delicate lace-weight versions with six or eight petals to chunky, oversized statement buttons in bulky yarn. Video tutorials are especially helpful if you’re a visual learner and want to see each step in action before trying it yourself. Sharing your finished projects in online crochet communities is a great way to connect with other makers, get feedback, and find your next bit of inspiration — and honestly, seeing what you can do often encourages someone else to pick up a hook and give it a try too.








What do you think?
It is nice to know your opinion. Leave a comment.