










DIY Wind Chime – Dollar Tree Terracotta Pot Porch Craft
Introduction: The Charm of Handmade Porch Decor
There’s something so satisfying about turning a handful of cheap materials into something you actually want to look at every day. Wind chimes have always had a place on porches and in gardens — they look great, and that soft, random tinkling sound when the breeze picks up is just genuinely relaxing. What surprises a lot of people is how easy they are to make yourself. You don’t need a craft degree or a big budget. Honestly, a Dollar Tree run and a little creativity are pretty much all it takes.
Dollar Tree terracotta pots are honestly one of the most slept-on craft supplies out there. Those little clay pots have this natural warmth to them that just works on a porch or in a garden — something about the earthy, rustic texture that plastic materials can never quite pull off. Whether you go wild with bold colors or keep them in their natural state, terracotta brings a handmade, organic feel to any project.
The best part? This project works for all skill levels. If you’re new to crafting, don’t stress — the design is forgiving, the measurements are flexible, and any little mistakes are easy to cover up. If you’ve been crafting for a while, you’ll have fun playing with paint techniques, embellishments, and different layouts. Either way, you’ll end the day with a one-of-a-kind wind chime you’ll actually be proud to hang outside.
Materials You Will Need
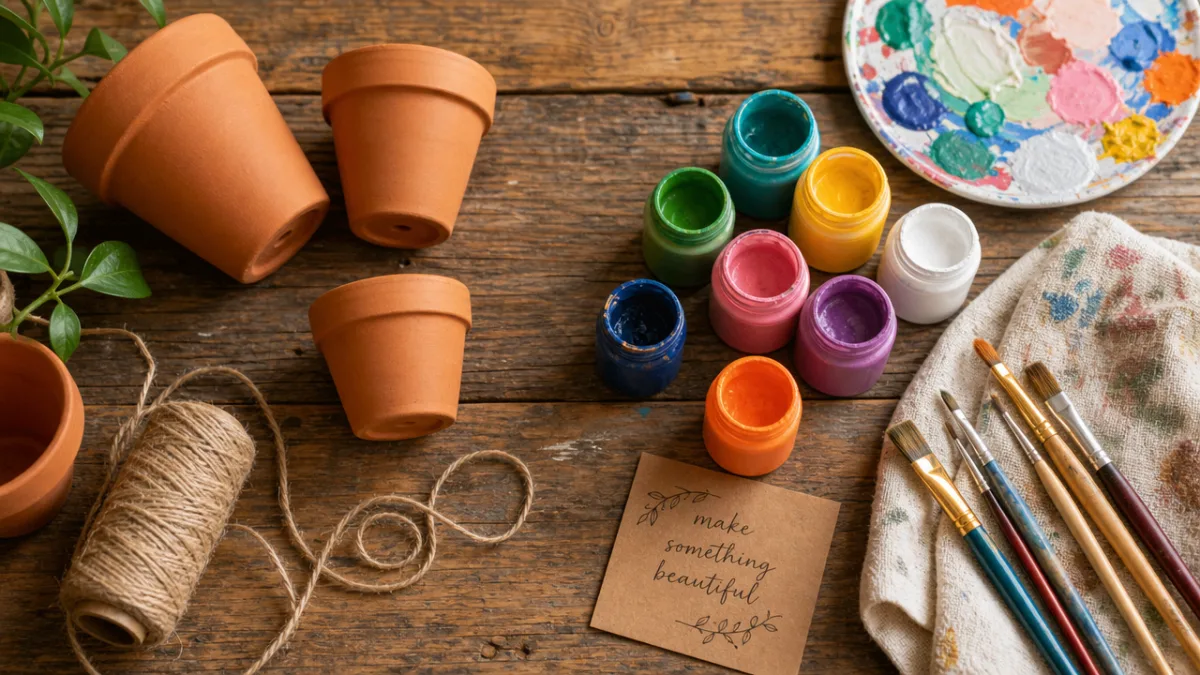
Before you dive in, it’s worth taking a few minutes to gather everything upfront — it makes the whole process so much smoother. The great news is that almost everything on this list can be found at Dollar Tree, which makes this one of the most budget-friendly crafts you can do. One store trip should get you most of what you need, with maybe a couple of things you already have sitting at home.
When you’re at Dollar Tree, head straight for the small terracotta flower pots. They usually come in multipacks or you can grab them individually for a dollar. Try to pick up a mix of sizes if you can — combining small and medium pots gives your finished chime more visual interest and a better sound when the pieces knock together. While you’re there, grab some twine, ribbon, jute cord, or whatever decorative string catches your eye, since that’s what’ll hold everything together.
Here’s a general list of what works well for this project:
- 6 to 10 small or medium terracotta pots from Dollar Tree
- Jute twine, ribbon, or nylon cord (also available at Dollar Tree)
- One larger terracotta pot or a wooden dowel for the top anchor
- Acrylic craft paint in your chosen colors
- Paintbrushes in various sizes
- A hot glue gun and glue sticks
- Outdoor Mod Podge or clear acrylic sealer spray
- Beads, buttons, or other decorative accents (optional)
- Scissors and a drill or sharp nail for making cord holes
If you’ve already got paint and a hot glue gun at home, you might pull this whole thing off for two or three dollars. Even if you’re starting from scratch, you’re probably looking at ten dollars tops — which is pretty remarkable for a handmade piece of decor that’ll brighten up your porch for a whole season or more. That low barrier to entry is a big part of why this project is so popular.
Preparing and Painting Your Terracotta Pots
Once you’ve got your supplies together, the first thing to do is get those pots ready for paint. Terracotta is porous, so it soaks up paint quickly — which sounds like a good thing, but it can actually make the color look streaky or uneven if you skip the prep step. Just wipe each pot down with a damp cloth and let them dry completely. A lot of crafters like to start with a coat of white gesso or basic white acrylic primer, which helps your colors look brighter and more true to the bottle.
Now for the fun part — color. This is your chance to make the project completely your own. If you want something cheerful and summery, bright colors like turquoise, coral, yellow, and lime green give it a bohemian, porch-party kind of vibe. Prefer something a bit more understated? Soft pastels, muted earth tones, or a monochromatic palette all look really elegant. And if you’re going for a farmhouse look, try leaving some pots unpainted while giving others a simple coat of white or cream — simple, but it works really well.
You don’t need to be an artist to get great results here. Dip-dyeing the bottom half of a pot in a contrasting color looks surprisingly chic and takes about thirty seconds. A fine brush with dots, stripes, or simple geometric shapes elevates the look without requiring serious skill. Painter’s tape is your best friend if you want crisp, clean lines. Once you’ve got your design down, go ahead and do two thin coats of paint, letting each one dry fully before adding the next — it makes a big difference in how solid and vibrant the final color looks.
Assembling the Wind Chime
Your pots are painted and ready — now it’s time to actually put this thing together. Start by thinking through your arrangement: how many strands do you want hanging from the top, how many pots per strand, and how long each strand should be. Longer strands sway more dramatically in the breeze, while shorter ones give you a more compact, clustered look. Neither is wrong — go with whatever feels right to you visually.
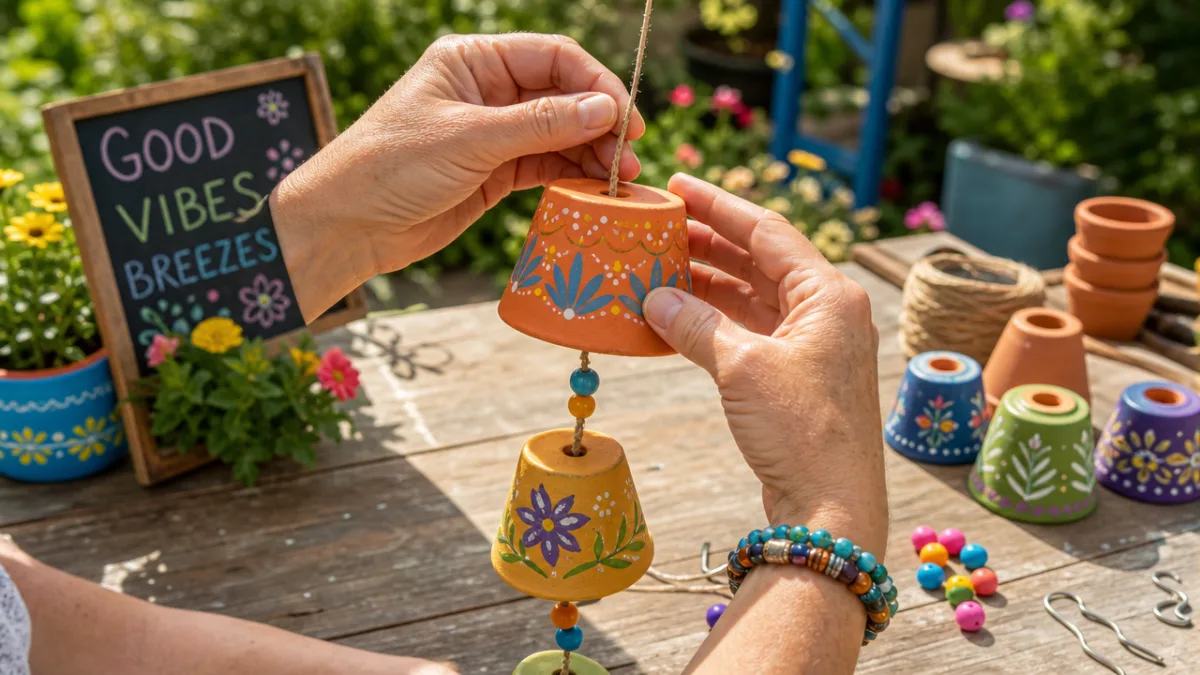
To make each hanging strand, cut your twine or cord to the length you want, adding at least six extra inches for knots and the loop at the top. Thread the cord up through the drainage hole in the bottom of each pot, then tie a secure knot — or hot glue a large bead inside the pot — to keep the cord from pulling through. Stack your pots from bottom to top, knotting the cord between each one to hold them at the spacing you like. The key is that the pots hang freely and can knock into each other when the wind blows. That’s where the sound comes from.
For the anchor at the top, you’ve got options. An inverted larger terracotta pot works great — just thread all the strands up through its drainage hole and tie them off at a big knot or bead inside. A sturdy wooden dowel or a piece of driftwood also looks beautiful as a horizontal bar, with each strand tied along it at evenly spaced intervals. Just make sure whatever you use can hold the combined weight of all those pots without being thrown off balance.
A few assembly tips worth keeping in mind:
- Always tie double or triple knots — single knots tend to work themselves loose over time, and you don’t want pots sliding down the cord.
- Test the balance before you glue anything down. It’s much easier to make adjustments now than after everything is locked in place.
- If your wind chime is going to be outside in the rain, use waterproof or outdoor-rated cord. Natural jute is charming, but it weakens when it gets repeatedly wet.
- Hot glue is great for reinforcing knots and adding beads, but give it a minute to cool before you start handling it.
- For an extra musical touch, consider adding a small bell or a single metal chime piece to one of the strands.
Sealing and Weatherproofing Your Wind Chime
Since this wind chime is going to live outside, sealing it is a step you really don’t want to skip. Terracotta holds up reasonably well on its own, but the paint on top is a lot more vulnerable — without a sealant, you’ll start seeing fading and chipping much sooner than you’d like. A few extra minutes on this step can easily double or triple how long your chime stays looking good.
The easiest option is a clear acrylic spray sealant, which you can sometimes find at Dollar Tree or pick up cheaply at a craft or hardware store. Look for one that’s labeled for outdoor or weatherproof use. Take your painted pots outside or somewhere well-ventilated, hold the can about twelve inches away, and apply a thin, even coat. Let it dry completely, then go back in with a second coat. Two coats gives you solid protection against UV rays, light rain, and the general wear of being outside all season.
If you’d rather brush it on, outdoor Mod Podge is a great alternative — it’s widely available, easy to work with, and dries to a nice clear finish with just a hint of sheen that actually makes the colors look even better. Whichever product you use, make sure to get the cord attachment points too, since those areas tend to show wear first. And if the twine ever starts looking rough after a season outdoors, it’s easy to re-tie with fresh cord while keeping all your beautiful painted pots exactly as they are.
Hanging and Displaying Your Wind Chime
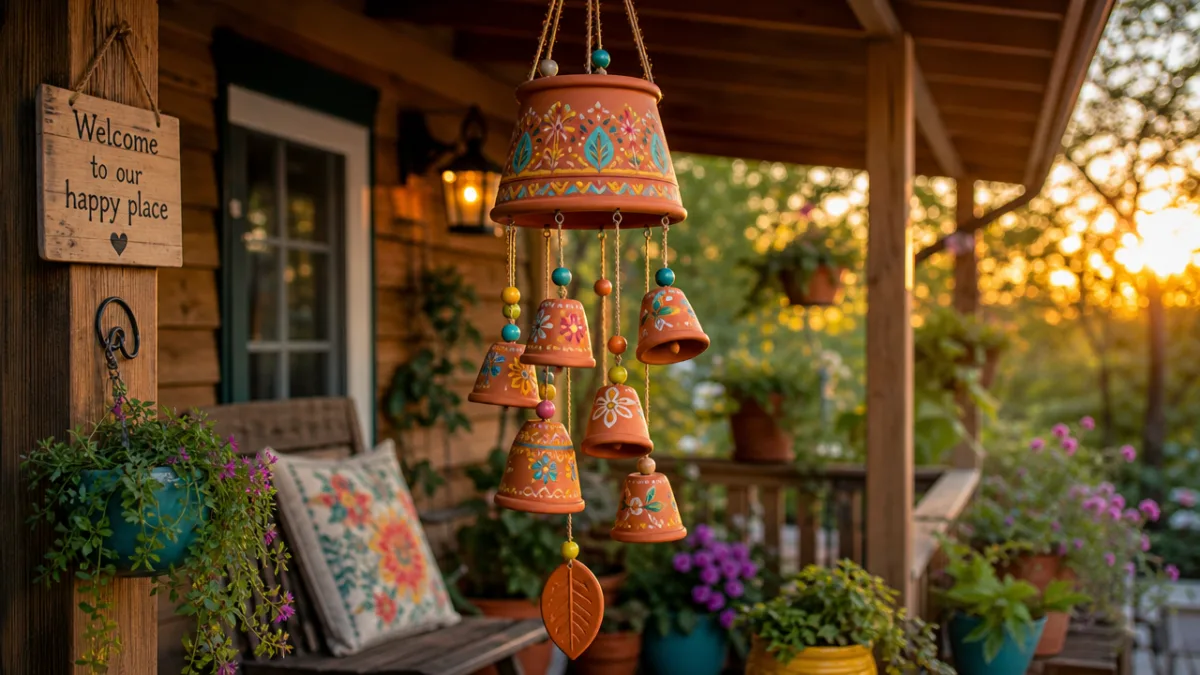
Where you hang your wind chime matters almost as much as how you make it. To actually get that chiming sound, you need a spot that catches a natural breeze — a porch railing, an eave overhang, or a shepherd’s hook in the garden are all solid options. Stay away from spots that are totally blocked from airflow, or you’ll end up with a really pretty piece of decor that just quietly hangs there without doing much.
Think about the visual backdrop too. A bright, boho-style chime really pops against a neutral wall or a cluster of greenery — all that color needs somewhere to breathe. A more subtle, earthy design feels at home near natural wood furniture, wicker pieces, or potted plants with lush leaves. It’s worth taking a minute to think about how the chime fits into your overall outdoor space, whether you want it to blend in or stand out as a focal point.
Once it’s up, maintenance is pretty minimal. A quick wipe-down with a damp cloth every now and then keeps dust and pollen from building up, and it’s a good idea to bring it inside during heavy storms or freezing temps to keep the terracotta from cracking. If the paint chips up a bit after a season outside, a small touch-up with matching acrylic paint and a fresh coat of sealant will have it looking like new again. Things you made yourself always feel worth taking care of — there’s a little bit of you in there, after all.
Creative Variations and Customization Ideas
One of the best things about making your own wind chime is that the creative possibilities really don’t have a ceiling. Once you’ve made a basic version, you’ll probably start seeing ideas everywhere. The core structure — pots strung together on cord — is basically a blank canvas that you can adapt to any style, season, or mood you’re in.
If you like the idea of rotating your porch decor with the seasons, this project is perfect for that. A spring version with pastel pinks, lavenders, and mint greens looks fresh and soft, especially with little floral stamps added using a foam sponge. Go bold and tropical for summer with coral, turquoise, and sunshine yellow. Fall calls for burnt orange, deep burgundy, and mossy green — throw in some leaf-shaped charms or tiny faux acorns for a harvest-porch feel. And a holiday version in red and white with painted snowflakes and jingle bells swapped in at the bottom? Genuinely charming.
This also makes a really thoughtful handmade gift. Paint someone’s favorite colors, add their initials with a fine-tipped paint pen, or theme the whole thing around something they love — gardening, travel, cooking. That kind of personal touch turns a dollar store craft into something that actually means something. And since the materials are so affordable, you can make a few of them at once without worrying about the cost.
Here are some more ideas worth trying:
- Use air-dry clay to make small decorative pieces that hang at the bottom of each strand as visual anchors.
- Incorporate shells, driftwood, or sea glass for a coastal or beach-house feel.
- Try a monochrome design using varying shades of one color for a more sophisticated, modern look.
- Mix terracotta pots with wooden beads, metal washers, or old keys for an eclectic, bohemian vibe.
- Use glow-in-the-dark paint for a playful surprise that kicks in after sunset.
- Create a chime inspired by a favorite trip using colors and patterns from that place’s traditional crafts.
Whatever direction you go, the thing that matters most is that the finished piece feels like you — something that makes you smile when you walk out onto your porch. That’s really what handmade decor is all about. And when you consider that the whole project can come together for a few dollars and an afternoon, it’s hard to think of a better way to spend a creative day this season.








What do you think?
It is nice to know your opinion. Leave a comment.