










13 Charming Garden Arch Ideas You Can Easily DIY
The Magic of Garden Arches: Why Every Yard Deserves One
A garden arch is one of those rare landscaping elements that manages to be both functional and breathtakingly beautiful at the same time. Whether you’re looking to create a sense of arrival at the entrance to your garden, frame a stunning view, or simply give climbing plants a vertical structure to call home, a well-placed arch transforms an ordinary yard into something that feels intentional, romantic, and alive. The best part is that you don’t need to spend a fortune at a garden center to enjoy this effect — with a little creativity and some basic materials, you can build one yourself.
DIY garden arches have surged in popularity in recent years, and it’s easy to see why. Homeowners are discovering that the materials needed for a gorgeous arch are often already on hand, or available cheaply at a hardware store or lumber yard. From rustic bent willow branches to sleek powder-coated steel rebar, the range of materials and styles available to the amateur builder is genuinely impressive. The craftsmanship required for most designs sits comfortably within the reach of anyone willing to spend a weekend afternoon outdoors with a few basic tools.
Beyond aesthetics, garden arches serve several practical purposes that make them worth every bit of effort. They define garden zones and pathways, creating a natural sense of movement and direction through your outdoor space. They support heavy-flowering vines like roses, wisteria, and clematis, keeping vigorous growers contained and flourishing rather than sprawling across the lawn. They also add vertical interest to flat yards, drawing the eye upward and making even a modest plot feel layered and dimensional. Once you’ve built your first arch, you’ll wonder how your garden ever felt complete without one.
Choosing the Right Style for Your Garden
Before you pick up a single tool, it’s worth spending some time thinking about what style of arch will best complement the existing personality of your garden. A formal, symmetrical garden with clipped hedges and geometric beds calls for a different kind of arch than a wild, cottage-style garden full of rambling roses and informal planting. The arch you build should feel like it grew naturally from the space rather than being dropped into it from another design universe entirely. Take a walk through your garden at different times of day and really look at the shapes, textures, and colors already present.
Consider also how the arch will be used over time. If you intend to train a vigorous climbing rose or wisteria over it, you’ll need a structure that’s sturdy enough to bear the weight of mature growth — wisteria in particular can become extraordinarily heavy and will destroy a flimsy frame within a few seasons. On the other hand, if you simply want a lightweight decorative arch for annual sweet peas or morning glories, a simpler, more delicate construction will serve you perfectly well and can even be taken down and stored over winter.
The path or garden area beneath the arch also matters a great deal in your planning. A gravel path beneath an arch creates a satisfying crunch underfoot and a classic cottage garden atmosphere. A stone or brick pathway feels more formal and permanent. A simple lawn path beneath an arch gives a soft, relaxed feel. Think about how people will actually move through or around the arch, because an arch that nobody walks under is a missed opportunity to create one of gardening’s most magical moments — that feeling of stepping from one garden room into another.
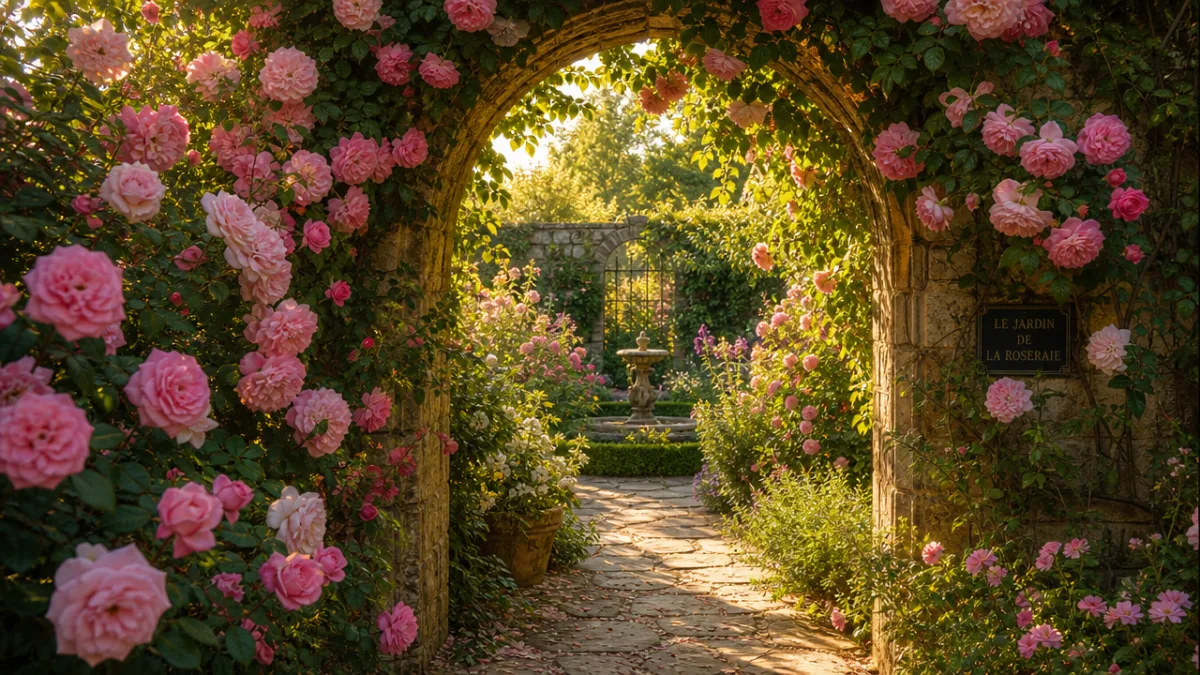
Wood and Timber Arch Designs for a Natural Look
Wood is the most forgiving and accessible material for a first DIY garden arch, and the results can be genuinely stunning. Pressure-treated lumber is the workhorse choice for most garden builders because it resists rot and insect damage for many years, even when buried in damp soil. Cedar and redwood are beautiful natural alternatives that contain their own oils and resist decay without chemical treatment, though they come at a higher price point. Rough-sawn timber gives a rustic, handmade quality that suits informal gardens, while smooth planed wood stained or painted creates a crisper, more polished look.
One of the most popular wooden arch designs involves cutting four posts from 4×4 lumber, setting them in concrete or metal post anchors in the ground, then connecting them at the top with a simple curved or straight crosspiece. The curve at the top can be achieved by cutting a gentle arc from a wide plank using a jigsaw — this single detail transforms a basic rectangular frame into something that feels genuinely arch-like and graceful. Once the frame is up, you can add side lattice panels for climbing plants to grip, or simply leave the sides open for a more airy, minimalist effect.
A more rustic variation uses whole branches or poles rather than dimensioned lumber. This style, sometimes called a “twig arch,” works beautifully with hazel, willow, or any straight-growing hardwood. The branches are lashed together with twine or copper wire, creating a structure that looks entirely at home in a woodland or cottage garden. While these natural arches don’t last quite as long as treated lumber, they develop a gorgeous weathered quality over time, and replacing or refreshing them every few years becomes a pleasant seasonal ritual rather than a chore. The imperfections in natural wood only add to the charm.
Building a Classic Wooden Garden Arch: Basic Steps
Getting started with a wooden arch is straightforward if you break the project down into logical stages. Good preparation makes all the difference between an arch that stands proudly for a decade and one that wobbles alarmingly in a stiff breeze. Take your time with measurements and don’t rush the setting of the posts — everything else depends on getting that foundation right.
- Mark your positions: Use stakes and string to mark exactly where each post will go, checking that everything is square and that the arch will be centered correctly over your path or entryway.
- Dig post holes: Holes should be at least 24 inches deep — deeper in areas with significant frost heave — and slightly wider at the bottom for stability. A post hole digger or rented auger makes this much easier.
- Set posts in concrete: Mix fast-setting concrete and pour it around each post, checking for plumb with a spirit level before the concrete sets. Allow at least 24 hours for the concrete to cure fully before adding weight to the posts.
- Attach the top crosspieces: Cut your arched or straight top pieces to size and secure them to the tops of the posts with heavy-duty screws or bolts. Pre-drilling prevents splitting and gives a cleaner finish.
- Add lattice or trellis panels: Side panels can be cut from ready-made lattice sheet and attached with screws and small blocks of wood to create a small air gap that helps plants grip the surface.
- Sand, stain, or paint: Finishing your wood with an outdoor-grade stain or paint protects against the elements and gives the arch its final, polished personality.
Metal and Rebar Arches for a Modern Garden Aesthetic
Metal arches have a clean, graphic quality that suits contemporary and formal gardens particularly well. Rebar — the ribbed steel rod used to reinforce concrete — is an inexpensive and surprisingly workable material for garden arch construction, and the finished results have a sleek industrial elegance that belies the humble origins of the material. Rebar can be bent into graceful curves using a simple pipe bender or even by hand over a rounded form, and lengths can be joined together to create arches of any height or width you desire.
To build a basic rebar arch, you’ll typically drive short lengths of rebar into the ground on either side of your path, then insert longer, more flexible lengths into these ground stakes and bend them over to meet in the middle, creating a tunnel-like series of curves. Multiple hoops spaced evenly along a pathway create a pergola-style tunnel effect that becomes utterly spectacular when fully clothed in roses or clematis during the growing season. The spaces between the hoops allow light to filter through in dappled patterns on sunny days, adding a dynamic, ever-changing quality to the garden experience.
Steel conduit is another excellent metal option that’s widely available at hardware stores and easy to work with using a pipe bender. Unlike rebar, conduit is smooth and can be painted in any color — matte black is perennially stylish, forest green disappears naturally into the garden, and metallic copper or bronze creates a warm, jewel-like effect. Conduit arches can be designed with considerable precision and symmetry, making them ideal for formal garden settings where clean lines and consistent proportions matter. With the right coating, a metal arch will outlast most other materials by many years.
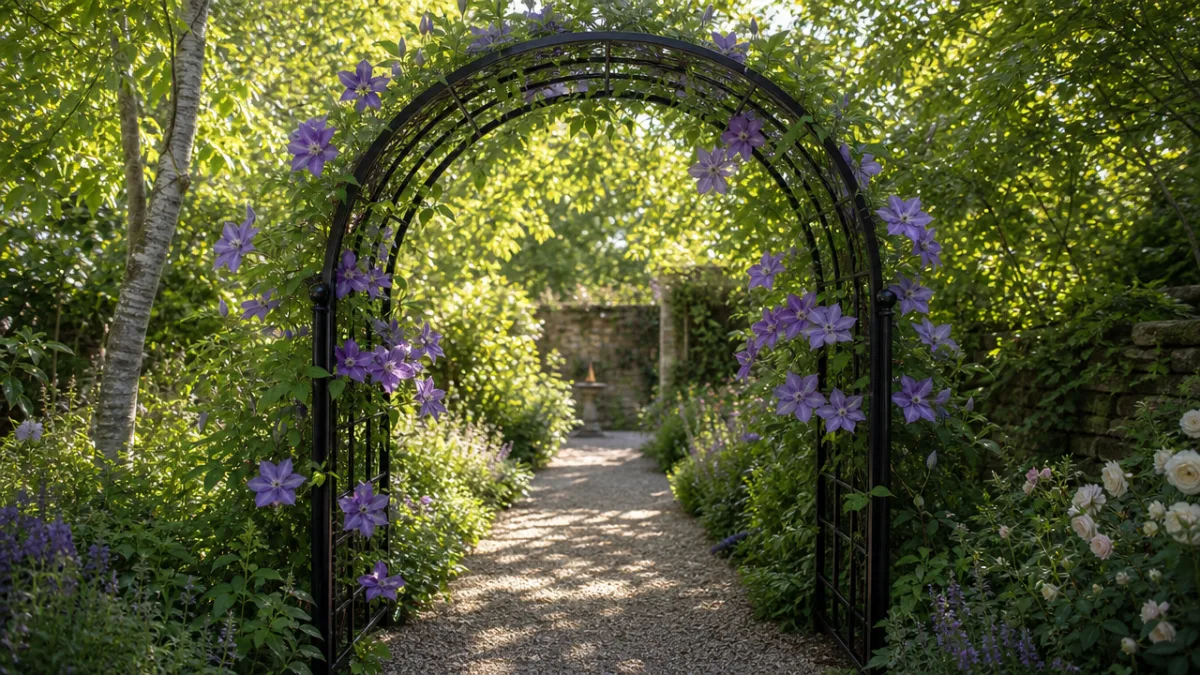
Willow and Bamboo: Living and Natural Arch Alternatives
For gardeners who want their arch to literally grow into the landscape, a living willow arch is one of the most magical options available. Living willow arches are made by pushing freshly cut willow withies into the ground in two rows on either side of a path, then bending the tops over and weaving them together to form an arch. As the season progresses, the willow takes root and begins to grow, sending out new green shoots that gradually fill in the structure until the arch becomes a genuine living tunnel of foliage. This is one of those rare garden projects where the structure actually improves and thickens with every passing year.
The key to success with a living willow arch is timing and preparation. Willow withies should be planted during the dormant season — late winter or very early spring, just before the sap begins to rise — as this gives them the best chance of rooting successfully. The ground should be deeply watered before planting, and the withies pushed at least 12 to 18 inches into the soil. In the first season, keep the new plants well-watered during dry spells, and resist the urge to weave too aggressively before the roots are well established. Once the arch takes hold, it requires minimal intervention beyond an annual tidy and weave.
Bamboo offers a different kind of natural arch that’s faster to create and requires no growing period at all. Thick bamboo canes pushed into the ground and lashed together at the top with jute twine or wire create a lightweight, attractive arch that has a distinctly Asian garden aesthetic. Bamboo is also a naturally durable material that holds up well outdoors, particularly if the cut ends are sealed to prevent water entry. A bamboo arch looks wonderful in a minimalist Japanese-inspired garden, surrounded by gravel, ferns, and carefully placed stones, and the warm golden color of the canes weathers beautifully to a soft silver-grey over time.
Adding Plants and Climbers to Complete the Look
An arch without plants is like a picture frame without a painting — structurally complete, perhaps, but missing the thing that makes it truly come alive. The choice of climbing plant is one of the most important decisions you’ll make for your arch, because it will define the character of the structure for years to come. Some climbers are vigorous to the point of aggressiveness and will consume a modest arch within a single season, while others are more restrained and can be guided and shaped with gentle coaxing. Matching the plant’s natural vigor to the size and strength of your arch is essential.
Roses are the classic choice for garden arches, and for good reason. A well-chosen climbing or rambling rose in full bloom is one of the most extravagant and romantic sights in gardening. Varieties like ‘New Dawn,’ ‘Zephirine Drouhin,’ and ‘Golden Showers’ have been trained over arches for generations and continue to delight with their profusion of flowers and often intoxicating fragrance. When planting a rose at the base of an arch, it’s important to plant it slightly away from the foot of the structure — about 18 inches out — so that rainfall can reach the roots rather than being deflected by the arch itself.
Beyond roses, there’s a wonderful world of climbing plants waiting to transform your arch into a living sculpture. Annual climbers like sweet peas and morning glories are perfect for new, lighter-weight arches because they’re not too heavy and can be changed from year to year as your tastes evolve. Perennial choices like clematis come in an extraordinary range of colors and flowering times, allowing you to plan a succession of bloom across the seasons. Climbing hydrangeas, honeysuckle, and even fruiting plants like kiwi or grapevine all have their own special magic when trained over an arch, making the structure a productive as well as beautiful feature of the garden.
Planting and Training Tips for a Thriving Arch Garden
Getting your climbers established on a new arch requires a bit of patience and regular attention in the first one or two seasons, but the effort pays off exponentially as the plants mature and begin to put on their full display. The key principles are good soil preparation before planting, consistent watering during the establishment period, and regular gentle training of new growth toward the structure before it has a chance to sprawl in the wrong direction.
- Prepare the soil generously: Dig a planting hole at least twice the width and depth of the root ball, and enrich the soil with well-rotted compost or manure. Most climbing plants are hungry feeders that respond dramatically to good soil conditions at planting time.
- Water deeply and regularly: For the first season especially, water your climbers deeply at least once a week during dry weather. Deep watering encourages roots to grow down rather than staying near the surface.
- Train new growth early: As new shoots appear, guide them gently toward the arch framework and secure them loosely with soft garden twine or silicone plant ties. Tying too tightly can damage stems as they expand.
- Prune thoughtfully: Learn the specific pruning requirements of your chosen climber and follow them consistently. Getting pruning wrong is the most common reason for disappointingly few flowers on an otherwise healthy plant.
- Feed through the season: A regular application of balanced liquid fertilizer during the growing season keeps climbing plants vigorous and free-flowering through summer and into autumn.

Finishing Touches and Creative Customization Ideas
Once your arch is built and your plants are beginning to establish, there are countless ways to add personality and finish to the structure that make it feel truly yours. The area immediately around the base of an arch is prime real estate for additional planting — low-growing fragrant herbs like lavender and thyme spill beautifully over path edges and release their scent when brushed by passing visitors. A pair of matching containers planted with coordinating flowers flanking the entrance to an arch creates a sense of ceremony and arrival that makes even a modest garden feel grand and thoughtfully designed.
Lighting is one of the most transformative additions you can make to a garden arch, and modern solar-powered LED options make it easier than ever to illuminate your arch without the hassle of running electrical cables through the garden. Warm white fairy lights wound through the structure of an arch create a magical evening atmosphere that extends your enjoyment of the garden well into the night. For a more subtle effect, small solar spotlights positioned at the base of the arch posts cast a gentle upward light that highlights the structure and any climbers growing up it, creating beautiful dramatic shadows on summer evenings.
Don’t overlook the path beneath the arch as an opportunity for creative expression. A simple stepping stone path of reclaimed slate or weathered natural stone looks wonderful beneath a rustic wooden arch, while a neat herringbone brick path complements a more formal design. For a romantic, soft effect, a narrow grass path with slightly overgrown edges gives the whole composition a beautiful, slightly wild quality that makes the arch feel like a portal into a secret garden. The visual relationship between the arch above and the path below is as important as either element in isolation — getting both right elevates the whole space.
Maintenance and Longevity: Keeping Your Arch Beautiful for Years
A well-built and well-maintained garden arch should give you many years of pleasure, but like all outdoor structures, it benefits from regular attention to keep it looking its best. The level of maintenance required varies considerably depending on the materials used in construction. Metal arches, particularly galvanized or powder-coated ones, need very little care beyond an occasional wipe-down and inspection for any areas where the coating may have been damaged and bare metal exposed to rust. Any rust spots should be treated promptly — a little wire brushing and a dab of rust-inhibiting paint will prevent what starts as a surface blemish from becoming a structural problem.
Wooden arches require more regular maintenance but are also more straightforward to repair. Check wooden arches each spring for any signs of rot, particularly at the points where posts enter the ground, as this is where moisture tends to accumulate. Apply a fresh coat of wood preservative, stain, or paint every two to three years, or whenever the existing finish begins to look tired and thin. Any sections that show genuine structural rot should be replaced promptly — a rotting post is not just an eyesore but a genuine safety hazard if the arch is supporting the weight of mature climbing plants. Catching these issues early keeps the repair simple and inexpensive.
The plants themselves need management as much as the structure. Annual cutting back, shaping, and removal of dead wood keeps climbers healthy and prevents them from becoming so bulky that they put undue stress on the arch. A completely overgrown and unpruned climber can become surprisingly heavy and can literally pull a lightweight arch apart over time. With regular pruning, training, and an annual check of all fixings and joints, your DIY garden arch will remain a centerpiece of beauty and charm in your garden for a decade or more — a lasting testament to the rewards of making something with your own hands.








What do you think?
It is nice to know your opinion. Leave a comment.