










Create Unique Wood Signs with Phrases Using DIY Methods
Introduction to DIY Wood Sign Making
Wood signs with meaningful phrases have become one of the most beloved forms of home décor, blending rustic charm with personal expression in a way that few other crafts can match. Whether you want to display a favorite quote above the mantle, hang an inspirational message in your home office, or create a heartfelt gift for a loved one, DIY wood signs offer an accessible and deeply satisfying creative outlet. The beauty of making your own signs is that you control every element, from the wood grain to the font choice to the finish color, resulting in something truly one of a kind.
Getting started with wood sign making requires surprisingly little investment, and most of the tools you need may already be in your home or garage. Unlike many crafts that demand specialized equipment and years of practice, wood sign making is genuinely beginner-friendly. With a few basic supplies and a willingness to experiment, you can produce professional-looking results on your very first attempt. The learning curve is gentle, and even mistakes often add to the handmade character that makes these signs so appealing in the first place.
The growing popularity of this craft is no coincidence. In a world filled with mass-produced décor, handmade wood signs carry a warmth and authenticity that simply cannot be replicated by factory production. When guests see a beautifully lettered sign in your home, they immediately sense the care and intention behind it. This article will walk you through everything you need to know to create stunning, phrase-based wood signs using a variety of DIY techniques, suitable for all skill levels and budgets.
Choosing the Right Wood and Materials
The foundation of any great wood sign is, naturally, the wood itself. Not all lumber is created equal when it comes to crafting, and your choice of wood will significantly influence both the process and the final result. Pine is widely considered the best starting point for beginners because it is inexpensive, lightweight, readily available at hardware stores, and easy to work with hand tools. Its pale, relatively smooth surface also accepts paint and stain beautifully, making it ideal for lettering work. For a more rustic aesthetic, reclaimed barn wood or pallet boards add incredible character with their weathered textures and natural imperfections.
Beyond pine, other popular choices include cedar, which has a naturally attractive grain and resists moisture well for outdoor applications, and poplar, which is smooth and consistent enough for fine detail work. Plywood with a sanded birch veneer surface offers a budget-friendly option that provides an extremely flat, uniform canvas. Hardwoods like oak or walnut produce stunning results but require sharper tools and more patience. When selecting your wood at the store, run your hand along the surface and look down the length of each board to check for warping, knots in inconvenient locations, and excessive roughness that might interfere with your lettering.
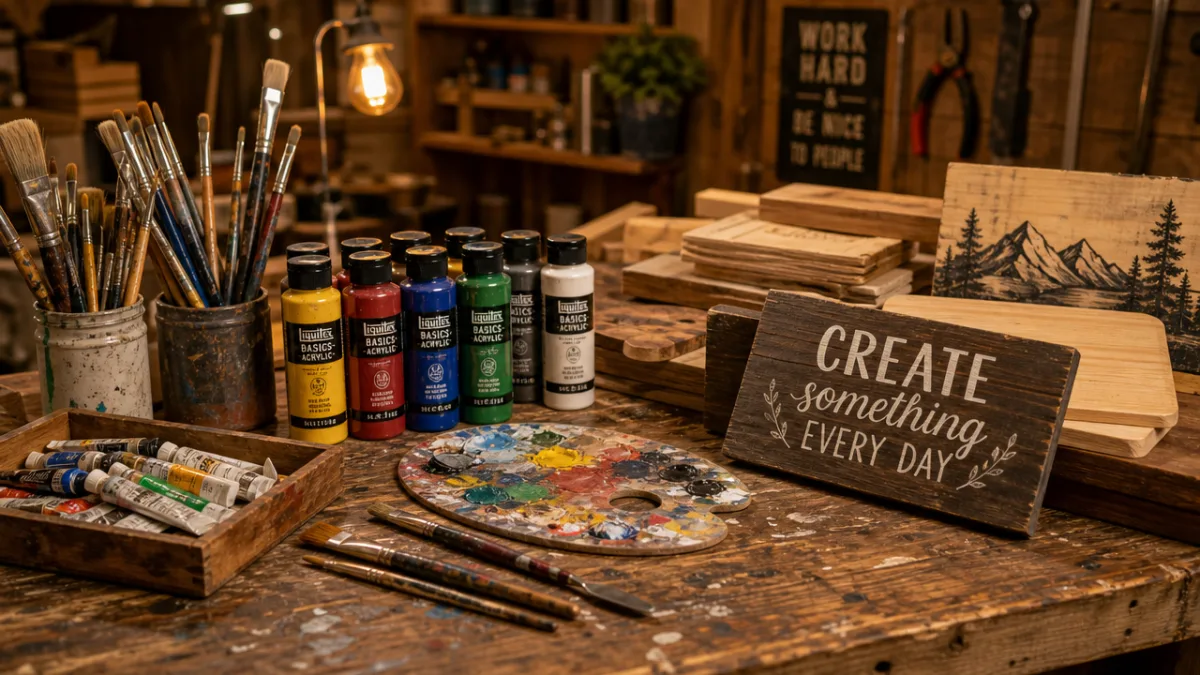
Beyond the wood itself, you will need a curated selection of additional materials to complete your project. Sandpaper in grits ranging from 80 to 220 will be essential for surface preparation and finishing. For applying your phrases, you will want acrylic craft paints in your chosen colors, quality paintbrushes in various sizes, or paint pens for more controlled line work. A good wood sealer or clear polyurethane coat applied at the end will protect your finished sign and dramatically extend its lifespan, especially for pieces displayed in high-traffic areas or outdoors.
Essential Supply Checklist
- Wood board cut to desired dimensions, sanded smooth
- Acrylic craft paints or chalk paint for background color
- Fine-tip paint pens or artist brushes for lettering
- Sandpaper in multiple grits (80, 120, and 220)
- Transfer paper or stencils for guiding your text
- Ruler, pencil, and painter’s tape for alignment
- Wood sealer or matte polyurethane for finishing
- Hanging hardware such as sawtooth brackets or rope
Preparing Your Wood Surface Properly
Proper surface preparation is the step most beginners are tempted to skip, but it is arguably the most important part of the entire process. No amount of artistic skill can fully compensate for a poorly prepared surface, and investing time here will make every subsequent step easier and more rewarding. Start by sanding your board with 80-grit sandpaper to remove any rough patches, mill marks, or surface irregularities. Always sand in the direction of the grain rather than against it, as cross-grain sanding creates scratches that become very visible once a stain or paint is applied.
After the initial sanding, progress through the grits, moving to 120-grit and then 220-grit to achieve a silky smooth finish. Between each grit, wipe the board down with a slightly damp cloth or a tack cloth to remove all dust particles. These dust particles, if left in place, will become trapped under your paint and create an unpleasant bumpy texture. Once you have achieved the smoothness you want, decide whether you will apply a background color or work directly on the natural wood. A coat of chalk paint or acrylic paint applied with a foam roller gives a smooth, even base that provides excellent contrast for lettering.
If you prefer the natural wood look, applying a light coat of wood stain before your lettering can add richness and depth to the finished piece without obscuring the grain. Allow any stain or background paint to dry completely before moving on, and lightly sand again with 220-grit paper once dry to knock down any raised grain or brush marks. This final light sanding, called scuff sanding, ensures that your lettering paint will adhere firmly and lay perfectly flat. Wipe away all dust one final time and your surface is now genuinely ready for the most exciting part of the project.
Tips for Different Wood Textures
- For very rough reclaimed wood, fill deep cracks with wood filler before sanding to create a more workable surface.
- When working with pine, apply a wood conditioner before staining to prevent blotchy, uneven absorption.
- On smooth birch plywood, a single coat of gesso creates an exceptionally receptive surface for detailed lettering work.
- For outdoor signs, use an exterior-grade primer as your base coat to ensure long-term adhesion and weather resistance.
Transferring Phrases and Lettering Techniques
Getting your chosen phrase onto the wood accurately and attractively is often the part that intimidates beginners the most, but there are several reliable methods that remove most of the guesswork. The transfer paper method is one of the most popular because it allows you to use any font printed from your computer and translate it precisely onto your wood surface. Simply print your phrase in the desired size, trace over the back of the paper with a soft pencil to coat it with graphite, place it pencil-side down on your prepared wood, and trace firmly over the letters with a ballpoint pen. When you lift the paper, you will have a faint but clear outline of your phrase ready to paint.
Vinyl stencils cut on a Cricut or Silhouette cutting machine represent another excellent approach, particularly for achieving crisp, clean edges that look almost professionally printed. These adhesive stencils press firmly against the wood surface, and when you apply paint over them with a stencil brush using a stippling motion, the result is remarkably sharp and consistent. This method works beautifully for farmhouse-style block lettering and works especially well when you want to reproduce the same design multiple times. Peel the stencil away carefully while the paint is still slightly tacky to avoid pulling up dried paint from the edges.
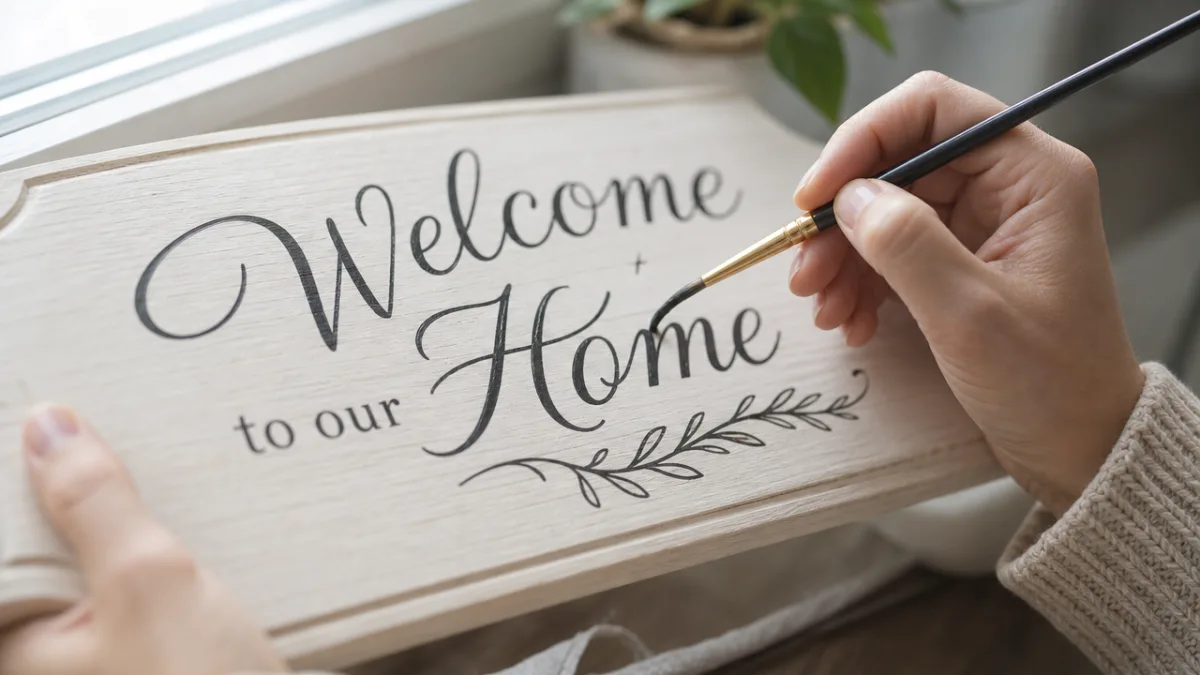
For those willing to develop their freehand lettering skills, chalk-based pencil guidelines can be drawn directly on the wood surface to keep your letters properly sized and evenly spaced. Use a ruler to mark baseline, waist, cap-height, and descender lines lightly across your board before beginning. Freehand brush lettering, where a flexible brush is loaded with paint and used with varying pressure to create thick downstrokes and thin upstrokes, produces a beautiful calligraphic quality that adds enormous charm to any sign. This technique takes practice, but even imperfect attempts carry a handmade authenticity that many people find far more appealing than machine-perfect precision.
Popular Phrase Styles for Wood Signs
- Farmhouse script: flowing, connected cursive with slight irregular spacing for a hand-touched feel
- Block serif lettering: bold, structured capitals with small decorative serifs at the stroke ends
- Modern minimalist: clean sans-serif fonts with generous spacing and sparse layout
- Mixed typography: combining uppercase block letters with a flowing script for visual interest
- Vintage distressed: intentionally aged lettering with worn edges and faded areas for a timeworn look
Finishing, Distressing, and Adding Character
Once your phrase is lettered and the paint has dried completely, the finishing process is what elevates a good sign to a great one. The most fundamental finishing step is applying a protective clear coat, and your choice of finish will dramatically affect the final mood of the piece. A matte or flat clear coat preserves the chalky, rustic quality that is so characteristic of farmhouse-style décor. A satin finish adds a subtle sheen that suggests a more polished, contemporary feel. A gloss coat creates a lacquered, high-impact look that works well for bold graphic designs or modern aesthetic pieces. Apply your chosen sealer in thin, even coats with a quality brush or spray can, allowing complete drying time between coats.
Distressing is a technique that artificially ages a sign, giving it the appearance of years of wear and adding tremendous visual character. After your painted sign is completely dry, take a piece of 220-grit sandpaper and lightly rub the edges, corners, and any raised grain areas of the wood. This removes paint selectively in the places where genuine wear would naturally occur, revealing either the wood beneath or a contrasting base paint color if you applied one. You can also use a brown antiquing wax or a diluted dark paint applied and then partially wiped away to create shadowing in recesses and corners, mimicking the accumulation of dust and age that develops on genuinely old objects over time.
Hardware and hanging details deserve as much thoughtful attention as the sign face itself, because they contribute to the overall impression the piece makes when displayed. Simple sawtooth picture hangers mounted on the back are invisible and practical for most wall-hung signs. For a more decorative presentation, drill two holes near the top of the sign and thread through a length of jute twine, leather cord, or chain for a hanging-sign effect that adds to the rustic character. You might also consider adding small decorative elements to the sign itself, such as painted borders, simple floral motifs at the corners, or a small graphic symbol that complements the phrase you have chosen.
Creative Phrase Ideas and Design Inspiration
Choosing the right phrase is perhaps the most personal part of the entire wood sign-making journey, because the words you display in your home are a direct reflection of your values, sense of humor, and aesthetic sensibilities. For kitchen and dining spaces, phrases that celebrate hospitality and good food resonate beautifully, such as “gather,” “made with love,” or longer quotes about the pleasures of cooking and sharing meals. Bedroom signs often carry a more intimate or peaceful tone, with phrases about rest, dreams, or the sanctuary that a home bedroom represents. Entryway signs set the tone for the entire home and might welcome guests with warmth, humor, or a simple family motto.
Personalized signs make extraordinarily thoughtful gifts because they demonstrate that the creator invested not just time and skill but genuine consideration into what the recipient values. A sign bearing a couple’s wedding date and a short line from their vows makes a profoundly meaningful anniversary or wedding gift. A child’s favorite book quote painted onto a small sign for their bedroom wall shows care and attentiveness. Signs bearing family surnames, established dates, or short phrases that hold private significance for the recipient carry emotional weight that no store-bought item can replicate. When gifting a custom sign, consider the colors used in the recipient’s home and design accordingly so it fits naturally into their existing décor.
Seasonal and holiday-themed signs offer wonderful opportunities to refresh your décor throughout the year while continuing to build your craft skills. Autumn brings rich opportunities for harvest-themed phrases and warm amber color palettes. Winter signs carrying holiday greetings or cozy sentiments about fireside gatherings add festive warmth during the colder months. Spring and summer signs with botanical motifs or outdoor-themed phrases can be swapped in to brighten your space as the seasons change. Creating a small collection of seasonal signs that rotate throughout the year is a lovely way to keep your home feeling fresh and connected to the natural rhythms of time.
Phrase Categories for Every Room
- Kitchen: “Life is short, eat well,” “The secret ingredient is always love,” “Good food, good mood”
- Living room: “This is our happy place,” “Home is wherever we are together,” “Be the good”
- Bedroom: “Dream big,” “Rest here,” “Sleep, beautiful soul”
- Bathroom: “Wash your worries away,” “Soak it all in,” “Good vibes only”
- Entryway: “Welcome, friend,” “All are welcome here,” “Shoes off, hearts open”
- Home office: “Do what you love,” “Create something today,” “Work hard, stay humble”
Scaling Up and Selling Your DIY Wood Signs
Many people who begin making wood signs purely as a personal hobby eventually discover that their creations attract significant admiration from friends, family, and social media followers, naturally raising the question of whether this passion could become a source of income. The market for handmade wood signs is genuinely strong, particularly on platforms like Etsy, at local craft fairs, and through Instagram shops. Before attempting to sell, it is worth investing time in developing a consistent visual style that makes your work immediately recognizable, whether that means a signature color palette, a specific lettering style you have made your own, or a distinctive distressing technique.
Pricing your work fairly requires accounting honestly for every cost involved, including wood, paint, hardware, packaging materials, platform fees, and crucially, your own time. Many new makers dramatically underprice their work in an attempt to attract buyers, but this approach undervalues the craft and makes the venture unsustainable. Research comparable listings on Etsy to understand what the market supports, and never price below the point where you are earning at minimum a fair hourly rate for your labor. Custom orders, where customers specify the phrase, size, color, and finish they want, command premium prices and build loyal customers who return for gifts and future purchases.
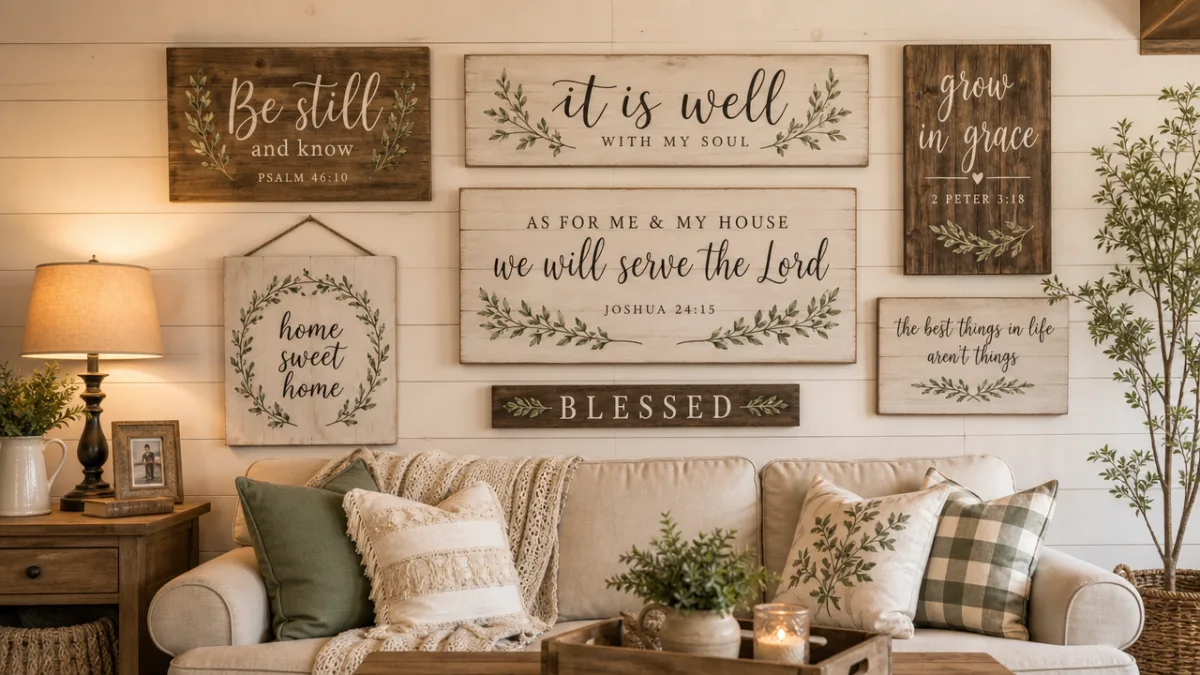
Photography is one of the most powerful tools available to anyone selling handmade goods online, and investing effort into learning basic product photography will yield significant returns. Natural light is your best friend — place your finished signs near a large window on an overcast day and photograph them from multiple angles against clean, uncluttered backgrounds. Lifestyle shots, where signs are photographed in actual room settings, help potential buyers visualize how the piece will look in their own homes. Building a cohesive Instagram or Pinterest presence with consistently beautiful photos of your work creates an ongoing portfolio that functions as a permanent, free advertisement available to thousands of potential customers every single day.
Troubleshooting Common DIY Wood Sign Problems
Even experienced crafters encounter setbacks when making wood signs, and knowing how to troubleshoot common problems will save you both time and materials. One of the most frequent issues beginners face is paint bleeding under stencils, resulting in blurry, indistinct letter edges. The solution is nearly always to press the stencil edges down more firmly before painting, use a barely-loaded stencil brush with a stippling rather than sweeping motion, and apply the paint in multiple thin layers rather than a single heavy coat. A small amount of Mod Podge or stencil adhesive applied to the back of your stencil before placement creates an even more secure seal against bleed-through.
Uneven lettering is another challenge that plagues beginners working freehand, and the best remedy is thorough preparation rather than correction after the fact. Taking time to map out proper guidelines with a ruler and chalk pencil before beginning, and practicing the entire phrase on paper first, dramatically improves consistency. If you do make a lettering mistake on your sign, act quickly while the paint is still wet — a cotton swab dipped in water will cleanly lift fresh acrylic paint from most sealed surfaces. On unsanded raw wood, wet paint soaks in quickly and becomes much harder to remove, which is another strong argument for always sealing your surface with a base coat before lettering.
Wood that splits, warps, or develops cracks after painting is a problem most commonly caused by sudden changes in humidity or temperature, and it is particularly common with thinner boards. Prevent warping by storing your wood flat in a stable environment before and after painting, and by sealing all six sides of the board rather than just the front face. Applying paint or sealant to only one side creates differential tension that pulls the board into a curve as it dries. If minor cracking appears in the finished sign, wood filler applied to the cracks, sanded smooth, and touched up with matching paint can restore the surface to near-perfect condition, and in many cases the repaired areas are actually completely invisible once the piece is sealed and finished.








What do you think?
It is nice to know your opinion. Leave a comment.