










DIY Pom-Pom Banner: Bring Color and Whimsy to Any Space
Why Pom-Pom Banners Are the Perfect DIY Project
If you’re looking for a craft project that’s both easy to pull off and genuinely impressive to look at, a handmade pom-pom banner might be exactly what you need. Whether you’re sprucing up a birthday party, adding some life to a kid’s bedroom, or just making your living room feel a little more festive, a pom-pom banner punches well above its weight. And the best part? It’s completely beginner-friendly — but interesting enough that even seasoned crafters will enjoy the process.
What really makes pom-pom banners so appealing is how flexible they are. You can tweak literally everything — the colors, the sizes, the spacing, the type of string you use — to match whatever vibe you’re going for. A banner in muted terracotta, sage green, and cream looks totally at home in a farmhouse-style room, while one done in neon pink, electric blue, and bright yellow turns a plain wall into an instant celebration. The project works around your vision, not the other way around.
Another thing people love about this project is that it’s genuinely fun to do with others. Gather your kids, your friends, or whoever’s around and wind yarn together at the kitchen table. There’s something almost meditative about the repetitive motion of wrapping yarn around a template or fork — adults find it soothing, and kids who are old enough love joining in. By the time you’re done, your banner isn’t just a decoration — it’s a little piece of shared time together, and no store-bought garland can say the same.
Materials You Will Need to Get Started
One of the best things about making a pom-pom banner is that the supply list is short and cheap. You don’t need any fancy equipment or specialty materials — most of what you need is probably already in your craft bin, and anything else will cost just a few dollars at a general craft store. Before you dive in, spend a couple of minutes laying everything out on your work surface so you’re not stopping mid-pom-pom to hunt something down.
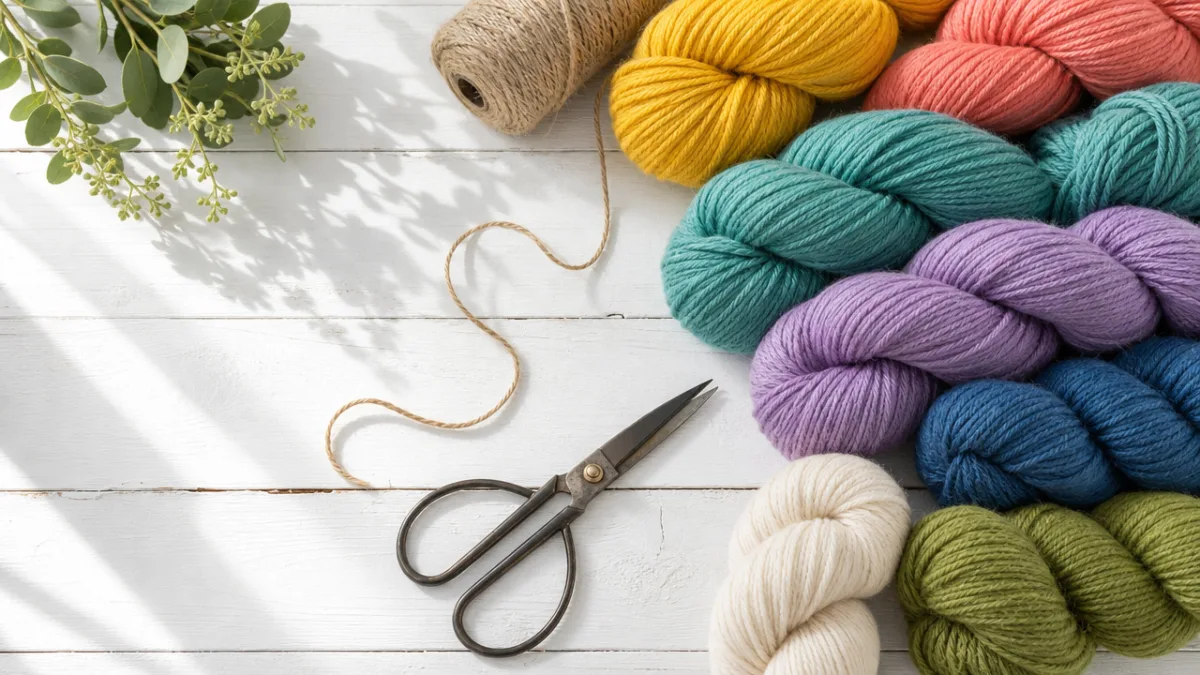
Yarn is really the star of the show here, and the choices you make will define the whole look of your finished banner. Bulky or chunky weight yarn makes large, fluffy pom-poms that come together fast and have a wonderfully plush feel. Medium or worsted weight yarn gives you a bit more control and works great for smaller, tighter pom-poms that you can mix in with larger ones for varied Texture. Try to avoid anything too shiny or stretchy — those can be finicky to work with and may not hold their shape as well over time.
Beyond yarn, here’s everything you’ll want to have on hand before you sit down to craft:
- Assorted yarn in your chosen color palette (three to six colors works well for most banners)
- A pom-pom maker, cardboard template, or a wide-toothed fork for winding
- Sharp scissors with clean blades for a precise trim
- Twine, jute rope, or decorative ribbon for stringing the finished pom-poms
- A large tapestry needle or crochet hook for threading
- Ruler or measuring tape to help maintain consistent spacing along the banner
- Optional: A wire brush or pet slicker brush to fluff finished pom-poms
Pom-pom makers are widely available and definitely speed things up, but you don’t actually need one. A simple cardboard donut cut from a cereal box works just as well and costs nothing. You can also wrap yarn around two fingers or a fork to make small, tidy pom-poms in just a few minutes. Which method you go with will probably depend on how many pom-poms your banner calls for and how quickly you’d like to get it done.
Step-by-Step Instructions for Making Perfect Pom-Poms
Making a consistent, nicely shaped pom-pom is something you’ll get better at quickly, and even your very first one is probably going to turn out pretty delightfully fluffy. The basic idea is simple: wrap yarn around a form lots of times, tie the bundle tightly in the middle, then cut the loops to release a burst of soft, bouncy fibers. The more wraps you do, the denser and more satisfying your pom-pom will be — so don’t hold back when it comes to building up that yarn.
Start by picking your form — a pom-pom maker, a cardboard template, or a fork — and begin wrapping. For a medium-sized pom-pom, you’re aiming for about 80 to 100 wraps. For a bigger, showstopper pom-pom, go up to 150 or more. Once you’re happy with the amount of yarn, cut a separate piece about eight inches long, slide it through the center of your bundle, and tie the tightest double knot you can manage. Seriously, don’t skimp on this knot — it’s the only thing holding your entire pom-pom together, so make it count.
With your bundle tied, carefully slide it off the form and use sharp scissors to cut through all the loops on both sides of the central knot. You’ll immediately see the pom-pom starting to take shape. Now comes the really satisfying part: trimming. Hold the pom-pom by its tie, rotate it slowly, and snip away any fibers that stick out beyond the rest to nudge it into a nice round sphere. Take your time here — a properly trimmed pom-pom looks so much more polished than one that only got a rough cut. For an extra-fluffy finish, roll it between your palms a few times and then give it a gentle brush with a wire brush.
Here’s a quick sizing guide to refer back to as you work through your banner:
- Small pom-poms (1–2 inches): Wrap yarn around a fork approximately 40–60 times. These are perfect for adding detail and variation to your banner.
- Medium pom-poms (2–3 inches): Use a standard pom-pom maker or a cardboard template with a 2-inch diameter. Aim for 80–100 wraps for good density.
- Large pom-poms (3–5 inches): Use a large pom-pom maker or a cardboard template. Wrap 120–150 times and trim generously for a perfectly round result.
Assembling and Hanging Your Pom-Pom Banner
Once you’ve made all your pom-poms — a wonderfully colorful, fluffy pile that you’ll probably want to just bury your hands in — the assembly stage is where it all comes together into something you’ll actually want to hang on your wall. Before you string a single one, lay them all out on a flat surface and arrange them in the order you’re envisioning. Step back and take a look. Does the color feel balanced? Do the sizes alternate nicely? It’s so much easier to shuffle things around now than after everything is tied in place.
Cut your twine or ribbon to the length you want your finished banner to be, leaving an extra foot on each end for hanging. Thread your tapestry needle with one of the tail ends from a pom-pom’s central knot and use it to pull the pom-pom onto the twine. Slide it to where you want it, then tie the tails firmly around the twine so it can’t shift. A double knot plus a small dab of clear craft glue goes a long way — especially if your banner will be hanging somewhere with a ceiling fan or open windows nearby. Repeat for each pom-pom, using your ruler to keep the spacing consistent throughout.
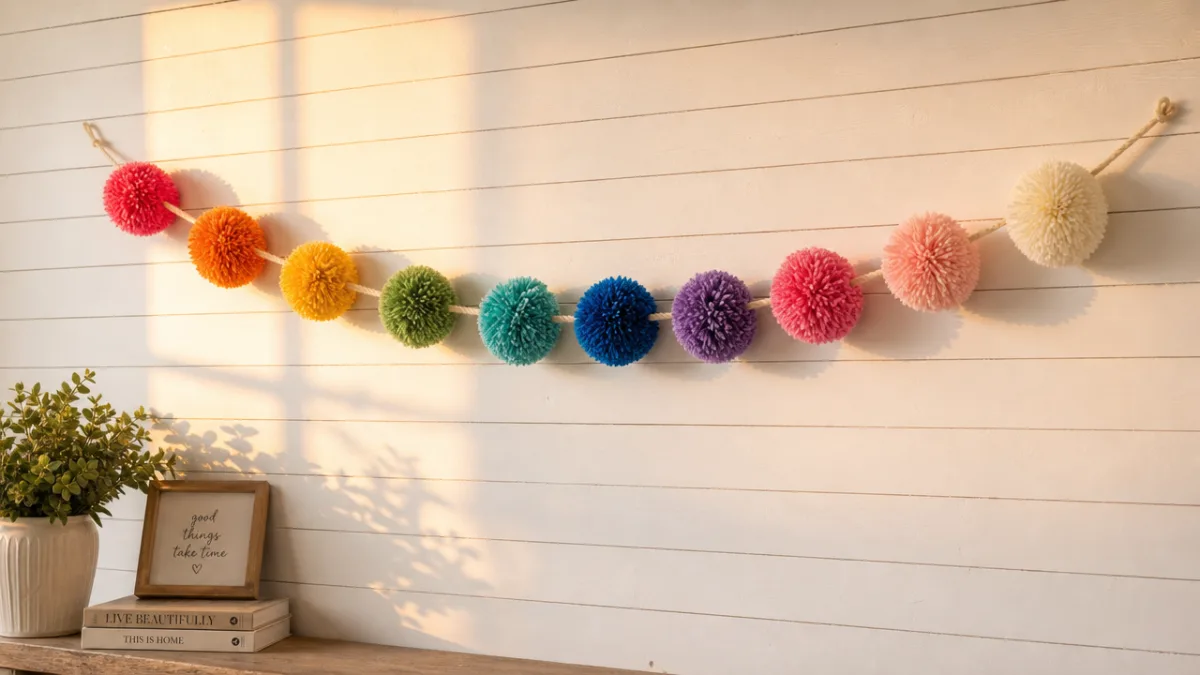
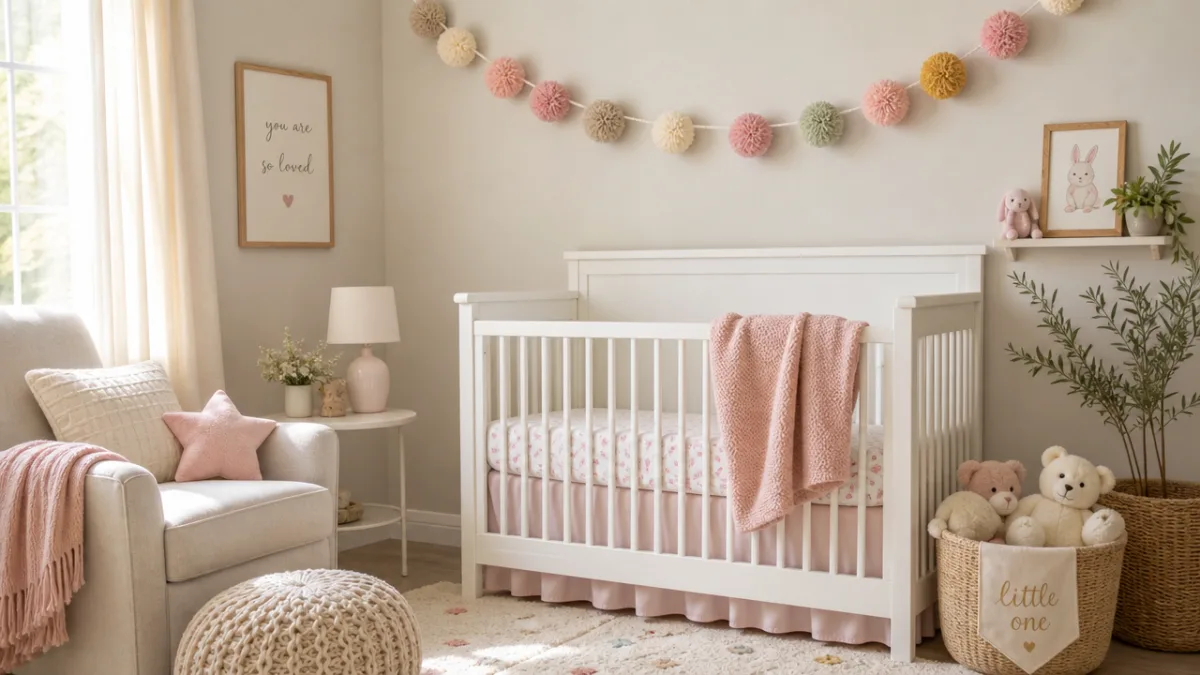
How and where you hang the banner matters just as much as how it’s made. Strung between two nails or hooks at the same height, it’ll hang in a graceful, intentional-looking swag. You can also drape it along a mantel, weave it through a wreath, hang it across a window frame, or string it above a crib or bed — it works in so many spots. One thing worth keeping in mind: pom-pom banners really pop against neutral or white walls, where the colors can do their thing without competing with busy wallpaper or bold paint behind them.
Creative Variations and Customization Ideas
A basic pom-pom banner is already a great thing, but part of what makes this craft so lovable is how easily it can evolve. Once you’ve got the technique down, you’ll start eyeing yarn displays in craft stores with a whole new kind of excitement. Ombre banners — where the pom-poms gradually shift from one color to another across the length of the banner — look genuinely sophisticated and gallery-worthy, and they’re honestly much simpler to pull off than they appear. Just arrange your yarn choices from darkest to lightest, or from one hue to a complementary color, and let the gradual shift do all the heavy lifting.
You can also play around with different textures to add depth to your design. Try alternating regular yarn pom-poms with chunky chenille ones for an irresistibly velvety softness, or mix in some metallic or sparkle yarn for a banner that really catches the light at a party. Natural fibers like cotton, wool, or jute give off a more organic, earthy vibe that works beautifully in rustic or bohemian spaces. Don’t be afraid to combine fiber types in the same banner either — the contrast between matte and shiny, rough and smooth, can look genuinely striking.
Seasonal variations are also worth exploring. A Christmas banner in deep red, forest green, and gold brings instant festive warmth to a room. An Easter version in pastel lavender, mint, and soft yellow is perfect for a spring tablescape. For Halloween, try black, burnt orange, and deep purple with oversized pom-poms for something dramatic and playful. Since a single banner is so affordable to make, it’s pretty easy to build up a little collection of seasonal ones to rotate throughout the year — a simple way to keep your home feeling fresh without much ongoing effort.
If you want to push the concept even further, here are a few creative directions to consider:
- Spell out a name or phrase by alternating pom-poms with letter beads or wooden letter cutouts strung along the same twine
- Combine pom-poms with tassels, dried flowers, or fabric pennants for a mixed-media garland with genuine visual complexity
- Create a vertical hanging by stringing pom-poms down lengths of twine attached to a piece of driftwood or a wooden dowel
- Use jumbo pom-poms (5 inches or larger) as standalone ornaments hung from ribbon in a window or on a holiday tree
- Make a coordinating set of small pom-pom clusters to use as gift toppers or napkin rings that match your banner
Tips for Longevity and Displaying Your Banner with Confidence
A well-made pom-pom banner is sturdier than it looks, but a few simple habits during construction and display will keep yours looking fresh for a long time. The single most important thing is the tightness of that central knot. Even one loosely tied pom-pom will gradually shed fibers and lose its shape over time. When in doubt, put a small dot of fabric glue on each knot after tying and let it dry completely before moving on. It takes just a few seconds per pom-pom and makes a real difference down the road.
Sunlight is your banner’s biggest enemy, especially if you’re working with vibrant or deeply saturated colors that tend to fade. If your banner will hang near a window or in a spot that gets direct sun for a good chunk of the day, look for yarns labeled colorfast, or consider putting a light-filtering curtain behind the display area to cut down on UV exposure. For seasonal banners, storing them properly between uses — gently rolled rather than folded so the pom-poms don’t get crushed — is the best thing you can do for their longevity. Keep them in a breathable cotton bag rather than a sealed plastic bin to avoid any mustiness building up.
Dust and pet hair are also worth thinking about, since pom-poms are basically magnets for both. A handheld vacuum on its lowest setting, held a few inches away rather than pressed directly against the banner, will lift surface dust without disturbing the fibers. For stubborn fuzz or pet hair, wrapping a piece of masking tape around your hand works really well. And if a pom-pom ever goes a bit flat or loses its shape after being displayed for a while, just remove it, roll it between your palms, trim any wayward fibers, and reattach it. Good as new in under five minutes.
Finally, don’t underestimate the joy of sharing what you’ve made. The pom-pom banner community online is genuinely warm and generous — full of people posting their own color combinations, creative display ideas, and fresh takes on the basic concept. Sharing your own finished banner, tagging where you found inspiration, and mentioning the colors you used adds to that community and might even nudge someone else to pick up a skein of yarn for the very first time. There’s a warmth to handmade things that no mass-produced decoration can really replicate, and a pom-pom banner is one of the most accessible, joyful ways to bring a little of that handmade magic into your home.








What do you think?
It is nice to know your opinion. Leave a comment.