










Staining Balsa Wood: The Sponge Rule That Changes Everything
Why Balsa Wood Is One of the Trickiest Materials to Stain
Balsa wood has a well-deserved reputation for being lightweight, easy to cut, and forgiving for beginners. But the second you introduce liquid stain to the surface, that friendly material suddenly turns on you. Its cellular structure is incredibly porous, and it absorbs stain at wildly different rates depending on where you are in the grain — which means blotchy, uneven color that can ruin an otherwise great project, even if you’ve done everything else right.
The real culprit is the difference between early wood and late wood fibers. The softer, lighter-colored early wood bands soak up stain almost immediately, while the denser late wood just… doesn’t. The result is a two-toned look that reads as unintentional and amateurish, even when every other part of your work is solid. Getting your head around this quirk is honestly the first step toward finally achieving that rich, even finish you’ve been after.
A lot of crafters try to fix the blotchiness by laying on more stain or pressing harder with the applicator. It feels logical, but it almost always backfires. Flooding the surface overwhelms the grain and can cause warping or fiber lift — a real problem with the thin balsa sheets common in model-making, architectural mockups, and decorative projects. More stain isn’t the answer. A completely different application strategy is, and it starts with rethinking the tool in your hand.
The Problem With Brushes, Rags, and Standard Applicators
If you’ve been using a paintbrush to stain balsa, you’re probably depositing way more stain than the wood can absorb evenly. Brushes — even soft ones — dump concentrated pools of liquid wherever they touch down, leaving a patchwork of dark and light spots that you simply can’t fix after the fact. On top of that, bristles tend to rough up balsa’s delicate grain fibers, giving you a fuzzy surface that fights any varnish or sealant you try to apply later.
Rags and paper towels aren’t much better. On a dense hardwood they can get the job done, but on balsa they act more like squeegees — dragging stain unevenly and leaving streaks. The pressure you apply with a rag is naturally inconsistent, so some spots get a heavy dose while others barely pick up any color. You end up chasing those streaks with more stain, and the problem just snowballs.
Foam applicators are closer to the right idea, but even they fall short when you use them in the usual way — loading them up and going straight to bare wood. Foam delivers stain more evenly than a brush, sure, but balsa is so thirsty in certain grain areas that even a foam pad can over-saturate the surface in seconds. What experienced balsa workers have figured out is that the tool itself matters less than the method behind it. The sponge rule is really a method-first approach, and it works with just about any soft applicator you have on hand.
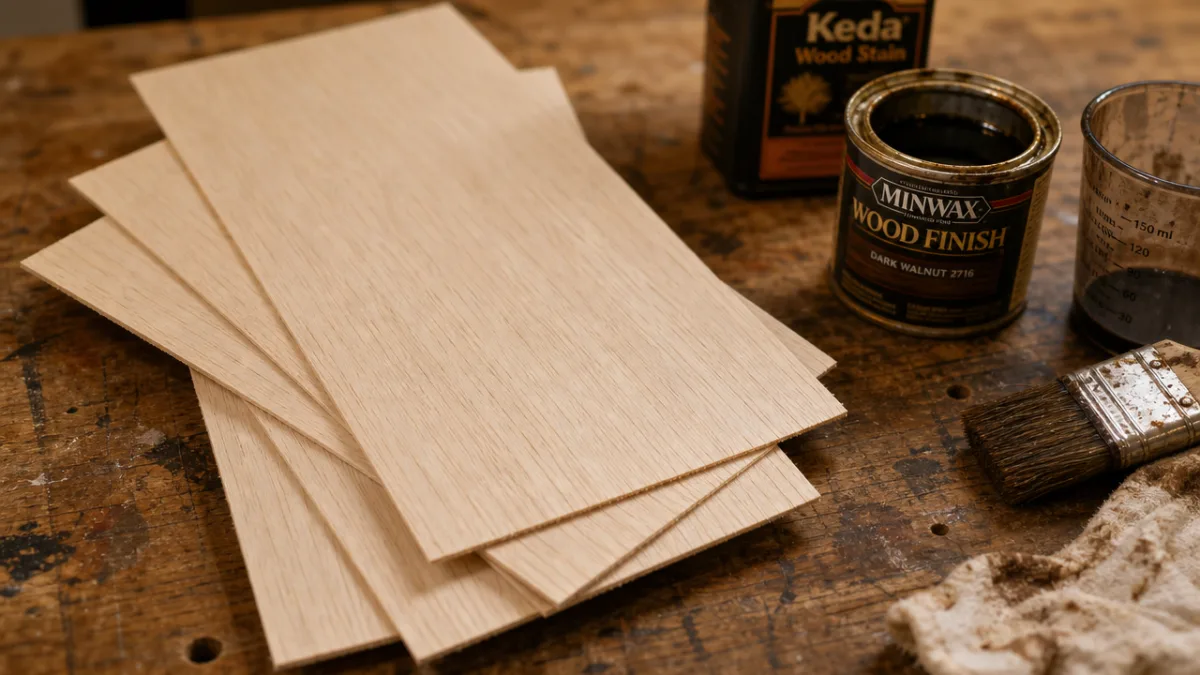
The Sponge Rule: What It Is and Why It Works
Despite the name, the sponge rule isn’t really about swapping your brush for a sponge — though a natural or synthetic sponge does happen to work beautifully here. The core idea is simpler than that: before stain ever touches your balsa, your applicator needs to be pre-loaded, wrung out, and left in a barely-damp state. Think of how a makeup artist works foundation into skin with a damp sponge — not wet, not dry, but carefully controlled. That precise moisture level is what stops the wood from immediately drinking up an uncontrolled flood of pigment.
Here’s the science behind why it works. When your applicator is fully saturated, balsa’s open grain kicks into high gear and wicks in a burst of liquid almost instantly through capillary action. By pre-loading and then squeezing out the excess before making contact, you dramatically cut down the volume of liquid available for that initial surge. The stain transfers in thin, manageable layers rather than one overwhelming wave, giving you time to spread the color evenly before it sets. All of a sudden, balsa goes from an unruly surface to one you can actually work with.
The other reason this method works so well is that it naturally pushes you toward layering. Rather than trying to nail full color depth in a single pass — which almost never happens on balsa anyway — the sponge rule builds you into thin coats from the start. Each layer dries quickly on such a lightweight wood, so you can check your coverage and decide whether you need another pass before committing. It’s the same iterative approach that professional model makers and fine craft artists use to get that deep, consistent color that looks like it came from inside the wood itself.
Step-by-Step: Applying the Sponge Rule on Your Next Project
Surface prep is non-negotiable before you do anything else. Sand your balsa progressively through the grits — start around 120 and work up to 220 — always moving with the grain, never across it. Balsa fibers tear easily, and cross-grain scratches will show right through your stain in the most unflattering way. After your final sanding pass, wipe the surface down with a clean, dry cloth to get rid of all that dust. Skip the adhesive tack cloth; the residue can interfere with stain absorption and create uneven patches.
The next step is one that most tutorials just gloss over or skip entirely: pre-stain wood conditioner. On balsa, this goes from a nice-to-have to an absolute must. Conditioner is a thin, penetrating liquid that partially fills the grain and evens out absorption across the whole surface. Apply it with — you guessed it — a barely-damp sponge using the same wrung-out technique. Let it sit for however long the label specifies, wipe away any excess, and allow the wood to dry completely before you touch any stain.
When you’re ready to apply stain, follow this sequence for best results:
- Pour a small amount of stain into a shallow dish or palette — don’t dip your applicator directly into the can, since that makes controlling the quantity harder and can contaminate what’s left.
- Load your sponge lightly by just touching its surface to the stain, not pressing it down into the liquid.
- Squeeze the sponge firmly against the inside of the dish or a clean cloth to squeeze out roughly 70 percent of what you picked up.
- Apply to the wood in long, consistent strokes that follow the grain from one end of the piece to the other without lifting mid-stroke.
- Let each coat dry fully — usually 15 to 30 minutes on balsa — before checking your color depth and deciding whether another layer is needed.
- Between coats, lightly buff the surface with 400-grit sandpaper to knock down any raised fibers, then wipe it clean before the next application.
You’ll usually need two to four thin coats to get the depth of color that a single heavy coat on denser wood might give you. That’s not a shortcoming — that’s the technique working exactly as it’s supposed to. The patience you put in during staining pays off enormously in the final result, and the evenness you get from layering is something no shortcut approach can match.
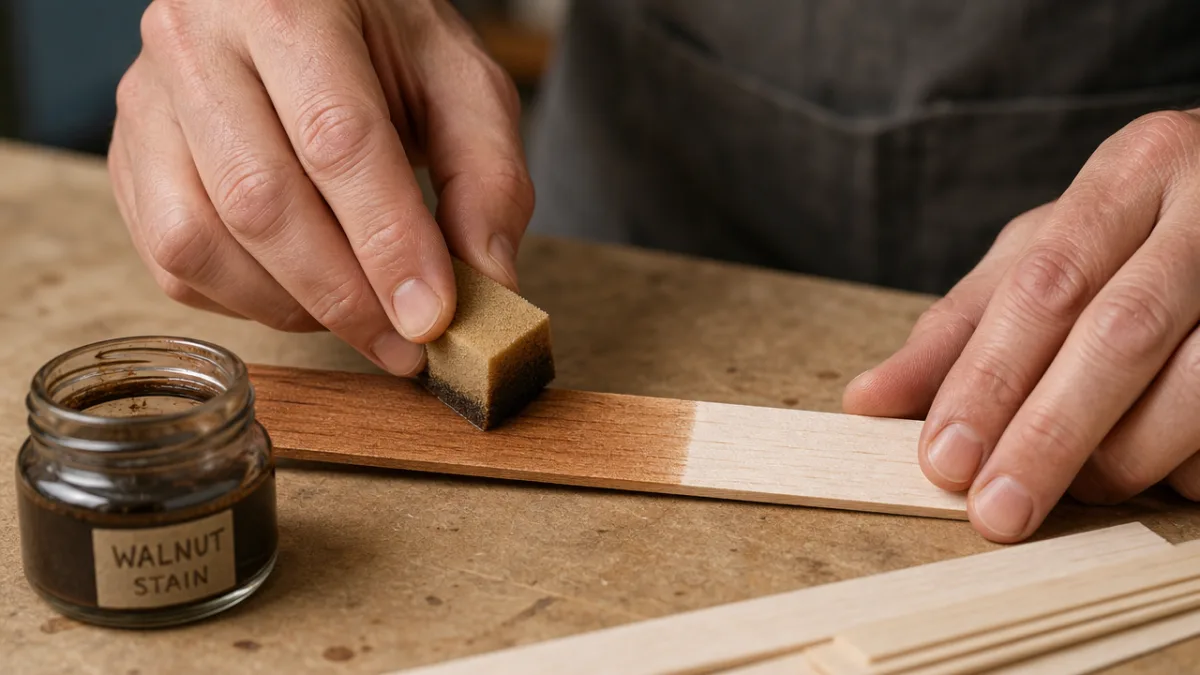
Choosing the Right Stain Formula for Balsa Wood
Not every stain plays nicely with balsa, and the formula you pick matters more here than it does for most other wood species. Oil-based stains are gorgeous on hardwoods — rich pigment, great depth — but their long open time can actually work against you on balsa. All that extra wet time gives the thirstier grain areas even more opportunity to keep drinking, making the blotchiness worse instead of better. If you love the color range of oil-based products, go ahead and use them, but keep it light and always pair them with a pre-stain conditioner.
Water-based stains are generally the better call for balsa, and the reason is pretty simple: they dry faster, which cuts down the window for uneven absorption to take hold. Their thinner consistency is also easier to manage with the light-load sponge technique. You get slightly less color per coat compared to oil-based options, but since you’re building in layers anyway, that’s actually a feature rather than a flaw. Water-based stains are also easier to clean up and produce far fewer fumes — a genuine plus if you’re working in a small home studio or basement where ventilation isn’t great.
Gel stains are worth a special mention because they’re genuinely exceptional on tricky woods like balsa. The thick, almost pudding-like consistency sits on the surface rather than rushing straight into the grain all at once. That turns balsa’s aggressive absorption from a major headache into a non-issue, because the gel controls how much pigment releases rather than letting the wood call the shots. Applied with the sponge rule — loaded light, well wrung out — gel stain on conditioned balsa can give you a remarkably even first coat that other methods might take three or four tries to achieve.
Sealing, Finishing, and Protecting Your Stained Balsa
Once you’ve got an even, satisfying color built up through the sponge rule, you’re almost there — but not quite done. Stain alone doesn’t protect the wood; it just adds color. And because balsa is so lightweight and soft, it’s more vulnerable to dents, scratches, and moisture than most woods, which makes a good topcoat both an aesthetic choice and a practical one. Keep in mind that your finish will also affect how the color looks — glossy finishes tend to deepen and enrich the tone, while matte finishes soften it slightly.
For most balsa projects, a water-based polyurethane or lacquer is the way to go. Apply the first coat thinly — smooth, flowing strokes with a foam pad or brush — and don’t be alarmed when it slightly raises the grain. That’s completely normal. Once it’s fully dry, sand lightly with 400-grit paper, wipe away the dust, and apply a second coat. Two to three coats is usually the sweet spot for most projects, with light sanding between each one. Leave the final coat unsanded to preserve the sheen, or buff it with fine steel wool if you prefer a softer, satin look.
One critical mistake to avoid at this stage: don’t apply a solvent-based finish over a water-based stain until the stain has fully cured. Solvents can reactivate water-based colorants, causing them to bleed or shift and undoing all the careful color work you just put in. Always let your stain cure for the full time the manufacturer recommends — not just until it feels dry to the touch, but until it’s truly hardened. When you’re not sure, wait an extra 24 hours. On a project you’ve already invested this much care into, one more day of patience is always worth it.
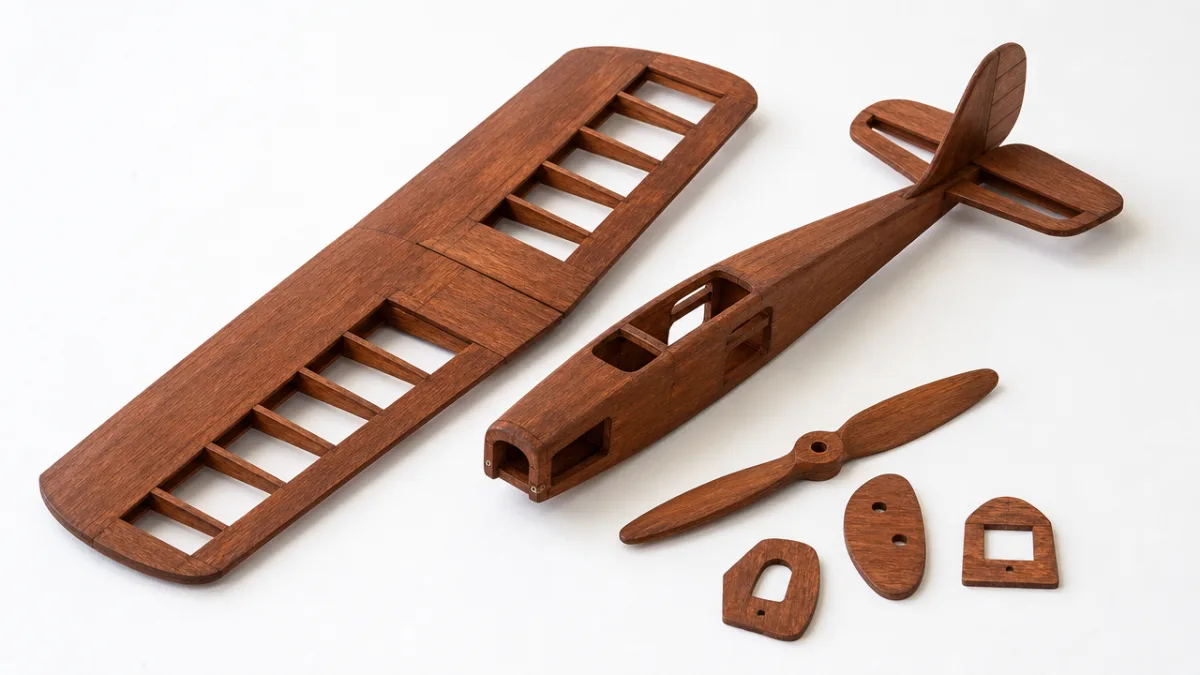
Common Mistakes and How the Sponge Rule Prevents Them
One of the most common slip-ups people make the first time they stain balsa is skipping the conditioning step because they’re excited to see color on the wood. Totally understandable — conditioning adds time and an extra product cost, and it can feel like busywork when you just want to get going. But raw, unconditioned balsa is basically on a countdown the moment stain touches it. The most absorbent spots lock in within seconds, and by the time your applicator has moved two inches down the board, those dark areas are already set. Conditioning isn’t optional — it’s the whole foundation the sponge rule is built on.
Another mistake that trips people up is applying stain before the conditioner has fully dried. If any residual moisture is still hanging around in the grain when the stain goes on, the two liquids interact in unpredictable ways — spreading pigment in irregular patterns and creating soft, watercolor-like blotches that are nothing like the even tone you’re going for. To check dryness, press a fingertip lightly to the surface. It should feel completely neutral — not cool, not damp. In a humid workshop, that can take longer than the product label suggests, so give it extra time if you’re not sure.
A third mistake — and probably the most costly one — is trying to sand back through dried stain to fix a blotchy first pass. On hardwoods, that can sometimes save you. On balsa, it’s almost always a disaster. Aggressive sanding removes entire surface fibers along with the color, leaving a rougher, even more absorbent surface that will blotch worse on your next attempt. If your first coat comes out uneven, the better move is to apply a thin washcoat of diluted finish to lock in what color is already there, then glaze over the top with a transparent tinted product to even out the tone. It takes more patience, but it keeps the surface integrity intact — and that’s worth protecting after everything you’ve put into the prep.








What do you think?
It is nice to know your opinion. Leave a comment.