










Two Piece Thrift Flip: How to Transform Secondhand Finds into Stylish Coordinated Sets
The Art of the Thrift Flip: An Introduction
Thrift flipping has exploded in popularity over the last several years, evolving from a frugal necessity into a full-blown creative movement that sits at the intersection of sustainability, fashion, and DIY craftsmanship. The two piece thrift flip, in particular, has become one of the most sought-after techniques in the upcycling community, allowing makers to transform mismatched or oversized secondhand garments into cohesive, fashion-forward coordinated sets. What was once discarded can become something genuinely covetable with a little vision and the right tools.
The beauty of a two piece flip lies in the challenge it presents. You are not simply hemming a pair of trousers or taking in a blouse — you are engineering a relationship between two garments, ensuring they speak the same visual language while remaining individually wearable. This requires an eye for proportion, color, and texture that develops over time. Whether you are a seasoned seamstress or a curious beginner with a thrifted blazer and a pair of scissors, the two piece thrift flip offers a deeply satisfying creative exercise that also happens to produce something you can actually wear.
Beyond the creative rewards, the environmental and financial benefits of thrift flipping are substantial. Fast fashion accounts for roughly 10 percent of global carbon emissions and produces enormous textile waste every year. By choosing to rework secondhand clothing rather than purchasing new pieces, you are actively participating in a more circular economy. At the same time, you end up with a garment that is entirely unique — no one else in the world will be wearing the exact same two piece set that you made with your own hands, which is a genuinely exciting prospect in an era of mass production and algorithm-driven trends.
Sourcing the Perfect Pieces: What to Look for at the Thrift Store
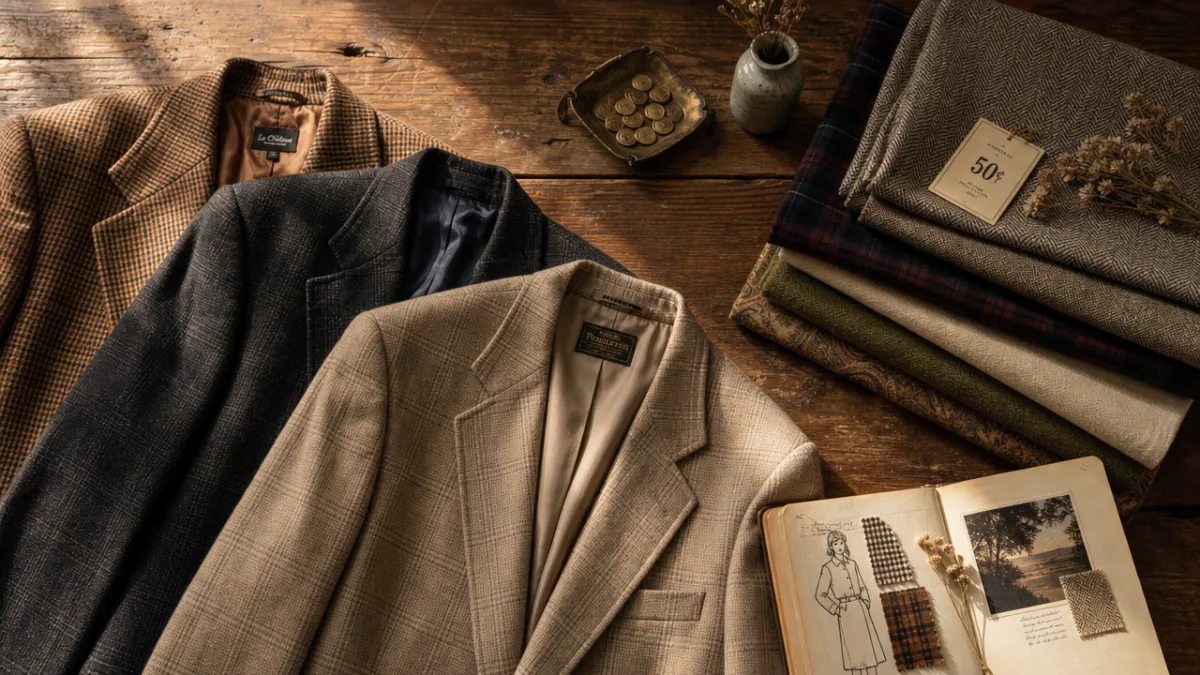
The foundation of any successful thrift flip is the sourcing stage, and this is where most beginners either find their groove or grow frustrated. When hunting for pieces to transform into a two piece set, you need to train your eye to see potential rather than finished products. Walk into your local thrift store with an open mind and a flexible vision. The perfect raw material rarely looks perfect on the rack — it might be a shapeless oversized blazer in a striking plaid, or a maxi skirt in a luxurious fabric that simply needs to be reconstructed into a matching crop top and mini skirt.
Fabric is arguably the most important factor to consider when sourcing for a thrift flip. Look for natural fibers like cotton, linen, and wool, which are easier to work with, hold their shape well, and press beautifully with an iron. Synthetic blends can be trickier to sew and may not respond well to cutting and reconstructing. More importantly for a two piece set, you want enough fabric volume to yield two separate garments. An oversized men’s dress shirt, a floor-length skirt, a pair of wide-leg trousers, or an oversized blazer can all contain enough material to produce a top and bottom pairing, provided you plan carefully before you cut.
When hunting for a coordinated look, you have two main approaches. The first is to find a single large garment with enough fabric to create both pieces — this guarantees a perfect color and pattern match. The second approach is to find two separate thrifted pieces that naturally complement each other, whether through a shared color palette, similar fabric weight, or complementary patterns like a solid and a stripe in the same tonal family. Both methods are valid and produce stunning results, but they require slightly different planning strategies and skill sets. Whichever route you choose, always check garments thoroughly for stains, holes, and irreparable damage before purchasing.
- Look for oversized men’s shirts, blazers, or trousers with generous fabric that can yield multiple pieces.
- Check the fabric content label — natural fibers like cotton, linen, and wool are easiest to rework.
- Inspect seams, hems, and zippers carefully to assess how much original structure you can preserve or repurpose.
- Consider the pattern scale: large prints can be tricky to match across two pieces, while small allover prints are more forgiving.
- Shop men’s and plus-size sections even if you wear a smaller size — extra fabric volume is your greatest resource.
Planning Your Design: Sketching, Measuring, and Mapping Your Flip
Once you have sourced your raw material, the planning stage is where your two piece thrift flip truly begins to take shape. Resist the temptation to dive straight into cutting — taking the time to sketch your vision and map out your cuts will save you from costly, irreversible mistakes. Start by laying your garment flat on a large, clean surface and studying its existing seams, pockets, and structural elements. These existing construction details can often be repurposed creatively, saving you significant sewing time and adding an element of authenticity to your finished pieces.
Sketching does not require formal illustration skills. A simple rough drawing of your intended top and bottom, with approximate measurements noted alongside, is sufficient to guide your work. Think carefully about proportions — if your bottom is high-waisted, your top can afford to be shorter and more cropped. If your skirt or shorts sit lower on the hip, a longer top that grazes the waistband will create a cleaner silhouette. Consider also whether you want both pieces to be able to be worn separately with other items in your wardrobe, or whether they are purely intended as a set. This decision will influence how you finish hems and edges.
Measurements are non-negotiable when planning a thrift flip. Take your own body measurements carefully — bust, waist, hips, and the lengths you want for each piece — and compare them to the flat measurements of your source garment. Remember to account for seam allowances, which typically run between half an inch and five eighths of an inch. If you are working from a single source garment, create a simple paper pattern or use tailor’s chalk to map your cut lines directly onto the fabric before making any cuts. This preparation step is the difference between a professional-looking result and a frustrating outcome that leaves you with scraps too small to use.
The Cutting and Construction Process: Step-by-Step Techniques
With your plan in place and your measurements confirmed, you are ready to begin the most exciting and irreversible stage of the process: cutting and construction. Sharp fabric scissors are essential here — using dull scissors on fabric creates ragged edges that fray excessively and are difficult to sew cleanly. If you are working with a pattern or a chalk outline, cut just outside your marked lines to preserve your seam allowance. Take your time with this step; cutting is the one part of garment construction that cannot be undone, so slow and deliberate movement is always preferable to speed.
For a classic two piece set, the most common construction approach involves creating a cropped top and a matching skirt or shorts. If you are working from an oversized button-down shirt, for example, you might retain the collar and button placket as the front of your top, cutting the body to your desired crop length and finishing the raw hem with a narrow fold-and-stitch or a serged edge. The lower portion of the shirt, along with any excess fabric from the sleeves, can be deconstructed and resewn into a simple skirt with an elastic waistband, a wrap silhouette, or even wide-leg shorts depending on the available fabric volume.
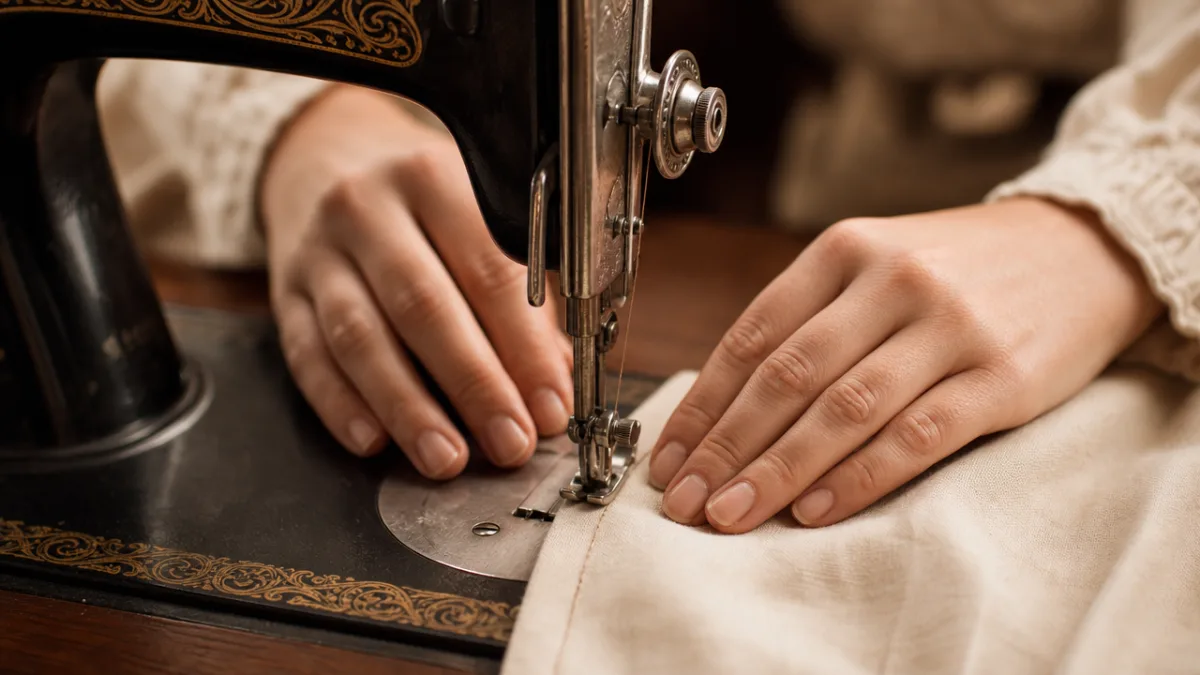
Sewing techniques vary in complexity depending on your skill level and the tools available to you. A basic sewing machine is sufficient for most thrift flip projects, though a serger will give your raw edges a more professional, durable finish. Key techniques to master for two piece sets include installing elastic waistbands, sewing clean topstitched hems, and finishing necklines with either a facing or a simple fold-and-stitch. Do not overlook the pressing stage — ironing your seams open or to one side as you sew them will dramatically improve the structure and appearance of your finished garments. A well-pressed seam is often the single biggest difference between a homemade-looking result and a polished, fashion-quality finish.
- Wash and dry your thrifted garments before cutting to account for any shrinkage and to remove odors or residue.
- Press the fabric flat with an iron so your cut lines are accurate and your seams lie cleanly.
- Mark all cut lines with tailor’s chalk or a fabric marker before making any cuts.
- Cut all pieces before sewing any seams, so you can lay them out together and check proportions.
- Sew and press each seam as you go, rather than assembling everything before pressing.
- Try on each piece regularly as you construct it, making adjustments before you sew final hems.
Finishing Touches: Details That Elevate Your Two Piece Set
The difference between a competent thrift flip and a truly remarkable one almost always comes down to the finishing details. Once your main construction is complete, take time to assess what additional elements could elevate your set from something that looks handmade to something that looks intentionally designed. Small details like matching topstitching, coordinating buttons, carefully placed pockets, or a well-executed hem can transform the overall impression of a garment significantly. These finishing touches are also where your personal design voice gets to shine most clearly.
Consider adding design details that create a visual conversation between your two pieces. A band of contrast trim that appears on both the hem of your top and the waistband of your skirt creates a cohesive, considered look. Matching hardware — perhaps a chain belt loop or coordinating metal grommets — can tie pieces together in an unexpected way. If your source fabric featured an interesting detail like a pocket, a flap, or a structured lapel, think about how that element could be echoed or mirrored in the other piece. These intentional callbacks between the two garments are what distinguish a true two piece set from merely two separate thrifted items worn simultaneously.
Fit adjustments are also a critical final step. Once both pieces are constructed, do a comprehensive try-on and assess honestly where the fit could be improved. Common adjustments include taking in side seams on a top that is slightly too boxy, shortening a hem that breaks at an unflattering point on the leg, or adding a dart to a skirt waistband to eliminate excess fabric at the back. These small alterations require only basic sewing skills and relatively little time, but they have an outsized impact on how your finished set looks and feels to wear. A garment that fits well always reads as more polished and intentional than one that simply approximates the right size.
Styling and Wearing Your Finished Flip: Making the Most of Your Creation
With your two piece thrift flip complete, the next delightful challenge is figuring out how to style and wear it. One of the greatest advantages of a well-executed coordinated set is its versatility — each piece should ideally be strong enough to stand on its own when paired with other items in your wardrobe, while also working beautifully together as a matching set. This dual-functionality is what separates a truly useful thrift flip from one that will only be worn on a handful of occasions before retreating to the back of the closet.
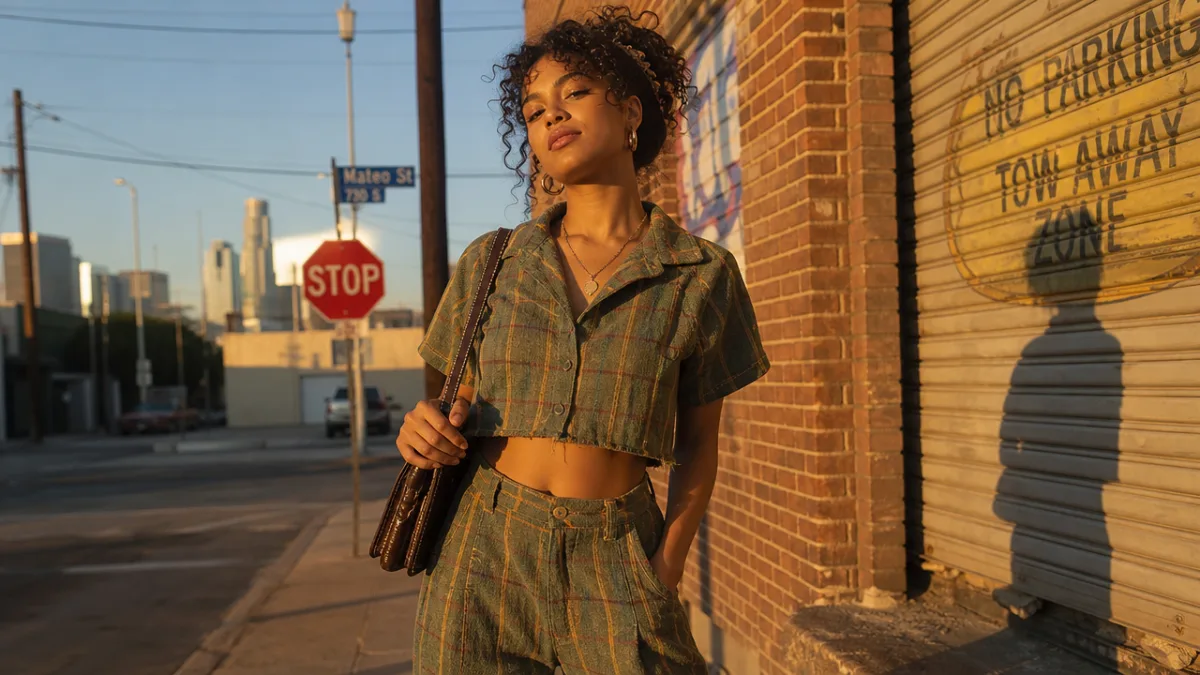
When wearing the pieces together as a set, consider how the styling choices you make can either enhance or detract from the coordinated effect. Minimal accessories tend to let a matching set breathe and command attention — a simple gold chain, a structured bag, and a clean shoe choice are often all you need. Conversely, strategic accessorizing can break up a set in interesting ways: a contrasting belt worn over the top can divide the silhouette and add visual interest, while a denim jacket or tailored blazer thrown over the top piece can blend the two pieces together into something that reads almost like a dress with outerwear.
Documenting and sharing your thrift flip process is also worth considering, both for your own creative development and for the broader community. The thrift flipping community online is generous, supportive, and endlessly inspiring, with creators across platforms sharing their processes in granular detail and offering encouragement to newcomers. Photographing your before and after, noting the techniques you used, and sharing what you would do differently next time creates a valuable record of your own growth as a maker. Over time, these documented projects become a portfolio that reflects your evolving aesthetic sensibility and technical skills, which can open doors to collaboration, commissions, and creative opportunities you might not have anticipated when you first walked into that thrift store with an open mind and a vision.
- Wear both pieces together as a set for a bold, fashion-forward coordinated look.
- Pair the top with tailored trousers or denim for a more casual, everyday outfit.
- Style the bottom piece with a simple fitted tee or tucked-in button-down for effortless versatility.
- Layer a blazer or structured jacket over the top to create a transitional-weather outfit.
- Experiment with footwear to shift the mood from elevated and polished to relaxed and street-ready.
Building a Sustainable Wardrobe Through Ongoing Thrift Flipping
A single successful thrift flip is satisfying, but the real magic happens when you begin to approach your entire wardrobe through the lens of reworking and reinvention. Building a sustainable wardrobe through ongoing thrift flipping is not simply about saving money or reducing waste — though it accomplishes both admirably — it is about developing a fundamentally different relationship with clothing. When you make things with your own hands, you begin to understand the labor, skill, and intention that goes into garment construction, and that understanding changes how you think about buying, wearing, and discarding clothes forever.
As your skills develop, the possibilities for your thrift flip practice expand considerably. You might begin experimenting with more complex constructions: tailored two piece sets with bespoke-style finishing, matching sets that incorporate multiple source garments to create patchwork or color-blocked designs, or technically demanding pieces like two piece swimsuits or coordinated outerwear. Each new project teaches you something that feeds directly into the next one, creating a virtuous cycle of skill development that is one of the most rewarding aspects of the maker lifestyle.
The two piece thrift flip is ultimately a microcosm of everything that makes slow fashion meaningful. It requires patience, creativity, technical skill, and a willingness to embrace the unexpected. It produces something genuinely unique in a world saturated with mass-produced sameness. It connects you to a global community of makers who are quietly and persistently imagining a different way of relating to clothing and consumption. And it results in a garment — two garments, in fact — that you will reach for again and again precisely because you made it yourself, with your own vision and your own hands, from something the world had already decided it no longer needed.








What do you think?
It is nice to know your opinion. Leave a comment.