










Recycled Paper Craft Box: A Complete Guide to Creative Upcycling
The Art of Upcycling: Why Recycled Paper Craft Boxes Matter
We’re all a lot more aware of waste these days, and upcycling has gone from a quirky niche hobby to something people genuinely get excited about. Making craft boxes from recycled paper is one of the easiest and most satisfying ways to get into it — you’re taking stuff that would otherwise end up in a landfill and turning it into something you’ll actually want to keep. It doesn’t matter if you’ve been crafting for years or you’re just now picking up a pair of scissors for the first time; this is the kind of project that makes you feel good on multiple levels.
What makes these boxes so appealing is how wildly versatile they are. Old newspapers, dog-eared magazines, cardboard packaging, leftover wrapping paper, junk mail — all of it can become the raw material for something beautiful. Every scrap you use has its own texture, color, and story, which means no two boxes ever come out looking the same. That’s honestly a big part of the charm. You’re not following a factory template; you’re making something completely one of a kind with whatever happens to be around.
There’s also something genuinely calming about the process itself. In a world where we’re staring at screens most of the day, sitting down to fold, cut, glue, and shape paper feels like a real breath of fresh air. Crafters have been doing versions of this for centuries — origami, papier-mâché, bookbinding — and when you pick up these techniques, you’re connecting to a long, rich tradition of turning simple materials into something worth keeping.
Gathering Your Materials: What You Need to Get Started
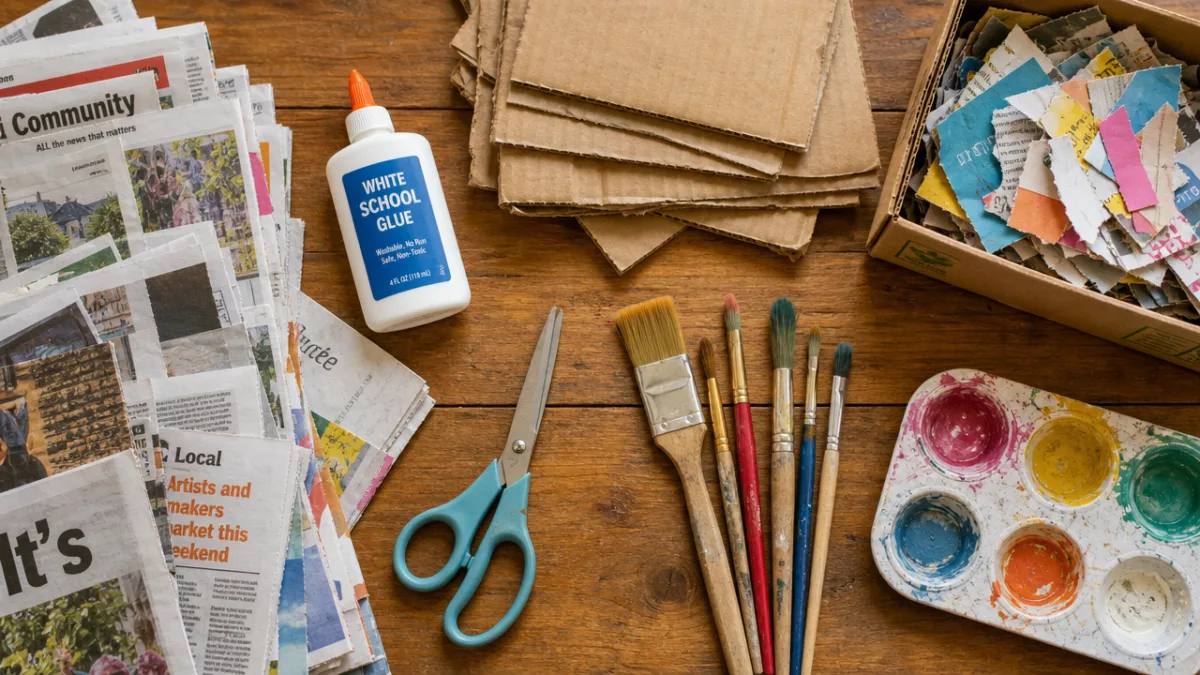
One of the best things about this craft is how little it costs to get going. Since you’re building with recycled paper, your main materials are essentially free. It’s worth spending a week or two just collecting paper before you dive in. Old newspapers are great for structural layers because their long fibers give real strength when you laminate them with paste. Magazines are perfect for decorative surfaces — the colors are vibrant and that glossy texture looks fantastic. Cardboard from cereal boxes, shipping packages, or toilet paper rolls gives you the rigid skeleton your box needs when paper alone won’t cut it.
For tools and adhesives, you probably already have most of what you need. White craft glue or PVA glue is the go-to for paper crafting — it dries clear and flexible, so your finished box holds up without getting brittle. Sharp scissors and a craft knife with a cutting mat let you make clean, precise cuts, especially for lids and corners. A ruler, a bone folder (or even just a butter knife) for crisp folds, and a few paintbrushes of different sizes round out the kit. Nothing here is expensive or hard to find.
If you want to take things further, acrylic paints are great for finishing and personalizing, and a decoupage medium gives your box a polished, sealed look. Washi tape and decorative ribbon are handy for quick embellishment, and stamps or stencils let you add patterns without needing to be a skilled painter. If you’re planning to try papier-mâché, keep a container nearby for soaking your paper strips. The honest advice, though, is to start with what you have and build from there as your skills grow.
- Recycled newspapers, magazines, cardboard boxes, and packaging materials
- White craft glue or PVA glue for adhesion and sealing
- Sharp scissors and a craft knife with a self-healing cutting mat
- Ruler, pencil, and bone folder for precise measuring and folding
- Paintbrushes in multiple sizes for applying glue and paint
- Acrylic paints, decoupage medium, or varnish for finishing
- Decorative elements such as washi tape, ribbon, stamps, or stencils
Basic Techniques: Building Your First Recycled Paper Box
There are a few different ways to build a recycled paper craft box, and the right approach really depends on what you’re making and what you want it to do. The simplest method is to cut and fold a flat piece of salvaged cardboard — from a cereal box or shipping package — into a basic rectangular shape. Score the fold lines first with a bone folder or the back of a butter knife; it makes a huge difference in how crisp your edges come out. Once you’ve got the basic box assembled, reinforce the seams with strips of torn newspaper dipped in diluted PVA glue. This adds strength and also starts building up that great layered texture on the surface.
Papier-mâché is another classic approach, and it’s especially good when you want to create curved or organic shapes that cardboard can’t pull off on its own. Start with a rough form built from scrunched or taped cardboard, then apply layer after layer of newspaper strips soaked in a mix of equal parts PVA glue and water. Let each layer dry completely before you add the next — if you rush this part, things get soggy and warped fast. After four to six layers, you end up with a surprisingly solid shell that can be lightly sanded and painted to a really refined finish.
If you’re ready for something more involved, coiling and weaving are worth exploring. Paper quilling — rolling thin strips of paper into tight coils and arranging them into walls and panels — takes more time, but the results look genuinely impressive, way more intricate than you’d expect from such basic materials. Weaving strips of magazine pages over a cardboard frame creates a satisfying basket-weave texture that’s both strong and visually interesting. Both techniques use the colors and patterns already printed on the paper, so you get a lot of visual complexity without touching a paintbrush.
Decoration and Finishing: Making Your Box Uniquely Yours
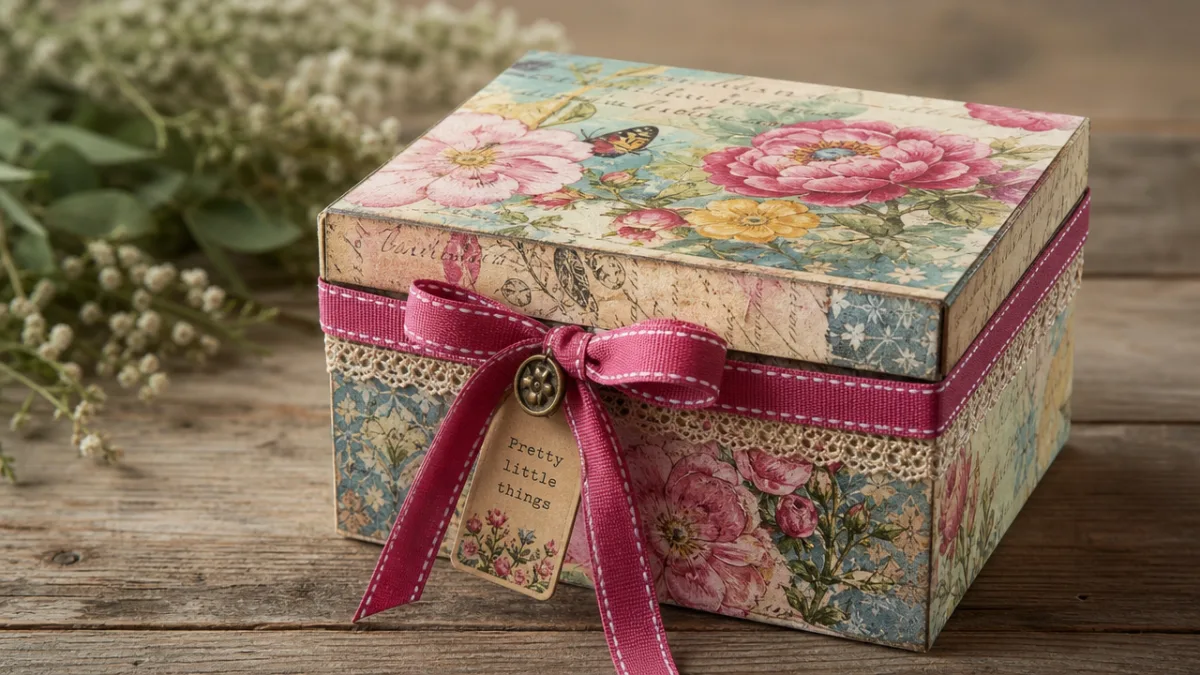
Once your box is fully built and dry, the fun really kicks in — decoration is where the project becomes entirely your own. The easiest approach is decoupage: you tear or cut pieces of decorative paper, glue them down with diluted PVA, and seal the whole thing with more glue or a dedicated decoupage medium. Magazine pages are perfect for this. You can arrange the colors and images deliberately to create something cohesive, or just let it be cheerfully random — both approaches look great in their own way.
Painting gives you the most control over how your box turns out. Acrylic paints are ideal for paper and cardboard because they’re water-based, dry fast, and stick well. Lay down a solid base coat, then add patterns with stamps, stencils, or just freehand brushwork. Metallic acrylics are especially worth trying — they give a recycled paper box a surprisingly elevated, sophisticated look that makes you forget it started as a cereal box. Whatever you paint, finish with a coat or two of clear varnish or matte medium to protect the surface from moisture and everyday handling.
Embellishments are the last layer of personality you can bring to the project. Washi tape is one of the easiest tools in the box — it comes in hundreds of patterns and colors, and you can use it to add borders, stripes, or geometric designs without any painting skill at all. Natural materials like dried flowers, leaves, or twine give a lovely earthy quality that fits right in with the recycled aesthetic. Buttons, beads, small pieces of fabric — all of these can be glued on to make your box feel truly mixed-media. The best guide for what to add is just this: what does the box need to look like, and who is it for?
- Apply a base layer of white gesso or paint to create an even surface for decoration.
- Choose your primary decoration method — decoupage, painting, or a combination of both.
- Work from large background elements to smaller foreground details to build depth.
- Add embellishments such as washi tape, ribbon, or found objects for texture and personality.
- Seal the entire surface with at least two coats of clear varnish or decoupage medium.
- Allow each coat to dry fully before applying the next to avoid lifting or smearing.
Creative Ideas and Variations: Expanding Your Craft Box Practice
Once you’ve got the basics down, you’ll probably find yourself looking at everything as a potential project. Gift boxes are one of the most immediately rewarding places to go with this skill. A handmade box turns even a modest present into something that feels genuinely thoughtful — no store-bought packaging comes close to communicating that kind of care. Size it to fit the gift, decorate it to suit the person you’re giving it to, and you’ve created something that might get kept long after the gift inside has been used up. A lot of people hold onto handmade boxes for years and find new uses for them.
Storage and organization boxes are another hugely practical application. Desktops, studios, kitchen counters, kids’ playrooms — they all benefit from small boxes that keep things corralled. Since you control every dimension of a handmade box, you can build pieces that fit a specific drawer or shelf perfectly, which you absolutely cannot do with anything off a store shelf. A matching set of recycled paper boxes in coordinating colors or patterns can genuinely transform a cluttered surface into something that looks intentional and works well at the same time.
Seasonal and holiday-themed boxes are a wonderful way to make this craft part of how your household marks the year. A set of small recycled paper boxes as advent calendar containers, or little egg-shaped boxes for spring — these connect the activity to something specific and celebratory. Kids especially love being part of these seasonal projects, and the making becomes part of the tradition itself. Since the materials cost almost nothing, there’s no pressure about making lots of them, which makes it genuinely stress-free to do in quantity for festive projects.
Teaching and Sharing: Bringing Recycled Paper Crafts into Community
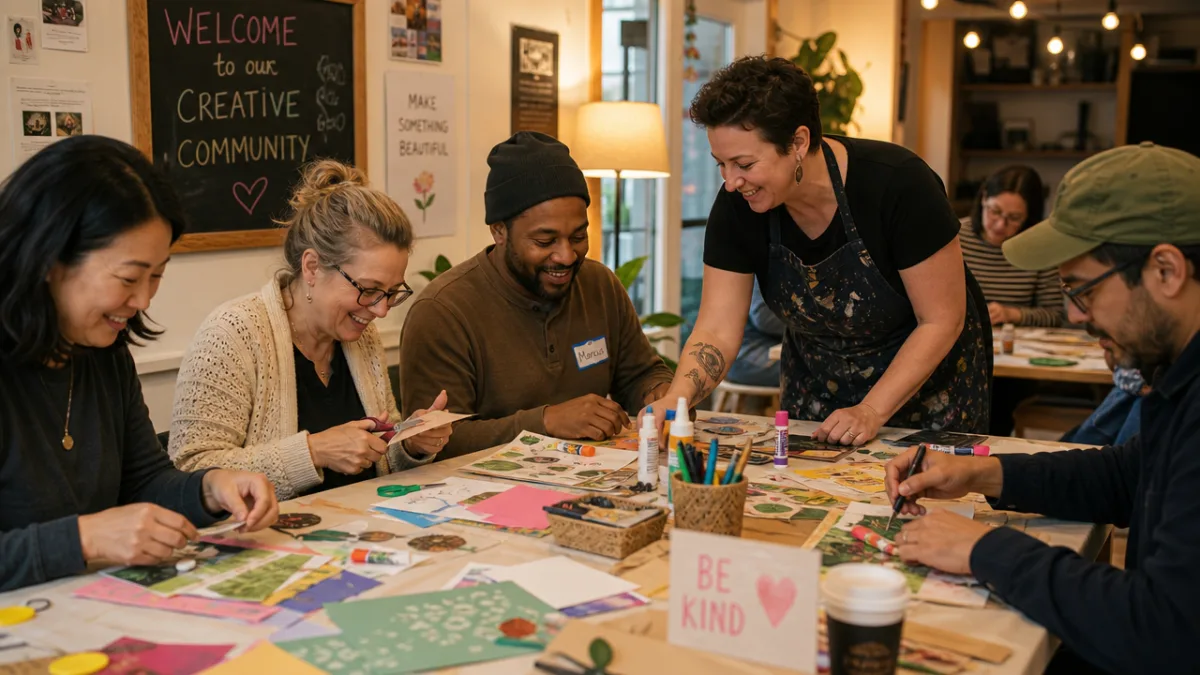
This craft really shines when you do it with other people. Schools, libraries, community centers, and maker spaces are natural homes for recycled paper craft workshops — the materials are cheap enough that cost never has to be a barrier. Kids as young as five or six can jump into simplified versions of the project, building fine motor skills and spatial thinking while also picking up something genuinely useful about sustainability and making do with what you have. Older kids and teenagers can take on more complex techniques and use the craft as a jumping-off point for bigger conversations about design and material culture.
For adults, these workshops offer something increasingly rare: a reason to sit around a table with other people and make something with your hands. There’s a specific kind of satisfaction that comes from working toward a tangible finished object in good company, swapping tips and ideas as you go. Plenty of craft groups and fiber arts circles have started weaving paper crafting into their regular meetups, finding that it pairs naturally with knitting, embroidery, or bookbinding. Sharing magazines and newspapers for materials also creates a nice culture of exchange — people bring in their old stuff, take what they need, and everyone benefits.
Online, platforms like Pinterest, Instagram, and YouTube have built a genuinely thriving global community of recycled paper crafters who share tutorials, finished projects, and sourcing tips across every kind of geographic and cultural boundary. Following makers in this space is a great way to stay inspired and discover techniques you’d never stumble on otherwise. Some crafters have turned their boxes into a small business through Etsy, which is a reminder that what starts as a weekend hobby can grow into something more. Whether you’re keeping your boxes, giving them away, selling them, or sharing the process in a workshop, you’re part of a movement that takes the quiet act of making seriously.
Environmental Impact: The Bigger Picture Behind the Craft
It’s tempting to look at a box made from old newspapers and a cereal box and think, “Well, that’s cute, but does it actually matter?” It does, more than you might expect. Paper production is genuinely resource-intensive — it chews through enormous amounts of water, energy, and virgin wood fiber. Every piece of paper you redirect into a craft project is a small but real reduction in demand for new production. Multiply that across millions of crafters doing the same thing, and the numbers start to add up in a meaningful way.
Beyond the direct environmental math, though, there’s something that happens to people who regularly make things from discarded materials: they start seeing their waste differently. Things they used to throw away without a second thought start to look like possibilities. That shift tends to spread outward into how they shop, how they handle food waste, how they think about clothing — it becomes a more general orientation toward not being careless with stuff. A recycled paper craft box is a small thing, but it can quietly open the door to a more thoughtful way of moving through the world.
Community upcycling programs built around paper crafting can carry social weight alongside the environmental benefits, too. Teaching these skills in underserved communities builds real creative confidence and can create pathways into small-scale entrepreneurship. Material sharing programs — where participants bring in magazines, packaging, and paper scraps to swap — build genuine social bonds while keeping materials circulating instead of heading to the landfill. At a moment when the conversation around sustainability feels increasingly urgent, the simple, accessible, genuinely enjoyable practice of making beautiful things from discarded paper is a small but real reason to feel hopeful.








What do you think?
It is nice to know your opinion. Leave a comment.