










Mini Paper Flowers Tutorial: A Complete Guide Inspired by Ella Goslant
Introduction to Mini Paper Flower Crafting
Mini paper flowers have quietly taken over the crafting world, and honestly, it’s easy to see why. They’re beautiful, they last forever, and you don’t need a green thumb to keep them looking perfect. Unlike real flowers, paper blooms never wilt, never need water, and you can make them in literally any color you want. Ella Goslant’s take on mini paper flowers has gotten so many people hooked on this hobby — the kind of creative outlet that’s both relaxing and genuinely impressive when you see the results.
What makes mini paper flowers so appealing is how versatile they are. You can use them to decorate a wedding venue, dress up a scrapbook page, make a handmade card feel really special, or just put together a little paper bouquet for your shelf. Their small size actually works in your favor as a beginner — they’re manageable enough to pick up quickly, but there’s plenty of depth to the craft to keep you learning and experimenting for a long time.
Paper flower crafting has a surprisingly rich history behind it too. From delicate origami blossoms in Japan to the elaborate crepe paper roses people made in Victorian England, there’s something deeply human about turning a flat sheet of paper into something that looks alive. Ella Goslant’s modern approach picks up that tradition and runs with it, blending classic techniques with a fresh, contemporary look — which is a big part of why her tutorials have become a go-to resource for crafters at every level.
Materials and Tools You Will Need
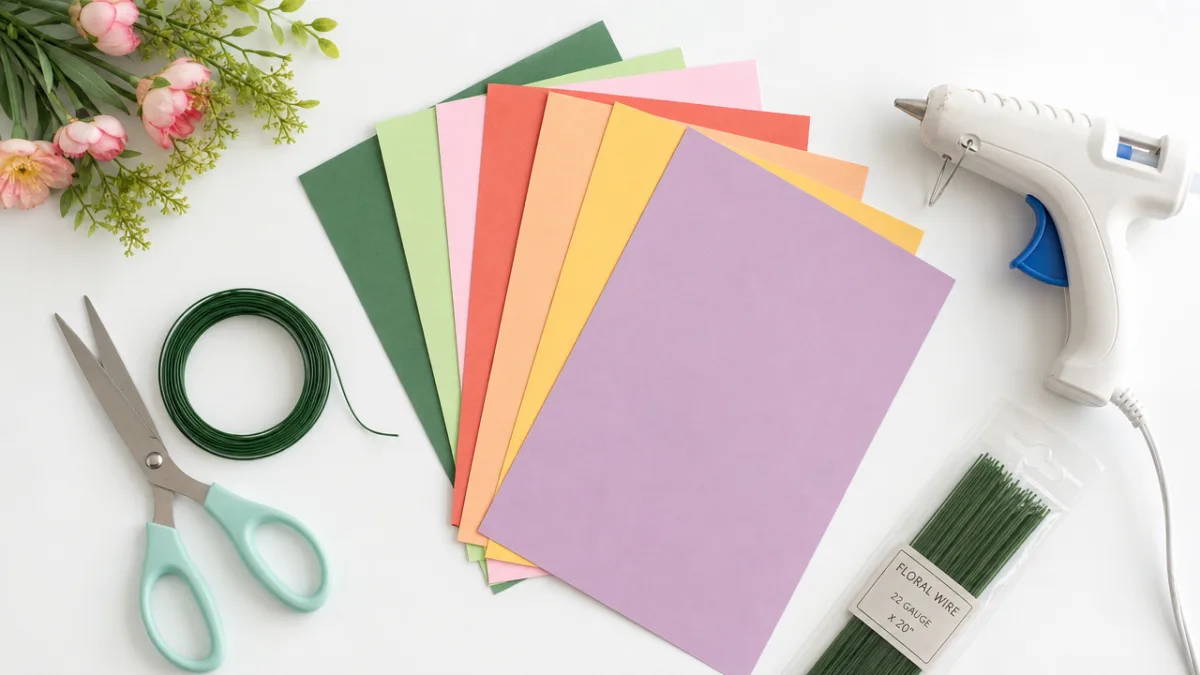
Before you dive in, it’s worth taking a few minutes to gather your supplies, because the right materials really do make a difference. Your paper choice matters more than you might think. Cardstock is a great starting point — it holds its shape well, cuts cleanly, and is easy to work with. Crepe paper is another popular option, especially if you want that soft, slightly textured look that comes pretty close to the feel of real petals when you stretch and shape it.
Beyond paper, you’ll want a pair of small, sharp scissors for cutting clean petal shapes. A craft knife and self-healing cutting mat are worth picking up too, especially once you start working with more detailed templates. A bone folder or stylus is really handy for scoring clean fold lines, and a round wooden dowel or even just a pencil works perfectly for curling petals. And don’t skip the hot glue gun — it’s pretty much non-negotiable for holding everything together securely.
One of the most fun parts of this craft is picking your colors. Try gathering paper in a range of shades within the same color family so your flowers have some depth and dimension to them. Mixing pale blush, soft rose, and deep burgundy cardstock in a single peony-inspired bloom, for example, gives it a surprisingly realistic quality. You might also want to grab some floral wire or wooden skewers for stems, green cardstock or floral tape for leaves, and some small beads or buttons to use as flower centers — those little finishing touches really pull the whole thing together.
- Cardstock or crepe paper in your chosen colors
- Small sharp scissors and a craft knife
- Bone folder or stylus for scoring
- Round dowel or pencil for curling petals
- Hot glue gun and glue sticks
- Floral wire or wooden skewers for stems
- Green floral tape for wrapping stems
- Petal templates printed or traced onto paper
- Small beads, buttons, or stamens for flower centers
Understanding Basic Petal Shapes and Templates
Every paper flower starts with a well-cut petal, so getting comfortable with different petal shapes is one of the most important foundations you can build. The main ones to know are the rounded petal used in roses and peonies, the longer oval petal you see in dahlias and chrysanthemums, and the pointed petal that gives sunflowers and zinnias their characteristic look. Ella Goslant puts a lot of emphasis on practicing these shapes until cutting them feels natural — and once it does, your flowers start to take on that easy, organic quality that makes them look so convincing.
Templates are genuinely your best friend when you’re starting out. You can find free printable petal templates on loads of crafting websites, or sketch your own with a pencil and ruler. One time-saving trick experienced crafters swear by: stack several sheets of cardstock together and cut through them all at once using your template as a guide. The number of petals you’ll need varies by flower type, but most mini flowers need somewhere between eight and twenty petals to look full and lush.
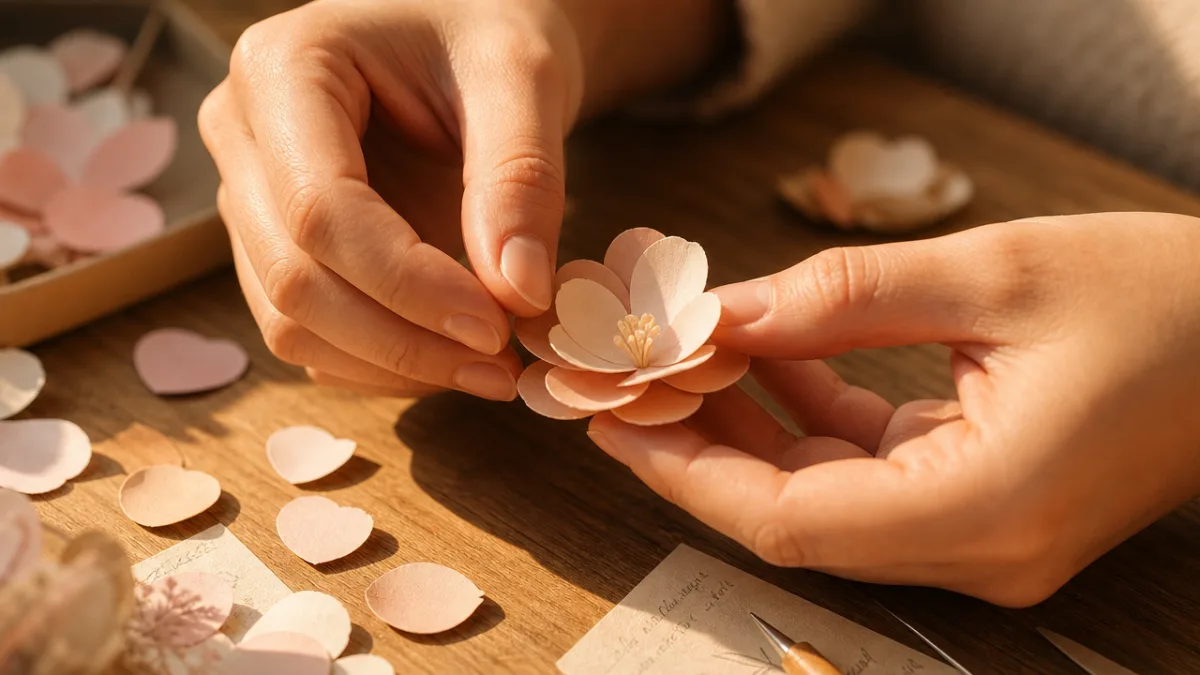
Once your petals are cut, shaping them is what really brings them to life. Place each petal face down on a soft foam pad or even a mouse pad, then use the rounded end of a stylus to press and drag from the petal tip toward the base. That motion gently curves the paper into a natural cup shape, similar to how real petals grow. For petals that curl outward at the tips, just wrap the top around a thin dowel, hold it for a second, and release. These shaping steps are honestly what separate a flat paper cutout from something that actually looks like a flower.
Step-by-Step Assembly of Mini Paper Flowers
This is the part where everything comes together, and it’s surprisingly satisfying once you get into the rhythm of it. Start by making your flower center, which is what all your petals will be built around. If you’re using floral wire, bend a small loop at one end or attach a little bead with a dab of hot glue. If you’re making stemless flowers, roll a small piece of paper into a tight cone or ball — that becomes your inner core. It’s worth pausing here to think about size, because the center really does set the proportions for the whole flower.
Start gluing your smallest petals around the center first, keeping them close together and angling them slightly inward so they form a tight, bud-like heart. Then work outward in layers, gradually using larger petals and opening up the angle a little more with each layer. This is the technique that gives paper flowers that full, lush look that makes people do a double take. Apply a small dot of hot glue to the base of each petal, press it firmly in place, and hold it for a few seconds while it sets.
The outer petals are where you get to add the most personality to your flower. Curl them backward dramatically for a fully open, midsummer bloom look, or leave them a little more upright for something that feels like it’s just starting to open. A nice trick before assembly: dust a little chalk pastel or eyeshadow at the base of each petal to suggest shadow and depth — it makes the finished flower look almost painted. Once all the petals are on, finish the underside with a small green cardstock circle to cover any glue and give the whole thing a clean, polished look.
- Prepare your flower center using wire, beads, or rolled paper.
- Cut and shape all petals, organizing them by size from smallest to largest.
- Glue the smallest innermost petals tightly around the center core.
- Layer progressively larger petals outward, angling each layer more open.
- Shape outer petals by curling tips backward with a dowel or pencil.
- Add chalk pastel shading at petal bases for depth and realism.
- Finish the base with a green cardstock circle to neaten the underside.
- Attach stem wire if desired and wrap with green floral tape.
Popular Mini Paper Flower Varieties to Try
One of the best things about paper flower crafting is how many different blooms you can recreate. The paper ranunculus is a perennial crowd favorite — those densely packed petals and that perfectly round shape are incredibly satisfying to make. You’ll need about fifteen to twenty small rounded petals, which you cup and layer tightly around a small bead center to get that signature spiral arrangement. It looks great on its own or grouped into a little bouquet, and it’s one of those flowers that always seems to impress people who see the finished result.
The mini paper rose might be the most iconic of all, and once you learn the spiral method, you can make them pretty quickly. Cut a long spiral strip from a circle of cardstock, roll it from the outer edge inward, and let the layers fan out naturally as you go. Secure the base with a dot of hot glue and you’ve got a perfect little rose in just a few minutes. This technique is a game-changer if you need to make a lot of flowers — think wreaths, bridal hair accessories, or filling out a decorative shadow box.
If you want something with more of a wildflower, free-spirited feel, the mini paper anemone and tiny paper cosmos are both wonderful options. Anemones have bold, simple petals around a dark center that make them easy to cut and visually striking at the same time. The cosmos, with its star-like pointed petals, looks especially lovely in soft lilac or dusty pink. Trying out different varieties is also one of the best ways to figure out your own style — over time you’ll naturally gravitate toward certain shapes and color palettes that become your signature.
Creative Ways to Display and Use Mini Paper Flowers
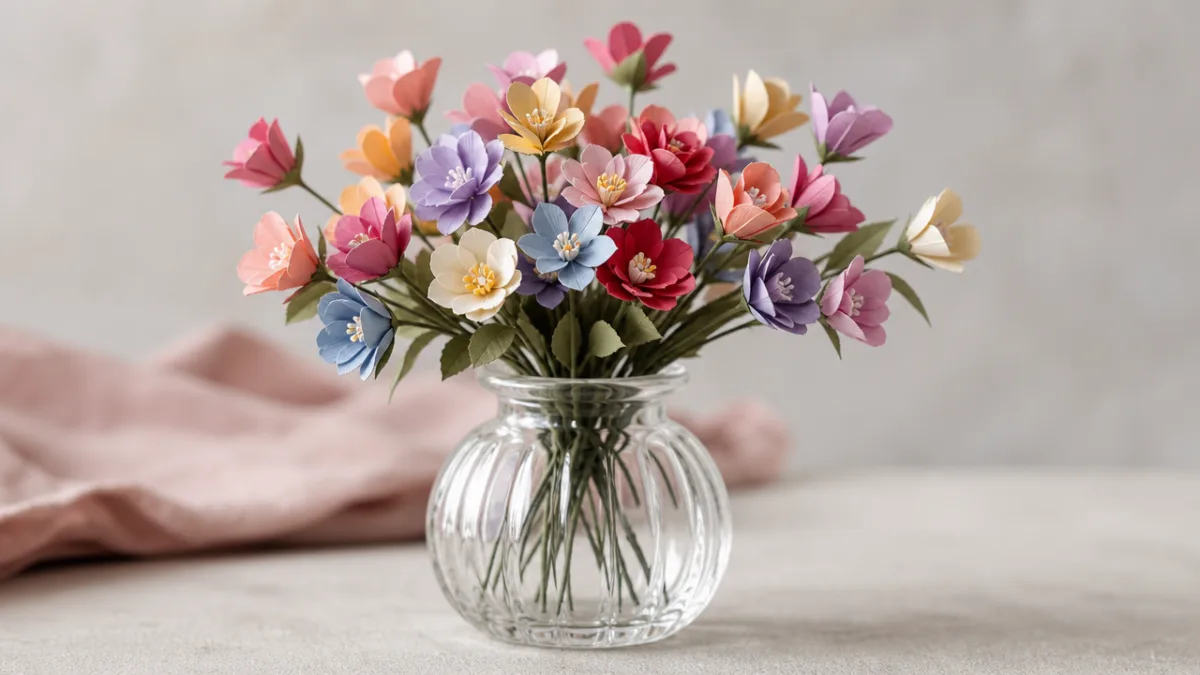
Once you have a little collection built up, you’ll find there’s no shortage of ways to use them. One of the simplest and most satisfying is just arranging them in a small vase or mason jar as a permanent paper bouquet — it makes a lovely centerpiece for a desk or shelf, and since paper flowers never fade or drop petals, it’s a genuinely maintenance-free piece of decor. They also make really thoughtful gifts, especially for people who love having flowers around but find the ongoing cost or upkeep of fresh ones a bit much.
Paper flowers are also wonderful on handmade cards and in scrapbooks or journals. A single well-made mini rose or ranunculus on the front of a birthday card turns it into something the recipient might actually keep and display rather than recycle. For scrapbookers, clusters of tiny blooms can frame a photo beautifully, adding a warmth and dimension that printed embellishments just can’t replicate. They’re also light enough that they don’t add much bulk to book-style projects, which is always a practical bonus.
Wedding and event décor is another area where mini paper flowers really shine. Floral wreaths, table number holders adorned with tiny blooms, and cake decorations can all be made weeks ahead of time with no worry about anything wilting. Plenty of brides have made their own paper flower bouquets specifically because they can be kept forever as a memento. And for larger installations, massing mini paper flowers together in big quantities creates these stunning floral walls, garlands, or hanging displays that photograph beautifully and genuinely stop people in their tracks.
Tips for Improving Your Paper Flower Skills Over Time
Like most crafts, paper flower making gets noticeably better the more you do it — and the more willing you are to experiment and not take your early attempts too seriously. One habit that’s worth building early on is keeping a crafting notebook where you jot down what paper types, colors, and techniques you used for each flower, along with quick notes on what worked and what you’d do differently. It sounds simple, but it genuinely speeds up how fast you improve, and over time it becomes a really useful personal reference for your own style and methods.
Following makers like Ella Goslant on Pinterest or Instagram — or joining an online crafting community — can be a big source of both inspiration and practical knowledge. Watching video tutorials is especially helpful for picking up the subtle hand movements and pressure techniques that are tricky to describe in writing. A lot of crafters find it more useful to pause the video and practice a specific step before moving on, rather than trying to keep up in real time. That approach works particularly well when you’re tackling something more technically demanding, like shaping very delicate petals from thin paper.
It’s also worth gradually upgrading your materials as you get more into it. Inexpensive cardstock from a discount store is totally fine for practice, but moving up to better-quality paper — wider color range, nicer texture, more consistent thickness — does make a noticeable difference in your finished flowers. The same goes for scissors: a good pair of small, sharp scissors that you keep just for paper cutting will stay sharp and precise for much longer than a general-purpose pair pulled out of a junk drawer. These aren’t huge investments, but they pay off in results that feel more polished and keep you genuinely excited to keep making things.








What do you think?
It is nice to know your opinion. Leave a comment.