










I Grabbed a Giant Foam Board at Home Depot — and Now I’m Obsessed
Discovering the Secret Weapon at Home Depot
If you’ve ever wandered the aisles of Home Depot hunting for an affordable way to tackle a big creative project, there’s a good chance you’ve walked right past one of the most underrated materials in the whole store: the giant foam board. These oversized sheets of rigid foam insulation sit quietly near the building materials and insulation section, and honestly, most people never give them a second look. But once you figure out what you can actually do with them, it kind of changes everything. They’re cheap, they’re lightweight, and they’re surprisingly easy to work with — which is a combination that doesn’t come around very often.
What we’re talking about are extruded polystyrene panels — XPS foam, the same stuff used to insulate homes — but crafters, prop makers, set designers, and home decorators have been quietly repurposing them for years. You can find them in thicknesses from half an inch up to two inches, and in sheets as large as four by eight feet or bigger. That’s a massive canvas for a fraction of what you’d spend on wood, MDF, or really anything else rigid and that size. The price alone is enough to make any budget-minded DIYer stop and take a closer look.
What really separates these from the thin foam sheets at the craft store is the scale and the structural integrity. A two-inch XPS panel holds its shape under real stress, carves easily with basic tools, takes paint with the right primer, and can stand in for actual architectural elements. Building a photo backdrop? A faux wall panel? A theatrical prop? Some oversized wall art? This is your material. And fair warning: once you start seeing what it can do, you’ll probably grab one on every Home Depot run.
What You Can Actually Build with Giant Foam Boards
The range of things you can make with giant foam boards is genuinely impressive. Home decorators have used them to build custom headboards that look like upholstered or carved wood — the kind that would cost hundreds of dollars otherwise. Photographers and content creators love them as portable, customizable backdrops that can be painted, textured, wrapped in fabric or wallpaper, and rearranged whenever the vibe calls for something different. They’re light enough to lean against a wall, carry to a shoot, or stash in a closet without any trouble.
But it goes well beyond aesthetics. Gardeners use foam boards to insulate raised beds and build cold frames. Parents construct elaborate dollhouses and play structures out of them. Teachers make oversized visual aids. Event planners build custom photo booth walls and decorative installations that would otherwise require a professional fabricator and a real budget. And since the foam cuts cleanly with a utility knife, a hot wire cutter, or even a serrated bread knife, you don’t need a fancy tool setup to get started — just a sharp blade and some patience.
Some of the most jaw-dropping projects involve faux architectural finishes. With some carving, scoring, and paint, people have replicated exposed brick, stone veneer, wood planking, tile, and even ornate plaster moldings. Sealed properly and painted well, these foam creations are nearly indistinguishable from the real thing in photos — and honestly hold up pretty well in person too, at a normal viewing distance. That makes them a brilliant option for renters who want a transformed space without touching the walls, or for homeowners who want to test-drive a look before committing to an actual renovation.
Tools and Supplies You’ll Need to Get Started
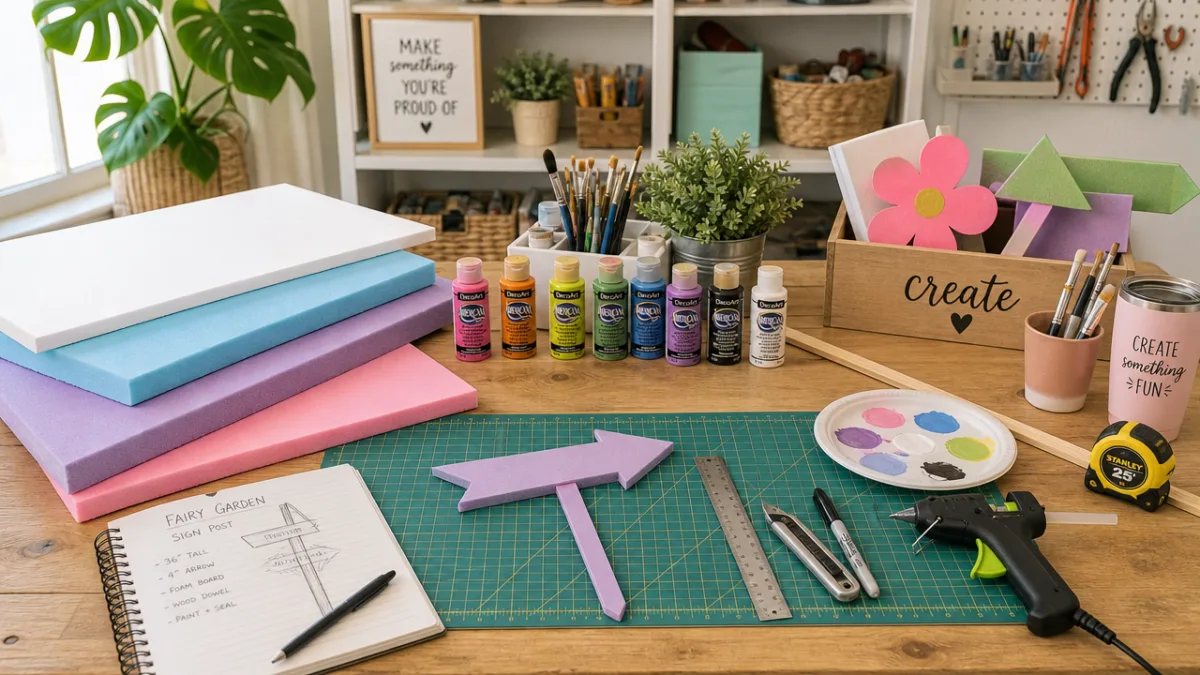
One of the best things about working with foam boards is that you don’t need a garage full of gear to do it well. At the most basic level, a sharp utility knife and a long metal straightedge will get you through most straight cuts just fine. For more detailed work — carving textures, shaping curves, creating beveled edges — a hot wire foam cutter is a worthwhile upgrade. You can usually find one at a craft store or online for under thirty dollars, and the difference in precision is immediately noticeable.
Adhesives are where you need to pay attention. A lot of common glues contain solvents that will melt XPS foam on contact, which is a frustrating discovery to make mid-project. Stick to foam-compatible construction adhesive, carefully applied hot glue (too much heat can also deform the foam), or double-sided foam tape for lighter jobs. PL300 foam board adhesive is a go-to for experienced foam crafters — it bonds well, dries reasonably fast, and plays nicely with paint and finishes.
Painting takes a little strategy too. Many spray paints will dissolve foam, so you’ll need to seal the surface first or use foam-safe formulations. A thin coat of white acrylic paint or a sealant like Mod Podge creates enough of a barrier that you can use pretty much anything on top. Here’s a quick list of what to have on hand before your first project:
- Sharp utility knife or hot wire foam cutter
- Long metal ruler or straightedge for precise cuts
- Foam-safe adhesive (PL300 or foam construction adhesive)
- Acrylic paints in your chosen colors
- Foam-safe primer or sealant (Mod Podge, white acrylic, or Plasti-Dip)
- Sandpaper (100 and 220 grit) for smoothing edges
- Joint compound or spackle for texture effects
- Paint rollers and brushes in various sizes
Joint compound or lightweight spackle is one of those supplies people often overlook until they see what it can do. Spread it over a foam surface and it creates a stone or plaster texture that looks genuinely convincing. Once dry, it sands smooth, takes paint beautifully, and adds a solidity to the finished piece that makes it feel more like a real material and less like a craft project. A lot of experienced foam artists consider this the step that takes a project from “clearly DIY” to “wait, is that real?”
Step-by-Step: Creating a Stunning Faux Brick Accent Wall Panel
A faux brick panel is one of the most popular foam board projects out there, and for good reason — it looks incredible, weighs almost nothing, and can be hung with basic picture hardware. Start by laying your foam board flat on a protected surface. With a pencil and ruler, lightly sketch out a brick pattern across the whole board, staggering the joints in each row the way real brickwork does. Standard brick proportions run about eight inches wide by two and a quarter inches tall, with roughly three-eighths of an inch between them for mortar lines — though you can scale everything up for a bolder, more dramatic look on a larger panel.
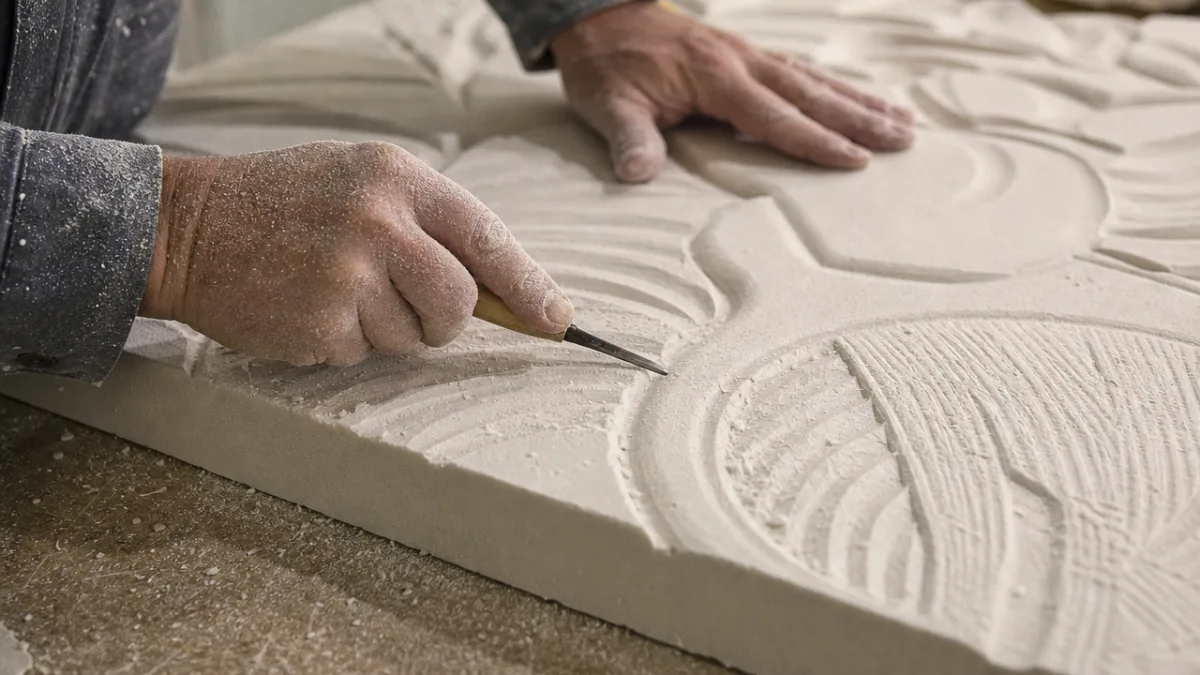
Once your layout is drawn, go over every mortar line with a ballpoint pen or a firm pencil, pressing into the foam to create shallow grooves that define each individual brick. Then grab a wire brush, a stiff-bristled paintbrush, or some crumpled aluminum foil and press and drag it across the face of each brick to create that pitted, uneven texture of real fired clay. This is honestly where the fun begins. The foam responds really well to this kind of surface work, and you’ll start to see your flat board actually start looking like masonry. Take your time and vary the texture brick by brick so it reads as organic, not stamped.
After texturing, spread a coat of joint compound across the whole surface with a wide putty knife, pushing it down into the grooves and dragging it loosely across the brick faces. You’re not going for smooth here — the more variation the better. Let it dry completely, ideally overnight, then sand lightly to knock down any sharp ridges. Now for paint: a base coat of dark gray or brown gives you depth, then dry-brush individual layers of terracotta, rust, tan, and cream onto the brick faces while keeping the grooves dark. Seal everything with a matte topcoat and you’ll have something that genuinely stops people in their tracks.
Hanging the finished panel is easy — even a full four-by-eight sheet typically weighs just a few pounds when complete. Heavy-duty picture hangers work great, or go with a French cleat system if you want something more secure and easy to remove later. For renters especially, this is ideal: the panel comes down without leaving a mark. And if one panel looks good, a grid of them arranged gallery-style looks even better — try the space behind a bed or TV for maximum impact.
Tips, Tricks, and Common Mistakes to Avoid
Anyone who has worked with foam boards across a few projects will tell you there are lessons you really don’t want to learn the hard way. The most common one? Grabbing a can of spray paint before sealing the foam. It happens fast and it’s irreversible — the solvents in most spray paints eat right through XPS foam, even products that seem mild, like metallic finishes or clear lacquers. Seal first, always. A quick brush-on coat of plain white acrylic is all it takes, and it takes about five minutes.
Cutting technique trips people up too. The cleanest cuts come from making multiple light passes along a line rather than muscling through in one heavy stroke. Pressing too hard causes the blade to drag instead of slice, and you end up with ragged, crumbly edges that are harder to finish. Keep fresh blades on hand and swap them out more often than you think you need to — it makes a real difference. For long straight cuts, clamp down a straightedge and let it guide you.
Storage and transport are worth thinking about too. Foam boards are durable in many ways, but they’ll crack or snap if bent sharply, and the surfaces scratch and dent pretty easily. Store them flat when you can, and when you’re moving them in a car, lay them horizontal rather than standing them on edge where road vibration can cause flexing. If you need to prop up a large panel while you work on it, support it along the full length — not just at two points — to keep it from bowing.
Here are some extra tips that seasoned foam board crafters tend to swear by:
- Use a serrated knife warmed slightly with a heat gun for smoother curved cuts through thick foam sections.
- Score and snap thin pieces rather than cutting all the way through for the cleanest edges on straight cuts.
- Mix sand into your base coat of paint for an instant texture boost on any surface.
- Apply joint compound with a crumpled plastic bag rather than a brush for a uniquely organic, layered texture.
- Use a heat gun on a low setting to slightly melt and smooth rough or crumbly edges before painting.
- Reinforce corners and edges with strips of fiberglass mesh tape before applying joint compound to prevent chipping.

Budget Breakdown and Why This Approach Makes Financial Sense
Here’s where things really start to make sense. A standard four-by-eight-foot sheet of two-inch XPS foam at Home Depot typically runs somewhere between twelve and twenty-five dollars depending on where you live and what the market’s doing. Compare that to three-quarter-inch plywood at forty to sixty dollars, MDF at thirty to fifty, or any decorative paneling that can easily hit a hundred dollars or more for the same square footage. For large-scale decorative work, the savings are immediate and hard to argue with.
Even with finishing materials — paint, joint compound, sealers, adhesive — a fully finished and elaborately textured foam panel usually comes in well under fifty dollars for a full four-by-eight sheet. A comparable faux brick look done with real thin brick veneer could easily run several hundred dollars in materials alone, before you factor in installation. Getting nearly the same visual result for under forty bucks isn’t a compromise. It’s just a smart way to make a beautiful, customized space accessible at any budget.
There’s also real value in the flexibility. Unlike paint on a wall or wallpaper that has to be stripped when you’re over it, a foam panel can be repainted, retextured, taken down, or swapped out entirely whenever your taste shifts. If you love refreshing your space or you’re still figuring out your style, that kind of adaptability has genuine value. You’re not locked in — you’re building a modular system of decor that can evolve with you, with a price point that makes trying things genuinely low-stakes.
And the community that’s formed around foam board crafting has added a whole other layer of value. Pinterest, YouTube, and Instagram are full of free tutorials, technique deep-dives, and before-and-after transformations from people who have genuinely mastered this stuff and love sharing it. You can learn from thousands of real projects without spending a cent on courses or consultations, and the collective knowledge out there will help you sidestep expensive mistakes and zero in on what actually works. The giant foam board from Home Depot isn’t just a building material — it’s a doorway into one of the most creative, generous DIY communities you’ll find anywhere.








What do you think?
It is nice to know your opinion. Leave a comment.