










How to Do Beadboard Backsplash: A Complete DIY Guide
What Is a Beadboard Backsplash and Why You Should Consider It
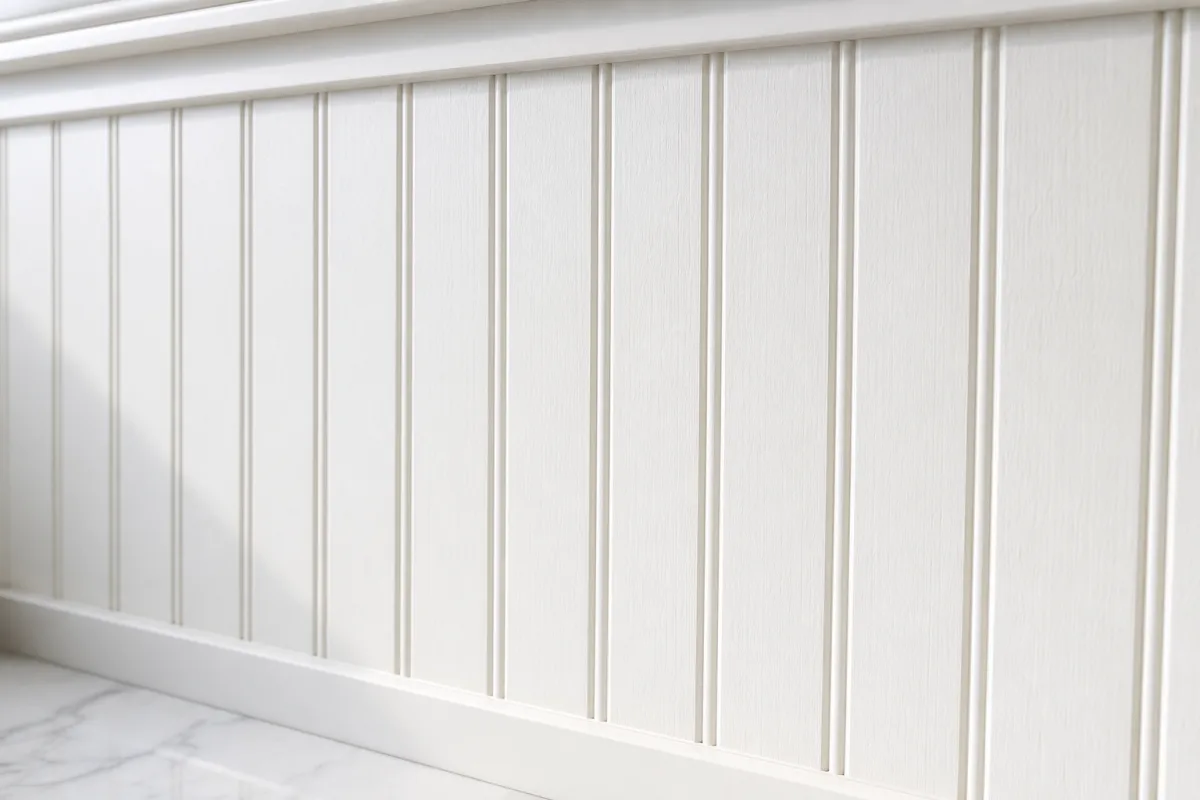
If you’re looking for a way to completely change the feel of your kitchen or bathroom without tearing everything apart, a beadboard backsplash might be exactly what you need. Beadboard is that classic paneling with the vertical grooves and raised ridges — you’ve probably seen it in farmhouse kitchens, coastal cottages, and charming older homes. It’s been a staple of home design for over a century, and honestly, it’s easy to see why. It looks great, it’s surprisingly affordable, and you don’t need to be a seasoned contractor to pull it off.
What makes beadboard such a great DIY project is that it’s genuinely approachable. The panels are lightweight, easy to cut, and you can find them at basically any home improvement store in both solid wood and moisture-resistant MDF versions. Compare that to ceramic or subway tile, which requires mixing grout, spacing tiles perfectly, and a whole different skill set — beadboard is a much gentler introduction to backsplash work. Designers love it too, because it plays well with rustic, traditional, and even more modern transitional styles.
There’s also something about the texture that just works. A plain painted wall behind your stove or sink can feel flat and forgettable, but beadboard adds those subtle shadow lines that give the wall a little depth and dimension without making things feel busy or overdone. Paint it in a crisp white or a soft neutral and suddenly your kitchen feels brighter and more put-together. If you’re working on a rental, a flip, or just trying to squeeze the most impact out of a tight budget, beadboard backsplash is genuinely one of the best moves you can make.
Types of Beadboard Materials Available
When you head to the store, you’ll find a few different material options, and which one you choose really depends on where you’re installing it. Solid wood beadboard is the most traditional and has that authentic grain texture that looks beautiful — but it needs to be properly sealed in any area that sees moisture, and it tends to be the priciest option. For a kitchen backsplash where water splashes and humidity are just part of daily life, most experienced DIYers lean toward moisture-resistant MDF or PVC beadboard, since both hold up much better over time without warping or swelling.
PVC beadboard, sold under brand names like Versatex or Kleer, is really the gold standard for kitchens near sinks, dishwashers, or stoves. It’s completely impervious to moisture, takes paint well, and holds its shape even in humid conditions. It’s a bit pricier than MDF, but when you factor in how much longer it lasts and how little upkeep it needs, the extra cost makes a lot of sense for a spot that’s going to take a daily beating from water and cooking grease.
Tools and Materials You Will Need Before Starting
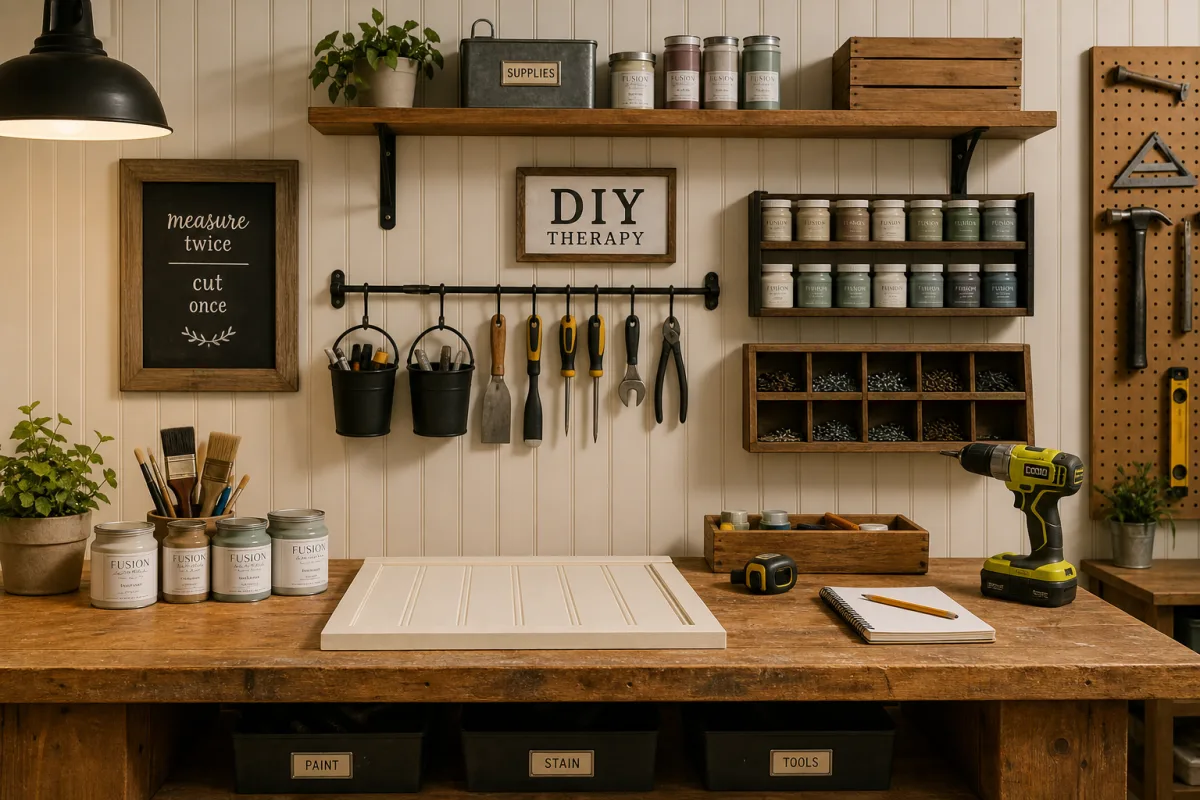
Getting everything together before you start is probably the single best thing you can do for this project. There’s nothing more frustrating than being halfway through an installation with adhesive on your hands and realizing you need to make a hardware store run. Take the time to stage everything in your workspace first — it helps you keep momentum going and lets you catch potential problems before something is already glued to the wall.
For tools, you’ll want a tape measure and pencil for marking things out, a level to keep your panels perfectly straight, a jigsaw or circular saw for cutting, a caulk gun for the construction adhesive, and a nail gun or finish nailer for securing the panels. You’ll also need fine-grit sandpaper for smoothing seams, painter’s tape for protecting adjacent surfaces, and a good brush or small roller for primer and paint. If there are electrical outlets in your backsplash area, grab a drill with the right bits for cutting clean outlet holes in the paneling.
On the materials side, you’ll need your beadboard panels measured and estimated for your space, construction adhesive (Liquid Nails is the go-to), finishing nails or brad nails, wood filler or spackling for the nail holes, paintable caulk for edges and seams, a quality primer suited to your panel material, and your finish paint. Speaking of paint — go with semi-gloss or satin for the backsplash. It’s much easier to wipe clean than flat or eggshell, and it stands up to the inevitable splashes of water, oil, and food that are just part of life in a kitchen.
- Tape measure, pencil, and level for accurate layout and alignment
- Jigsaw or circular saw for cutting panels to fit your space
- Nail gun or finish nailer with appropriate brad nails
- Construction adhesive such as Liquid Nails or similar product
- Paintable caulk for sealing all edges and panel seams
- Wood filler or spackling compound for covering nail holes
- Primer appropriate for your chosen panel material
- Semi-gloss or satin finish paint in your desired color
- Sandpaper in 120-grit and 220-grit for surface preparation and finishing
Step-by-Step Installation Process for Your Beadboard Backsplash
Start by measuring your backsplash area carefully and noting where everything is — outlets, switches, the bottom edge of your upper cabinets, and the countertop. Sketch it out if that helps. Most kitchen backsplashes run from the countertop up to the bottom of the upper cabinets, which is usually somewhere between fourteen and eighteen inches, but yours might vary. Having a clear picture of the space before you start cutting saves a lot of headaches later.
Once your measurements are done, turn off the power to any outlets in the backsplash zone and pull off the outlet covers. Before you touch a single panel, use your level to draw a straight horizontal reference line along the wall at your starting height. Don’t just follow the countertop — countertops aren’t always perfectly level, and if you use them as your guide, your panels will end up crooked. Apply construction adhesive to the back of your first panel in a zigzag pattern across the whole surface, press it firmly to the wall, and check it with your level before moving on.
Secure each panel with finish nails driven through the tongue or through the face of the board at stud locations wherever you can, sinking the heads just slightly below the surface so you can fill them later. Work your way across the wall one panel at a time — adhesive, nail, check alignment, repeat. Make sure the grooves on adjoining panels line up so the pattern flows seamlessly across the whole backsplash. When you hit outlets, switches, or corners, measure carefully and use your jigsaw to make those cutouts. Measure twice, cut once — wasted panels are expensive and avoidable.
Handling Corners and Tricky Areas
Corners are where a lot of DIYers get a little nervous, but they’re really not bad once you know the approach for each type. Inside corners are simple — just butt the panels together, apply a generous bead of caulk over the seam, smooth it out, and sand once it’s dry. Outside corners are a different story because they’re more exposed and visible, so raw panel edges showing there can look unfinished. Corner molding trim pieces are your friend here; they cover those edges cleanly and give the whole installation a much more polished, intentional look.
Windows in the backsplash zone need a little extra patience. You’ll need to cut panels carefully to fit around the window casings, and once they’re in place, running a thin bead of paintable caulk along every edge where the beadboard meets the trim is really important. That caulk seal keeps moisture from sneaking behind the panels over time, and it also makes the transition look clean and intentional rather than like you worked around an obstacle. A little extra care in these spots is what separates a finished-looking project from one that looks rushed.
Painting and Finishing Your Beadboard Backsplash
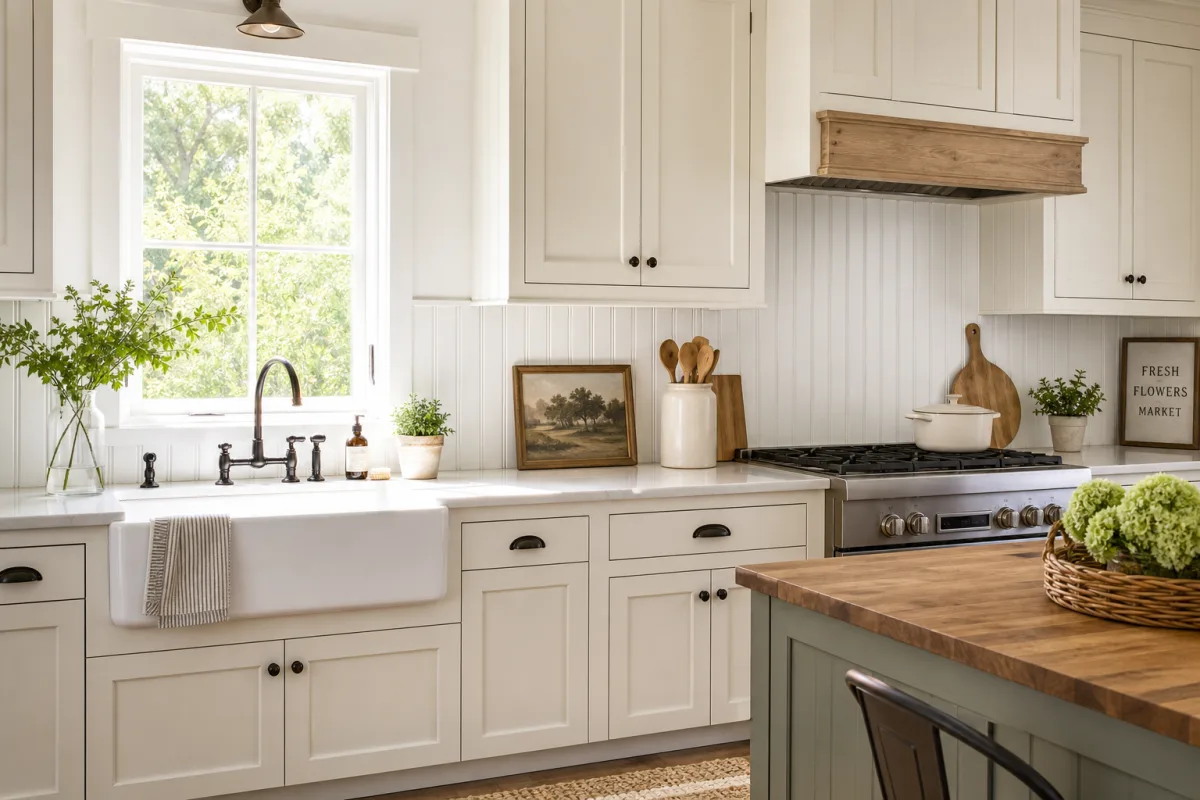
Once the panels are all up and the adhesive has had time to cure, you’re ready to finish things out — and this part really is where the project starts to look like something. Begin by filling every nail hole with wood filler or spackling, smoothing each one flush with a putty knife. Let it dry, then sand each spot lightly until it’s smooth and you can’t feel it with your fingertip. It’s a little tedious, yes — but skipping it is the difference between a finish that looks professional and one that clearly looks DIY, and not in a charming way.
Next, run a bead of paintable caulk along every edge where the beadboard meets the countertop, cabinets, walls, and trim. Smooth it with a dampened finger or a caulk tool, and let it cure fully before you start painting. This step does two things at once: it creates a waterproof barrier that protects the wall behind the panels, and it visually ties everything together so the backsplash looks like one cohesive installation instead of a panel awkwardly butted up against your cabinets.
Don’t skip the primer. I know it’s tempting to just go straight to the paint color, but priming is what gives you that smooth, even topcoat that actually looks good. Apply a coat of primer suited to your panel material — wood primer, MDF primer, or a multi-surface bonding primer for PVC — and once it’s dry, give the whole surface a light sand with 220-grit paper. That sanding step between primer and paint is what gives you a truly smooth finish. Without it, you’ll often end up with a slightly rough texture that shows up whenever light hits the wall at an angle, which in a kitchen is basically all the time.
Choosing the Right Paint Color and Sheen
Choosing a color is the fun part, but it’s also a decision worth thinking through carefully since it’ll have a real impact on the overall feel of your kitchen. Classic white is the most popular choice for a reason — it reflects light, brightens the space, and pairs with basically everything. But don’t feel locked into it. Soft gray, warm cream, pale blue, sage green, or even a deeper navy can all look stunning when they’re chosen to work with your cabinet color, countertops, and flooring. The key is being intentional about how the backsplash relates to everything else already in the room.
Whatever color you land on, make sure you’re using semi-gloss for the sheen. It’s the standard recommendation for backsplashes for good reason — that slight sheen repels water and grease, wipes clean effortlessly, and holds up to the scrubbing a kitchen backsplash is going to need over the years. Flat and matte finishes might be having a moment in living rooms and bedrooms, but in a kitchen backsplash they’re a bad idea. They absorb moisture and stains and are genuinely difficult to clean without wearing down the paint, which means you’ll be repainting far sooner than you should have to.
Maintenance, Care, and Long-Term Considerations
One of the things people are often pleasantly surprised by is how easy a beadboard backsplash is to keep clean. For everyday messes — cooking splatters, water spots, fingerprints — a damp cloth or sponge with a little mild dish soap is genuinely all you need. The semi-gloss paint releases dirt and grease without a fight, so wiping down the backsplash after cooking takes maybe thirty seconds rather than the scrubbing session people sometimes expect.
For tougher grease buildup near the stove, warm water with a splash of white vinegar on a soft cloth works really well without any risk to the paint surface. What you want to avoid is abrasive scrubbing pads or anything with bleach or ammonia — those can dull the sheen over time and potentially damage the panel material underneath, especially if you went with MDF rather than PVC. Treat your beadboard backsplash the way you’d treat any quality painted surface and it’ll stay looking fresh for years without needing a full repaint.
Over time you might notice the occasional chip or scuff, especially near the stove where pots and pans sometimes make contact with the wall. The easy fix for this is to keep a small labeled jar of your original paint color stored somewhere accessible. When you see a chip, clean the spot, dab on a bit of paint with a fine artist’s brush, let it dry, and add a second coat if needed. That’s really it. It takes five minutes and looks perfect because the color match is exact. It’s a much better approach than letting small scuffs accumulate until a full repaint feels necessary.
When to Consider Replacing or Updating Your Beadboard Backsplash
A well-installed beadboard backsplash made from quality materials — and kept clean and touched up as needed — can easily last ten to twenty years or longer. That said, things happen. A persistent leak can cause water damage, a heavy impact can gouge the panel material, or you might just be ready for a new look when you tackle a bigger kitchen renovation down the road. The reassuring thing is that removal is pretty straightforward since the panels go in with adhesive and nails, so swapping to a new backsplash treatment when the time comes isn’t a huge ordeal.
If you’re renting your home or getting ready to sell, a freshly painted beadboard backsplash can actually be a meaningful selling point. A lot of buyers respond warmly to the character and charm it brings, especially since farmhouse and transitional kitchen styles are still very popular in the current market. Even if a future buyer eventually replaces it with tile, a clean, finished beadboard backsplash makes a great first impression during showings and can genuinely contribute to how buyers perceive the value of the space.
At the end of the day, a beadboard backsplash is one of those rare DIY projects where the results really do feel disproportionate to the effort. For a few hundred dollars in materials and a weekend of focused work, you can completely transform your kitchen — adding texture, warmth, and a sense of craftsmanship that would cost significantly more to achieve through professional tile installation. Whether it’s your first DIY project or your fiftieth, it’s the kind of thing you’ll feel genuinely proud of every time you walk into the kitchen.








What do you think?
It is nice to know your opinion. Leave a comment.