










25 Budget-Friendly DIY Pallet Ideas to Try This Weekend
Why Pallets Are the Ultimate DIY Material
You know those stacks of wooden pallets sitting outside hardware stores, warehouses, and shipping docks? Most people walk right past them without a second thought. But if you’re into DIY projects, those pallets are basically free building materials just waiting to be claimed. They’re typically made from tough hardwoods or softwoods built to carry heavy loads, so they’re already more durable than a lot of lumber you’d buy at a home improvement store. Add the fact that many businesses will hand them over for free — or sell them for just a couple of dollars — and you’ve got one of the most accessible starting points for a home project imaginable.
There’s also a genuinely satisfying environmental angle here. Every pallet you rescue and repurpose is one that doesn’t end up in a landfill or get burned. Hundreds of millions of pallets move through the global supply chain at any given time, and a huge chunk of them eventually go to waste. Turning them into furniture, garden features, or decorative pieces means you’re giving something industrial a second, more beautiful life — and that feels good in a way that goes beyond just liking how your new coffee table looks.
What really makes pallets special for beginners, though, is how forgiving they are to work with. The pre-cut, pre-nailed structure takes a lot of the intimidating precision work off the table. You don’t need a fully kitted-out workshop — a pry bar, a hammer, some sandpaper, and a basic drill will get you through most projects just fine. And that rough, rustic texture? It actually works in your favor. Small imperfections in your cuts or joins tend to add character rather than ruin the look, giving you something with a handmade warmth that no flat-pack furniture can come close to matching.
Essential Tools and Safety Tips Before You Begin
Before you dive in, taking a little time to prepare properly will save you a lot of headaches — and possibly protect your health too. The single most important thing is figuring out what kind of pallet you’re actually dealing with. Look for stamps or markings on the wood. Pallets marked “HT” have been heat-treated and are perfectly safe for indoor use and garden beds. Pallets marked “MB,” on the other hand, have been treated with methyl bromide, a pesticide, and you really want to avoid those — especially for anything where you’ll be spending time near the wood or growing food. If you can’t find any markings, just skip that pallet and find another one.
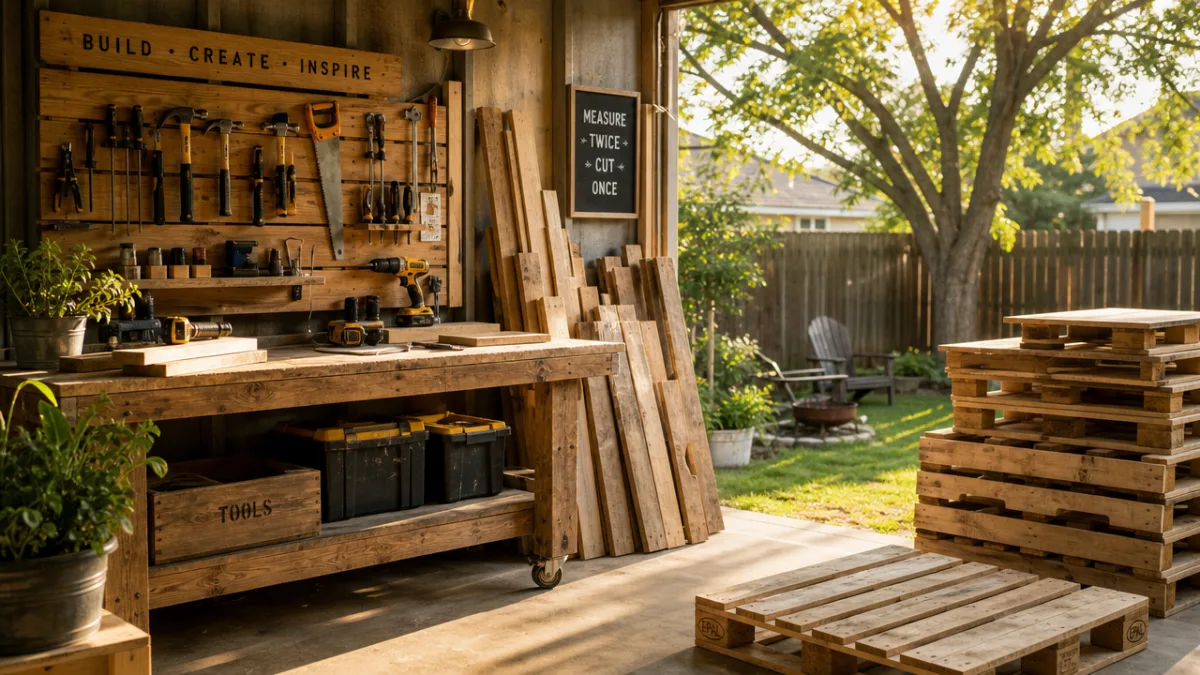
Your basic toolkit should cover a pry bar or reciprocating saw for breaking pallets apart without splitting the boards, along with a belt sander or orbital sander for smoothing things down, and a drill with a good range of bits for putting everything back together. Safety gear isn’t optional here: wear work gloves because pallet splinters are no joke — they go deep and they hurt. Safety glasses will protect your eyes from sawdust and flying debris, and a dust mask or respirator is a must when sanding older wood that could be carrying accumulated grime, mold, or chemical residue from years of use.
Cleaning and prepping your pallets is one of those steps that beginners often skip and then later wish they hadn’t. Start with a thorough inspection and pull out any protruding nails with a claw hammer or nail puller. Then scrub the whole thing down with a stiff brush and some mild soapy water, and let it dry completely — ideally outside in the sun for a day or two. Once it’s dry, work through the sanding progressively: start with 80-grit to knock down the rough patches, then finish with 120 or 150-grit for a smoother surface. It might feel tedious, but this step makes a huge difference in how good your finished project actually looks and how long it lasts.
Indoor Pallet Furniture Projects You Can Build This Weekend
The pallet platform bed is probably the most popular indoor project for a reason — it looks genuinely impressive and it’s not nearly as complicated as it sounds. Stack two layers of pallets to your preferred height, screw them together so they’re solid, and finish with a stain or paint you love. The natural gaps between slats actually help ventilate your mattress, which cuts down on moisture buildup over time. Sand everything thoroughly, stick some felt pads on the bottom to protect your floors, and you can honestly finish this in a single afternoon. The end result looks like something from a boutique hotel room.
A pallet coffee table is another project that delivers great results for the effort involved. Take one standard pallet, sand it smooth, and optionally screw a set of caster wheels to the bottom so it rolls around easily. From there, the finishing is up to you — a matte polyurethane keeps it natural and earthy, a dark stain gives it a moody industrial feel, or a bold paint color can really anchor a neutral living room. If you want to take it up a notch, have a piece of tempered glass cut to fit the top surface. That one addition transforms a simple pallet into something that looks genuinely polished and intentional.
Pallet shelving might be the most flexible indoor use of all because it works in literally any room. Mount a pallet horizontally on a wall and you’ve instantly got shelf space with a built-in rustic backdrop. In the kitchen, it holds spices and small potted herbs. In a home office, it’s a display shelf for books and the things you actually like looking at. In the bathroom, it holds towels and toiletries with unpretentious charm. Screw a few small hooks along the bottom rail and suddenly it’s also an entryway organizer for keys, bags, and coats. The more you stare at a pallet, the more uses you find for it.
Building a full pallet sofa or sectional sounds like a big weekend commitment, but it’s surprisingly doable with two or three pallets, some foam cushions, and fabric you like. The key is starting with pallets that are the same size, making sure they’re clean and splinter-free, and using heavy-duty screws to hold everything together solidly. Stack them to get the right seat and back height, then top them with custom-cut foam — most foam suppliers will cut to size for a reasonable price — and upholstery fabric from any fabric store. The total cost is a fraction of what a comparable sofa would run at a furniture store, and it’ll look like you knew exactly what you were doing.
Outdoor and Garden Pallet Projects for Every Skill Level
Pallets are almost tailor-made for outdoor and garden use. The rustic look fits naturally in a garden setting, and outdoor projects tend to be more forgiving of rough edges and small imperfections anyway. A vertical pallet garden is one of the most celebrated examples, and it’s especially brilliant for small spaces like apartment balconies or narrow side yards where ground space is tight. Stand a pallet upright against a wall or fence, staple landscape fabric to the back and sides to hold soil in, fill the cavities with potting mix, and plant herbs, strawberries, or trailing flowers right into the pockets between slats. A few weeks later you’ve got a lush living wall that’s both practical and genuinely beautiful.
Pallet planter boxes are another great project, particularly if you want to grow vegetables. The best part is that they require almost no cutting — in most cases, you just line the inside with heavy-duty landscape fabric or plastic sheeting to hold soil and moisture, then fill and plant. They’re light enough to move around as the seasons change, and the slatted construction provides natural drainage so roots aren’t sitting in waterlogged soil. Paint or stain the outside to coordinate with your outdoor space, add some hand-painted labels, and arrange a few together for a kitchen garden setup that looks like it took a lot more effort than it actually did.
Outdoor pallet furniture has become one of the defining looks of the modern backyard, and it’s not hard to see why. A simple outdoor sofa uses two pallets as the base and one standing upright as the backrest, angled back slightly and secured with screws. Add some weatherproof cushions and you’re done. For a full dining setup, a long pallet table paired with pallet benches can comfortably seat six to eight people and costs a fraction of what you’d spend on comparable garden furniture. Finish everything with exterior-grade paint or stain and a couple of coats of spar urethane, and it’ll hold up through rain and sun for years.
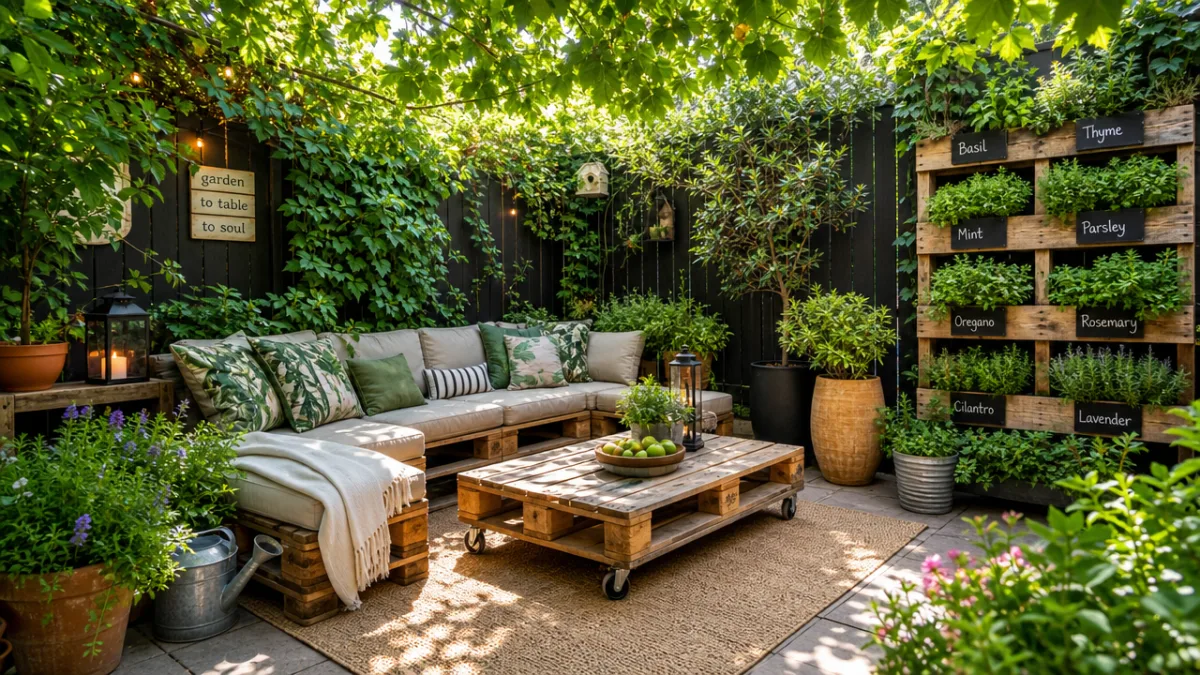
Don’t underestimate the smaller garden accent projects either — they add a lot of personality without requiring any heavy construction. Individual pallet slats can be cut and assembled into a decorative garden fence, a trellis for climbing plants, a compost bin, or a tool storage rack in a shed or garage. Painted or stenciled pallet wood signs are hugely popular for labeling garden zones, greeting guests at the front gate, or adding a fun quote to an outdoor entertaining area. These smaller builds are also the perfect way to use up offcuts from bigger projects, so almost nothing from your pallet haul actually goes to waste.
Creative Décor and Upcycling Ideas Using Pallet Wood
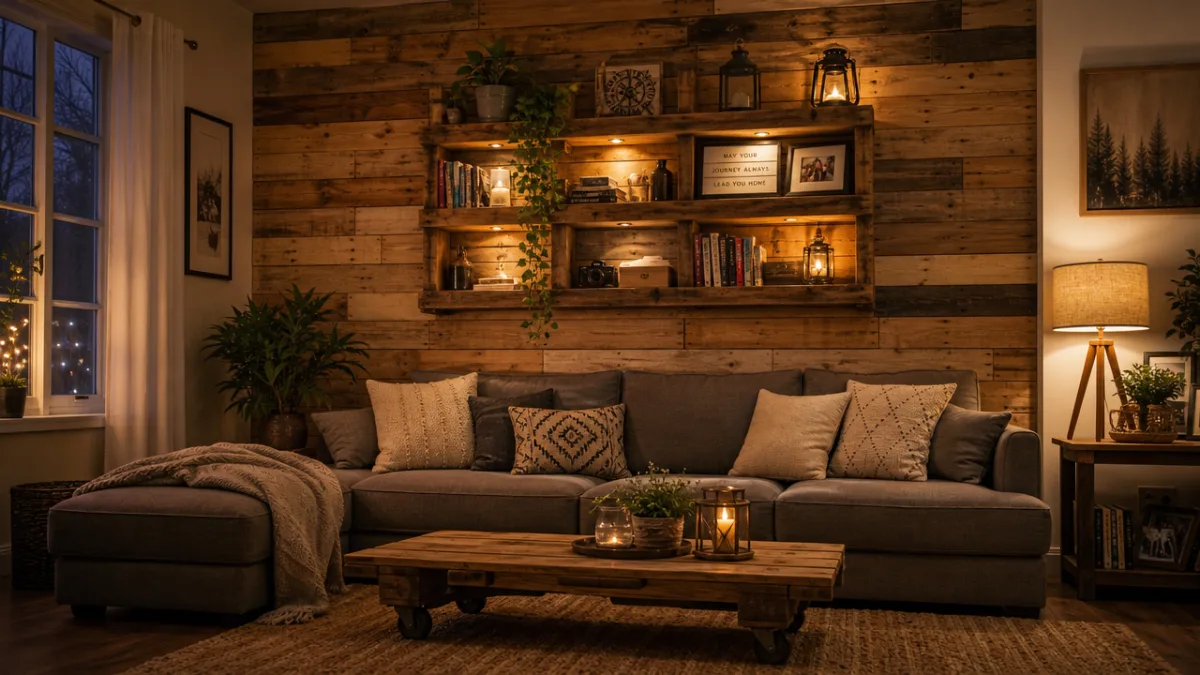
Once you move beyond furniture, pallet wood opens up a whole other world of decorative possibilities. A pallet wood feature wall is one of the most dramatic things you can do with it — an entire accent wall covered in reclaimed pallet slats arranged in horizontal, vertical, herringbone, or chevron patterns. The natural color variation in pallet wood, which runs from pale blond to warm amber to weathered grey, creates a visual texture that no wallpaper or paint can replicate. Seal the finished wall with a clear matte finish to protect the wood and lock in that organic, uneven character that makes it so appealing in the first place.
Pallet wood picture frames have a handmade quality that gives any artwork or photo a special, considered feel. Cut slats to your frame dimensions, join the corners with wood glue and small nails or screws, sand to your preferred smoothness, and finish however you like — painted, stained, or left completely natural. A gallery wall made entirely from mismatched pallet wood frames creates a really cohesive rustic look that works beautifully in living rooms, hallways, and home offices. The fact that each board is slightly different in width and texture actually makes the gallery wall better, giving every frame its own personality while the whole arrangement still feels pulled together.
Pallet wood is also fantastic for seasonal and holiday décor. Individual slats can be painted and assembled into Christmas trees, Easter signs, Halloween silhouettes, or harvest-themed wall hangings you can rotate throughout the year. A pallet wood advent calendar with 24 small numbered compartments or hooks becomes something your family will want to pull out every December. These projects are also genuinely great to do with kids — they’re heavy on painting, stamping, and decorating rather than sawing and drilling, which makes them accessible for all ages and produces something you’ll actually keep and reuse for years.
Finishing, Sealing, and Maintaining Your Pallet Projects
The finishing stage is honestly where a pallet project goes from looking like a weekend experiment to looking like something you’d see in a magazine, and it deserves just as much care as the building itself. The right finish depends on where the piece is going to live and how much wear it’ll take. For indoor furniture that gets daily use — tables, shelves, bed frames — a water-based polyurethane in matte, satin, or gloss protects the wood while letting the natural grain show through beautifully. Apply two to three coats, sanding lightly between each with 220-grit paper, and the difference in the final result is really striking.
For outdoor projects, the finishing equation changes because you’re up against rain, UV exposure, temperature swings, and biological growth like mold and mildew. Start with exterior-grade deck stain or paint as your base, then follow with at least two coats of spar urethane or a similar exterior topcoat. One area that’s easy to overlook but really important: the end grain, which is the cut ends of the boards. End grain soaks up moisture faster than any other part of the wood and is the first place you’ll see cracking and rot. Give those areas an extra coat or two of sealant and you’ll add years to the life of your outdoor pieces.
Keeping your projects in good shape over time is the final piece of the puzzle. Indoor pieces just need regular dusting and a coat of wood conditioner once a year to keep them from drying out and cracking. Outdoor pieces deserve a proper once-over at the start of each season — check for any soft spots or rot, make sure all the screws and fasteners are still tight and rust-free, and touch up the sealant anywhere the finish looks worn or weathered. Bring cushions and soft furnishings indoors during wet or freezing weather to prevent mildew. With that kind of modest upkeep, a well-built pallet project can easily look great for ten years or more.
One last thing worth saying: try to think of pallet wood’s aging process as a feature, not a flaw. Unlike manufactured furniture with its perfect uniformity, pallet wood keeps developing over time — deepening in color, picking up small cracks, gradually silvering in outdoor settings. None of that is a sign that something went wrong. It’s a sign that your piece is genuinely alive and becoming part of your home’s story. In a world full of mass-produced sameness, something you built yourself with your own hands carries something no store-bought piece ever can: the mark of your own creativity, effort, and vision — right there in something you can actually touch, use, and share every day.








What do you think?
It is nice to know your opinion. Leave a comment.