










16 Easy Kitchen Cabinet Makeovers: DIY Ideas to Transform Your Kitchen on a Budget
Why Kitchen Cabinet Makeovers Are Worth Your Time and Investment
Kitchen cabinets occupy more visual real estate than almost any other element in your kitchen. They set the tone for the entire space, influence how large or small the room feels, and communicate your personal style to every guest who walks through your door. When cabinets look dated, worn, or simply out of style, the whole kitchen suffers — but replacing them entirely can cost thousands of dollars that many homeowners simply don’t have available for a renovation project.
The good news is that a complete cabinet replacement is rarely necessary. In the vast majority of cases, the cabinet boxes themselves are structurally sound and perfectly functional. What makes them look tired is the surface finish, the hardware, and sometimes the door style. All of these elements can be changed, updated, or refreshed through DIY methods that cost a fraction of full replacement. A well-executed cabinet makeover can genuinely make a kitchen look brand new without touching the plumbing, the flooring, or the appliances.
DIY cabinet makeovers have surged in popularity over the past decade thanks to improved paint formulations, affordable hardware options, and the wealth of tutorials available online. Homeowners are discovering that with a weekend, the right materials, and a bit of patience, they can achieve results that look professionally done. Whether you’re preparing your home for sale, refreshing a rental, or simply tired of looking at the same outdated cabinets, these ideas will give you the inspiration and the roadmap you need to get started.
Understanding Your Starting Point
Before diving into any makeover project, it’s essential to assess the current condition of your cabinets honestly and thoroughly. Check that all doors hang properly, that hinges are secure, and that drawer slides are functioning correctly. Minor repairs completed before a makeover will ensure that your finished results look polished rather than patched. Cabinets with serious structural damage, warping from water exposure, or delaminating surfaces may require more than a cosmetic fix, so identifying these issues early saves both time and frustration down the line.
Consider also the material your cabinets are made from, since this will influence which makeover techniques will work best. Solid wood cabinets take paint and stain exceptionally well and can be sanded between coats for a smooth finish. MDF cabinets are also paintable but require a good primer to prevent the surface from absorbing too much paint. Laminate cabinets present more of a challenge but can still be refreshed using specialty adhesion primers and paints designed specifically for slick surfaces. Knowing your material prevents wasted effort and disappointing results.
Painting Cabinets: The Most Transformative DIY Makeover
Painting kitchen cabinets remains the single most popular and impactful DIY makeover technique available to homeowners, and for very good reason. A fresh coat of paint in a new color can completely transform the atmosphere of a kitchen, shifting it from dark and dated to bright and modern, or from sterile and clinical to warm and inviting. The cost of paint and supplies is modest compared to any other renovation option, and the results — when properly executed — can be genuinely stunning and long-lasting.
The key to a beautiful paint finish on cabinets lies almost entirely in the preparation work. Skipping or rushing the prep stages is the number one reason DIY paint jobs fail, peeling within months or showing brush marks and uneven coverage. Proper preparation begins with removing all doors, drawers, and hardware, then cleaning every surface thoroughly with a degreaser to remove the cooking residue that accumulates on kitchen surfaces over time. After cleaning, a light sanding with fine-grit sandpaper creates a surface that primer and paint can adhere to properly.
When choosing your paint color, consider the size and natural light in your kitchen carefully. White and off-white shades like Benjamin Moore’s Chantilly Lace or Sherwin-Williams’ Alabaster remain perennial favorites because they brighten small kitchens dramatically and pair with virtually any countertop or backsplash material. Navy blue, sage green, and charcoal gray have become enormously popular in recent years for homeowners seeking a bolder, more personality-driven look. Two-tone cabinets — where the upper cabinets are painted a lighter color and the lower cabinets a darker shade — offer a sophisticated and currently very fashionable approach that adds depth and visual interest to the space.
Choosing the Right Paint and Application Method
Not all paints are created equal when it comes to cabinetry, and choosing the right formula will make a significant difference in durability and finish quality. Cabinet-specific paints such as Benjamin Moore Advance, Sherwin-Williams Emerald Urethane, or Rust-Oleum Cabinet Transformations are formulated to cure to a hard, durable finish that resists chipping, scratching, and moisture — all of which are constant challenges in a kitchen environment. These products cost more than standard wall paint, but the investment pays off in longevity and a finish that holds up to daily use.
For application, a small foam roller creates a smooth finish on flat surfaces while a quality angled brush handles corners, edges, and detailed areas. Many experienced DIYers recommend applying two to three thin coats rather than one thick coat, allowing each layer to dry fully before applying the next. A light sanding with 220-grit sandpaper between coats removes any dust nibs or brush marks and contributes to a final finish that looks almost sprayed-on. For those who want a truly professional result, renting a paint sprayer from a hardware store is absolutely worth considering.
Hardware Upgrades: Small Changes with Enormous Visual Impact
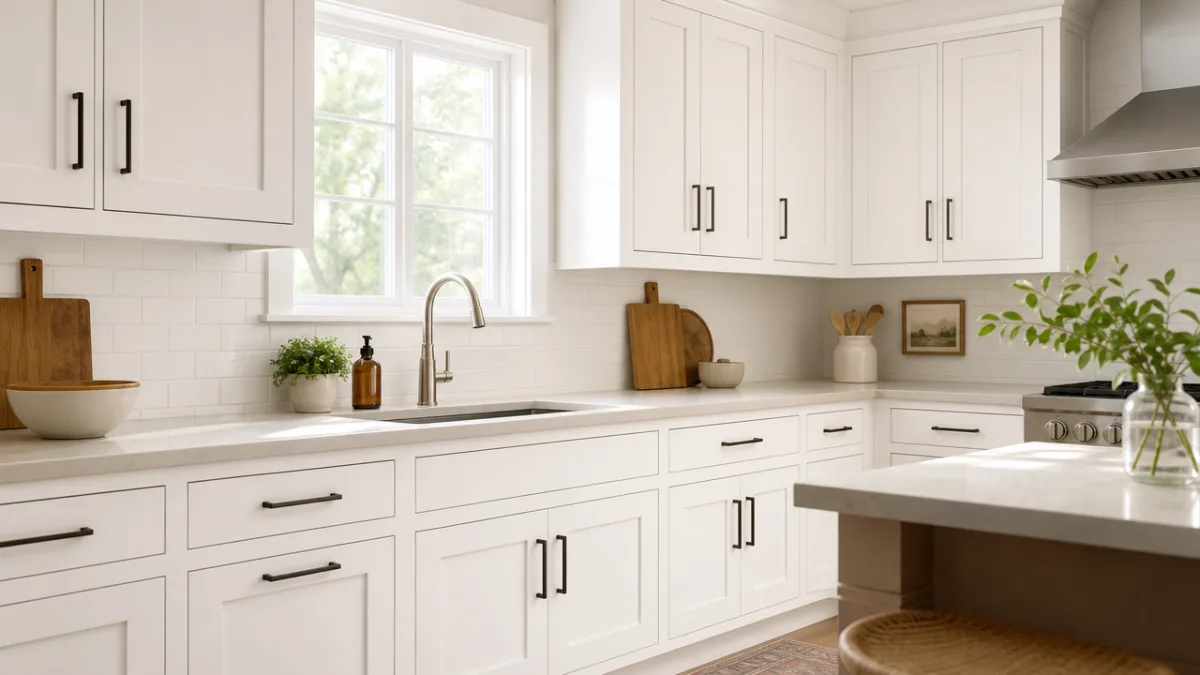
If painting feels like too large an undertaking, or if your cabinets are actually in excellent shape and just feeling a bit dated, changing the hardware is the fastest and most affordable makeover strategy available. Cabinet hardware — the pulls, knobs, and hinges that you interact with dozens of times every day — functions like jewelry for your kitchen. Swapping out old brass knobs from the 1990s for sleek matte black bar pulls, for example, can make a kitchen feel instantly updated, and the entire project can often be completed in a single afternoon without any special skills or tools beyond a screwdriver.
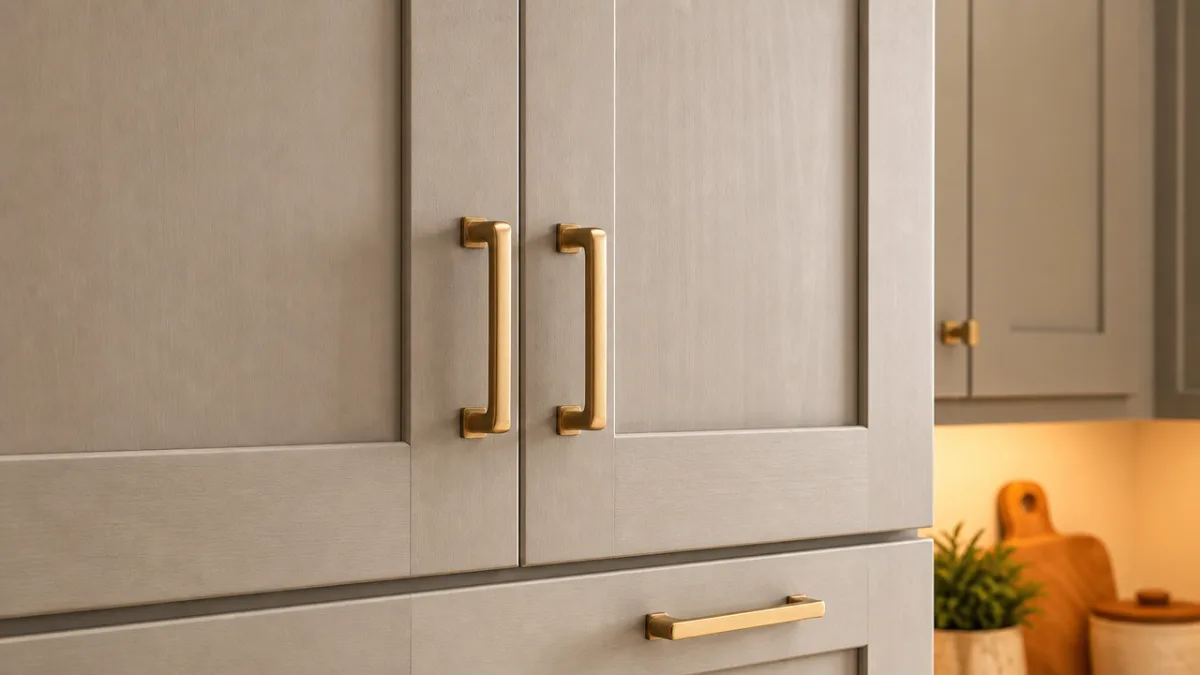
The variety of cabinet hardware available today is genuinely extraordinary. Matte black hardware has dominated kitchen design trends for several years and pairs beautifully with white, gray, navy, and wood-toned cabinets alike. Brushed brass and unlacquered brass options have made a strong comeback as part of the broader revival of warm, earthy tones in interior design. Brushed nickel remains a classic choice that complements stainless steel appliances naturally. Ceramic knobs add a charming, cottage-inspired character that works especially well in farmhouse-style kitchens, while leather loop pulls offer an unexpected artisanal touch.
When selecting new hardware, bring home several samples and hold them against your actual cabinets in your kitchen lighting before committing to a full order. What looks beautiful on a website or in a showroom can sometimes feel wrong in the context of your specific kitchen, where lighting conditions, wall colors, and countertop materials all play a role. Pay attention to the sizing as well — cabinet pulls that are too small for large doors look awkward and proportionally off, while oversized hardware on delicate cabinet frames can feel heavy and clunky. A general rule of thumb is to choose pulls that are roughly one-third the width of the cabinet door for the most visually balanced result.
Hinges and Soft-Close Mechanisms
Beyond the decorative hardware that sits on the face of cabinet doors, the functional hardware inside deserves attention as well. If your cabinets have visible face-frame hinges that are old, discolored, or mismatched, replacing them with new versions in a coordinating finish is an easy and inexpensive upgrade. More significantly, replacing standard hinges with soft-close versions adds a luxurious, high-end feel to everyday cabinet use that homeowners consistently describe as one of their favorite kitchen upgrades. The mechanism prevents doors and drawers from slamming, which also protects the cabinet construction over time.
Drawer slides are another underappreciated hardware upgrade that can dramatically improve the kitchen experience. Old-fashioned epoxy-coated side-mount slides that stick, jump off track, or refuse to close smoothly are frustrating to use every single day. Replacing them with full-extension undermount slides — the kind found in high-end custom cabinetry — costs relatively little and transforms the way every drawer in your kitchen operates. Full-extension slides allow you to see and access everything in a drawer fully, eliminating the annoying blind zone at the back that causes things to get lost.
Cabinet Door Replacement and Refacing Techniques
For homeowners whose cabinet boxes are in good shape but whose doors are damaged, heavily worn, or hopelessly outdated in style, replacing just the doors rather than the entire cabinet unit is a smart middle-ground approach. Cabinet door replacement allows you to completely change the style of your kitchen — moving from a raised-panel traditional door to a flat Shaker-style door, for example — without the enormous expense and disruption of a full renovation. Shaker cabinet doors in particular have become so dominant in kitchen design that they work equally well in modern, farmhouse, transitional, and even some traditional kitchens.
Companies like IKEA, Semihandmade, and numerous online cabinet door manufacturers offer replacement doors in a wide variety of styles, sizes, and finishes at very reasonable prices. Measuring your existing cabinets accurately is crucial — take multiple measurements and double-check them before ordering. Many companies provide detailed measuring guides and even customer support to help homeowners get the right dimensions the first time. Custom-sized doors are available for odd-sized cabinets, and the turnaround time from order to delivery has improved significantly in recent years, often falling in the two-to-four week range.
Cabinet refacing takes the door replacement concept a step further by also covering the cabinet boxes themselves with new veneer or thermofoil material so that everything matches. Refacing kits are available at home improvement stores and typically include peel-and-stick veneer sheets that can be cut to size and applied over the existing cabinet surfaces. When done carefully, refacing creates a cohesive, finished look that is virtually indistinguishable from new cabinetry. The total cost of a refacing project typically runs between 30 and 50 percent of the cost of full cabinet replacement, making it an excellent value for homeowners who want a dramatic transformation.
Adding Glass Inserts to Cabinet Doors
One of the most elegant and relatively accessible cabinet makeover techniques involves removing the center panel from select upper cabinet doors and replacing it with glass. Glass-front cabinet doors create an open, airy feeling in a kitchen, breaking up the visual weight of a long run of solid cabinetry and providing an opportunity to display attractive dishware, glassware, or decorative objects. Even replacing just two or three doors in a bank of upper cabinets makes a noticeable difference in how the kitchen feels and gives it a custom, designed appearance.
The project requires a router or a jigsaw to cut out the existing panel, some finish work on the resulting opening, and simple glass clips or a routed rabbet to hold the glass in place. Clear glass gives the most open look, while seeded glass, reeded glass, or frosted glass options provide some visual concealment for those who don’t want to keep their cabinet contents perfectly organized at all times. Fluted glass in particular has experienced a major design resurgence recently and adds a beautiful texture that catches light and elevates the entire kitchen aesthetic.
Creative Surface Treatments and Finishing Touches
Beyond paint, hardware, and door replacement, a variety of creative surface treatments can give kitchen cabinets a unique and distinctive appearance that sets them apart from the standard painted finish. Limewash paint, which creates a soft, textural, aged appearance with natural variation across the surface, has moved from accent walls into cabinetry in recent years and produces a result that feels both ancient and contemporary at the same time. Venetian plaster applied to cabinet doors creates a similarly artisanal, handcrafted quality that is impossible to achieve with ordinary paint.
Wood staining offers another path for homeowners who have solid wood cabinets and want to embrace natural material rather than covering it up. Stripping existing paint or finish down to bare wood and applying a fresh stain in a warm walnut, rich mahogany, or contemporary whitewash tone can be spectacularly beautiful. Modern white oak and cerused finishes — where a lighter pigment is rubbed into the wood grain to highlight its texture — are particularly fashionable right now and bring a Scandinavian warmth to kitchen design. Staining requires more careful preparation and technique than painting but rewards the effort with a result of genuine depth and character.
Contact paper and peel-and-stick veneer represent the most budget-friendly surface treatment options available and have improved enormously in quality and variety in recent years. High-quality contact paper in wood grain, marble, concrete, and solid color patterns can be applied to cabinet doors for a temporary transformation that is completely reversible — ideal for renters or for homeowners who like to change their decor frequently. While contact paper won’t fool anyone up close the way paint or real veneer will, from a normal viewing distance in a well-lit kitchen, the results can be surprisingly convincing and genuinely attractive.
Interior Cabinet Upgrades and Organization
A truly comprehensive cabinet makeover addresses not just the exterior appearance but also the interior functionality of the cabinets themselves. Painting the interior walls of cabinets in a contrasting accent color — a deep navy or forest green inside otherwise white cabinets, for example — is a small detail that creates a delightful surprise every time a cabinet door is opened and gives the kitchen a sense of intentional, thoughtful design. Lining cabinet shelves with attractive contact paper in a coordinating pattern achieves a similar effect at minimal cost.
Adding organization inserts such as pull-out shelves, lazy Susans, drawer dividers, spice racks, and door-mounted organizers transforms how your kitchen functions on a daily basis. These inserts are available in a wide range of sizes and materials from home improvement stores and online retailers, and most can be installed without any special tools or skills. When every pot has its dedicated spot, every spice is easily visible and accessible, and every drawer closes smoothly and completely, the kitchen becomes a genuinely more pleasant place to cook and spend time in.
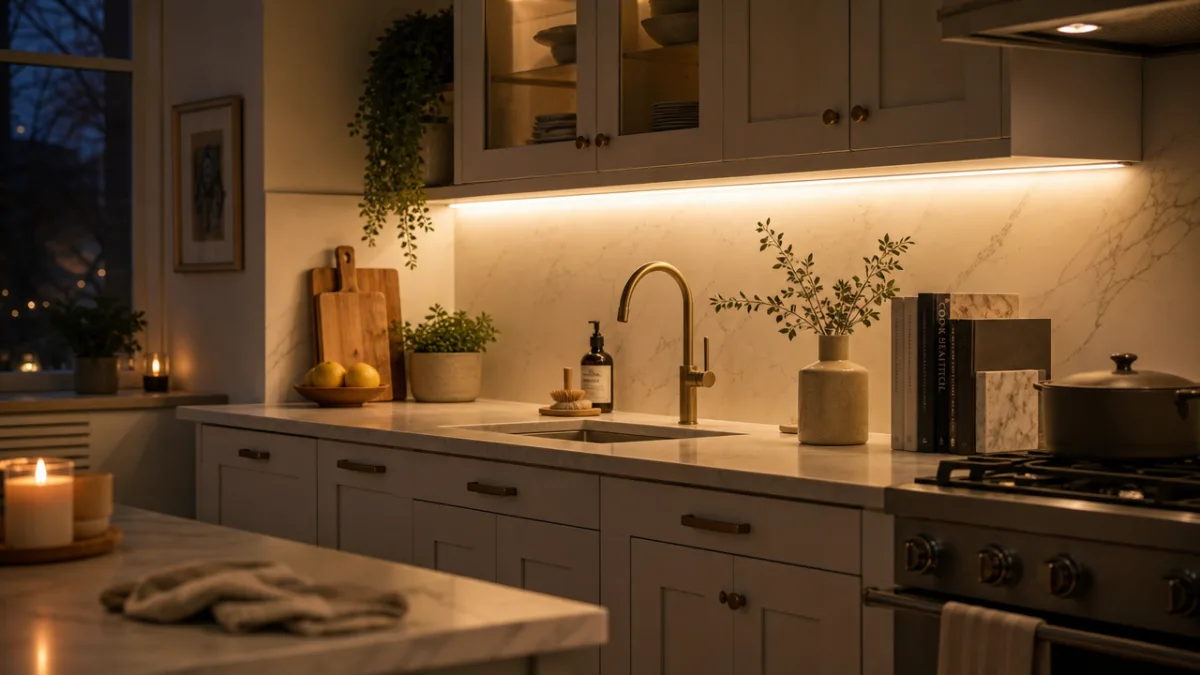
Under-cabinet lighting is another finishing touch that falls within the scope of a cabinet makeover and delivers a remarkable amount of visual impact. LED strip lights or puck lights installed beneath upper cabinets illuminate the countertop workspace and create a warm, layered glow that makes the kitchen feel more inviting in the evening hours. Many modern LED strip systems are simply adhesive-backed and plug into standard outlets, requiring no electrical work whatsoever. The transformation in mood and ambiance that under-cabinet lighting creates is genuinely dramatic, and it also happens to make food preparation easier and safer by improving task lighting significantly.
Planning Your Cabinet Makeover Project for Success
A successful cabinet makeover begins with careful planning long before any paint is opened or hardware is ordered. Start by creating a detailed inventory of everything your project will require — the number of cabinet doors, drawer fronts, and linear feet of box surface — so that you can calculate accurate quantities of paint, primer, sandpaper, and any other materials. Running out of paint midway through a project and being unable to match the exact batch is a frustrating and avoidable mistake that a little upfront calculation prevents entirely.
Set a realistic timeline for your project, accounting for the fact that cabinets need to cure after painting before being returned to regular use. Most cabinet paints recommend a cure time of several days to several weeks before the surface reaches full hardness, during which the finish can be damaged by abrasion or moisture. Planning your project during a period when kitchen disruption is manageable — perhaps when you have access to an outdoor grill or when guests are not expected — makes the experience considerably less stressful.
- Remove all doors, drawers, and hardware before beginning any surface prep work, and label everything clearly so reassembly is straightforward.
- Clean all surfaces thoroughly with a TSP substitute or a dedicated cabinet degreaser before sanding or priming.
- Apply a quality bonding primer before painting, particularly on laminate or previously painted surfaces.
- Work in a well-ventilated area and use a respirator mask when sanding or spraying paint.
- Allow adequate drying time between coats rather than rushing the process to achieve the smoothest possible finish.
- Reinstall hardware last, after all paint has dried and cured, to avoid damaging the fresh finish.
With the right preparation, quality materials, and a commitment to taking the process step by step, a DIY kitchen cabinet makeover is one of the most rewarding home improvement projects a homeowner can undertake. The combination of significant visual transformation and genuine cost savings compared to full replacement makes it an unbeatable value proposition. Whether you choose to paint, reface, replace hardware, or combine several of these techniques, the kitchen you’ve been wanting is far more achievable than you might have imagined — and it may be just one productive weekend away.








What do you think?
It is nice to know your opinion. Leave a comment.