










Crafting a Cardboard Lounge Chair: Strong, Stylish & Sustainable
Introduction: The Beauty of Building with Cardboard
Most of us look at a cardboard box and see trash. Something to break down and toss in the recycling bin without a second thought. But what if that same material could become a fully functional, genuinely sturdy lounge chair you’d actually want to sit in? Building a lounge chair from cardboard is one of those DIY projects that sounds a little crazy at first — until you actually do it. It pushes your creativity, requires real patience, and produces something that stops people in their tracks. Once you get your head around how layered cardboard actually works structurally, the whole idea stops seeming weird and starts making perfect sense.
This isn’t a new idea, either. Architects, designers, and engineers have been experimenting with corrugated cardboard as a building material for decades, and for good reason — the stuff has surprising load-bearing potential when you engineer it properly. A single sheet won’t impress anyone, but laminate dozens of layers together with the grain running in alternating directions and you’ve got a composite material that can genuinely rival plywood for rigidity. That’s the core principle behind all cardboard furniture, and it matters especially for a lounge chair, which needs to hold up an adult body comfortably day after day without flexing or creaking.
There’s also a really satisfying environmental angle to this project. Rather than buying something mass-produced from virgin materials that traveled halfway around the world to reach you, you’re turning waste into something useful. Every box you rescue and repurpose is a small, meaningful act — and when the chair finally does reach the end of its life years from now, you can break the whole thing down and compost or recycle it without leaving anything harmful behind. That’s a pretty rare thing to be able to say about a piece of furniture.
Gathering Materials and Planning Your Design
Before you cut anything, your first job is tracking down enough good corrugated cardboard — and you’ll need more than you think. A full lounge chair can easily eat through 30 to 60 large boxes depending on how thick your design is. The best places to look are appliance stores, furniture retailers, moving companies, and large grocery distributors. These businesses go through enormous quantities of heavy-duty double-walled boxes and are usually thrilled to have someone take them off their hands. Double-walled corrugated is what you want — it’s noticeably denser than the single-walled stuff you get from online deliveries, and that extra density makes a real difference in how strong your final panels turn out.
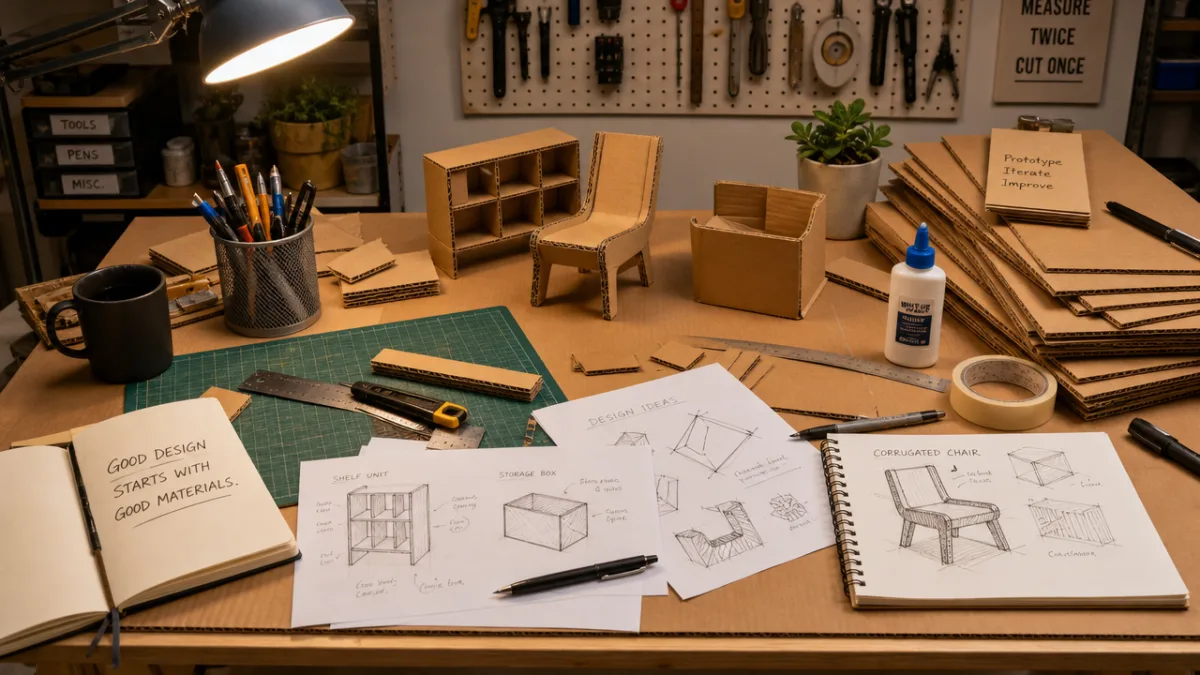
Do not skip the planning stage. Draw your design out on paper before a single piece of cardboard gets cut. A lounge chair has several distinct components — the seat base, the backrest, the armrests, and the support frame or legs — and each one needs to be sized properly for the human body. As a rough guide, a standard lounge seat sits about 16 to 18 inches off the floor, runs around 20 inches deep, and has a backrest angled somewhere between 100 and 110 degrees for comfortable reclining. Making cardboard templates from your sketches before you dive into full construction will save you a lot of material and a lot of frustration.
Beyond cardboard, here’s what you’ll want to have on hand: a sharp utility knife or box cutter (buy extra blades — you’ll go through them), a metal ruler or straight edge, a large cutting mat or some kind of protective surface, PVA glue or white craft glue, a wide paintbrush for spreading glue, heavy books or clamps for pressing layers while they dry, sandpaper in medium and fine grits, and whatever you plan to use for the final finish — paint, fabric, papier-mâché coating, or some combination. Getting everything together before you start makes the whole process flow much more smoothly.
Cutting and Layering: Building Structural Strength
Start by breaking all your cardboard down into flat sheets and cutting them to match your templates. For the seat base — the part carrying the most weight — plan on laminating at least 15 to 20 layers together, alternating the direction of the corrugation flutes with each new layer. This is the same logic behind how plywood is made: by running the grain in different directions, you spread stress across the material instead of letting it concentrate along one axis, which is usually where things crack and fail.
Spreading glue between layers takes time and a certain amount of care. Use a wide brush to coat each sheet evenly with PVA glue, making sure you’re not leaving any dry patches or air pockets that could weaken the bond down the line. Stack each glued sheet carefully, line up the edges as closely as you can, and then get some real weight on top while it dries — heavy books, concrete blocks, or clamps all work well. Let each major laminated section dry for a full 24 hours before moving on. This is where a lot of beginners go wrong: rushing ahead with partially dried panels leads to joints that separate under load, and it’s a pain to fix later.
Once your panels are fully cured, you can start shaping them. This is when the chair starts to feel like a real thing. The seat can stay flat or take on a gentle ergonomic curve — you can achieve that curve by scoring the underside of the panel at regular intervals, which lets the flat laminated surface flex without cracking. The backrest works the same way. If your design includes armrests, build those as separate laminated blocks, then glue and pin them to the main seat frame using thin wooden dowels through pre-drilled holes. The combination of adhesive and mechanical connection gives you a much stronger joint than glue alone.
Joining Components and Assembling the Frame
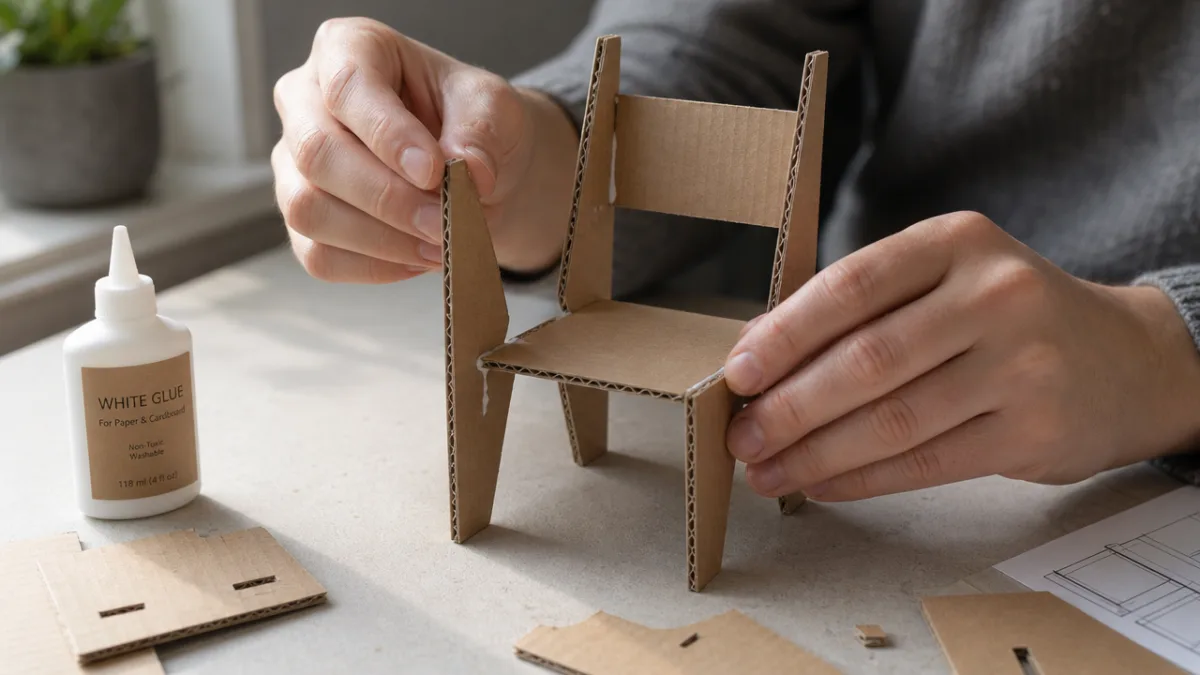
Putting all the pieces together is easily the most satisfying part of the whole project — but it also demands attention to detail. Before you reach for the glue, do a full dry-fit of every component. Check that everything sits the way it’s supposed to, and then set the assembled chair on a flat floor and look at all four contact points. If it wobbles, track down why and fix it before you glue anything permanently. A wobbly chair isn’t just annoying — it puts uneven stress on the joints, which wears them out faster and can eventually cause structural problems.
The joints where the seat meets the backrest, and where the seat meets the legs, are the most critical spots in the whole structure. Reinforce them two ways at once. First, apply generous PVA glue to all mating surfaces and hold the joint under compression while it cures. Second, cut strips of cardboard, soak them in diluted PVA, and wrap them tightly around the outside of each joint like a bandage, smoothing them flat against the surfaces. Once these wraps dry hard, they create a structural fillet that dramatically increases the bonded surface area — those joints become nearly impossible to pull apart.
Once the frame is fully assembled and everything has cured, do a load test before you start finishing. Stack books on the seat, then work your way up toward your full body weight, watching carefully for any flex, creaking, or movement at the joints. A well-built cardboard lounge chair should handle 200 pounds or more without significant deflection. If you spot any weak points, now is the time to add reinforcement — before the finishing layers go on and hide the underlying structure from view.
Finishing Techniques: Transforming Cardboard into Furniture
The finishing stage is where the chair stops looking like a school project and starts looking like actual furniture. The most popular starting point is papier-mâché — strips of newspaper or kraft paper soaked in diluted PVA glue, applied in three or four overlapping layers across every exterior surface. This seals the cardboard against moisture, fills in surface irregularities, and quietly adds another thin but real layer of structural integrity to the whole thing. Let each layer dry completely before adding the next; don’t rush it.
Once the papier-mâché base is fully dry, sand the whole surface through medium and then fine grit until it’s smooth and even. Put down a coat of gesso or white primer, which seals the surface further and gives your final finish something solid to grip. From here, the creative choices are genuinely yours to make. Paint it in any color or pattern with acrylics or chalk paint, wrap it in fabric with a little foam padding underneath for comfort, decoupage it with decorative paper, or go for a textured coating that mimics concrete, stone, or wood grain. The surface is a blank canvas at this point, so let your personal taste drive the decision.
If this chair is going to see regular use, a protective topcoat is worth the extra effort. A couple of coats of water-based polyurethane varnish over your painted surface will fend off scuffs, light moisture, and the general wear of daily life. If you’re going the upholstery route, even half an inch of closed-cell foam glued to the seat and backrest makes a big difference in how comfortable the chair is after the first ten minutes. Wrap the foam neatly in your chosen fabric and secure it underneath with a staple gun or fabric glue, and the result looks genuinely professional.
Tips for Longevity, Customization, and Sustainable Living
With a little care, a cardboard lounge chair can last for years — which surprises most people when they hear it. The main thing to watch out for is moisture. Water is the one enemy that will eventually win against even the most thoroughly sealed and varnished cardboard surface. Keep the chair indoors and out of high humidity, wipe up spills right away instead of letting them sit, and put small felt pads or rubber feet under the legs to stop moisture from wicking up through the floor. Follow those basic rules and a well-made chair can realistically stay solid and good-looking for three to five years of regular use.
One of the best things about building your own furniture from scratch is how easy it is to customize, and cardboard is especially forgiving in this regard. You can adjust proportions, add features, and rethink the design in ways that would be expensive or impossible with conventional materials. Built-in side pockets for a book or a remote control, a fold-down tray surface on one armrest, an adjustable backrest angle — all of these are genuinely achievable with cardboard construction without adding much complexity to the build. It’s the kind of flexibility you just don’t get when you buy off the shelf.
Building things like this is also, in a small way, a statement about how you want to relate to the stuff around you. Every piece of furniture you make from reclaimed cardboard is a conversation starter and a demonstration that creativity and environmental responsibility fit together naturally rather than pulling in opposite directions. The skills you pick up along the way — thinking about structure, working with materials, finishing surfaces, designing for the human body — carry forward into every DIY project you take on after this one, and they give you a different kind of appreciation for how the objects in your home actually come to be. And when you show people what you built, you might just inspire them to start looking at their own pile of cardboard boxes a little differently.
- Moisture protection: Always apply at least two coats of varnish or sealant over your finished surface, and keep the chair out of humid spaces or anywhere it might get splashed — moisture is the one thing that will genuinely shorten its life.
- Weight distribution: Try not to drop your full weight onto the armrests or put heavy concentrated loads on sections that aren’t directly supported underneath — those spots carry more stress per unit area than the main seat platform.
- Periodic inspection: Every few months, give the joints a quick once-over. If you notice any early signs of separation or softening, add some fresh glue right away — small issues are easy to fix, but left alone they tend to become bigger ones.
- Storage: If the chair is going into storage for a while, keep it somewhere dry and wrap it lightly in breathable fabric to protect the surface from dust and accidental scuffs.
- Repairs: Small surface damage is easy to fix with a bit of papier-mâché and matching paint, so don’t stress over minor dings — the chair is far more repairable than most people expect.
When you step back and look at the finished chair, it’s hard not to feel like this project is about something a bit bigger than furniture. It’s a proof of concept — concrete evidence that genuinely impressive things can come from the most overlooked, ordinary materials when you approach them with some knowledge and patience. In a world that runs largely on disposable goods and passive consumption, building something real with your own hands from material that was headed for the trash is a quietly radical thing to do. The chair you end up sitting in carries a kind of meaning and satisfaction that nothing you could buy in a store can quite match. Build it, sit in it, and let it be a daily reminder of what’s possible when you look at something the world has thrown away and decide to see the potential in it instead.








What do you think?
It is nice to know your opinion. Leave a comment.