










14 DIY Dollhouse Furniture Ideas: Create Stunning Miniature Pieces on a Budget
Why DIY Dollhouse Furniture Is Worth Your Time and Creativity
There is something undeniably magical about crafting tiny furniture for a dollhouse with your own hands. Whether you are a seasoned crafter or a complete beginner, DIY dollhouse furniture projects offer a deeply satisfying blend of creativity, problem-solving, and fine motor skill development. The miniature world invites you to slow down, pay attention to detail, and find joy in the process of making something beautiful from simple, often inexpensive materials found right at home.
Beyond the pleasure of creating, making your own dollhouse furniture allows for complete customization. Store-bought dollhouse sets, while convenient, rarely capture a specific aesthetic or scale perfectly. When you craft each piece yourself, you control the color palette, the style, the proportions, and the materials. You can match a Victorian theme with ornate carved details, or lean into a modern minimalist look with clean lines and neutral tones, all tailored exactly to your vision without compromise.
There is also a meaningful educational dimension to these projects, especially when shared with children. Working on dollhouse furniture together teaches kids about measurement, spatial reasoning, patience, and the satisfaction of completing a challenging task. Even adults find that the focus required for miniature crafting functions almost like meditation, pulling attention away from screens and stress and into a calm, creative flow state. This makes DIY dollhouse furniture far more than a hobby — it becomes a practice of mindful making.
Getting Started: Essential Tools and Materials
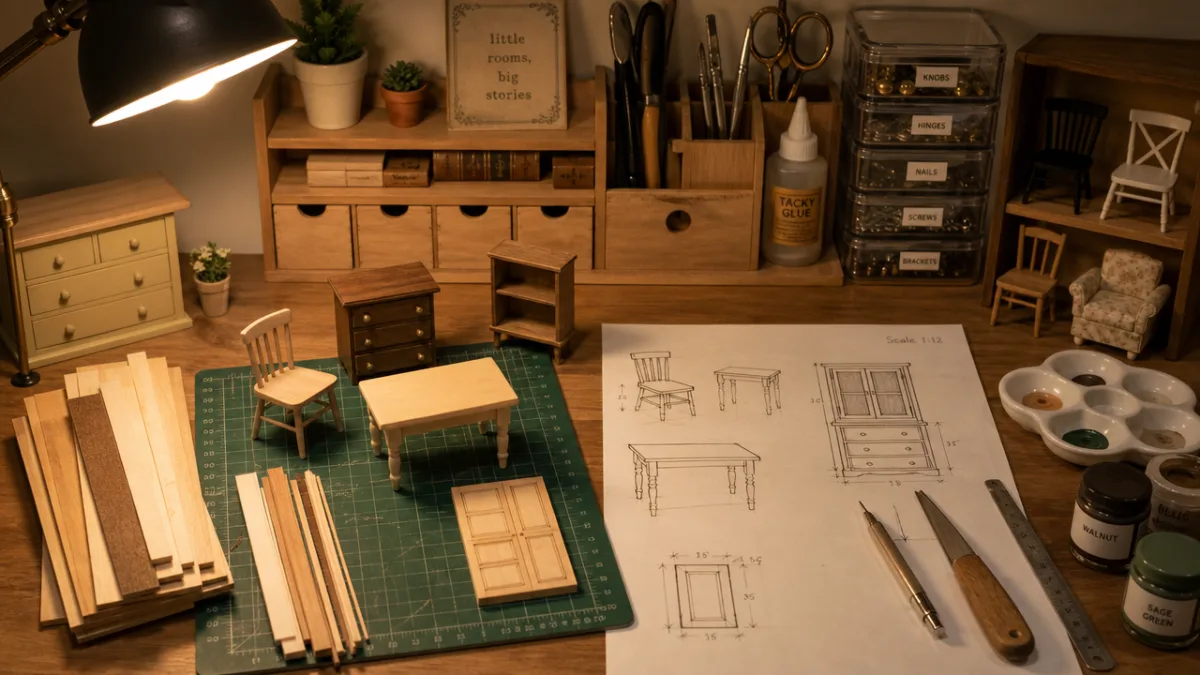
Before diving into your first project, it pays to gather a core set of tools that will serve you across many different furniture builds. A sharp craft knife or X-Acto knife is indispensable for cutting balsa wood, cardboard, and foam cleanly. A metal ruler ensures straight cuts, while a self-healing cutting mat protects your work surface. Small clamps or binder clips hold glued pieces together while they dry, and a fine-tipped paintbrush set opens up a world of finishing options for your completed pieces.
For materials, you will find that the best dollhouse furniture supplies are often already in your home. Matchboxes become dressers, wooden craft sticks become flooring and bed frames, fabric scraps upholster tiny sofas, and bottle caps transform into side tables or stools. Popsicle sticks, toothpicks, cardboard tubes, wine corks, and leftover foam packaging all have a place in the miniature maker’s workshop. Keeping a dedicated box of such odds and ends means you will always have something to work with when inspiration strikes.
Adhesives deserve special attention in this craft. PVA glue works beautifully for wood and paper, offering a strong bond that dries clear and can be thinned to act as a sealant. Hot glue provides speed and grip for bulkier assemblies, though it can be messy at small scales. Super glue or a gel-type cyanoacrylate adhesive is ideal for bonding tiny details, metal findings, or non-porous surfaces. Having all three types on hand gives you flexibility to choose the right adhesive for each specific join in your projects.
14 DIY Dollhouse Furniture Projects Ranked by Difficulty
Beginner Projects: Perfect for First-Time Miniature Makers
If you are just starting out, the best approach is to choose projects that deliver a strong visual reward without requiring advanced techniques. A simple popsicle stick bed frame is an ideal first project. By gluing sticks together in a rectangular platform, adding four short dowel legs, and covering a foam rectangle with fabric, you can produce a convincing miniature bed in under an hour. Add a tiny pillow made from folded felt and a blanket cut from a patterned fabric scrap, and the result is immediately charming and satisfying.
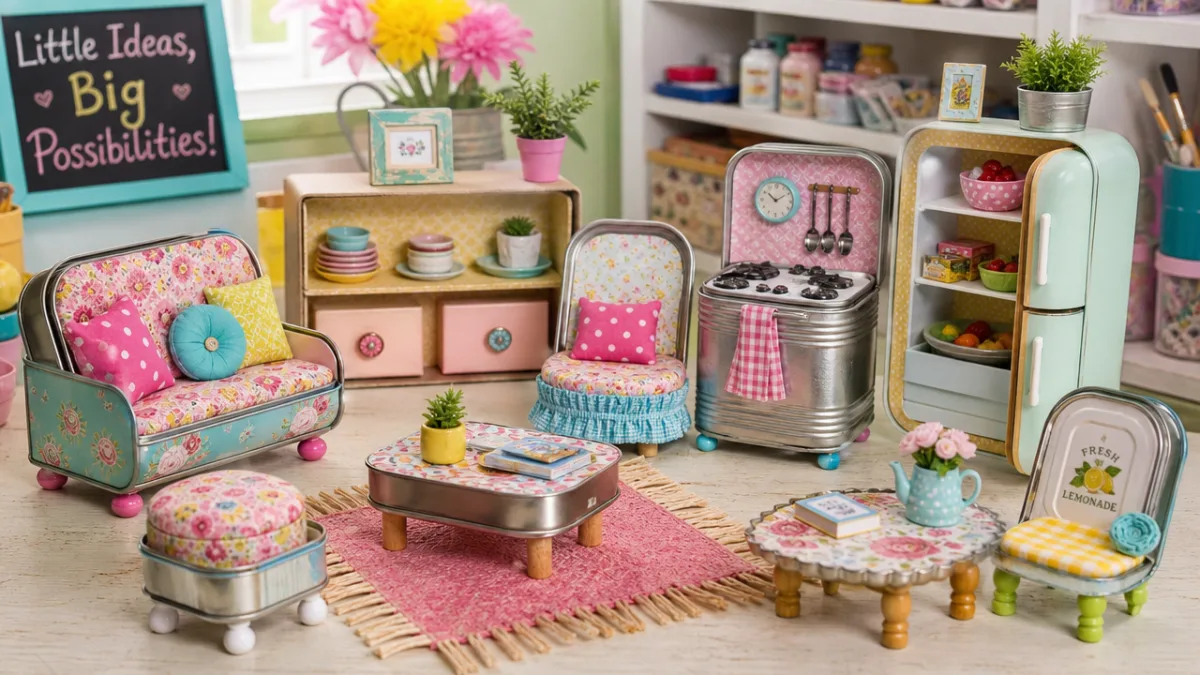
Cardboard box furniture is another fantastic entry point. Small jewelry boxes, tea boxes, or cereal cardboard can be cut and assembled into sofas, armchairs, bookshelves, and wardrobes. Cover the exterior with decorative paper, acrylic paint, or even miniature-scale wallpaper printed from the internet, and the humble cardboard transforms into a convincingly realistic piece. The beauty of this method is the zero cost and the instant availability of materials, making it accessible for families doing projects on a tight budget.
Bottle cap stools and side tables round out a strong beginner project list. A single large bottle cap, painted in a metallic or solid color and glued atop a short section of dowel rod, becomes a perfect bar stool. Two stacked caps of different sizes create a charming pedestal table. These tiny accents are quick to make and fill a dollhouse room with personality without requiring any advanced construction skills or special equipment.
Intermediate Projects: Building Skill and Complexity
Once you have mastered the basics, a balsa wood sofa presents a rewarding intermediate challenge. Balsa is extremely lightweight and easy to cut with a craft knife, making it ideal for building structural furniture frames. By cutting side panels, a back panel, and a seat base from thin balsa sheets, then joining them with PVA glue and reinforcing the corners with tiny strips, you create a sturdy sofa frame that can then be padded with foam and upholstered in fabric. The process teaches fundamental woodworking concepts at a forgiving, manageable scale.
A miniature kitchen is a beloved intermediate project that rewards patience and planning. Start with a simple box structure for the cabinet base, adding thin balsa sheet doors with tiny bead handles. A piece of smooth polymer clay or thick cardboard becomes the countertop, which can be painted to resemble granite or marble. Add a tiny sink cut from foil and a faucet crafted from bent wire, and the kitchen comes to life with a satisfying level of realism that delights both makers and viewers.
Miniature upholstered chairs represent another excellent intermediate challenge, combining structural construction with textile skills. Build the basic chair form from balsa or thick cardboard, then cut foam padding to shape for the seat and back cushions. Stretch and glue fabric over each padded element before assembling the complete chair. Choosing coordinating fabrics in miniature-scale prints, such as tiny florals or gingham, makes the finished piece look genuinely professional. Adding decorative trim or tiny button tufts elevates the result even further.
Advanced Techniques for Realistic Miniature Finishes
Painting and Staining for Authentic Wood Looks
One of the most transformative skills in dollhouse furniture making is learning to achieve realistic wood finishes on whatever base material you are using, whether real wood, cardboard, or craft sticks. The key is layering. Begin with a base coat of brown acrylic paint thinned slightly with water. Before it dries completely, drag a dry brush loaded with a lighter tone across the surface in the direction of the grain. This dry-brush technique builds up visual texture that mimics the natural variation found in real timber, creating depth and authenticity even on the flattest surface.
Staining real balsa wood is more straightforward but requires some care due to balsa’s highly porous nature. Always sand the wood lightly with fine-grit sandpaper first to smooth the grain, then apply a very thin wash of wood stain or heavily diluted paint. Balsa absorbs color eagerly, so a little product goes a long way. Wipe off excess stain immediately with a cloth, allow it to dry fully, and then seal the surface with a thin coat of matte varnish. The result is a convincingly rich wood tone that makes even the simplest balsa furniture look polished and intentional.
Faux finishes open up exciting creative possibilities for non-wood furniture pieces. A sponging technique applied over a base coat creates the look of aged plaster or stone for fireplace surrounds and garden furniture. Metallic paints in gold, bronze, or silver, applied with a fine brush over a dark base coat, give wire and foil fittings a genuinely luxurious appearance. Even crackle medium, applied between two layers of paint and widely available at craft stores, can simulate antique painted furniture with a charmingly weathered aesthetic that adds enormous character to a period dollhouse.
Upholstery Tips for Professional Results
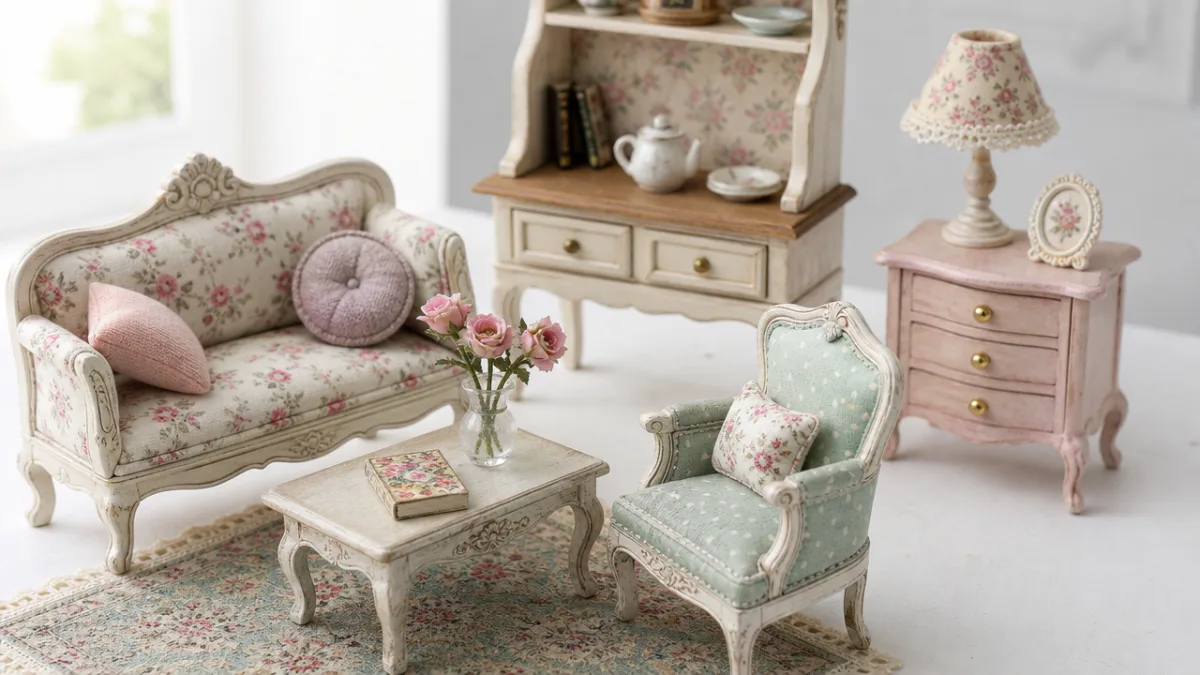
The secret to professional-looking miniature upholstery is choosing the right fabric. At dollhouse scale, regular fabric often looks oversized in its weave and pattern. Look for fine cotton, silk, or tightly woven synthetic fabrics with small-scale prints. Quilting cotton often works beautifully as it comes in an enormous range of colors and patterns and behaves predictably when cut and glued. Avoid loosely woven fabrics that fray excessively or thick materials that create too much bulk around curves and corners.
Cutting fabric cleanly is essential for neat results. Use sharp embroidery scissors rather than craft scissors, as their fine tips allow for precise trimming around curved edges. Always cut fabric slightly larger than you think you need, as you can trim excess after gluing but cannot add fabric back once cut too short. Apply glue evenly to the surface being upholstered rather than to the fabric itself, as fabric-applied glue tends to bleed through and create visible staining on the finished surface.
Adding decorative trim takes miniature upholstery from good to exceptional. Fine ribbon, lace, cord, or even narrow strips of contrasting fabric applied along seam lines and edges creates a finished, tailored appearance. For a tufted look, use a needle and thread to stitch through the padded seat at regular intervals, pulling the thread tight and knotting it at the back. Each stitch creates a small dimple that gives the cushion a genuinely tufted appearance reminiscent of high-end upholstered furniture, adding sophisticated realism to your miniature pieces.
Creative Material Substitutions for Budget-Friendly Building
Resourceful material substitution is one of the most exciting and creative aspects of DIY dollhouse furniture making. The challenge of looking at everyday household items and imagining them transformed into miniature furnishings engages lateral thinking and sparks genuine inventiveness. A wooden thread spool makes a perfect pedestal table with a cardboard disc glued on top as the tabletop. Matchboxes stack into credenzas and dressers. A small tin mint box becomes a trunk or blanket chest with the addition of tiny hinges cut from foil tape.
Polymer clay deserves a special mention as a versatile material for creating organic forms that are difficult to achieve with flat sheet materials. Clay can be modeled into flower arrangements, decorative objects, food items, and even furniture with curved or sculpted elements like ornate chair backs, decorative lamp bases, and fruit bowls for kitchen tables. It bakes hard in a home oven, accepts acrylic paint beautifully after curing, and gives miniature rooms the kind of lifestyle detail that makes them feel genuinely inhabited and alive.
Fabric and textile scraps serve far more functions than just upholstery in a dollhouse. A small square of linen becomes a tablecloth or area rug. Sheer organza cut into tiny rectangles makes elegant curtains. Thick felt cut and shaped around a wire armature creates throw pillows and cushions with dimensional softness. Even unwoven tea bags, when dried and pressed, have an interesting texture that can simulate natural fiber rugs or wall hangings in bohemian-themed dollhouse rooms, turning something destined for the compost into a surprisingly convincing decorative element.
- Wooden spools: Ideal for pedestal tables, lamps, or decorative columns with minimal modification required.
- Matchboxes: Perfect drawer units, dressers, and filing cabinets — paint them and add bead handles for instant realism.
- Bottle caps and lids: Serve as stools, side tables, wall clocks, or circular mirrors when backed with foil.
- Popsicle and craft sticks: The backbone of floors, walls, bed frames, and fencing throughout any dollhouse build.
- Polymer clay: Models food, plants, decorative objects, and any curved furniture element with remarkable versatility.
- Fabric scraps: Used for upholstery, curtains, rugs, tablecloths, bedding, and wall art in every room of a dollhouse.
Displaying and Decorating Your Finished Dollhouse Furniture
Arranging Furniture for Maximum Visual Impact
Once you have built a collection of DIY dollhouse furniture pieces, thoughtful arrangement transforms individual items into a cohesive, believable living space. The same principles that apply to full-scale interior design translate directly to the miniature world. Create conversation groupings by clustering seating pieces around a focal point such as a fireplace or coffee table. Leave open floor space rather than cramming every piece in, as negative space makes rooms feel larger and more realistic. Vary the heights of furniture pieces throughout the room to create visual interest and dynamic energy.
Lighting within a dollhouse elevates the display from a craft project to an immersive experience. Battery-operated LED string lights, threaded through rooms and behind furniture, create a warm, inhabited glow that is especially magical when viewed in a dim room. Tiny LED diodes available from electronics suppliers can be wired to create working table lamps, pendant lights, and fireplace glows. Even without electrical components, positioning your dollhouse near natural light and using strategically placed small mirrors to bounce that light through rooms dramatically enhances how the furniture and decor read to the viewer.
Accessorizing is where a dollhouse room truly comes alive. Layer small books made from folded paper on bookshelves, hang tiny framed pictures printed and cut from magazines on walls, and scatter miniature plants made from green-painted wire and clay across surfaces. Kitchen counters benefit from tiny pottery items, cutting boards, and herb pots. Bedroom dressers look lived-in with a tiny perfume bottle and a small tray. These micro-details, built from scraps and ingenuity, are what elevate a display from charming to genuinely captivating.
Sharing Your Work and Finding Inspiration
The DIY dollhouse community is one of the warmest and most generous creative communities online. Platforms like Pinterest, Instagram, and dedicated miniature making forums are overflowing with ideas, tutorials, and encouragement. Sharing your own finished pieces on social media invites connection with fellow makers around the world who share your passion for the craft. The feedback and inspiration you receive in return has a way of fueling your next project in ways that solo making cannot always sustain, making community participation a vital part of the creative journey.
YouTube has become an extraordinary resource for visual learners who want to see dollhouse furniture techniques demonstrated step by step. Channels dedicated to miniature making cover everything from basic cardboard construction to advanced resin casting, woodworking with specialized micro-tools, and incredibly detailed room box dioramas. Watching skilled makers work through challenges in real time demystifies techniques that might seem intimidating when described only in text, accelerating your skill development and expanding your sense of what is possible within the craft.
Collecting reference images is an underrated but powerful part of a miniature furniture maker’s practice. Build a Pinterest board filled with real interior design photography, historical furniture styles, material textures, and color palettes that inspire you. When you are planning a new piece or an entire dollhouse room, these references keep your vision focused and give you something concrete to work toward. The best DIY dollhouse furniture always begins with a strong mental image, and that image is almost always built from a library of visual references accumulated with curiosity and intention over time.








What do you think?
It is nice to know your opinion. Leave a comment.