










Woodworking Projects: DIY Craft Video Inspiration
The Rise of DIY Woodworking Culture
Over the past decade, woodworking has quietly transformed from a trade skill passed down through generations into one of the most beloved creative hobbies around. Platforms like Pinterest, YouTube, and Instagram have had a huge hand in this shift — suddenly, complete beginners can learn real techniques from experienced makers without ever setting foot in a formal class.
Part of woodworking’s appeal is just how grounding it feels. There’s something deeply satisfying about turning a raw plank of timber into something functional and beautiful with your own two hands. Unlike hobbies that live entirely on screens, woodworking pulls you into the physical world — the smell of freshly cut pine, the feel of a hand plane gliding across a board, the quiet pride of a well-fitted joint. No app can replicate that.
Video content has been the real engine behind this woodworking revival. Craft video inspiration — especially through a platform like Pinterest — helps aspiring woodworkers find projects that actually match their skill level, their tools, and their taste. One well-made video can inspire hundreds of thousands of people to try something they never would have attempted on their own. And from there, whole communities spring up: makers sharing progress shots, asking questions, cheering each other on with genuine enthusiasm.
Essential Tools Every Beginner Woodworker Should Own
One of the first things that trips up new woodworkers is figuring out which tools to buy. Walk into any hardware store and you’re immediately faced with endless options at wildly different price points — it’s easy to blow money on things you’ll barely touch, or to cheap out on tools that will frustrate you every single time you use them. The good news? You don’t need much to get started. A modest, thoughtfully assembled starter kit can handle a surprising range of projects.
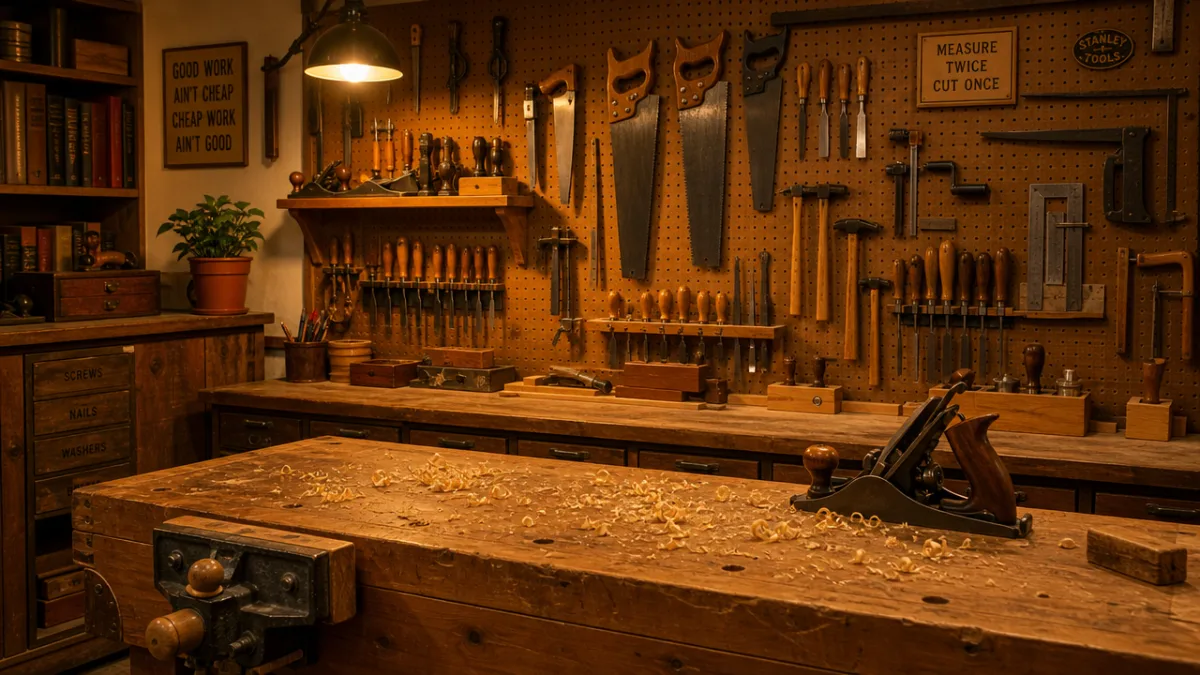
Hand tools are worth taking seriously even now, when power tools get most of the attention. A good set of chisels, a mallet, a hand saw, a marking gauge, a combination square, and a smoothing plane will take you further than you might expect. Many experienced woodworkers actually recommend starting here, because working by hand forces you to really understand wood grain, how materials behave, and the geometry of a good cut. That foundation sticks with you no matter what tools you pick up later.
Power tools are worth adding gradually as your skills and project ambitions grow. For most beginners, a solid starting lineup looks something like this: a circular saw or miter saw for straight and angled cuts, a jigsaw for curves, a random orbital sander for smoothing surfaces, and a cordless drill and driver for putting things together. Down the road, a table saw, router, and thickness planer open up a whole new range of possibilities. The rule of thumb most experienced makers swear by? Buy fewer, better tools rather than filling your workshop with cheap gear that lets you down at the worst moments.
- Tape measure and marking pencils for accurate layout
- Combination square for checking right angles and marking lines
- Set of bench chisels in common widths (1/4″, 1/2″, 3/4″, 1″)
- Claw hammer and rubber mallet for assembly and joinery work
- Random orbital sander with assorted grit sandpaper
- Cordless drill and driver with a quality bit set
- Miter saw for clean, repeatable crosscuts
- Safety glasses, hearing protection, and dust mask
Beginner-Friendly Projects to Build Your Skills
Picking the right first project can honestly make or break your woodworking journey. The sweet spot is something that’s challenging enough to actually teach you something, but achievable enough that you finish it — and feel good about it. That’s the cycle that keeps people hooked: you finish something, you’re proud of it, and you immediately want to try something a little more ambitious next time.
A simple shelf is one of the best places to start, and there’s a reason so many makers recommend it. Even a basic floating wall shelf walks you through measuring, cutting, sanding, finishing, and installing hardware — all skills you’ll use on practically every project that follows. Plus, shelves are genuinely useful. Your first project actually lives in your home and does something, rather than sitting in a corner reminding you of the learning curve.
Wooden serving boards and charcuterie platters have become hugely popular beginner projects, and it’s easy to see why. They only need a small amount of wood, don’t require many tools, and can be finished in an afternoon. Yet the results look beautiful and make great gifts — people are always delighted by a handmade board. Working small like this is also a low-pressure way to practice edge jointing, surface flattening, and food-safe finishing, where mistakes don’t cost much and the whole experience stays encouraging rather than overwhelming.
- Floating wall shelf — introduces measuring, cutting, and wall mounting
- Wooden serving board — teaches surface finishing and food-safe finishing application
- Step stool — introduces structural joinery and load-bearing design considerations
- Picture frame — teaches miter cuts and precise corner fitting
- Small side table — introduces leg-to-apron joinery and leveling techniques
- Garden planter box — teaches outdoor wood selection and weather-resistant finishes
- Coat rack with pegs — introduces hardware installation and wall anchoring
Understanding Wood Species and Their Characteristics
One of the genuinely fascinating parts of woodworking is learning the differences between wood species. Each one brings its own personality — a unique mix of hardness, grain pattern, color, workability, and cost that makes it better suited to some projects than others. Learning to read those characteristics isn’t just trivia; it shapes which projects you take on, which tools you reach for, how you cut and shape the material, and which finishes will actually do it justice.
Softwoods like pine, cedar, and fir are the most common lumber you’ll find at home improvement stores, and they’re a natural starting point for anyone watching their budget. Pine especially is a great learning material — it cuts and sands easily, takes stain and paint well, and is forgiving enough that small mistakes can often be fixed or hidden. The tradeoff is that softwoods dent and scratch more easily over time, so they tend to work better for painted pieces, rustic furniture, and outdoor projects where a bit of wear is part of the charm.
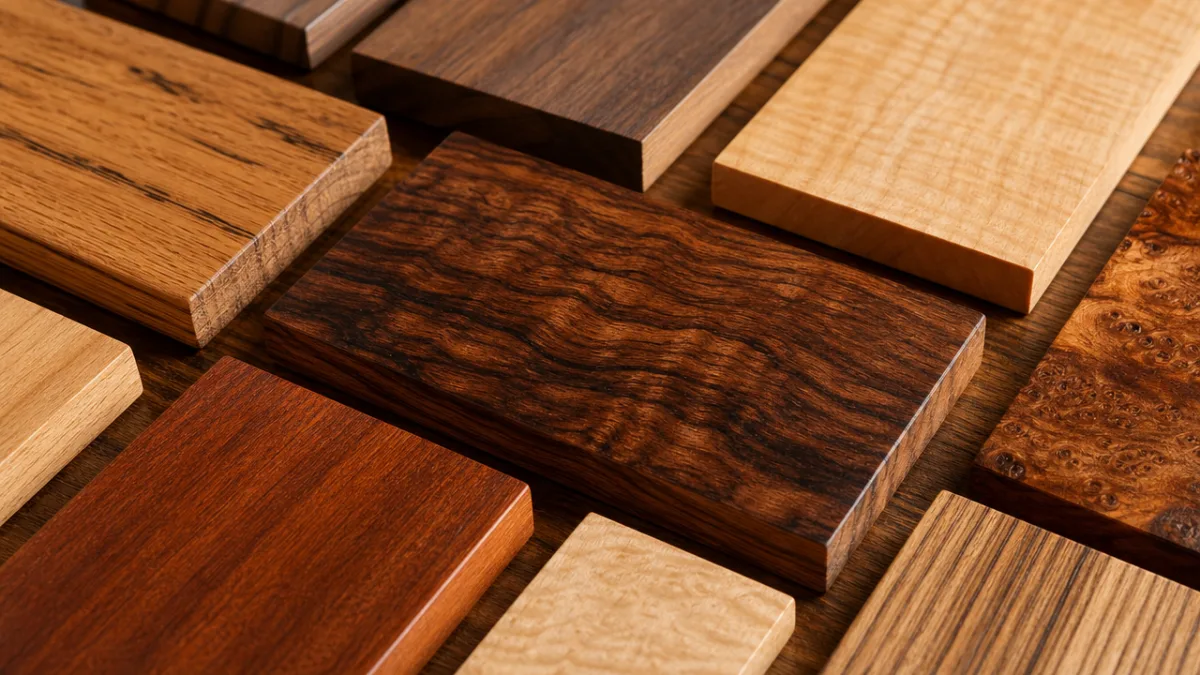
Hardwoods — oak, maple, walnut, cherry, ash — are what most people picture when they think of fine furniture and heirloom woodworking. They’re denser, which means they take more care to cut and shape, but the payoff is real: exceptional durability, stunning grain patterns, and a natural beauty that only deepens with age. Walnut has become especially popular with contemporary makers for its rich, chocolatey color and striking figure. It commands a higher price, which makes sense when you consider that growing timber to a usable size takes decades.
Finishing Techniques That Transform Your Work
Finishing is one of those stages that beginners tend to underestimate — and it really shows in the results. It’s common to spend a lot of careful effort on cutting and assembly, then rush through the finish with stain or paint slapped over an unprepared surface, and end up disappointed that it doesn’t look anything like the projects you’ve been saving on Pinterest. Here’s the thing: those polished results are completely achievable for beginners. You just need to understand what actually goes into them, and be willing to slow down.
Surface preparation is everything. Wood needs to be sanded progressively through increasingly fine grits — starting around 80 or 100 to knock out mill marks and tear-out, working up through 120, 150, and 180, and finishing at 220 for a surface that’s ready for almost any finish. A tip many experienced woodworkers swear by: between grits, wipe the surface with a damp cloth to raise the grain, let it dry fully, then sand lightly before moving on. It feels like extra work, but it’s what keeps the surface smooth even after the finish goes on and the wood encounters moisture.
Which finish you use depends on how the piece will be used, what look you’re after, and how comfortable you are with the application process. Oil finishes like tung oil and Danish oil are some of the friendliest options for beginners — they soak into the wood rather than sitting on top, and they produce a natural, low-sheen look that many people find more appealing than a thick, plastic-looking coat. Polyurethane offers great protection for tabletops and other high-use surfaces, but it requires a careful hand to avoid brush marks and drips. Wax is simple to apply and easy to renew, but it doesn’t hold up well to daily wear, so it’s better suited to decorative pieces than furniture you use every day.
How Craft Videos Accelerate Your Learning Journey
Access to quality woodworking video content has genuinely changed the pace at which beginners can get good. In previous generations, you either learned through a formal apprenticeship, a vocational program, or the slow grind of trial and error with books and magazines as your only guides. Books are still valuable — but they can only do so much. Watching a skilled maker’s hands, hearing the sound of a well-sharpened plane, seeing how wood responds to different approaches in real time — that communicates things that text and photos simply can’t.
Pinterest works particularly well as a discovery engine within this world. Unlike a search engine where you have to already know what you’re looking for, Pinterest’s visual algorithm learns what you’re into and keeps surfacing relevant content — project ideas and technique videos you might never have thought to search for yourself. Save one simple shelf-building video, and your feed starts filling in around it: joinery techniques, finishing methods, tool reviews, material guides. Over time, you end up with a surprisingly well-rounded woodworking education that grew organically, following your own curiosity.
The community side of craft video culture is worth mentioning too, because it genuinely speeds up learning. Comment sections on popular woodworking videos are often full of real knowledge — viewers asking specific questions, getting detailed answers from the creator and other experienced members. And many popular makers deliberately include their own mistakes in their videos, which is one of the most valuable things they can do. Watching someone experienced make a cut that needs correcting, or a joint that needs tweaking, makes the whole craft feel accessible. It stops feeling like something only perfect people do and starts feeling like something you can actually learn.
- Follow makers whose aesthetic matches your own goals and style preferences
- Save videos systematically by project type or technique for easy future reference
- Watch videos multiple times — once for inspiration and once while actively taking notes
- Engage with comments to ask questions and benefit from community knowledge
- Document your own projects with photos and short videos to track your progress
- Attempt to recreate techniques immediately after watching rather than waiting weeks

Building a Safe and Efficient Home Workshop
Safety deserves more than a quick mention at the bottom of a tools list — it’s the foundation everything else is built on. Woodworking involves sharp blades, rotating machinery, airborne dust, and chemical finishes, all of which carry real risks that need to be managed consistently. The reassuring truth, though, is that woodworking is genuinely safe when you respect the hazards involved. The vast majority of injuries happen when someone gets impatient or overconfident and skips a step they know they shouldn’t.
Dust is one of those hazards that beginners often don’t take seriously until they’ve spent some time in a workshop. Fine wood dust — especially from hardwoods and MDF — can do real damage to your lungs with repeated exposure over time. That makes dust collection and respiratory protection non-negotiable parts of a responsible setup. At minimum, always wear a properly fitted dust mask or respirator when sanding, routing, or using a table saw. Connecting your power tools to a shop vacuum or dedicated dust collector makes a dramatic difference in how much particulate ends up in the air, and it makes cleanup a lot less painful too.
Workshop organization matters more than most beginners expect, both for safety and for how enjoyable the whole experience is. Tools should live in consistent, designated spots so you always know exactly where they are — and more importantly, so cutting tools aren’t left sitting on work surfaces where they can cause accidental injuries. Good lighting is essential too; shadows and poor visibility lead to measurement mistakes and dangerous situations around power tools. As your collection grows and your projects get more ambitious, investing time in building proper storage, improving your lighting, and setting up clear workflow zones pays off in ways that are hard to overstate. A well-organized shop just makes you want to be in it.








What do you think?
It is nice to know your opinion. Leave a comment.