










Garden Arbor Plans With Optional Gate: A Complete Building Guide
Introduction to Garden Arbors and Their Benefits
A garden arbor is one of the most rewarding structures you can add to your outdoor space, combining functional architecture with natural beauty in a way that few other garden features can match. Whether you envision a simple passage framed by climbing roses or a grand entryway into a dedicated garden room, an arbor transforms an ordinary yard into something that feels intentional, designed, and deeply personal. The addition of an optional gate elevates the structure further, offering both security and a sense of ceremony as you enter or exit the garden.
Beyond their visual appeal, garden arbors serve a surprising range of practical purposes. They define boundaries within a landscape, guiding foot traffic and creating a natural transition between different zones of your yard. An arbor can separate a vegetable patch from an ornamental garden, mark the entrance to a backyard retreat, or anchor the end of a long garden path. When paired with a gate, the arbor becomes a genuine threshold — a moment of pause between one space and another that adds depth and narrative to your outdoor design.
Building your own garden arbor from a set of plans gives you complete control over dimensions, materials, and style. Store-bought arbors are often too small, too lightweight, or simply too generic to feel like a true investment in your landscape. A custom-built arbor, sized to your specific pathway width and designed to match your home’s architecture, will outlast prefabricated options by decades and become a permanent, beloved feature of your property. This guide walks you through everything you need to know, from selecting materials to installing the optional gate hardware.
Choosing the Right Materials for Long-Lasting Construction
Material selection is the single most important decision you will make when building a garden arbor, because the right choice determines not only how your structure looks on day one but how it performs over ten, twenty, or even thirty years of exposure to rain, sun, freezing temperatures, and the constant moisture that climbing plants introduce. The three most popular materials for DIY garden arbors are pressure-treated lumber, naturally rot-resistant wood species, and composite or vinyl materials, and each comes with its own set of trade-offs that are worth understanding before you make a purchase.
Pressure-treated lumber is the most affordable and widely available option, and modern formulations are far safer than the arsenic-based treatments used decades ago. Today’s pressure-treated wood uses copper-based preservatives that resist rot and insect damage effectively for fifteen to twenty-five years depending on your climate. For posts that will be set directly into the ground, pressure-treated lumber rated for ground contact is essentially mandatory unless you are using a naturally rot-resistant species. The main drawback is that pressure-treated wood can look industrial when freshly cut, though it weathers to a pleasant gray or takes stain beautifully after a year of drying.
Cedar, redwood, and black locust are the premier naturally rot-resistant choices for above-ground arbor components. Cedar in particular is beloved by woodworkers and gardeners alike because it is lightweight, easy to work with hand and power tools, dimensionally stable, and possesses natural oils that repel insects and resist decay without any chemical treatment. Redwood offers similar properties with a richer, warmer color tone, though it is significantly more expensive and less available outside the western United States. Whatever species you choose, finishing the wood with a penetrating oil sealer or semi-transparent stain before installation will dramatically extend its lifespan and maintain its appearance.
- Pressure-treated pine: Most affordable, rated for ground contact, ideal for posts
- Western red cedar: Lightweight, naturally rot-resistant, easy to cut and shape
- Redwood: Premium appearance, excellent durability, higher cost
- Black locust: Extremely hard and rot-resistant, difficult to work but very long-lasting
- Composite lumber: Low maintenance, consistent appearance, higher upfront cost
- Vinyl: Maintenance-free, limited style options, can look less natural
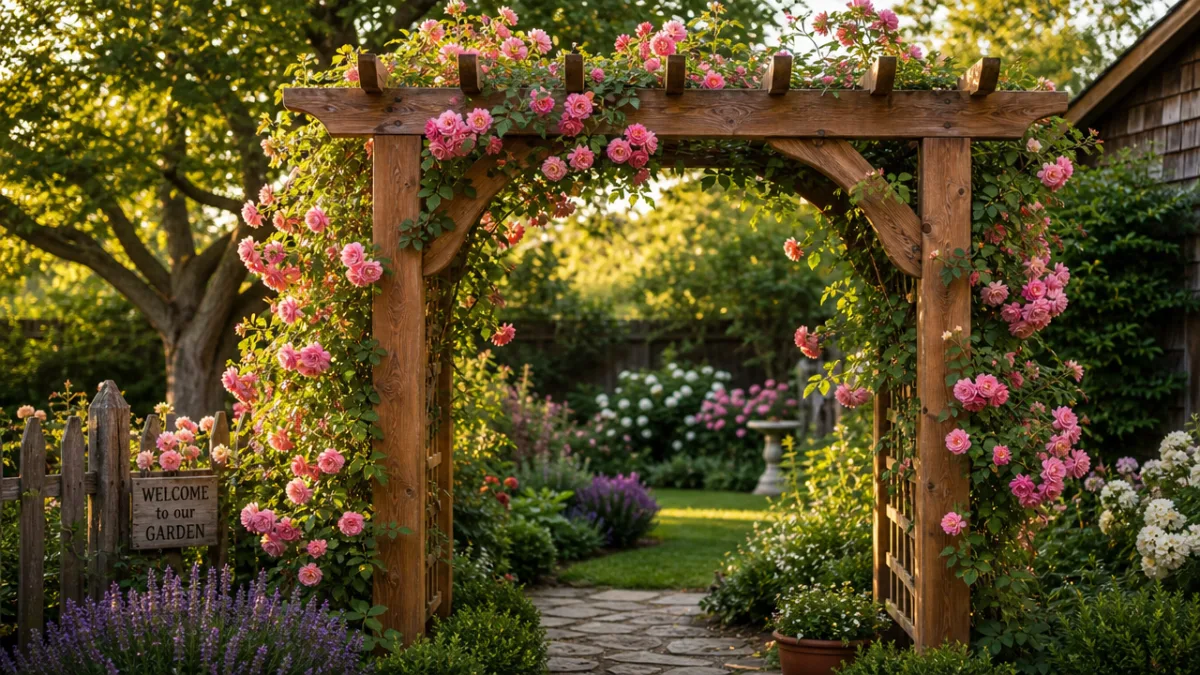
Understanding the Plans: Dimensions and Structural Components
A standard garden arbor plan typically calls for a finished interior width of between 48 and 60 inches, which comfortably accommodates two people walking side by side and allows adequate clearance for a lawnmower or garden cart if the arbor spans a utility path. The height at the center of the arch or at the top of the crossbeams is typically 84 to 96 inches, ensuring that tall adults can pass through without stooping and that the structure feels generous and welcoming rather than cramped and tunnel-like. When reviewing plans, pay careful attention to the finished interior dimensions versus the overall exterior dimensions, as the difference can be several inches depending on the lumber dimensions used.
The four corner posts are the structural backbone of any arbor, and their size and installation method are critical to the long-term stability of the entire structure. Most plans call for 4×4 or 4×6 posts, with 4×6 being the better choice for taller or wider arbors and for any design that will support significant plant weight. Posts are typically set either directly into concrete footings below the frost line or secured to metal post base hardware anchored to an existing concrete surface. Below-grade installation is stronger and more permanent, but post bases allow easier replacement if a post eventually rots, and they keep the wood end grain away from trapped moisture.
The upper framework of the arbor consists of two side beams running parallel to the path, a series of crossbeams running perpendicular overhead, and optionally a decorative lattice or trellis infill on the side panels. Side beams are typically doubled 2×6 or 2×8 members sandwiching each post, which creates a strong connection and a visually substantial appearance. Crossbeams are usually single 2×4 or 2×6 members, spaced 12 to 16 inches apart, and their ends are often cut with a decorative profile — a simple 45-degree angle, a curved bracket shape, or an intricate jigsaw pattern — that transforms a purely structural element into an ornamental one. This detailing is where much of the character of a garden arbor comes from, and it costs nothing extra beyond a few minutes of planning and cutting time.
Key Structural Measurements to Note
When working from a set of plans, it is worth creating a cut list before you begin purchasing lumber, because even small errors in cutting can compound through a project and lead to frames that are out of square or crossbeams that do not align properly. Measure your specific pathway or garden entrance first, then adjust the plan dimensions proportionally if needed. A plan drawn for a 48-inch pathway can usually be scaled up to 60 inches simply by increasing the length of all horizontal members by 12 inches while keeping all vertical dimensions and post specifications the same.
Post spacing is determined by your pathway width plus twice the post width, so for a 4×4 post and a 48-inch interior opening, your outside post-to-post measurement will be 56 inches. The depth of the arbor — how far it extends along the path — is typically 24 to 36 inches, which is enough to create a sense of passage without becoming a full pergola. Deeper arbors at 48 inches or more begin to feel like outdoor rooms rather than simple passages, which may be exactly what you want if you plan to place a bench inside or use the arbor as a focal point with a seating area beneath it.
Step-by-Step Construction Process
Begin construction by laying out your post locations precisely using batter boards and string lines, a technique that allows you to establish perfect square corners even before any digging begins. Drive batter boards into the ground approximately 18 inches beyond each corner of the arbor footprint, then run string lines representing the outside faces of your posts. Use the 3-4-5 triangle method to verify square: if you measure 3 feet along one string and 4 feet along the perpendicular string and the diagonal between those two points measures exactly 5 feet, your corners are at perfect 90-degree angles. This small investment of time at the layout stage prevents the frustration of discovering a racked or skewed frame after hours of work.
Dig your post holes to a depth of at least 12 inches below the local frost line, and a minimum of 24 inches total depth even in frost-free climates. A narrow post-hole digger or rented power auger makes this work manageable. Add 6 inches of gravel to the bottom of each hole for drainage, then set your posts in fresh concrete, using temporary bracing to hold them perfectly plumb while the concrete cures for a minimum of 48 hours. Do not be tempted to skip the curing time — posts that are loaded before the concrete reaches adequate strength can shift slightly, creating problems that are very difficult to correct after the framework is installed.
Once the posts are set and cured, cut them to uniform height using a circular saw and a layout line snapped around all four posts simultaneously. Attach the doubled side beam members to the outside faces of the posts using structural screws or through-bolts, then install the crossbeams across the top, evenly spaced and secured with hurricane ties or structural screws driven at an angle. If your plans include decorative side lattice panels, these can be built as separate frames using 1×2 or 2×2 lumber and standard garden lattice, then attached to the inside faces of the posts. Pre-drill all connections near the ends of boards to prevent splitting, and use exterior-rated hardware throughout to prevent rust staining on the finished wood.
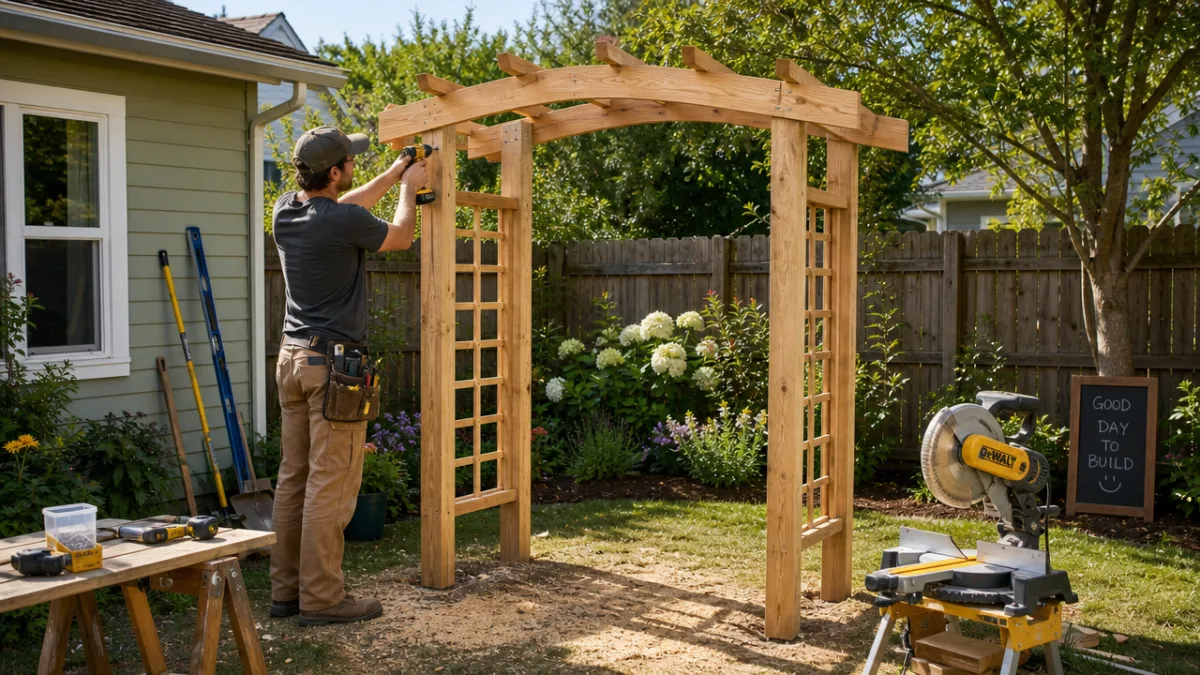
Finishing and Weatherproofing the Structure
After the structural assembly is complete, sand all exposed surfaces lightly with 80-grit sandpaper to remove mill marks, raised grain, and any rough spots that would make the finished surface look unprofessional or catch on clothing. Pay particular attention to cut ends, which absorb finish more readily than face grain and will benefit from an extra coat of sealer. Apply your chosen finish — a penetrating oil, semi-transparent stain, or solid-color exterior paint — according to the manufacturer’s instructions, working systematically from the top of the structure down so that drips are caught by later passes of the brush.
Metal hardware including screws, bolts, joist hangers, and any decorative brackets should all be rated for exterior use, and ideally specified as hot-dipped galvanized, stainless steel, or coated with a proprietary weather-resistant finish. Cheap zinc-plated hardware will rust within a season in most climates, leaving orange stains that bleed into your finish and eventually compromising the structural integrity of the connection as the fastener corrodes. The difference in cost between appropriate hardware and inadequate hardware on a project this size is rarely more than ten or fifteen dollars, making it one of the easiest upgrades you can make.
Adding the Optional Gate: Hardware, Hanging, and Adjustment
The optional gate is in many ways the most satisfying element of this entire project, because it transforms the arbor from a decorative arch into a genuine functional structure with a defined purpose and a satisfying mechanical action. A well-hung gate that swings smoothly, latches cleanly, and hangs plumb after years of use is a point of real pride for a DIY builder. The key to achieving this is understanding that a gate is a lever, and that the longer and heavier the gate, the more torque it exerts on its hinges and post — a force that will cause even a well-built gate to sag over time unless the framing and hardware are adequately specified.
Build the gate frame from 2×4 lumber using mortise-and-tenon joinery or, more practically for most DIYers, using heavy-duty metal corner brackets and structural screws. The critical element that prevents sagging is a diagonal brace running from the bottom hinge corner to the top latch corner — this compression member carries the weight of the gate back to the hinge post and keeps the frame from racking into a parallelogram over time. Add a layer of cedar, pine, or composite boards to the face of the frame to create the visual surface of the gate, spacing them slightly for drainage and air circulation that will help prevent the wood from retaining moisture against the framing members.
Use heavy-duty strap hinges or wrap-around post hinges rated for the weight of your gate, and install them with lag screws driven into solid wood rather than into end grain or thin material. Most residential garden gates weigh between 15 and 40 pounds, and a pair of heavy-duty hinges rated for 50 to 75 pounds each provides adequate strength with a meaningful safety margin. Hang the gate with the bottom edge approximately 2 to 3 inches above the ground to prevent binding on uneven ground or accumulated soil, then adjust the hinges until the gate swings freely through its full arc before installing the latch hardware.
- Build the gate frame with doubled corner connections and a diagonal anti-sag brace
- Attach face boards with stainless steel screws, leaving small gaps between boards
- Mark and pre-drill hinge locations on both the gate frame and the hinge post
- Drive lag screws into solid post material, not into end grain
- Hang the gate and check swing clearance at top, bottom, and both sides
- Adjust hinges as needed until the gate hangs plumb and swings freely
- Install the chosen latch mechanism and strike plate
- Test the gate through multiple cycles before applying finish
Planting and Training Climbing Plants on Your Arbor
A garden arbor achieves its fullest potential when it becomes a living structure, draped in foliage and flowers that soften the timber framework and integrate the construction into the surrounding garden. Choosing the right climbing plants for your arbor depends on your climate, your soil conditions, the amount of sunlight the structure receives, and the visual effect you want to create. Some climbers are vigorous growers that will cover the structure within a season or two; others are more restrained and take several years to establish, rewarding patience with extraordinary floral displays.
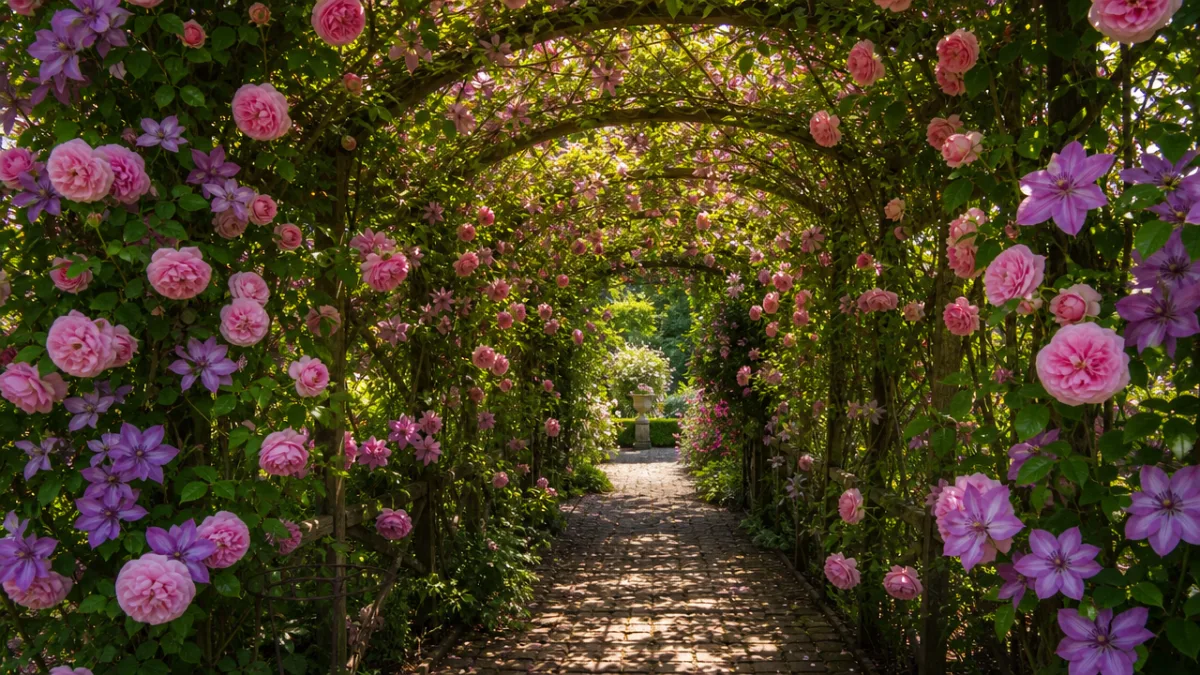
Climbing roses are the classic choice for garden arbors, and for good reason — they offer unmatched floral abundance, intoxicating fragrance, and a seasonal narrative that changes from bare canes in winter to lush green in spring to a spectacular bloom in early summer and often again in fall. For arbor use, choose varieties described as large-flowered climbers or repeat-blooming climbers rather than once-blooming ramblers, which grow extremely vigorously and can overwhelm a modest structure within a few years. Excellent choices include ‘New Dawn,’ ‘Climbing Iceberg,’ ‘Don Juan,’ and ‘Zephirine Drouhin,’ all of which are widely available and reliably perform across a range of climates.
Clematis is perhaps the most versatile climber for arbor use, with hundreds of varieties offering flowers from late winter through fall in nearly every color imaginable. Clematis can be interplanted with climbing roses to extend the season, as most varieties bloom at different times and have a more refined, less aggressive growth habit. Wisteria, while breathtakingly beautiful in full bloom, should be approached with caution on a wooden arbor — its woody stems can exert enormous pressure on the structure over time and may require periodic thinning to prevent damage. Annual climbers including morning glories, black-eyed Susan vine, and sweet peas provide quick, colorful coverage while perennial plants establish themselves.
Maintenance Schedule for Your Arbor and Gate
Maintaining a wooden garden arbor is not a demanding task, but it does require consistent attention at the right times of year to prevent small problems from becoming expensive repairs. A once-yearly inspection — ideally in early spring before climbing plants put on their new growth — allows you to identify any boards that have cracked, split, or begun to show signs of decay, any hardware that has corroded, and any areas where the finish has worn through to bare wood and begun to gray or check. Catching these issues early means a quick repair rather than a structural replacement.
Every two to three years, plan to clean the arbor thoroughly and apply a fresh coat of your chosen finish. Use a stiff brush or a low-pressure wash to remove accumulated dirt, moss, and mildew from the wood surface, then allow the structure to dry completely — at least 48 hours of dry weather — before applying finish. Tighten any fasteners that have worked loose, and replace any corroded hardware with appropriate exterior-grade substitutes. Inspect the post bases at ground level with particular attention, as this is where moisture is most likely to accumulate and where rot most commonly begins in wooden structures.
Gate hardware deserves specific attention in your maintenance routine because moving parts are subject to wear that static structural elements are not. Lubricate hinges once a year with a penetrating oil or light grease to prevent squeaking and binding, and check the alignment of the gate relative to the latch strike plate, as even small amounts of post movement over winter can shift the gate enough to cause the latch to miss. A gate that binds or fails to latch reliably is not just annoying — it is a security concern if you use the arbor to keep children or pets safely within the garden. With regular attention, a well-built arbor and gate will serve your garden beautifully for a generation or more.








What do you think?
It is nice to know your opinion. Leave a comment.