










Wooden Storage Bins: Free DIY Plans to Organize Your Home
Why Build Your Own Wooden Storage Bins?
There’s something genuinely satisfying about building your own storage from scratch. When you make wooden storage bins yourself, you’re in charge of every decision — the size, the finish, the style — so everything ends up fitting your space exactly the way you want it. Store-bought bins just aren’t designed with your specific garage, pantry, or mudroom in mind, but a bin you build yourself can slide right into that awkward corner or sit flush against a wall like it was always meant to be there.
Going the DIY route also saves you a lot of money. A retail storage unit made from comparable hardwood can run you hundreds of dollars, while building one yourself from standard lumber and plywood usually cuts that cost by sixty to eighty percent. On top of that, the materials are easy to find — no special orders, no waiting. Your local home improvement store will have everything you need.
Then there’s the durability question. A lot of mass-produced bins are made from particleboard, MDF, or thin plywood that swells, warps, and starts falling apart after a few years, especially somewhere like a garage or basement where humidity comes and goes. A bin you build yourself from solid wood or quality plywood, properly sealed and put together with good joinery, can last decades with almost no upkeep. You’re trading time instead of money, and what you get in return genuinely holds up better than anything you’d buy off a shelf.
Essential Tools and Materials
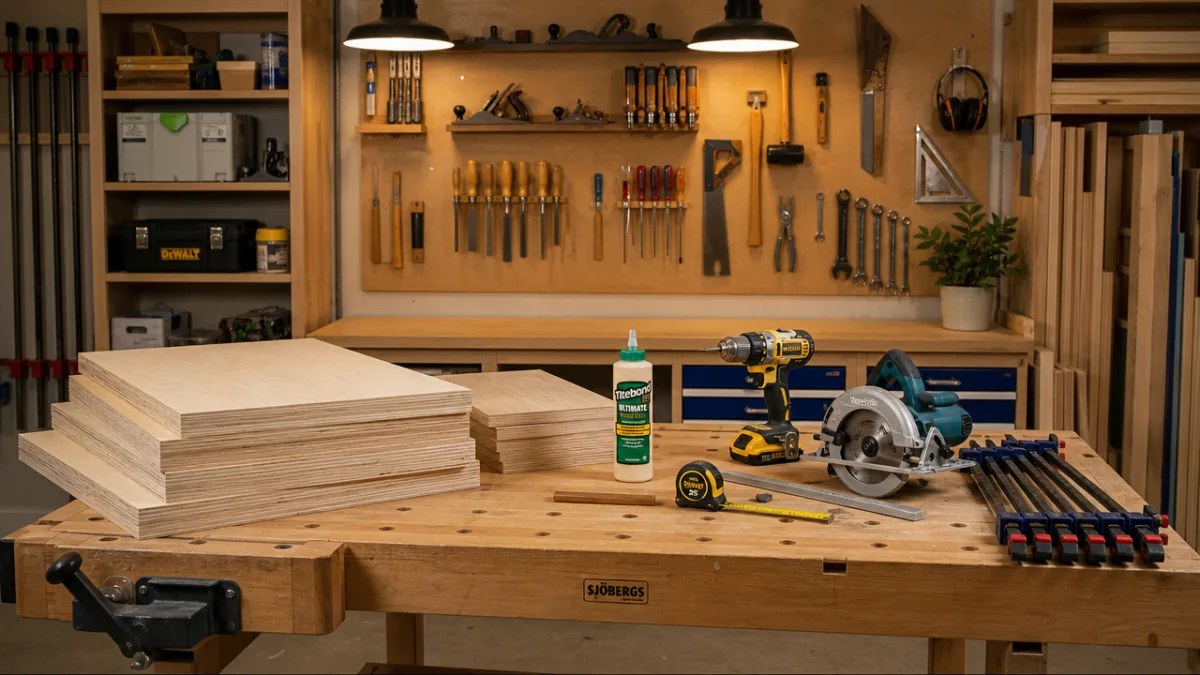
Before you start cutting anything, it’s worth getting all your tools and materials together so you’re not stopping mid-build to run to the store. The good news is that wooden storage bins are one of the most beginner-friendly woodworking projects out there. You don’t need a fully loaded workshop — just a modest toolkit and a bit of patience.
On the tool side, you’ll need a circular saw or miter saw to cut your panels, a drill and driver for fastening everything together, a tape measure and square to keep things accurate, sandpaper in 80 and 120 grit, and some clamps to hold pieces while the glue sets. One tool I’d really recommend picking up if you don’t already have one is a pocket hole jig. It lets you make strong, hidden joints that give your bins a much cleaner look without needing any advanced woodworking skills.
For materials, three-quarter inch sanded plywood is your best friend for this project. It’s strong, affordable, and holds screws well. You’ll also want wood glue, pocket hole screws or standard wood screws, and some wood filler to cover any visible fastener heads before you paint or stain. Here’s a handy checklist to keep nearby:
- One sheet of 3/4-inch sanded plywood (4×8 feet) per large bin
- Wood glue (waterproof formula recommended for garage use)
- 1-5/8-inch and 2-inch pocket hole screws
- 150-grit sandpaper for final finishing
- Primer and paint, or wood stain and polyurethane
- Optional: 1×2 or 1×3 poplar boards for face frames
- Optional: casters or rubber feet for the base
The plywood grade you choose makes more of a difference than you might expect. If you’re planning to paint your bins, cabinet-grade birch plywood is a great pick — it’s smooth and takes paint really nicely with few voids or surface issues. If you’d rather stain and clear-coat, oak or maple plywood shows off beautiful grain. And if these are purely functional shop or garage bins where you care more about budget than looks, standard construction plywood with a coat of paint does the job just fine.
Understanding the Basic Bin Design
At its core, a wooden storage bin is a pretty simple thing: a rectangular box made from two side panels, a back panel, a bottom panel, and optionally a front panel or angled cutout so you can easily reach inside. This basic shape has been around in woodworking for centuries because it works — it’s solid, it’s versatile, and it’s easy to tweak. Whether you’re making a small bin for craft supplies or a big rolling one for sports gear, the building process is essentially the same.
Most free DIY plans use butt joint construction, where panels are simply butted up against each other and fastened with screws and glue. It’s not the fanciest joinery technique out there, but for storage bins it’s completely adequate — and total beginners can pull it off without any trouble. As long as you add glue to every joint, the result is surprisingly hard to pull apart. The pocket hole method is just a cleaner version of this, where the screws go in at an angle and hide inside the joint so they’re not visible from the outside.
A good all-purpose bin size to aim for is roughly 18 inches wide, 16 inches deep, and 12 inches tall. That’s big enough to handle bulky stuff but still easy to stack, carry, and fit on standard shelving. Of course, one of the best parts of building your own is that you can adjust those numbers however you like. Got a specific shelf opening to fill? Just update your cut list before you start sawing and you’re set.
Step-by-Step Construction Guide
Start by writing out a detailed cut list based on whatever dimensions you’ve settled on. Get every piece down on paper — with exact width and length — before you make a single cut. This one habit will save you a lot of frustration, because there’s nothing worse than cutting a piece wrong and having to start over with wasted material. Lay everything out on your plywood sheet with a pencil and straightedge, arranging the pieces to get the most out of every square inch. And if you don’t have a saw yet, many home improvement stores will make straight cuts in your plywood for a small fee — that’s a perfectly valid option.
Once all your panels are cut, do a dry-fit before any glue comes out. Temporarily hold or clamp everything together to make sure the pieces line up, the corners come together squarely, and the whole thing looks like what you imagined. Problems are so much easier to fix at this stage. To check for squareness, measure diagonally from corner to corner in both directions — if those two measurements match, you’re good to go.
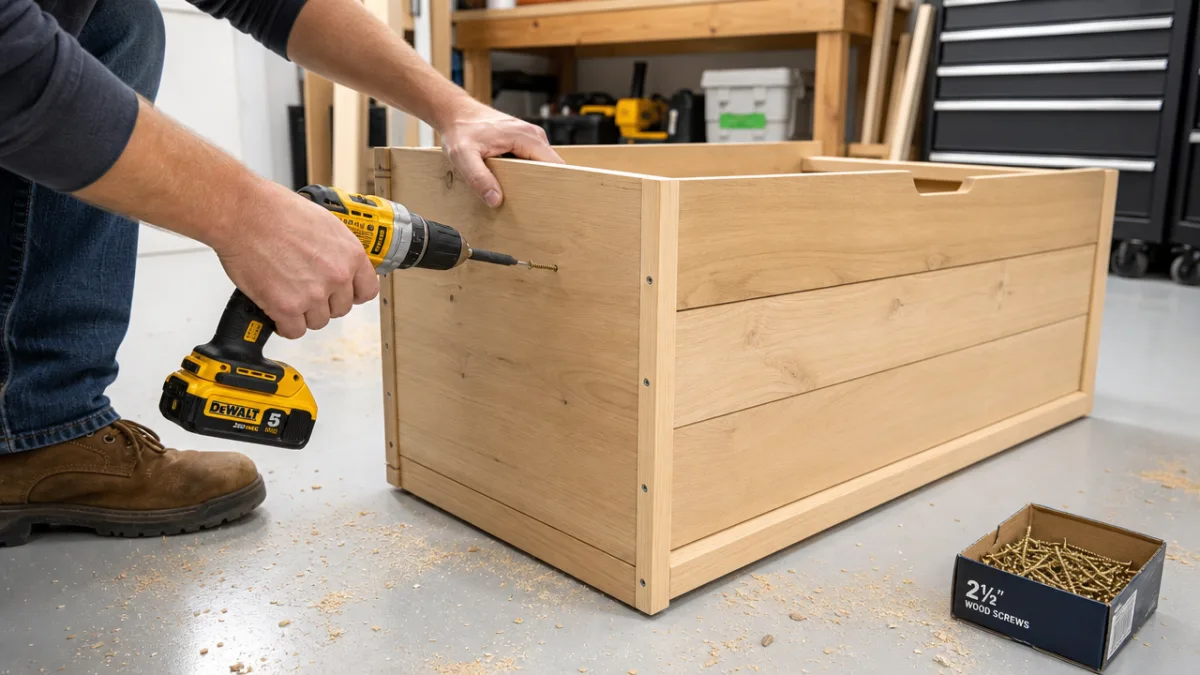
When it comes time to actually assemble, order matters. Start by joining the two side panels to the back panel, then add the bottom. Put glue on every surface that touches another surface, clamp things in place or have someone hold them, and drive your screws. Give the glue at least thirty minutes before you remove the clamps. After that, fill any visible screw holes or gaps with wood filler, let it dry, and sand the whole exterior smooth — start with 80-grit and work up to 120-grit or finer so you’ve got a nice surface to paint or stain.
For finishing, always prime before you paint, especially on the plywood edges — they’re very porous and will soak up paint unevenly if you skip this step. Two coats of a durable latex or enamel paint, with a light sand between coats using 220-grit paper, will give you a really clean result. If you want a natural wood look instead, apply your stain, let it dry completely, then protect everything with two or three coats of water-based polyurethane. For bins that will live in a garage or anywhere they might get wet, go with an exterior-grade finish.
Creative Variations and Customization Ideas
Once you’ve got the basic bin down, a whole lot of fun variations open up. One of the most popular is the angled front bin — sometimes called a drop-front or scoop bin — where the front panel is cut on a diagonal so the opening is taller at the top than at the bottom. This makes it much easier to see and grab what’s inside, which is why it’s such a hit for toy storage, shoe organization, and hobby supply bins in playrooms and craft rooms.
Stacking bins are another great option. Add a lip or rabbet along the top edges and your bins will lock onto each other when stacked, so they won’t slide or tip. Or go a different direction and add a simple wooden cleat to the back of each bin so they can hang on a French cleat wall system. If you haven’t seen this setup before, it’s basically a wall covered in 45-degree angled cleats that accept matching cleats on your bins, letting you rearrange your entire storage layout whenever you want without touching a single screw. It’s incredibly flexible.
Labeling makes a big difference too. You can route a small channel across the front face of each bin to hold a label card, or just stick on small chalkboard panels so you can write and erase contents as things change. Color-coding by category — say, blue for sports gear, green for gardening, red for automotive stuff — creates an intuitive visual system that makes it easy for everyone in the household to find things and actually put them back where they belong.
For heavier items like firewood, big tools, or pet food bags, consider building rolling bins. Attach heavy-duty locking casters to the base and your bin goes from a static storage unit to something you can wheel wherever you need it and lock in place when you’re done. When you’re shopping for casters, choose ones rated for at least double the expected load weight, and make sure they have a locking mechanism so the bin doesn’t wander on you.
Building a Modular Bin System
Individual bins are great, but when you design them to work together as a modular system, that’s when things get really interesting. The idea is to pick a consistent set of base dimensions for all your bins so they stack and align with each other cleanly. For example, if your standard bin is 18 inches wide and 12 inches tall, build a half-size version at 9 inches wide and 12 inches tall — two of the small ones will sit perfectly side by side next to one full-size bin. That kind of flexibility means you can reconfigure your storage as your needs change over time without starting from scratch.
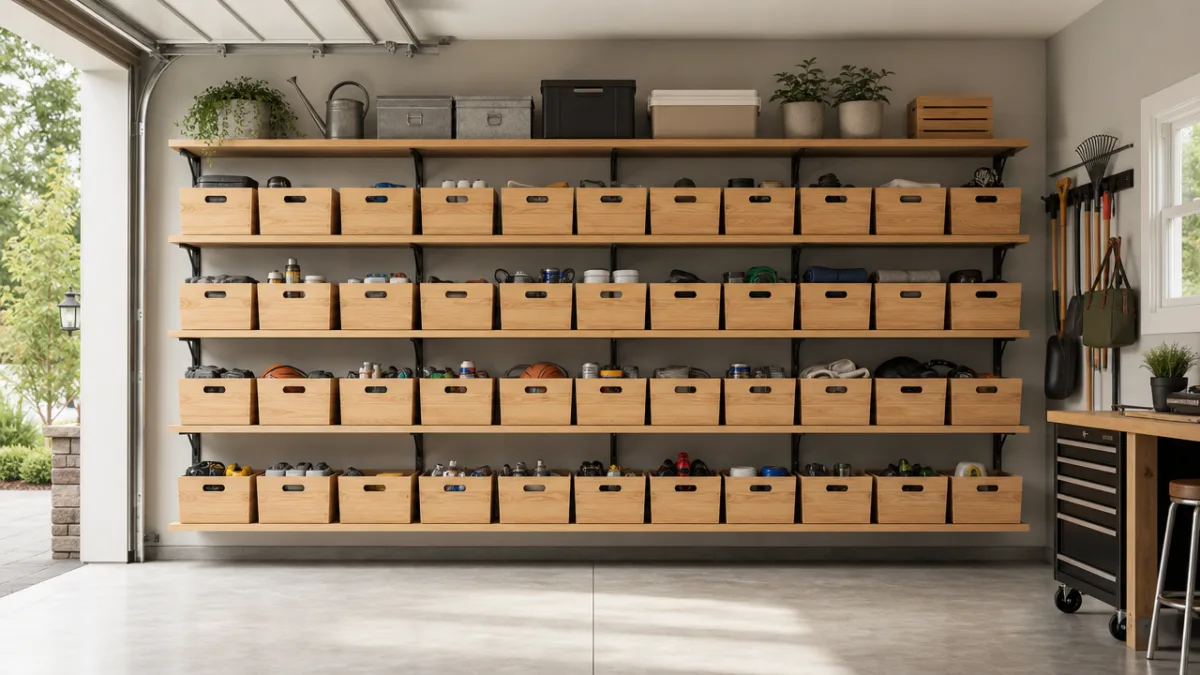
To really pull the system together, build a dedicated shelving unit sized to hold your bins. Design the shelf openings to match your bin dimensions with about a quarter-inch of clearance on each side. Build the whole thing with pocket hole construction and finish it in the same paint or stain as your bins, and you end up with something that looks genuinely built-in — way more polished than a collection of random boxes.
Don’t overlook the walls either. Smaller bins in the eight-to-ten-inch range, mounted to pegboard or a French cleat wall, can hold hand tools, art supplies, cleaning products — really whatever you need off the floor and counters. Moving storage vertical is one of the most effective ways to make a small garage or workshop feel dramatically more open and usable.
Finishing Touches and Long-Term Maintenance
The difference between a bin that looks okay and one that looks really good usually comes down to the finishing details. Sanding to at least 150-grit before applying any finish is non-negotiable if you want a professional result — rough plywood soaks up paint unevenly and doesn’t feel great to the touch. Pay extra attention to the exposed plywood edges, which are rough and fibrous and need a bit more work. Edge banding, iron-on veneer tape, or an extra coat of primer goes a long way toward getting those edges looking clean before paint goes on.
Interior liners are worth thinking about if you’re storing things you want to keep clean and dry. A liner of thin craft vinyl, contact paper, or even a coat of smooth epoxy paint on the inside creates a surface that resists moisture, keeps small items from snagging on the wood grain, and wipes down easily. This is especially useful for kitchen bins holding root vegetables, garage bins that see damp or oily equipment, or bathroom bins with cleaning products.
Keeping your bins in good shape over the years is pretty straightforward if you used a quality finish to begin with. Give them a quick look once a year for signs of wear, especially along the bottom edges and corners where things tend to scuff. A light sand and a fresh coat of paint or polyurethane is all it takes to restore the protective layer before moisture can get in and cause trouble. In humid spaces, tossing a silica gel packet inside enclosed bins helps absorb excess moisture and protect both the bin and whatever’s stored inside. With that small amount of care, your bins will stay solid, good-looking, and useful for a very long time.
And here’s a bonus that’s easy to overlook: building storage bins is genuinely a great way to develop woodworking skills. Your first one will take the longest, and you’ll probably spot a few small imperfections when you’re done. But by your third or fourth bin, your cuts will be cleaner, your assembly faster, and your finishing sharper. A lot of people who got serious about woodworking trace it back to exactly this kind of practical project — something that teaches real skills while producing something immediately useful at home.








What do you think?
It is nice to know your opinion. Leave a comment.