










Budget-Friendly DIY Home Projects for Beginners
Why DIY Home Improvement Is Worth Every Effort
Tackling home improvement projects on your own is honestly one of the best decisions you can make as a homeowner or renter. Sure, saving money is a big part of it — but there’s something else that’s hard to put a price on. That feeling when you step back and look at a freshly painted wall or a shelf you just hung yourself and think, “I did that.” For beginners especially, that first win has a way of building real confidence that carries over into everything else you do.
A lot of people put off DIY projects because they’re convinced the learning curve is brutal or that one wrong move will cost them a fortune. But honestly? Most beginner-friendly projects need only a few basic tools, materials that cost less than dinner out, and a free Saturday afternoon. And with YouTube tutorials, Pinterest, and home improvement blogs covering just about every project imaginable, you can pause, rewind, and learn at your own pace without any pressure.
The money argument alone is pretty hard to ignore. Hiring a pro for something like painting a room, putting up floating shelves, or regrouting bathroom tile can easily run into hundreds of dollars. Do those same jobs yourself, and you’re often paying just for materials — sometimes a small fraction of what a contractor would charge. Over the years, those savings add up in a big way, leaving you with more to put toward bigger renovations, new furniture, or just a healthier financial cushion.
Essential Tools Every Beginner Should Own
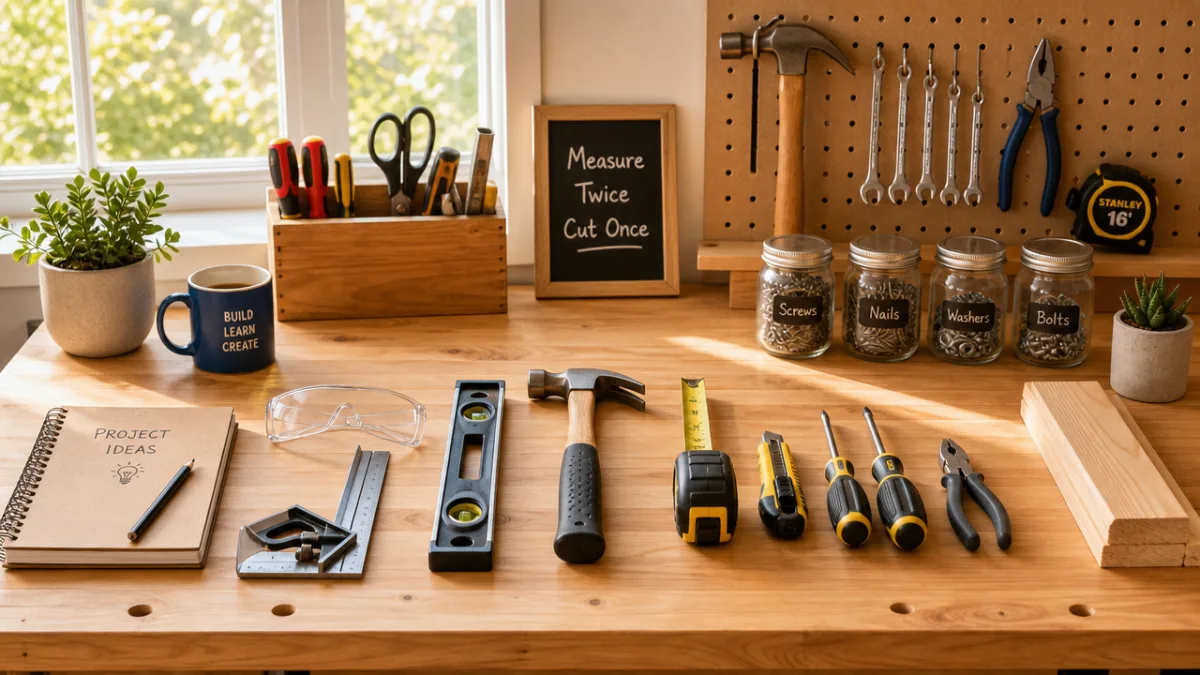
Before jumping into specific projects, it’s worth putting together a solid starter toolkit. You really don’t need a garage packed with power tools to handle most beginner jobs. A modest, well-chosen set of basics will get you through a surprisingly wide range of projects and hold up for years. Think of it as a one-time investment that makes every future project cheaper — because you’ve already got what you need sitting right there.
The heart of any beginner toolkit is measuring and marking: a good tape measure, a pencil, a level, and a speed square will come up in almost every project you ever do. Add a claw hammer, a set of screwdrivers in a few different sizes, a cordless drill with a basic bit set, and a utility knife, and you’ve already unlocked a huge range of projects — hanging art, assembling flat-pack furniture, patching drywall, installing curtain rods, and more.
From there, you can add more specialized tools one project at a time. A miter box and hand saw open things up for trim and molding work. A paint roller kit and a decent set of brushes are must-haves before any painting project. Clamps, a rubber mallet, a stud finder, and a caulking gun are all pretty cheap and will quickly prove they were worth every penny. The idea is to buy a tool when a project actually calls for it — that way every purchase makes sense, and you learn how to use each one properly right away.
- Tape measure, pencil, level, and speed square for accurate measuring and marking
- Claw hammer and multi-size screwdriver set for fastening and assembly tasks
- Cordless drill with a variety of bits for drilling and driving screws efficiently
- Utility knife for scoring, trimming, and cutting a wide range of materials
- Paint roller kit and quality brushes for smooth, professional-looking finishes
- Stud finder and caulking gun for wall projects and sealing gaps
Budget Painting Projects That Transform Any Room
Paint might be the single most powerful thing in a beginner’s home improvement toolkit. A fresh coat can make an outdated room feel completely new, open up a dark space, or turn a generic rental into something that actually feels like yours. The change is often almost startling — and the cost is remarkably low compared to just about any other improvement you could make. A gallon of quality interior paint covers around 400 square feet and runs between $30 and $60, which means even a full room repaint is totally doable on a tight budget.
For beginners, the most important painting lessons have almost nothing to do with how you hold a brush. It’s all about prep. Filling nail holes with spackle, sanding rough spots smooth, wiping down walls to remove dust and grease, and taping off trim and baseboards — these steps will determine the final quality of your work more than any technique ever will. Skipping prep is the classic beginner mistake, and the result always looks it, no matter how good the paint is. Do the prep work and you’ll be genuinely surprised how professional things turn out.
Once you’ve got a basic coat down, there’s a lot more you can explore. Accent walls — where you paint just one wall in a bold or contrasting color — create real visual interest without committing to a whole room overhaul. Geometric patterns with painter’s tape, color-blocked stripes, and ombre effects are all within reach if you’re patient and measure carefully. Cabinet painting is another great beginner project with a big payoff: refresh your kitchen or bathroom cabinets with the right primer and paint, and you can get something that looks close to a full kitchen remodel for a fraction of the cost.
Simple Shelving and Storage Solutions You Can Build Yourself
Everyone needs more storage, and building your own shelving is one of the most satisfying projects you can take on as a beginner. Floating shelves in particular have exploded in popularity — and for good reason. They’re relatively simple to install, work in practically any room or style, and can be customized to whatever length and finish you want. A set of three in a living room, bedroom, or home office adds real storage and display space while also looking like an intentional design choice rather than an afterthought.
The basic process is pretty approachable: find your wall studs with a stud finder, mark your desired height with a level line, attach a bracket or mounting rail into the studs, then slide or secure the shelf board in place. For anything that’ll hold real weight, always go into studs — don’t rely on drywall anchors alone. Shelf boards can be bought pre-finished from any home improvement store, or you can pick up raw lumber, sand it smooth, and stain or paint it to match your space. That second option adds a level of personalization that you just can’t get off the shelf (no pun intended).
Beyond floating shelves, beginners can take on freestanding bookcases, closet organization systems, under-bed storage frames, and garage shelving using basic dimensional lumber and a handful of fasteners. IKEA hacks have also become a popular way to stretch a budget further — modifying, combining, or refinishing standard flat-pack pieces to create something that looks genuinely custom. Adding legs to a basic cabinet, painting a bookcase a dramatic color, or arranging multiple units to mimic a built-in are all well within beginner reach and can look seriously impressive when they’re done.
- Locate and mark wall studs using a reliable stud finder before any shelf installation
- Use a long level to draw a perfectly horizontal guideline for your mounting hardware
- Choose the right bracket weight rating based on what you plan to store or display
- Sand and finish raw lumber boards before installation for a polished, professional look
- Secure all hardware into studs or use appropriate anchors rated for your shelf load
Refreshing Your Home with Peel-and-Stick and Removable Upgrades
One of the most exciting things to happen in the beginner DIY world over the last few years is the boom in high-quality peel-and-stick products. These are a game changer — especially for renters who can’t make permanent changes but still want their space to feel like home. Peel-and-stick wallpaper, tile, flooring, and backsplash panels have all come a long way in terms of quality, and many of them genuinely rival the look of their permanent counterparts for a fraction of the effort and cost.
Peel-and-stick wallpaper is probably the most transformative of the bunch. Applied carefully on a clean, smooth wall, it creates a feature wall that looks completely intentional. Botanical prints, geometric patterns, classic stripes, textured grasscloth — the options are really impressive these days. Application takes patience and a steady hand, but no special skills: measure, cut, peel, and smooth out bubbles as you go. Most good brands are repositionable while you work, which gives beginners the breathing room to get the alignment right without things turning stressful.
Peel-and-stick tile is another revelation for anyone wanting to update a kitchen or bathroom without a full renovation. Applying a peel-and-stick backsplash over an existing, clean surface can take a dated kitchen from dull to completely refreshed in a single afternoon. And peel-and-stick vinyl plank flooring has gotten good enough to genuinely fool the eye — offering a convincing wood or stone look that installs without adhesive, nails, or anything fancy in most cases. If you’re looking to make a real visual impact quickly and cheaply, these removable upgrades are hard to beat.
Outdoor and Curb Appeal Projects on a Shoestring Budget
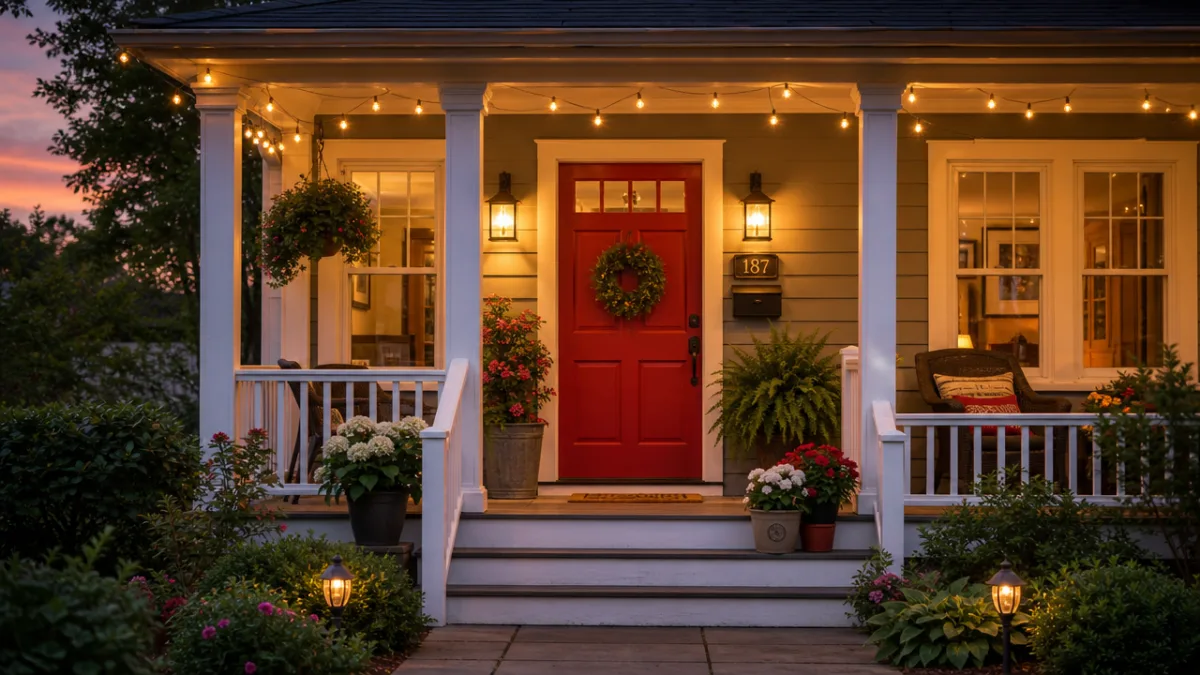
First impressions stick, and the outside of your home is what everyone sees first — visitors, neighbors, and eventually buyers. The good news is that some of the highest-impact curb appeal upgrades are also the most affordable and beginner-friendly. A freshly painted front door, for example, is one of the best returns on investment in all of home improvement. The right door color says a lot about a home — personality, care, attention to detail — and the whole project usually costs under $50 in paint and supplies and takes just a few hours.
Landscaping and garden work offer another way to make a big outdoor difference without spending much. Defining garden beds with simple edging — metal, stone, or rubber — instantly gives your yard that “someone takes care of this” look for very little money. Planting a mix of perennials is a smart long-term move since they come back every year without needing to be replanted. And mulching beds does triple duty: it looks tidy, cuts down on watering, and keeps weeds at bay. It’s one of the smartest and easiest investments a beginner gardener can make.
Outdoor living has become a real priority for homeowners, and you don’t need a big budget to create a genuinely inviting patio or deck space. A string of outdoor Edison bulbs overhead immediately makes any area feel warm and welcoming. A coat of porch paint or concrete stain can transform a worn, cracked patio slab into something you’d actually want to hang out on. And building a simple raised garden bed from cedar boards is a solid weekend project — usually around $50 to $80 in materials — that pays you back in fresh herbs or vegetables season after season.
Building Good Habits and Growing Your DIY Skills Over Time
The beginners who get the most out of DIY tend to share one thing in common: they treat each project as a chance to learn, not just a task to get done. When you think of it that way, a small mistake becomes a useful lesson rather than a frustrating setback, and your skills start to stack up faster than you’d expect. Start simple — paint one room before you take on a whole house, build one shelf before you design an entire built-in — and let your confidence grow from real experience rather than jumping ahead of where you actually are.
Safety is one of those habits that needs to be part of your very first project, not something you get around to later. Wear safety glasses when you’re cutting, drilling, or sanding. Use a dust mask when sanding or working with old paint. Always cut away from your body. Know how to use a ladder safely — three points of contact, no overreaching. These things take no extra time once they become second nature, and they protect you from the kinds of injuries that can put a stop to a project — or a hobby you’re just starting to fall in love with.
Community is one of the most underrated resources out there for new DIYers. Local maker spaces and tool libraries let you use expensive equipment without having to buy it. Online communities on Reddit, Facebook groups, and Pinterest boards are full of experienced enthusiasts who are genuinely happy to help you troubleshoot or just cheer you on. A lot of local hardware stores even offer free or low-cost weekend workshops on things like tile installation, basic plumbing, and drywall repair. Getting plugged into those communities turns DIY from a solo struggle into something you’re doing alongside other people — and the friendships and knowledge you pick up along the way end up being just as valuable as anything you build.








What do you think?
It is nice to know your opinion. Leave a comment.