










Transform Your Entryway: DIY Console Table Makeover Projects
Why Your Entryway Deserves More Attention
Your entryway is literally the first thing guests see when they walk through your door — and yet it’s probably the most neglected spot in the whole house. A well-styled console table can completely change that. Whether your home has a cozy farmhouse vibe, a clean modern feel, or something a little more eclectic and layered, the right console table makeover can turn that awkward little entry space into something that actually feels like you.
It’s easy to underestimate what one piece of furniture can do when it’s in the right spot. A console table near your front door pulls double duty — it gives you somewhere to toss your keys and sort through mail, and it creates a visual anchor that people notice the second they step inside. The problem is that most of us either ignore that wall entirely or throw something generic in front of it and call it a day. It doesn’t have to be that way.
Here’s the thing: you really don’t need a big budget or a design degree to pull this off. DIY console table makeovers are one of those projects where the payoff is immediately obvious, which makes them incredibly satisfying. A little planning, the right materials, and some creative confidence go a long way. You might be surprised how much a single piece of furniture — reworked with your own hands — can change the entire feeling of your home.
Choosing the Right Console Table for Your Space
Before you buy anything or crack open a can of paint, you need to figure out what will actually fit and work in your space. Measure your wall carefully and leave at least 12 to 18 inches of breathing room on each side if you’re working with a narrow hallway. A table that’s too big will make everything feel crowded and stressful; one that’s too small just kind of disappears. Most console tables land somewhere between 28 and 36 inches tall and 40 to 60 inches wide, so you have some flexibility there.
Depth matters more than people realize, especially in a busy entryway. Console tables are intentionally shallow — usually 12 to 16 inches — so they sit flush against the wall without getting in anyone’s way. If your entry sees a lot of foot traffic or doubles as a mudroom situation, go shallower. If you’ve got a wider, more generous hallway where the table is more of a showpiece than a workhorse, you can go a little deeper without it feeling like an obstacle.
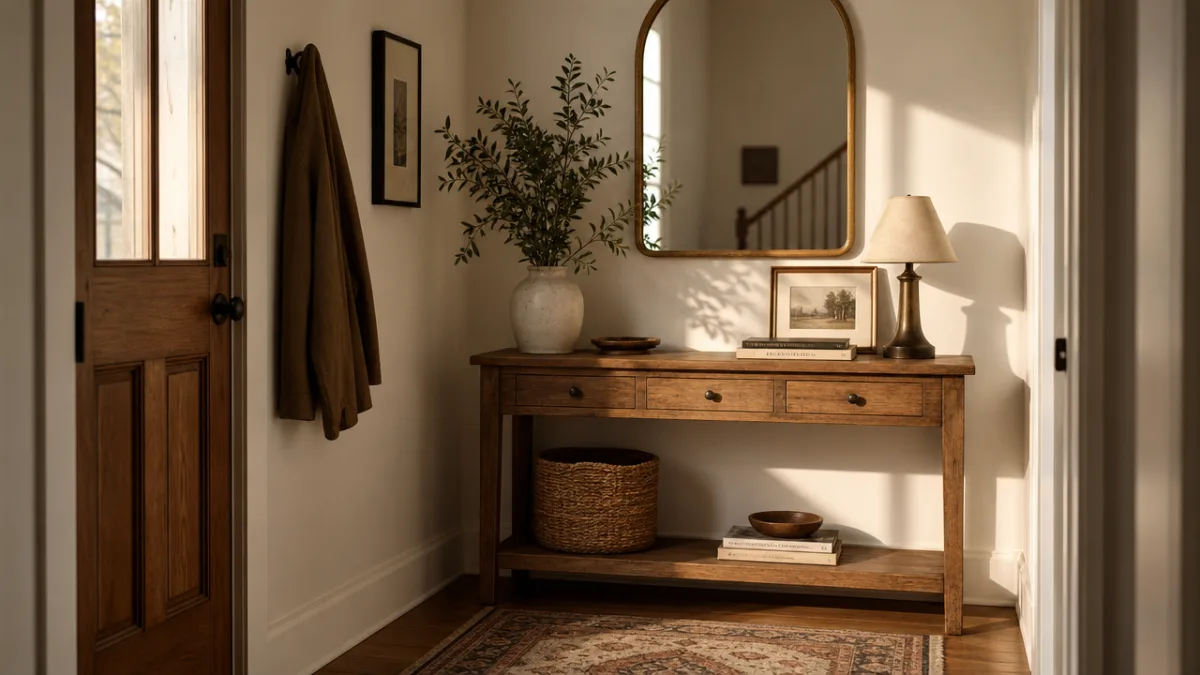
You’ll also want to think about what the table is actually made of, because that shapes your whole makeover approach. Solid wood is your best friend for DIY projects — you can sand it, stain it, paint it, distress it, pretty much anything you want. Laminate or veneer takes a bit more prep work but is totally doable with the right primer. Metal-legged tables with wooden tops are a great starting point for industrial or contemporary looks, and ornately carved wood frames are just begging for a dramatic traditional or maximalist treatment.
Popular DIY Makeover Techniques and Styles
Paint is the classic console table makeover move, and honestly it earns that reputation. It’s affordable, accessible, and the results can be jaw-dropping for how little effort it takes. Chalk paint especially has a devoted following in the DIY world because it sticks to almost anything without a lot of priming, dries fast, and gives you that gorgeous matte, velvety finish. Warm white, dusty sage, navy, and charcoal are all proven entryway colors that tend to play nicely with a wide range of floors and wall colors.
If you want something that feels more organic and natural, stripping the piece back and doing a wood stain makeover is a completely different kind of beautiful. When there’s solid wood hiding under old paint or a tired finish, revealing that grain can be genuinely stunning. Dark walnut reads as rich and sophisticated — especially with brass hardware — while lighter stains like white oak or natural pine keep things bright and almost Scandinavian in feel. Gray-toned stains are great if you want something that bridges rustic warmth and modern cool.
For the more adventurous among us, decoupage, contact paper, and tile inlay can produce results that are truly one of a kind. Decoupage with vintage book pages, botanical prints, or sheet music adds a layer of personality and storytelling to an otherwise plain tabletop. Peel-and-stick contact paper in marble, terrazzo, or geometric patterns can cover up a scratched or beat-up surface in less than an hour. Tile inlay is a bit more involved but creates a finish so durable and striking that even a five-dollar thrift store find starts looking like something bespoke.
Hardware and Finishing Touches That Elevate Everything
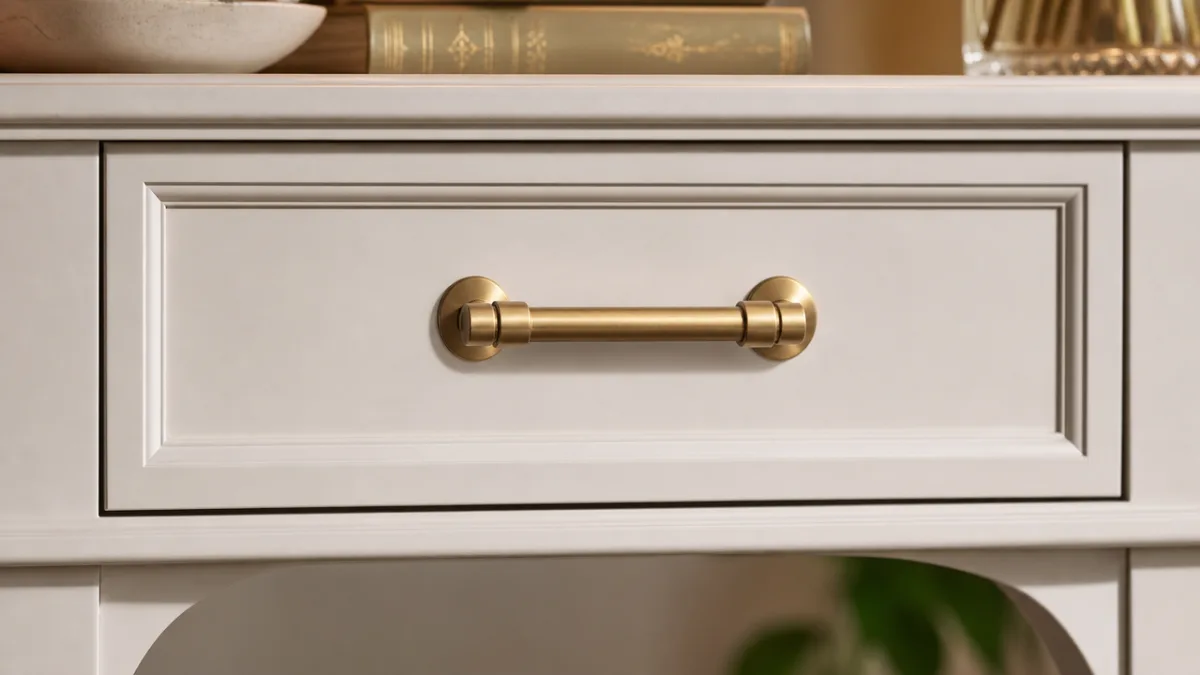
If experienced DIYers have one piece of advice burned into their brains, it’s this: hardware is the jewelry of furniture. Swapping outdated drawer pulls or knobs is one of the quickest, most satisfying upgrades you can make, and it costs almost nothing. Brushed brass feels elegant and timeless. Matte black skews contemporary and a little dramatic. Antique bronze or pewter leans into vintage or traditional territory. Spending fifteen to thirty dollars on new hardware can make a painted table look like it cost three times as much — it’s honestly one of the best tricks in the book.
Leg replacements are something a lot of DIYers skip over, which is a shame because they can completely transform the personality of a piece. Hairpin legs in raw steel or powder-coated black will modernize a chunky old wooden top instantly. Turned wooden legs add cottage warmth. Tapered mid-century legs painted in a contrasting color give you something playful and retro. Swapping legs only requires basic tools and is well within reach for a confident beginner — huge impact, minimal effort.
Once your main makeover is done, don’t skip the topcoat. It’s not glamorous, but it’s what keeps all your hard work from getting wrecked by everyday use and the humidity that comes with being near a front door. Polycrylic in matte or satin is a popular choice for painted surfaces because it dries clear and won’t yellow over time the way oil-based polyurethane sometimes can. For stained wood, a penetrating oil like Danish oil or tung oil deepens the grain while offering solid protection. Two to three thin coats with a light sand in between will get you that smooth, durable, professional-looking finish.
Styling Your Newly Transformed Console Table
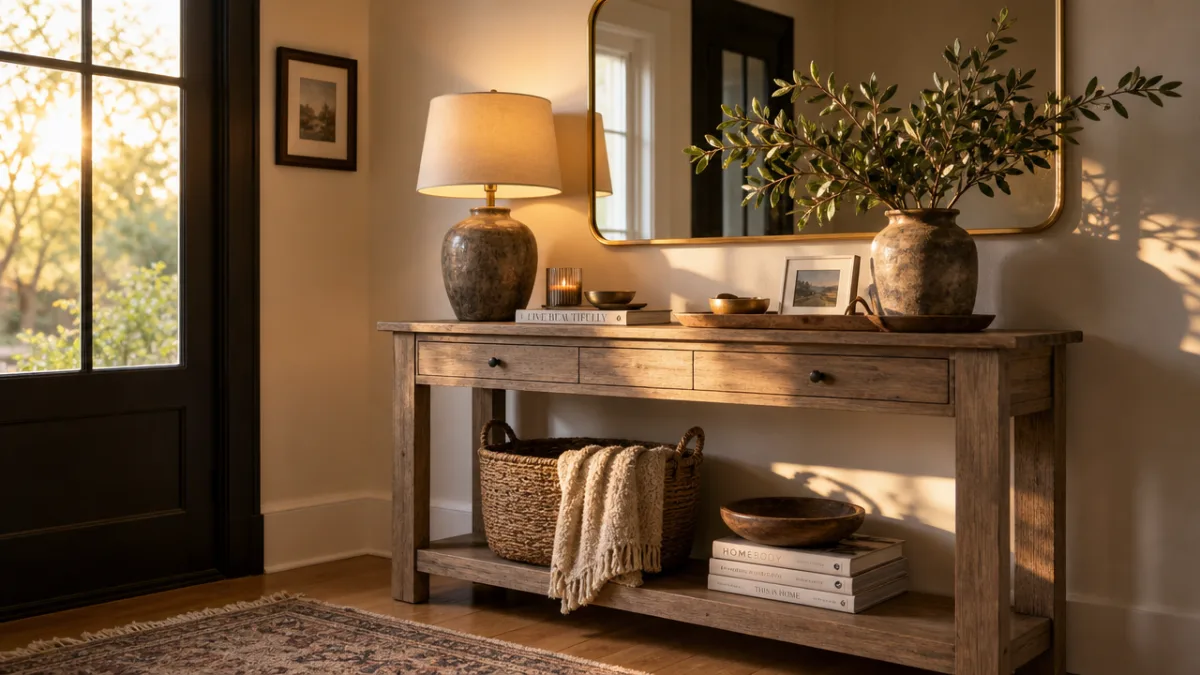
A beautifully refinished table is only half the story — what you put on it (and around it) is what actually brings the entryway to life. The formula that tends to work best is pretty simple: vary the heights of your objects, mix materials and textures, and include something living or organic. A tall lamp on one side, a lower vase or bowl on the other, and a mirror or piece of art hung above to close out the vertical composition and add a little depth to the wall. It sounds basic, but it works every time.
You can absolutely build in some practical storage without making the surface look like a junk collection zone. A small ceramic tray or wooden catchall keeps keys, coins, and sunglasses contained and intentional-looking. A woven basket tucked underneath hides shoes, scarves, or umbrellas. If your table has drawers, a few small organizers inside make everyday essentials easy to grab without cluttering the surface. The goal is a surface that works as hard as it looks good — because no matter how pretty an entryway is, if it doesn’t have a system, it will become a dumping ground within a week.
Seasonal styling is one of those habits that sounds like extra work but is actually kind of fun once your console table is set up. Swapping out a few accessories with the seasons keeps the space feeling alive without a full redesign. In spring and summer, lighter linens, fresh botanicals, and bright ceramic accents feel right. Fall calls for chunky knit runners, dried botanicals, and warm amber tones. In winter, a cluster of candles, some pine branches, or a few mercury glass pieces bring in that cozy, hygge feeling. These tiny updates take maybe ten minutes and make a real difference.
Budget Breakdown and Sourcing Tips for Your Makeover
One of the best things about this kind of project is that it’s genuinely doable at almost any budget. A thrift store or Facebook Marketplace console table can often be had for ten to fifty dollars, and a full transformation — paint, new hardware, topcoat — might run you another twenty to sixty dollars depending on what you use. You can realistically walk away with a custom-looking entryway piece for under a hundred dollars. That’s not even in the same conversation as buying something comparable from a retail furniture store.
When you’re hunting for your base piece, try not to let cosmetic problems scare you off. Scratches, ugly paint colors, missing hardware — those are exactly the things a makeover takes care of, and they’re usually why a great piece is priced so low. Estate sales, Habitat for Humanity ReStores, antique malls, and online marketplace listings are all worth checking regularly. Always prioritize solid wood pieces with good bones, even if the finish is genuinely terrible, because the underlying construction is what determines how the finished project will hold up.
For supplies, don’t overlook sample sizes. A lot of paint brands sell small sample pots with enough product to cover an entire piece of furniture, and buying a sample instead of a full quart can cut your paint cost by two-thirds or more. For hardware, discount home stores, architectural salvage shops, and online auction sites can turn up beautiful pieces at a fraction of boutique prices. Keep a running list of the specific finishes and styles you’re drawn to — that way when you stumble across a deal, you can move on it quickly without second-guessing yourself.
- Always sand between coats of paint or stain for a smoother, more professional finish.
- Use painter’s tape to protect legs or hardware you don’t want painted.
- Apply a wood conditioner before staining softwood surfaces to prevent blotching.
- Test your chosen paint color on a scrap piece or inconspicuous area before committing.
- Allow each coat of topcoat to cure fully before placing objects on the surface.
- Consider adding felt pads to the bottom of any items placed on the tabletop to prevent scratching your finish.
The most important thing to keep in mind as you get into this is that you’re not chasing perfection — you’re chasing personality. The little imperfections that come with handmade work are exactly what make a piece feel real and specific rather than mass-produced. Your entryway should say something about who you are and how you actually live, and a console table you’ve transformed with your own hands does that better than anything you’d find on a showroom floor. Start small, trust yourself, and enjoy the process of making something genuinely beautiful with your own two hands.








What do you think?
It is nice to know your opinion. Leave a comment.