










DIY Mug Rack: Free Woodworking Plan — Build Your Own Beautiful Kitchen Display
Introduction: Why Every Coffee Lover Needs a Handmade Mug Rack
There’s something genuinely satisfying about grabbing your morning coffee mug from a rack you built yourself. A DIY mug rack is one of those small but meaningful home projects that manages to be both practical and personal — it takes a cluttered cabinet and turns it into an organized little display you’ll actually enjoy looking at. Whether you’ve been woodworking for years or you’re picking up a saw for the very first time, this project is approachable, affordable, and honestly pretty fun to pull off.
Beyond just looking nice, a wall-mounted mug rack solves a very real problem. Kitchen cabinets fill up fast, and mugs — with their awkward handles and all those different heights — are some of the worst offenders when it comes to stacking neatly. Move your collection to the wall and you suddenly free up shelf space, stop chipping handles, and actually get to see those mugs you love instead of digging past three others to find the right one.
This free woodworking plan walks you through everything, from picking out your lumber to putting on the final coat of finish. The design is intentionally flexible, so you can scale it up or down depending on how many mugs you have, how much wall space you’re working with, and what kind of look you’re going for. With a modest set of tools and one afternoon of your time, you can have something functional, good-looking, and entirely your own hanging in your kitchen.
Materials, Tools, and Lumber Selection
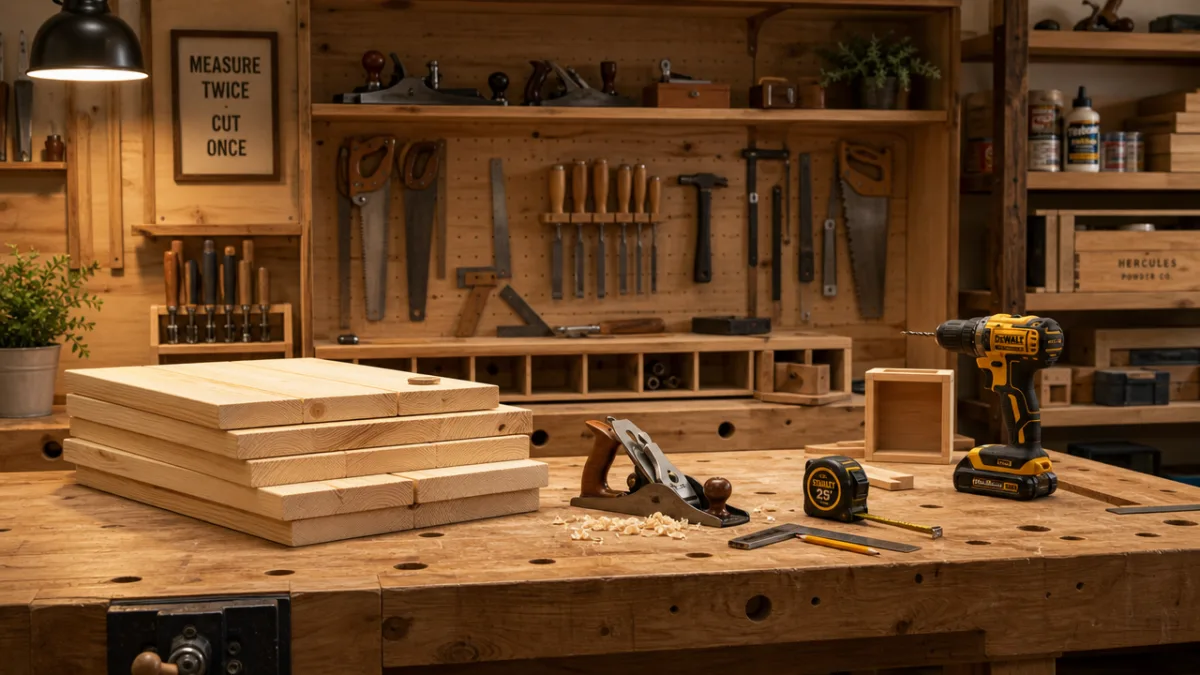
Getting your materials right from the start makes everything else easier. For this build, the main component is a single 1×6 board in pine, poplar, or oak, cut somewhere between 24 and 36 inches long. Pine is the most wallet-friendly choice and takes paint beautifully, which makes it a great pick if you’re going for a colorful or farmhouse-style look. Poplar has a smoother, more consistent grain that holds stain more evenly, and oak brings a rich, warm character that feels right at home in a rustic or craftsman-style kitchen.
For the hooks, you’ve got two solid options. Wooden shaker pegs are cheap, easy to find at any craft store, and sized to press right into a pre-drilled hole with a little wood glue — no hardware needed. Cup hooks are small screw-in metal hooks that lean a bit more industrial or vintage, which works really well in the right kitchen. Either one holds mugs just fine, so go with whatever fits the vibe you’re after. For a standard-length board, plan on five to eight hooks spaced roughly four to five inches apart.
As for tools, you don’t need much. A miter saw or circular saw to cut the board, a drill with a bit matched to your peg or hook size, sandpaper in 80-grit and 220-grit, wood glue if you’re using shaker pegs, a level, and wall anchors and screws for mounting. A router is a nice bonus if you want to dress up the edges, and clamps are handy while glue sets — but neither is essential. If you don’t own a saw, most home improvement stores will cut your lumber to size for free or just a couple of dollars when you buy it.
Step-by-Step Build Instructions
Start by cutting your backboard to length. Thirty inches works great for a six-mug display, but adjust freely based on your wall space — there’s no wrong answer here. Once it’s cut, run your 80-grit sandpaper over the face and edges to knock off any rough spots or mill marks, then follow up with the 220-grit for a smooth, finish-ready surface. It’s worth taking your time on this step. The smoother your prep, the better everything looks in the end, regardless of whether you’re painting, staining, or going with a clear coat.
Next, mark where your hooks or pegs will go. Find the center of each hook location by dividing the board’s length evenly. On a 30-inch board with six hooks, you might start 3 inches in from each end and space the remaining four hooks evenly between them — that lands you at roughly 4.8 inches between centers. Use a square to make sure each mark hits the center of the board’s width. Getting this right keeps everything looking clean and evenly spaced once the mugs are hanging.
If you’re going with shaker pegs, drill your holes to the depth the manufacturer recommends — usually about three-quarters of an inch — using a bit that matches the peg diameter snugly. Put a small dab of wood glue in each hole, press the peg in firmly, and wipe off any squeeze-out right away with a damp cloth. Let the glue cure for at least two hours before you do anything else with it. If you’re using cup hooks instead, wait until your finish has fully dried before screwing them in. A small pilot hole beforehand makes it much easier and helps prevent splitting, especially close to the ends of the board.
Finishing Techniques for a Professional Look
The finish is where your mug rack really finds its personality. Paint is the most popular route, especially if you want something clean, modern, or farmhouse-y. A chalky matte white or a deep navy blue both look great against a light wall and let the mugs do the talking. Apply two thin coats of water-based interior paint, giving it a light sand with 220-grit between coats. A small foam roller gives you a more even finish on flat faces, while a brush handles the edges and end grain better.
If you’d rather let the wood show, a stain-and-topcoat combination is the way to go. Gel stains are especially beginner-friendly because they stay on the surface instead of soaking in instantly, giving you more time to work and a more even result. Wipe it on with a lint-free cloth going with the grain, then remove the excess before it starts to tack up. Finish with two coats of water-based polyurethane in a satin or matte sheen — skip the high-gloss, since it tends to show fingerprints and every little imperfection far more than you’d want on a kitchen piece.
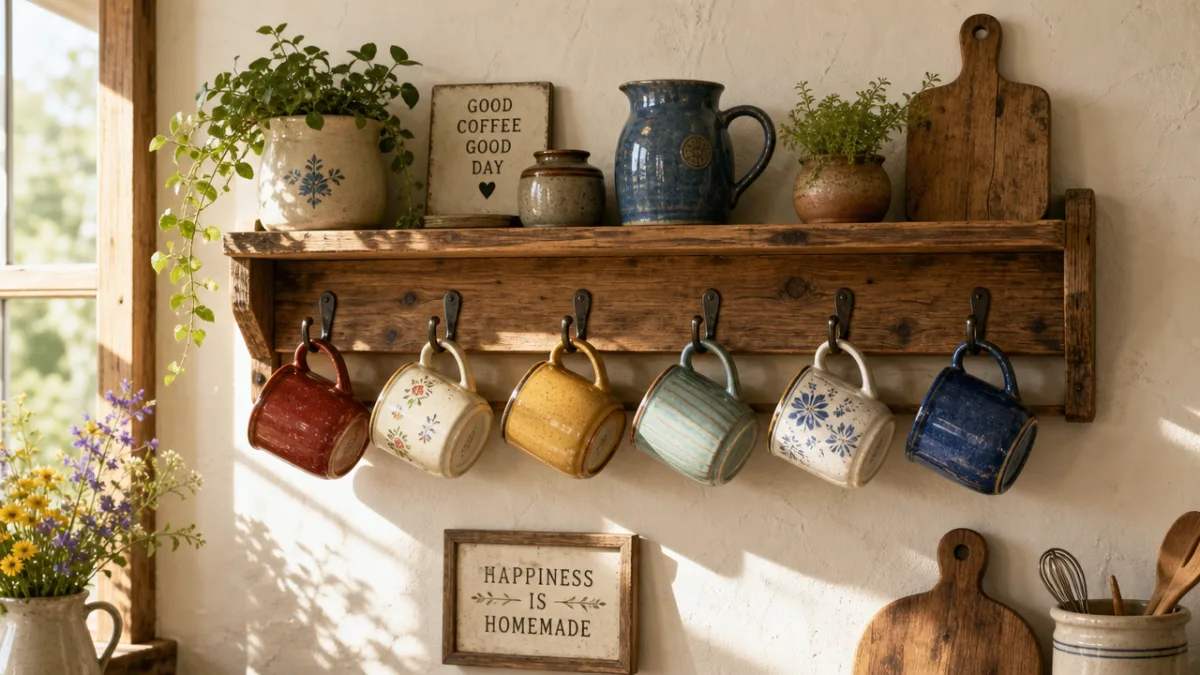
For something with more character, a whitewashed or distressed finish is a fantastic option. To whitewash, mix white paint with water at about a 1:1 ratio, brush it on generously, then immediately wipe most of it off with a dry rag. What’s left is a soft veil of color that lets the grain and texture come through in a really natural, lived-in way. Distressing is even simpler — just sand the edges and corners after painting to make it look like it’s been around for a while. Both techniques shine on pine, which has an open, characterful grain that holds pigment in all the right places and gives even fresh lumber a warm, storied feel.
Mounting Your Mug Rack Safely and Securely
Mounting is the step that really matters. A rack full of ceramic mugs puts a surprising amount of sustained pull on your wall, so it’s worth doing this part carefully. Before you drive a single screw, grab a stud finder and locate the wall studs behind the drywall. You want at least one of your mounting screws going directly into a stud — that’s where the real holding strength is. Mark the stud locations lightly with a pencil, then hold the rack up to the wall to see whether any of your planned screw holes line up.
Pre-drill two mounting holes through the back of the board, about two to three inches from each end. If you want the rack to hang flush and come down easily, a keyhole router bit creates a slot that lets it hang and lift off cleanly. For a more permanent setup, simple through-holes work just as well. Use 2.5-inch wood screws into studs wherever possible, and toggle bolts or heavy-duty drywall anchors rated for at least 50 pounds everywhere else. Drive the screws into the wall first, leaving the heads sticking out about a quarter inch, then drop the board onto them and press it flat.
Before you load it up with mugs, check it with a level. Even a small tilt becomes really obvious once things are hanging. If you need to adjust, loosen one screw a little and shift the board until the bubble is centered. Once it’s level, drive the screws home and give the whole thing a good firm tug in a few directions — it shouldn’t move at all. A properly mounted rack will feel completely solid under the weight of a full set of mugs. Spending an extra five minutes here is absolutely worth it.
Customization Ideas and Creative Variations
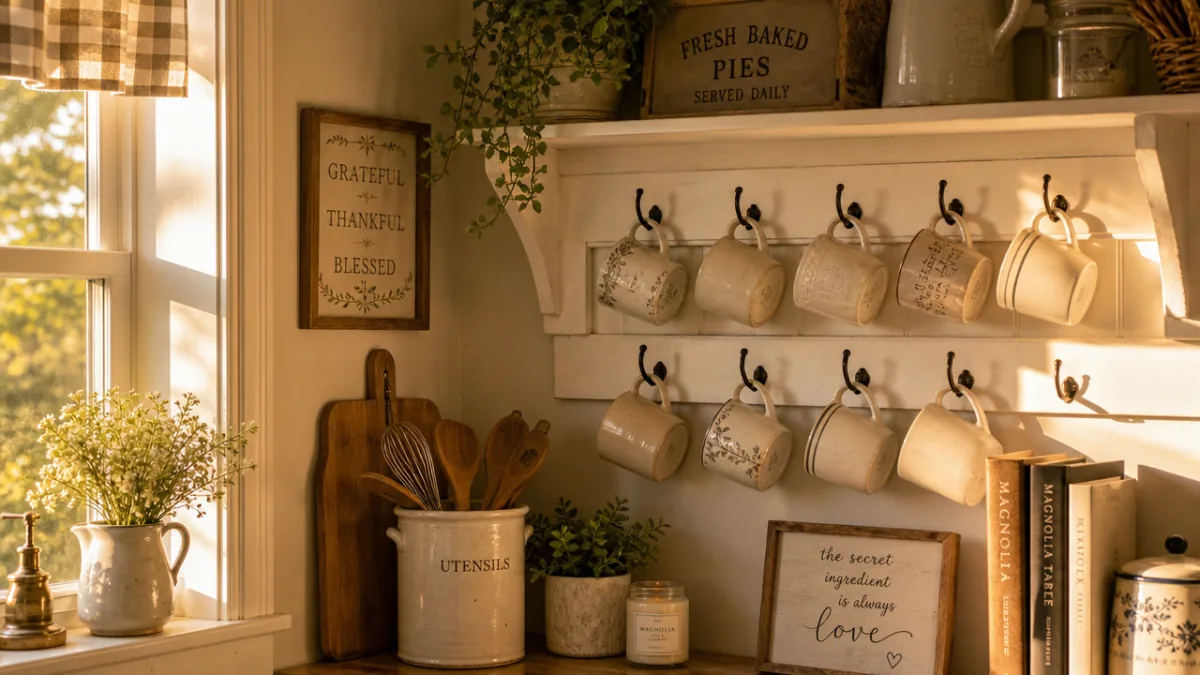
One of the best parts of building something yourself is that you’re not stuck with one design. Once you’ve got the basic rack down, there are so many fun directions you can take it. A popular one is adding a small shelf along the top to hold a coffee canister, a little potted herb, or a chalkboard sign. Suddenly you’ve got a full coffee station display instead of just a rack. All it takes is attaching a 1×3 board along the top edge with pocket screws or a couple of L-brackets.
Another easy way to add visual interest is cutting the top edge of the backboard into a decorative shape. A gentle arch, a scalloped edge, or a barn-style silhouette can all be cut with a jigsaw and completely change the feel of an otherwise simple rectangular board. If you want to go further, a wood-burning tool lets you add text like “Good Morning” or “But First, Coffee” directly to the wood before you apply your finish. Stencils work just as well and require a lot less practice. These little personal touches are what turn a useful object into something that actually feels handmade.
It’s also worth thinking about how your hooks are arranged based on what you’re actually hanging. Oversized travel mugs might need hooks set a little lower so they don’t rest against the board, while espresso cups look charming clustered together near the center. If you have a big collection, a two-row rack with hooks staggered at different heights doubles your capacity without taking up twice the wall space. Here’s a quick rundown of the most popular customization options to consider as you plan your build:
- Shelf addition: Attach a 1×3 board along the top to hold canisters, plants, or decor items.
- Decorative top edge: Use a jigsaw to cut an arch, scallop, or barn silhouette into the backboard.
- Wood burning or stenciling: Personalize with text or patterns before applying your finish.
- Double-row layout: Add a second staggered row of hooks to double your mug capacity.
- Mixed hook styles: Combine metal cup hooks with wooden pegs for an eclectic, collected look.
- Painted backing board: Use a contrasting color on the back wall behind the rack to create a framed display effect.
Estimated Cost, Time, and Tips for Success
Cost is honestly one of the biggest reasons to build this yourself rather than buy something comparable. A similar rack from a kitchen or home goods store can run anywhere from $40 to $90. Building this one yourself, the materials — lumber, hooks or pegs, sandpaper, and mounting hardware — typically come to somewhere between $10 and $20 total. If you’ve already got the tools and a half-used can of paint in the garage, you might get away with spending as little as five dollars. Even buying everything brand new, the savings over retail are hard to argue with.
Time-wise, the actual build takes about one to two hours, plus drying time between finish coats. A good approach is to sand and drill on day one, put on your first coat of paint or stain that evening, and come back the next morning for the second coat and to install the pegs or hooks. Mounting takes maybe 15 minutes once you’ve found your studs. Total active working time from start to finish is rarely more than three hours — a perfect weekend project that gives you something genuinely useful without eating up the whole day.
A few last tips to help things go smoothly: always pre-drill pilot holes before driving screws near the ends of a board — skipping this is probably the most common beginner mistake, and it’s so easy to avoid. When sanding, always go with the grain rather than across it or in circles, because cross-grain scratches become very visible once stain goes on. If you’re painting, a coat of water-based primer before your topcoat makes a real difference in how evenly the color goes down, especially on knotty pine. And before you commit to mounting, hold the finished rack up against the wall and take a look — sometimes an inch higher or lower makes all the difference, and it’s a lot easier to figure that out before the screws are in the wall.








What do you think?
It is nice to know your opinion. Leave a comment.