










DIY Home Art: Creative Projects to Transform Your Living Space
The Rise of DIY Home Art and Why You Should Try It
Over the past few years, DIY art has taken off in a big way — and honestly, it makes total sense. More and more people, whether they own their home or rent, are realizing that making your own wall art and décor is not just satisfying, it’s also a surprisingly affordable way to make your space feel like you. Instead of grabbing the same generic prints everyone else has from a big-box store, people are picking up brushes and canvases and making something that actually means something. The result? A home that tells your story instead of someone else’s.
What makes DIY art so approachable is that the barrier to entry is pretty low. You don’t need formal training, an art degree, or even a particularly steady hand. The internet has made art education ridiculously accessible — there are tutorials, Pinterest boards, and YouTube channels covering just about every skill level imaginable. Whether you’ve never touched a paintbrush in your life or you’ve done a bit of crafting here and there, there’s a project out there that fits where you are right now.
And beyond the creative perks and the money you save, there’s something genuinely good for you about making art. Research in positive psychology and occupational therapy has consistently shown that creative activities reduce stress, lift your mood, and give you a real sense of accomplishment. Every time you walk past something you made with your own hands, there’s this quiet little feeling of pride that no store-bought piece can give you. DIY home art isn’t just decoration — it’s a way of making your everyday life a little richer.
Essential Supplies and Tools to Get You Started
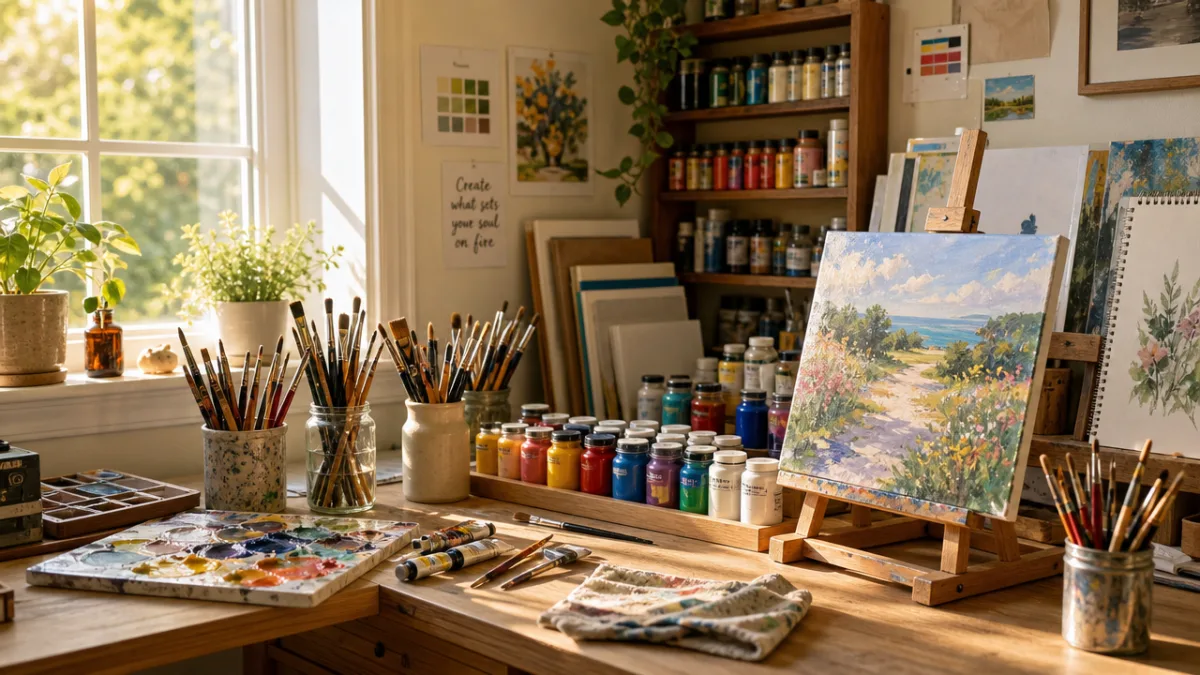
Before you jump into your first project, it really helps to have a basic set of supplies already put together. The good news is you don’t need to spend a lot. Some of the most eye-catching DIY pieces are made with pretty humble materials. Having what you need on hand means you can stay in a creative flow instead of stopping mid-project to hunt something down — which kills momentum fast.
For painting projects, start with a selection of acrylic paints in the primary colors plus a few neutrals: white, black, and a warm gray will take you far. Acrylics are great for beginners because they dry fast, clean up with water, and are very forgiving — if you make a mistake, just let it dry and paint over it. You’ll also want a range of brush sizes, from wide flat brushes for big color washes to fine-tipped ones for detail work. A palette (a paper plate works just fine), a cup of water, and some painter’s tape round things out nicely.
Beyond paints and brushes, a well-stocked DIY art station might include the following items:
- Stretched canvases in various sizes (multipacks at craft stores are a great deal)
- Canvas boards or heavyweight mixed-media paper as more budget-friendly alternatives
- A pencil and eraser for sketching out your composition before you commit to paint
- A ruler and level for geometric or grid-based designs
- Mod Podge or decoupage medium for collage and mixed-media projects
- Old magazines, newspapers, or patterned scrapbook paper for texture and collage elements
- A hot glue gun for more three-dimensional, sculptural pieces
- Foam rollers for building interesting textured backgrounds quickly and easily
It’s also worth thinking about storage before you start. Even just designating a corner of the kitchen table as your creative spot helps put your brain in “making mode.” Keep supplies in clear bins or a rolling cart so you can see everything at a glance. The easier it is to get started, the more likely you’ll actually sit down and make something regularly — and that’s how creative confidence really builds.
Popular DIY Art Techniques Anyone Can Master
One of the best things about the DIY art world right now is how many different techniques are out there to try. Even if you’ve always told yourself you’re “not artistic,” the truth is that a lot of popular contemporary styles have less to do with technical precision and more to do with intuition, experimentation, and being willing to play. Abstract art especially has opened up some genuinely stunning visual styles to complete beginners who are okay with letting go of perfectionism and embracing the happy accidents.
Pour painting — also called fluid acrylic painting — has been one of the most viral DIY art techniques around for the past few years, and it’s easy to see why. The results are gorgeous, and the process itself is almost meditative. You mix acrylic paints with a pouring medium (or water and Elmer’s glue in a pinch), load your colors into a cup, and pour them straight onto the canvas. Then you tilt the canvas around to guide the paint into swirling, marbled patterns. No two pours ever look the same, which means every piece you make is genuinely one of a kind.
Other techniques worth exploring include the following popular approaches:
- Geometric tape art: Use painter’s tape to mask off sharp geometric shapes, paint the areas in between, then peel back the tape to reveal crisp, clean lines. The results look bold and modern — almost like something you’d find in a design shop.
- Watercolor washes: Even without traditional watercolor paper, you can create soft, dreamy gradient backgrounds that work beautifully as abstract art or as a backdrop for hand-lettered quotes.
- Botanical prints: Press real leaves or flowers against painted canvas or paper to create natural, textured impressions full of organic character.
- Palette knife painting: Put down the brush and apply thick, buttery strokes of acrylic with a palette knife for a textured, sculptural look reminiscent of the impressionists.
- Collage and mixed media: Layer torn paper, fabric scraps, photographs, and paint to create richly complex pieces with real depth and visual interest.
The key to getting comfortable with any of these is simply doing them — and keeping an experimental mindset while you do. Your first pour painting probably won’t end up on the wall, and that’s completely fine. Think of early projects as practice runs that are training your hands and eyes to work together. Give yourself permission to make a mess, produce something imperfect, and try again. Artistic confidence isn’t something you’re born with; it’s something you build through action and patience.
Room-by-Room DIY Art Ideas for Every Space in Your Home
A really useful way to approach DIY home art is to think about where each piece is going to live. Different rooms have different functions, different moods, and different lighting — and all of that should shape what you make for them. Something that feels vibrant and fun in a busy kitchen might feel out of place in a bedroom that’s supposed to be your calm retreat. When your art feels tailored to its space, the whole room comes together in a way that feels considered rather than accidental.
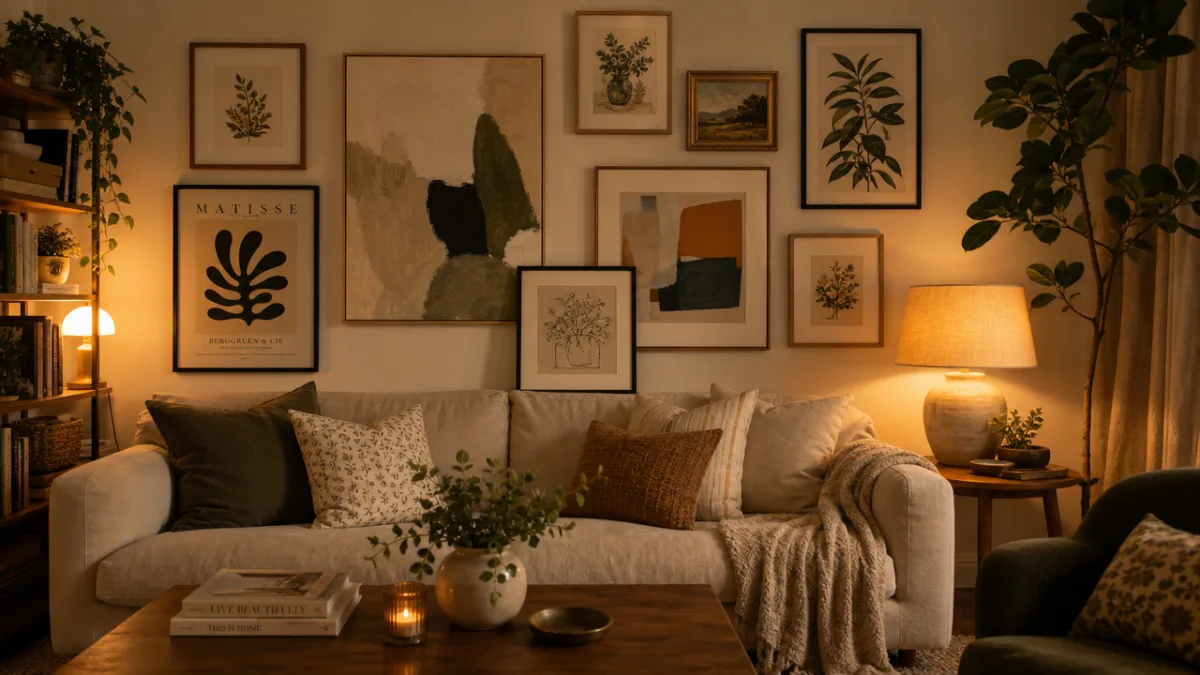
The living room is usually where you make your first impression, and it’s typically the most social space in a home. A gallery wall of mixed-size pieces in a coordinated color palette works really well here. DIY gallery walls are flexible and fun — you can mix your own painted canvases with framed prints, photos, and even three-dimensional elements like small shelves or sculptural wall hangings. Macramé wall hangings, which involve knotting cotton rope into intricate geometric patterns, have made a huge comeback and bring warmth and texture that flat artwork simply can’t match.
In the bedroom, you want art that soothes and inspires. Soft watercolor washes in muted, dusty tones — sage green, blush pink, warm lavender, creamy white — set a calm, restful mood. Hand-lettered quotes on simple canvases or wooden panels are a natural fit in here too, giving you something meaningful to wake up to. The kitchen and dining areas, on the other hand, are great places to get bolder — illustrated herb prints, abstract food-inspired shapes, or bright geometric patterns all feel right at home in those lively, social spaces.
How to Display, Frame, and Hang Your DIY Artwork Like a Professional
Making the art is really only half the story. How you display your finished pieces has a huge impact on how polished the whole thing looks. Even a beautifully executed painting can fall flat if it’s hung too high, framed poorly, or placed somewhere it ends up competing with everything around it rather than complementing it. Thinking about presentation is honestly what separates a thoughtfully put-together home from one that just feels a little busy or unfinished.
Framing is one of the most transformative things you can do for a DIY piece. A simple white or natural wood frame instantly gives even a modest painting a gallery-quality feel. Thrift stores and dollar stores are goldmines for cheap frames you can spray-paint or refinish to match your décor. If your painting is on a stretched canvas, you can absolutely leave it unframed for a clean, contemporary look — just make sure the edges are neatly painted in either a complementary color or a simple neutral. Floating frames, which hold the canvas slightly away from the frame itself, are another great option that looks especially good with abstract work.
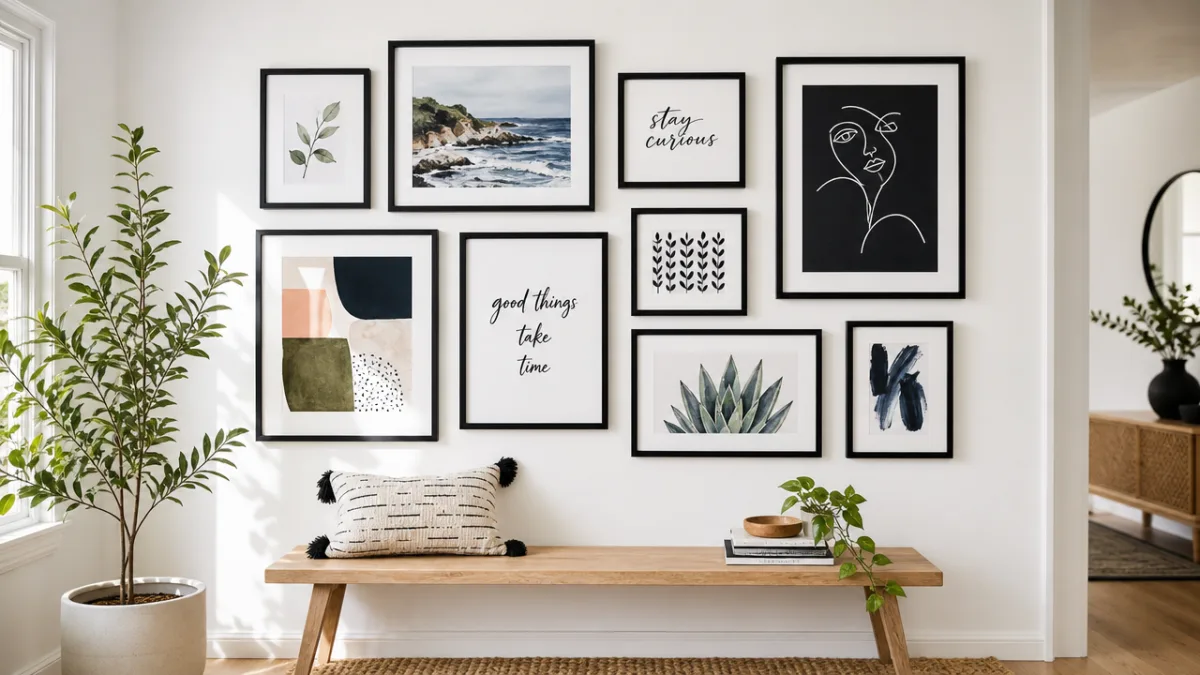
For hanging, a few simple guidelines go a long way. The general rule is to hang art so the center of the piece sits about 57 to 60 inches from the floor — roughly eye level for most adults. If you’re putting together a gallery wall, lay everything out on the floor first and play with different arrangements before you touch the wall. Then trace each frame on paper, cut out the shapes, and mock up the layout with painter’s tape directly on the wall. This saves you from a wall full of unnecessary holes and lets you see the whole composition before you commit to a single nail. For anything heavy, find a stud or use proper wall anchors so your art stays exactly where it’s supposed to be.
Building a Sustainable Creative Practice and Finding Your Artistic Voice
The most rewarding part of getting into DIY home art isn’t any single finished piece — it’s what happens when making art becomes a regular part of your life. A lot of people start out just wanting to fill a blank wall and realize somewhere along the way that they’ve found something that brings them genuine joy and a real sense of self. Building a sustainable creative practice means finding ways to keep making art consistently, not just in those rare bursts of inspiration, but as an intentional, ongoing part of your routine.
Finding your artistic voice is a gradual thing that happens naturally as you experiment. Over time, you’ll start noticing that certain color palettes just feel like yours, that you keep reaching for the same kinds of marks or textures, and that some subject matter speaks to you more than others. Pay attention to those instincts — they’re the raw material of your personal aesthetic. Look at art you love, whether in museums, on Pinterest, in coffee table books, or on Instagram, and ask yourself what it is that pulls you in. Little by little, you’ll develop a visual language that’s recognizably, distinctly your own.
Community can be a real fuel for a creative practice too. A local art class — even just a single-session workshop at a community center or craft store — can introduce you to other creative people and give you the chance to learn from an instructor in real time. Online communities on Pinterest, Instagram, and crafting forums offer endless inspiration and the motivating energy of seeing what other makers are doing. And sharing your own work, even the imperfect early stuff, can be surprisingly empowering. The encouragement from others often provides exactly the push you need to keep going when self-doubt creeps in — which, for the record, it does for every creative person at every level.
Most importantly, remember that making art at home isn’t about producing masterpieces for public admiration. It’s about the deeply human act of creating something from nothing, of putting your inner world into visible form, and of building a home that actually reflects who you are. Every brushstroke, every poured layer of paint, every knotted length of rope is a small act of self-expression and self-care. Your walls are waiting. All you have to do is pick up the brush and start.








What do you think?
It is nice to know your opinion. Leave a comment.