










DIY Halloween Tree Porch Decor: Easy, Budget-Friendly & Spooky Ideas for a Hauntingly Beautiful Entrance
Why a Halloween Tree Is the Ultimate Porch Statement
When it comes to Halloween decorating, most homeowners default to carved pumpkins, plastic skeletons, and store-bought cobwebs. While these classics certainly have their charm, there is one decoration that consistently stops neighbors and trick-or-treaters in their tracks: a beautifully crafted Halloween tree displayed prominently on the front porch. A bare, skeletal tree draped in eerie ornaments and dim flickering lights transforms an ordinary entryway into a genuinely spooky scene that sets the mood from the street before anyone even reaches your door.
The beauty of a Halloween tree lies in its versatility and scalability. Whether you have a sprawling wraparound porch with room for a six-foot statement piece, or a modest apartment stoop with space for only a small potted branch arrangement, a Halloween tree can be adapted to fit any space and any budget. You are not locked into a single aesthetic either. The same basic structure can go gothic and dark, whimsical and cartoonish, elegant and moody, or somewhere wonderfully in between depending entirely on the ornaments, colors, and lighting choices you make.
Beyond the visual impact, building your own Halloween tree is a genuinely satisfying creative project that the whole family can participate in. Children love helping to hang ornaments, adults can get invested in the overall design vision, and the finished product carries a sense of personal pride that a store-bought inflatable simply cannot replicate. Year after year, you can add to your collection of handmade ornaments, evolving the tree into a cherished seasonal tradition rather than just another disposable decoration. The investment of an afternoon or two pays dividends in compliments and curb appeal all through October.
Choosing the Right Base: Real Branches vs. Artificial Trees
The foundation of any great Halloween tree is the base you choose to work with, and this decision will shape every other choice you make. There are two primary paths: using real branches gathered from your yard or a nearby park, or investing in a purpose-built artificial Halloween tree. Both approaches have genuine merits, and the right choice depends on your priorities around cost, longevity, and the specific aesthetic you are chasing. Real branches offer an organic, irregular silhouette that is genuinely difficult to replicate artificially, while a dedicated artificial tree gives you a reliably consistent look that you can reassemble identically each year.
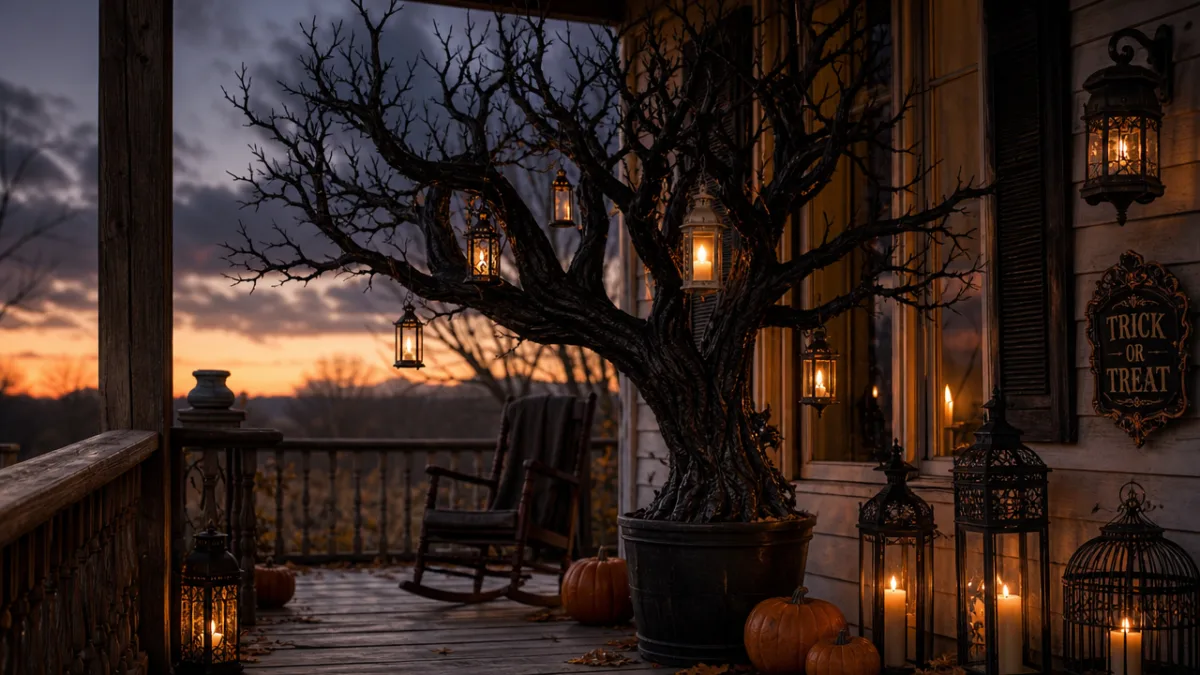
For the real-branch approach, look for fallen limbs after a windstorm, or trim dead branches from trees on your property. Branches from oak, dogwood, birch, or any deciduous tree with interesting forks and angles work beautifully. Gather several branches of varying heights and thicknesses, then bundle them together at the base and secure them in a heavy container. A large terracotta pot, a galvanized metal bucket, or even a repurposed wooden crate filled with sand, gravel, or floral foam will hold your arrangement firmly in place. Spray the entire arrangement flat black or dark gray to unify the look and give it that classic skeletal quality.
If you prefer the artificial route, craft stores and online retailers sell dedicated Halloween trees in black wire, black tinsel, or bare white ghost-style forms. These range from tabletop versions under a foot tall to full-sized six-foot trees that rival a Christmas tree in presence. Off-season, these can frequently be found deeply discounted in November clearance sales, making them an excellent long-term investment. Some crafty decorators also repurpose old Christmas trees by spray-painting them black, giving a beloved but worn-out tree a dramatic second life as a Halloween centerpiece rather than sending it to the landfill.
Budget-Friendly Ornament Ideas That Look Expensive
One of the most common misconceptions about creating a stunning Halloween tree is that it requires an expensive collection of specialty ornaments. In reality, some of the most visually striking Halloween trees are built almost entirely from dollar-store finds, craft-store basics, and genuinely homemade creations that cost almost nothing. The key is to commit to a cohesive color palette — typically black, orange, and purple, or a more sophisticated black, white, and gold combination — and then apply it consistently across every element you hang. Cohesion is what makes a budget display look intentional and curated rather than thrown together.
Dollar stores are an absolute goldmine for Halloween ornament raw materials. Look for plastic skulls, small plastic pumpkins, foam bats, spider rings, and miniature cauldrons that can all be repurposed as tree ornaments simply by hot-gluing a loop of ribbon, twine, or wire to the top. Craft stores in September and October stock clearance bins full of small Halloween-themed items that work perfectly. Black foam balls can be painted with glow-in-the-dark paint, wrapped in cheesecloth to become tiny mummies, or decorated with googly eyes to become a family of creatures watching from the branches.
Homemade ornaments add an irreplaceable handcrafted dimension that elevates the entire display. Consider some of the following easy DIY options that require minimal supplies and skill:
- Salt dough ornaments: Mix flour, salt, and water into a pliable dough, cut into pumpkin or skull shapes, bake until hard, then paint and seal with a coat of Mod Podge for durability against outdoor conditions.
- Air-dry clay moons and stars: Press crescent moon and star shapes from air-dry clay, press in texture with lace or burlap, then paint them black and dry-brush with gold or silver metallic paint for an elegant witchy look.
- Painted glass ball ornaments: Purchase a pack of plain black or clear glass ball ornaments and paint spiders, moons, jack-o-lantern faces, or spooky text directly onto the surface using paint markers.
- Fabric ghost ornaments: Cut small squares of white cheesecloth, drape them over a cotton ball, tie at the neck with black thread, and draw tiny dot eyes with a permanent marker to create a whole colony of tiny floating ghosts.
- Miniature potion bottles: Fill small glass bottles from a craft store with colored water, sand, or glitter, cork the top, and add a handwritten label reading things like “Witch’s Tears” or “Bat Wing Essence.”
Beyond individual ornaments, consider the connective tissue of your tree: the garlands and ribbons that weave everything together. Black ribbon curled into loops, orange and black striped ribbon, or even a garland of dried orange slices threaded on twine adds warmth and depth between the ornaments. Fake spider webs stretched loosely through the branches and studded with large plastic spiders is a classic that never fails to impress, particularly at night when shadows move across them in the breeze.
Lighting Your Halloween Tree for Maximum Spooky Effect
Lighting is the single element that most dramatically transforms a Halloween tree from a daytime craft project into a genuinely atmospheric nighttime spectacle. The wrong lighting — or no lighting at all — can leave even the most beautifully decorated tree looking flat and underwhelming after dark, while the right lighting layers can make a relatively simple tree look absolutely enchanting. The goal is to create that signature Halloween mood: shadows, warmth, mystery, and just a hint of something unsettling lurking in the branches.
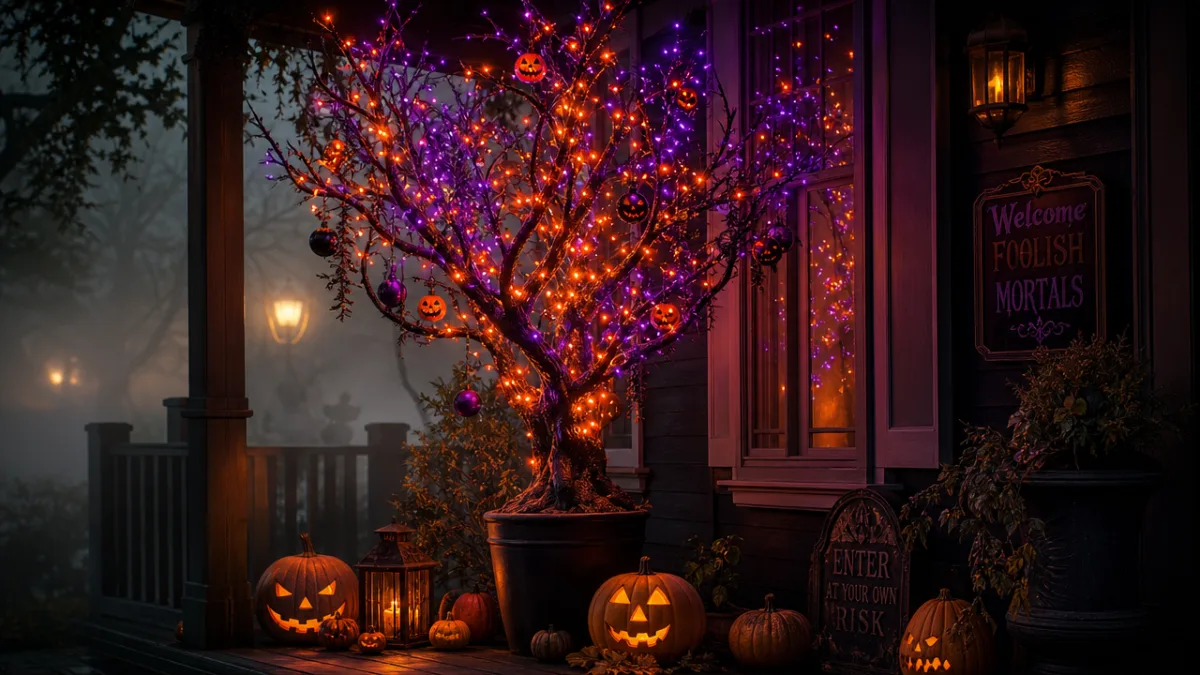
Orange string lights are the workhorse of Halloween tree lighting and for good reason. Warm amber or true orange LED string lights draped through the branches cast an appropriately eerie glow that reads unmistakably as Halloween. Solar-powered string lights are an excellent option for porch trees since they require no extension cords and automatically activate at dusk, ensuring your display looks its best during the prime trick-or-treating hours without any manual effort on your part. Purple string lights used alongside orange ones create a vivid, jewel-toned effect that photographs beautifully and looks striking from the street.
For a more theatrical and dramatic effect, consider supplementing string lights with a few additional lighting elements. A small spotlight or uplighting LED placed at the base of the tree and aimed upward creates dramatic shadows that make the bare branches look genuinely menacing against the porch ceiling or exterior wall. Battery-operated flickering LED tea lights placed in small lanterns hung from branches or nestled among the roots of your branch arrangement mimic the look of candlelight without any fire hazard. If your budget allows, color-changing LED spotlights with remote controls let you shift the entire mood of your display from orange to purple to green with a single button press, giving your porch a dynamic quality that evolves through the evening.
Coordinating Your Tree With the Rest of Your Porch Decor
A Halloween tree achieves its greatest impact when it functions not as an isolated decoration but as the dramatic centerpiece of a fully realized porch vignette. The tree should feel like the anchor around which every other decorative element orbits, creating a cohesive scene that tells a spooky story. Before you begin placing other items, step back and consider the visual hierarchy of your porch: the tree is the tallest element and draws the eye first, so everything else should complement and support it rather than compete for attention.
Groupings of pumpkins at the base of the tree create a natural visual transition from the tall vertical element of the tree down to the horizontal plane of the porch floor. Vary the sizes dramatically — a large carved pumpkin flanked by medium uncarved ones in different heights, then scattered with small gourds and miniature pumpkins — for a layered, abundant look. Painting some pumpkins black and leaving others natural orange creates an interesting interplay that echoes the color palette of your tree ornaments above. If you want to skip carving entirely, painted pumpkins featuring moons, spiders, or simple geometric patterns in metallic gold or silver paint look sophisticated and hold up far better in wet weather than carved ones.
Additional props and accents that work beautifully in a Halloween tree vignette include:
- Vintage-style lanterns: Cluster two or three lanterns of different heights near the base of the tree, fitted with flickering LED candles to add warm pools of light at ground level.
- Faux ravens or crows: Wire these realistic-looking artificial birds onto branches throughout the tree for a gothic Edgar Allan Poe quality that works beautifully in photographs.
- Dried corn stalks or cattails: Bundle these and lean them against the porch railing flanking the tree for a harvest-meets-Halloween aesthetic that bridges the seasons naturally.
- Wired ribbon in a large bow: Tie a dramatic black and orange wired ribbon bow at the top of the tree in the same way you would a Christmas tree topper, then allow the trailing ribbon to cascade naturally down through the branches.
- A welcome sign or chalkboard: Lean a small dark-painted sign near the base with a spooky greeting to add personality and a touch of intentional wit to the entire display.
The doormat, front door, and any porch furniture should all be considered part of the unified composition. A simple black doormat with a white skull or “Enter If You Dare” text, a front door wreath made from black feathers or dried blackened branches, and a throw pillow or two in coordinating colors on any porch seating will tie the entire scene together into something that feels professionally styled rather than hastily assembled.
Storing and Reusing Your Halloween Tree Year After Year
One of the most compelling arguments for investing time and effort into a quality Halloween tree is the fact that, unlike carved pumpkins or many other Halloween decorations, a well-built tree can be stored and reused for many seasons with minimal degradation. This transforms what might feel like a significant time investment in Year One into a nearly effortless annual tradition by Year Three or Four, when most of the work is simply retrieving the box from storage and spending a pleasant afternoon reassembling something you already love. The key to making reuse practical is establishing a thoughtful storage system from the beginning.
For artificial trees, the storage approach mirrors what you would do for a Christmas tree: disassemble the tree into its component sections if possible, wrap the branches loosely to avoid crushing ornament hooks and wired elements, and store in a dedicated tree bag or box. Ornaments should be wrapped individually in tissue paper or stored in compartmentalized ornament storage boxes — the same ones sold for Christmas ornaments work perfectly. Label your storage containers clearly so that next October you can find everything quickly without unpacking multiple mystery boxes. Keep all the components of your Halloween tree together in dedicated storage rather than mixed in with general holiday items.
For real-branch arrangements, the branches themselves are not typically reusable from year to year unless you spray them with a sealant and store them carefully in a dry location. However, the container, the floral foam or gravel used to anchor them, all of your handmade ornaments, your string lights, and all your supplementary decorations absolutely are reusable. Store the ornaments and lights in clearly labeled bins so that next autumn all you need to do is gather a fresh bundle of branches from the yard — a five-minute task — to have the structure ready for a quick reassembly. Over time, your collection of handmade and purchased ornaments grows richer and more personal, and the assembly process becomes faster and more practiced until the whole project can be completed in a single enjoyable afternoon.
Tips for Weather-Proofing Your Outdoor Halloween Tree
October weather is notoriously unpredictable across most of North America and Europe, and nothing is more discouraging than watching a beautifully assembled Halloween tree get destroyed by an unexpected rainstorm or windstorm just days after you finished it. Weatherproofing your outdoor display does not require expensive materials or complicated techniques, but it does require a few deliberate choices made both during construction and at the time of display. A little foresight in this area will keep your tree looking sharp through the entire month regardless of what the weather decides to do.
The first line of defense is choosing ornament materials that can tolerate moisture. Avoid paper, cardboard, or untreated fabric ornaments in exposed outdoor positions, as these will sag, bleed, or disintegrate in the first rain. Plastic, sealed salt dough, painted glass, metal, and treated foam are all far more durable choices for an outdoor tree. If you have made paper or fabric ornaments that you love, consider placing the tree in a covered porch area where it is sheltered from direct rain, or simply move those specific ornaments inside during wet weather and replace them with weather-resistant alternatives for the duration of a storm.
Wind is often a greater threat than rain, particularly for a tall tree in an open porch. Ensure your base container is heavy enough to resist tipping — fill it with sand, rocks, or actual concrete rather than relying on lightweight materials. For additional security, consider attaching a length of clear fishing line from a high point on the tree to an anchor point on the porch ceiling or a nearby post; this is virtually invisible but dramatically reduces the risk of a toppling event in a strong gust. Check string light connections and ornament hooks after any particularly windy night and re-secure anything that has shifted. With these precautions in place, your Halloween tree should stand proudly and beautifully all the way through to the last trick-or-treater of October 31st.








What do you think?
It is nice to know your opinion. Leave a comment.