










DIY Clay Calendar: 20+ Easy Perpetual Calendar Ideas to Craft and Cherish
What Is a Perpetual Calendar and Why Clay Is the Perfect Medium
If you’ve never heard of a perpetual calendar, here’s the short version: it’s a calendar you never have to throw away. Instead of flipping through paper pages until December comes along and renders the whole thing useless, a perpetual calendar just keeps going. You rearrange the pieces — swap a tile, spin a disc, slide a number — and the date updates. The object itself stays put, year after year. For anyone who wants to make something that actually lasts, that’s a pretty compelling idea.
Clay turns out to be a near-perfect material for this kind of project. Air-dry or polymer, it’s endlessly shapeable — you can turn it into tiles, buttons, little sculptural blocks, hanging pendants — and you don’t need a kiln or a pottery wheel to make any of it work. What makes it feel special, though, is the texture. There’s something grounding about picking up a small clay tile every morning to flip it to the right date. It’s a tiny ritual, and the weight and warmth of the material makes it feel more intentional than tapping a screen ever could.
The practical side of clay is just as appealing as the aesthetic one. Air-dry clay is inexpensive, widely available, and asks almost nothing of you in terms of equipment. Polymer clay takes a bit more precision and a home oven, but the finished pieces are harder, more durable, and stand up to everyday handling really well. Either way, both types can be painted, stamped, carved, and sealed to suit just about any interior style you can think of — whether you’re drawn to clean Scandinavian simplicity or a more maximalist, eclectic look. It’s probably the main reason DIY clay calendars have taken off so much in craft communities online: the results look far more impressive than the process actually is.
Essential Materials and Tools You Will Need
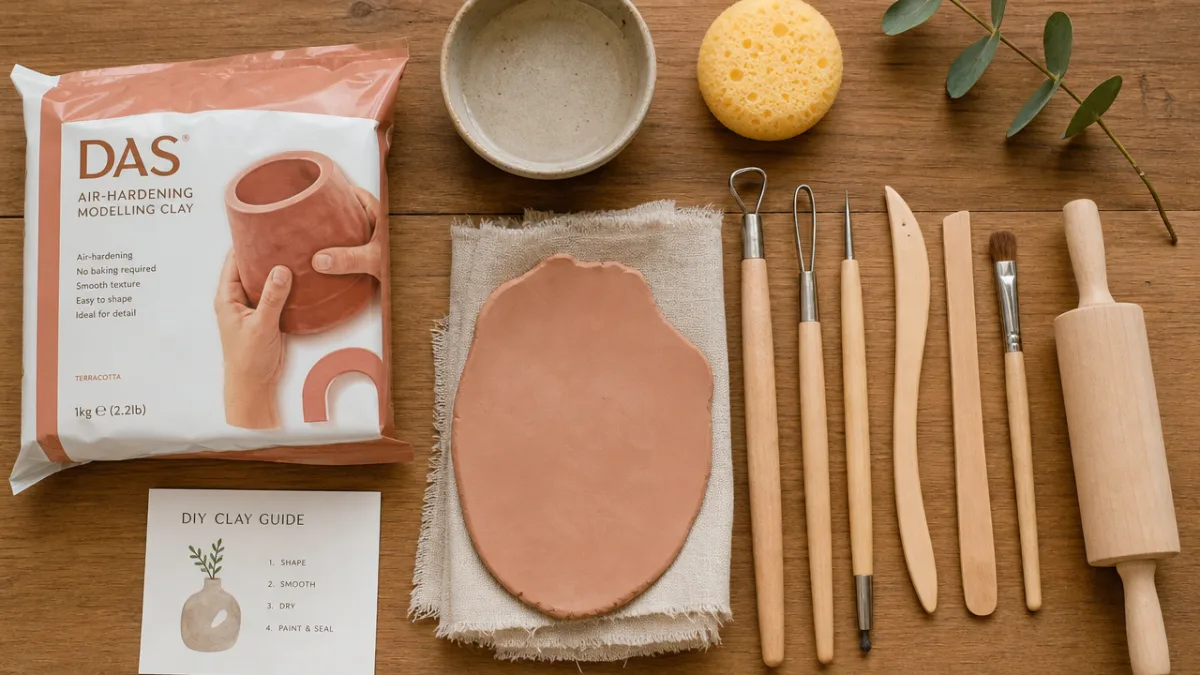
Getting your materials sorted before you start will make the whole process a lot more relaxed. The obvious starting point is the clay itself. Air-dry clay is the easiest entry point — it hardens on its own at room temperature over about twenty-four to forty-eight hours, no oven required. Brands like DAS or Crayola Air-Dry Clay are easy to find at craft stores and won’t set you back much. Polymer clay (Sculpey and FIMO are the most common) needs to be baked in a regular home oven at a low temperature, but the trade-off is a harder, more durable result that handles chipping and moisture better in the long run.
Beyond the clay, you’ll want a smooth surface to work on — a silicone mat or a sheet of parchment paper works great. A rolling pin or acrylic roller will help you get even, consistent slabs, which matters a lot when you’re making a set of matching tiles. Cookie cutters, letter stamps, and number stamps let you cut uniform shapes and press clean impressions quickly. A basic clay tool set (needle tool, loop tool, sculpting knife) is useful for trimming edges and adding detail. And once everything’s dry, fine-grit sandpaper — 220 and 400 are the ones to have — will smooth things out nicely.
For the finishing touches and display side of things, you’ll want a few more supplies on hand. Acrylic craft paints and a selection of brushes cover all the coloring options, whether you’re going for a minimal matte white with gold lettering or something with a bit more color. A sealer — Mod Podge or a dedicated clay varnish — protects your finished pieces from dust, moisture, and the daily handling that comes with actually using the calendar. Depending on which calendar style you go with, you might also pick up small wooden boards, picture ledges, linen pouches, wooden dowels, twine, or miniature easels. Having it all ready before you sit down to start makes a real difference.
Five Popular DIY Clay Calendar Styles to Inspire You
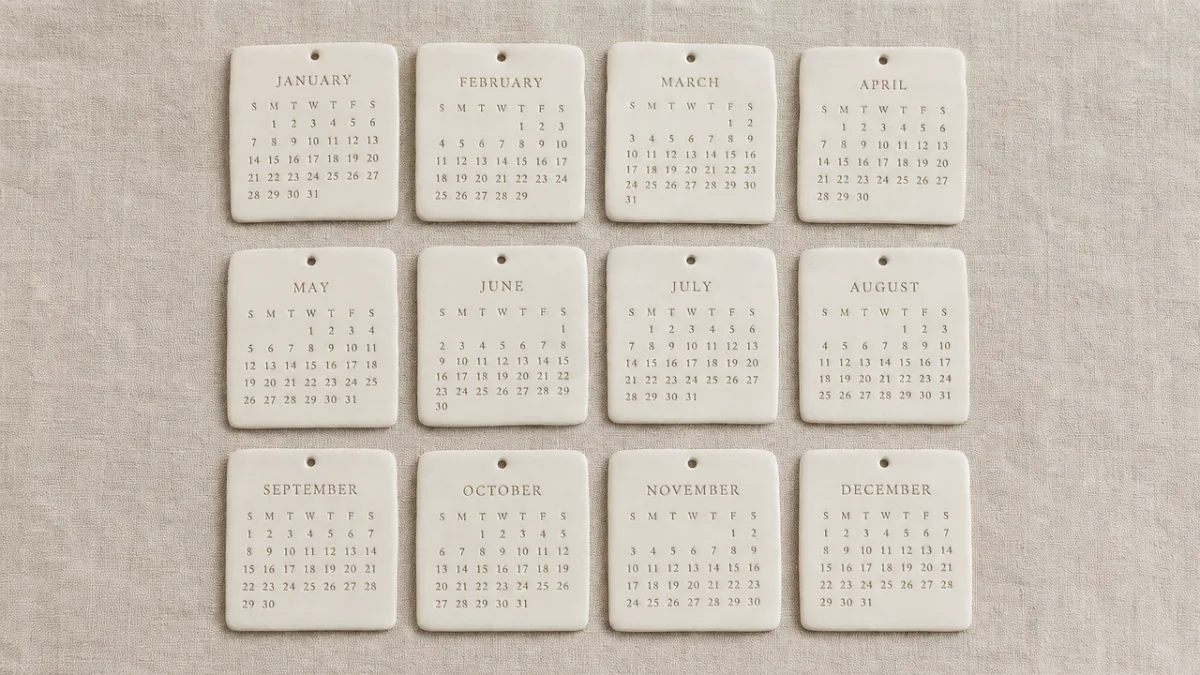
The tile calendar is probably the most classic of the bunch. You make a set of small square or rectangular tiles, stamp or carve numbers and month names into them, then display them in a shallow wooden tray or on a ledge. Each day you just shift the relevant tiles forward to show the current date and month. It’s clean, modular, and works with pretty much any aesthetic — raw and natural, painted in a single neutral tone, or with contrasting colors for days versus months. There’s a reason it’s the style most people start with.
Then there’s the hanging disc calendar, which has a really lovely feel to it. Flat circular clay pieces strung on wooden dowels or copper rods, each one showing a number, a day, or a month abbreviation. You swap them out by sliding the discs off and replacing them with the right ones. The discs turn gently in any air movement and catch the light in a way that feels almost decorative in its own right. This style suits modern, airy spaces especially well, and looks particularly good made in white clay with calligraphy-style lettering in gold or charcoal.
If neither of those quite fits what you have in mind, there are plenty of other directions to explore. A sculptural block calendar works like those classic wooden desk calendars, where two blocks with different numbers on each face combine to display any date from the first to the thirty-first. A wreath-style calendar weaves clay number tags into a natural wreath frame. A standing easel calendar props a small clay slab on a miniature stand. A pocket wall calendar uses little clay pockets mounted to a backing board to hold small numbered tags. Each one has its own personality and can be taken in a hundred different directions depending on your style.
Step-by-Step Guide to Making a Basic Clay Tile Calendar
Start by conditioning your clay. With air-dry clay, knead it for a couple of minutes until it’s soft and pliable and you’re not seeing any cracks along the edges. Polymer clay needs a bit longer — work it in your hands until it’s thoroughly warm and flexible. Then roll it out onto your mat to an even thickness of about six to eight millimeters. That thickness gives the tiles a satisfying weight and substance without making them so heavy or thick that they’re likely to warp while drying.
Cut your tiles using a craft knife and ruler or a square cookie cutter. For a full perpetual calendar, you’ll need two sets of tiles showing zero through nine (so you can represent any date from the first to the thirty-first), twelve tiles for the months (full names or three-letter abbreviations, your call), and optionally a set for the days of the week. While the clay is still soft, press your number and letter stamps firmly and evenly into each tile — consistent depth makes a big difference to how the finished set looks. A light dusting of cornstarch or talcum powder on your stamps keeps them from sticking.
Let the tiles dry completely on a flat surface, and flip them gently after about twelve hours so both sides dry evenly and you minimize the chance of warping. Once they’re fully dry, sand any rough edges smooth. Paint a base coat in your chosen color, let it dry, then use a fine brush to paint the stamped impressions in a contrasting shade. White with raw umber, soft gold, or terracotta numbers is a really popular combination that always looks good. When the paint is completely dry, finish with two thin coats of matte varnish, letting each coat dry fully before adding the next. That’s it — your tiles are ready to display.
Creative Customization Ideas to Make Your Calendar Truly Unique
Honestly, one of the best parts of making your own clay calendar is how much room there is to make it yours. Texture is one of the easiest ways to do that. Before you cut your tiles, try pressing a piece of lace, a leaf, some coarse burlap, or a rubber texture mat into the surface of your rolled clay. The impression left behind gives each tile a subtle visual complexity that catches the light and makes the whole set feel genuinely handcrafted rather than just homemade. There’s also something nice about the way textured tiles feel in your hands each time you change the date.
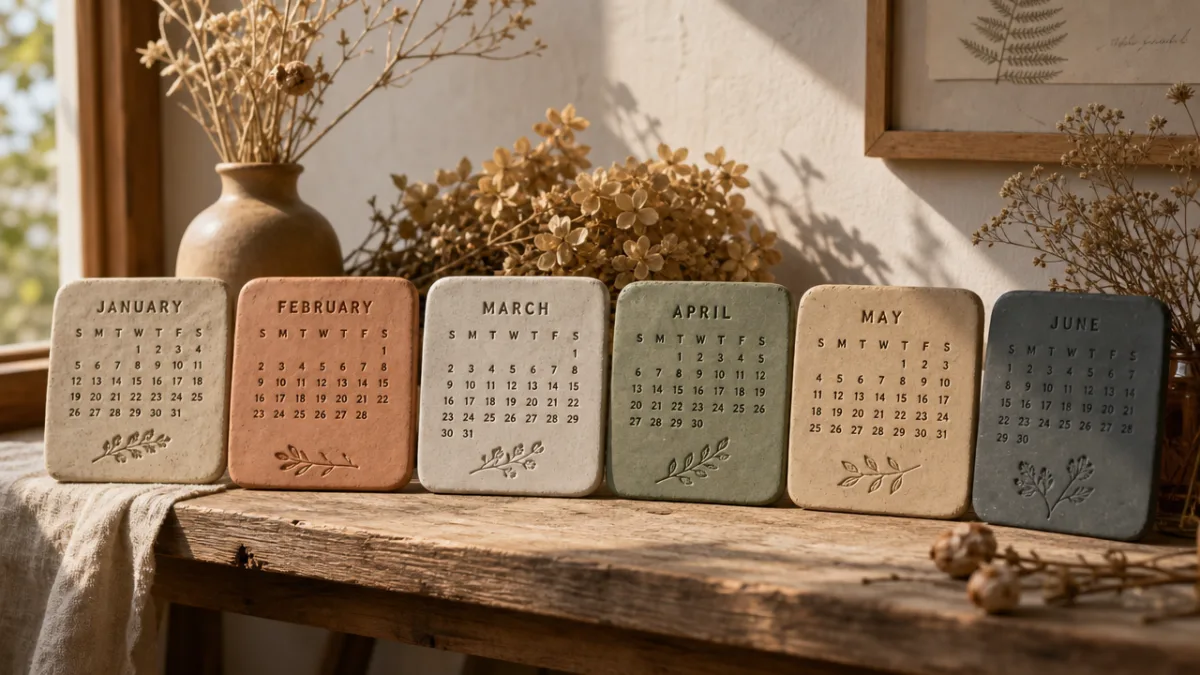
Color is another big opportunity. You don’t have to default to white and cream — think about building your calendar around a specific palette that actually fits the room it’ll live in. A coastal palette of pale blues, sandy beiges, and soft whites feels right at home in a bright kitchen or a beach house. Rich terracotta, mustard, and forest green suits a cozier, more nature-inspired space. A monochromatic palette — say, blush pink running from the palest barely-there shade to a deep rose — can look genuinely gallery-worthy. Look around the room where you plan to display the calendar and pull the colors from what’s already there.
Lettering style is the third thing that really shapes the finished look. Rubber stamps are the most consistent and beginner-friendly option. Freehand carving with a needle tool takes more patience but gives you that hand-engraved ceramic quality that’s hard to replicate any other way. With polymer clay, fine-tip markers or paint pens applied after curing open up the most expressive calligraphic possibilities. Some people even carve their own letter stamps from erasers, which gives total control over the typeface and how heavy or delicate it looks. Whichever route you go, always do a test run on a scrap piece of clay first — it’s worth it every time.
Display Ideas and Styling Tips for Your Clay Calendar
The way you display your calendar matters almost as much as the calendar itself, because the context it sits in shapes how the whole thing feels in your home. A wooden picture ledge is one of the most practical and flexible options out there. The shallow depth is perfect for propping tiles upright, and the horizontal format lends itself to a clean, layered arrangement — month tiles at the back, day tiles in the middle, date number tiles at the front. Paint or stain the ledge to match your tiles and the whole thing looks like it was always meant to be there.
For something with more presence as wall art, try mounting a small wooden board or a framed piece of linen fabric as a backdrop and arranging your tiles against it with small adhesive putty or tiny command strips. This approach elevates the calendar from useful object to actual wall art, which works beautifully in a home office, a kitchen, or a kid’s room. Add a few dried botanical stems, a small ceramic vase, or a sprig of preserved eucalyptus around it and you’ve got a styled vignette that feels warm and intentional rather than just functional.
Seasonal styling is a fun way to keep the display feeling current without making a whole new calendar. In winter, tuck in a small pine cone, a sprig of holly, or a simple candle in a frosted holder. Come spring, a tiny bud vase with a single fresh flower does the job instantly. Summer calls for a shell, a smooth river stone, or a handful of dried lavender. In autumn, a small dried leaf, a miniature gourd, or a cinnamon stick slipped into the arrangement costs almost nothing but makes the whole thing feel connected to the season. It makes the morning ritual of changing the date feel like a little more than just a practical task.
Tips for Success, Troubleshooting, and Long-Term Care
Even if you’ve worked with clay before, a few things tend to catch people off guard. Warping is probably the most common frustration with air-dry clay tiles. It happens when one side dries faster than the other, creating tension that pulls the tile into a curve. The fix is pretty straightforward: dry your tiles on a wire rack instead of a solid surface so air can get to both sides, or lay a lightweight flat object like a ceramic tile on top of them while they dry. Flipping them at the twelve-hour mark also helps a lot.
Cracking is the other issue that comes up regularly, especially with thicker pieces or in dry climates. When clay dries too quickly, the surface can crack in ways that are genuinely hard to fix cleanly. Slowing things down helps — try loosely draping a piece of plastic wrap over your tiles, or drying them in a slightly enclosed space. If you do end up with cracks after the fact, mix a small amount of the same clay with water into a paste and work it into the crack, smoothing it flush with the surface. Once dry again, sand it gently and repaint. With polymer clay, cracking is less likely but can happen if the clay is old and dried out. Conditioning it thoroughly before you start is the best prevention.
Day-to-day care for your finished calendar is pretty minimal. Dust the tiles regularly with a soft dry cloth or a clean makeup brush. Keep the calendar out of intense direct sunlight for long stretches, since UV exposure will fade acrylic paint over time. If a tile picks up a stain or gets damp, wipe it gently with a barely damp cloth and let it air dry fully before putting it back. A good quality varnish or sealer will protect the tiles from everyday handling and light moisture, but they’re not waterproof — keep them away from sinks, rain-exposed windowsills, and humid spots like bathrooms. Look after them reasonably well and they’ll stay in great shape for a very long time.








What do you think?
It is nice to know your opinion. Leave a comment.