










“`html
DIY Built-In Bookshelves: The IKEA Hack Method That Transforms Any Room
There’s something deeply satisfying about a wall of built-in bookshelves. They bring a sense of permanence and personality to a room — that quiet, settled feeling that freestanding furniture just can’t quite pull off. The catch, of course, is that real custom built-ins are expensive. We’re talking $1,500 to $5,000 or more depending on the complexity and who you hire. But here’s the thing: you can get almost the same look for a fraction of that price using flat-pack furniture from IKEA. That’s the IKEA hack method, and people have been quietly transforming their homes with it for over a decade.
The idea is brilliantly simple. IKEA’s BILLY bookcase has been one of their bestsellers since 1979, and honestly, it’s easy to see why — it’s affordable, solid, modular, and comes in a range of heights and widths. Buy several units, anchor them together, add some trim, build a custom base, and finish everything with paint, and what you end up with looks like it came straight out of a carpenter’s workshop. The secret is in the details, and this guide is going to walk you through every single one.
Whether you’re working with a living room, a home office, a bedroom, or a cozy library nook, this approach scales well to almost any space. People with very little woodworking experience tackle this project every weekend and knock it out of the park. If you can use a drill, handle a miter saw (or have one used for you at a home improvement store), and paint in a reasonably straight line, you’ve got everything you need. By the time you finish reading, you’ll have a solid handle on the entire process — from planning and shopping to building and styling.
Planning Your Layout and Measuring the Space
Before you buy a single flat-pack box or pick up a paintbrush, spend some real time planning. This is where the project either goes smoothly or runs into expensive headaches. Start by measuring your wall from corner to corner, and check the ceiling height at several points — ceilings are rarely perfectly level, and that variation matters when you’re trying to fit shelving units snugly against them. Write everything down and double-check your numbers. The old carpenter’s saying of “measure twice, cut once” really does exist for a reason.
Think about what you actually need your built-ins to do. Are they purely for display — books, plants, objects? Do you need enclosed storage at the bottom for things you’d rather keep out of sight? Will the unit need to work around a TV, a fireplace, or a window? These decisions will shape everything that comes after, from which IKEA units you pick to how you configure the trim. Sketch your wall to scale on graph paper — it sounds a bit old-school, but there’s something clarifying about seeing the space drawn out accurately before you commit to buying anything.
Pay close attention to anything that might complicate your plan. Electrical outlets can’t simply be hidden behind shelving — they need to stay accessible, which might mean routing them to the back panel of a unit or having an electrician relocate them. Heating vents, baseboards, and light switches all present similar puzzles. The more of these you catch during the planning phase, the fewer surprises you’ll hit mid-build. A lot of seasoned DIYers also recommend throwing together a cardboard mockup of your layout before you finalize anything — it sounds like extra work, but it can save you a lot of grief.
Choosing the Right IKEA Units and Materials
The BILLY bookcase is the go-to choice for this hack, and it’s where most people should start. It comes in a few widths — most commonly 31.5 inches and 15.75 inches — and in heights of 41.75 inches and 79.5 inches, with optional height extensions available. The white finish is the most popular because it takes paint well and looks clean and crisp once you’ve trimmed it out. That said, if you want a warmer, wood-toned result, the birch veneer version is a great option too.
Depending on the look you’re going for, IKEA’s HEMNES and KALLAX lines are also worth a look. HEMNES has more of a traditional, furniture-like feel thanks to its solid wood construction, while KALLAX’s grid layout works really well for a graphic, contemporary vibe. For lower cabinet sections — the closed storage that sits beneath open shelving — the SEKTION kitchen cabinet line or the BESTA storage system are both commonly used. BESTA in particular has a lower profile that pairs naturally with taller bookcase units stacked above it.
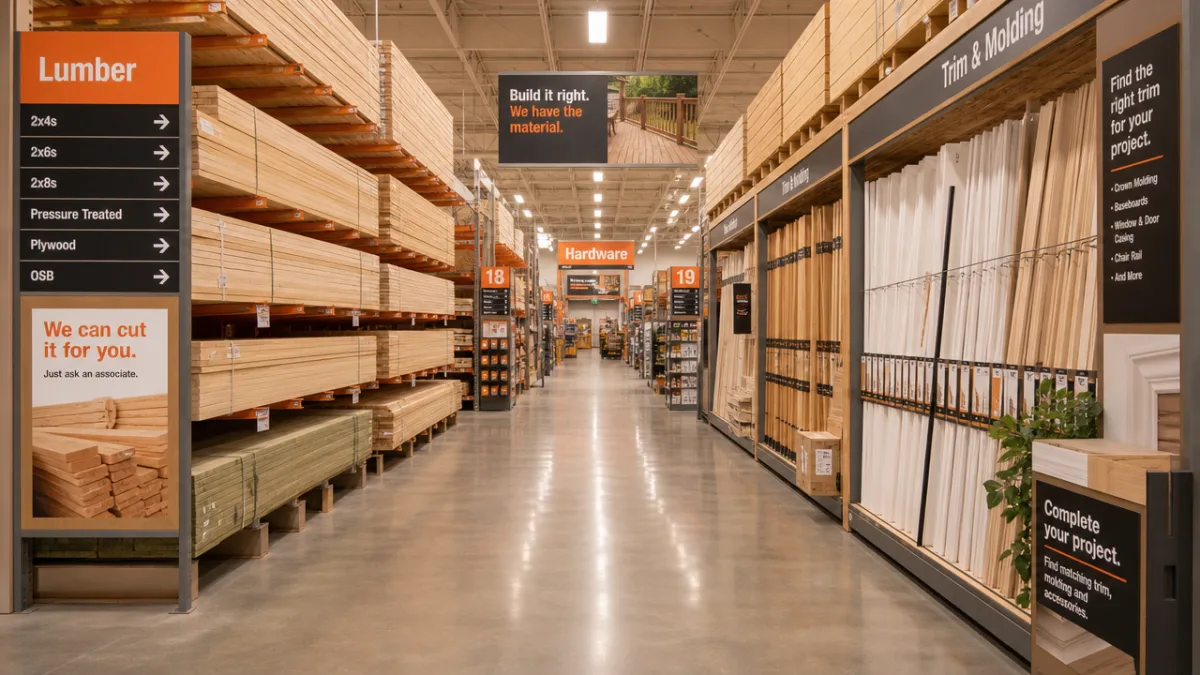
Beyond the IKEA pieces themselves, you’ll need a handful of materials from your local home improvement store: lumber for the custom base (typically 2x4s or 1x4s depending on your desired height), MDF or pine for trim and face frames, wood filler, sandpaper in multiple grits, construction adhesive, wood glue, pocket screws or finish nails, and a good primer and paint. Don’t skimp on the paint — a cabinet-specific or alkyd-based finish is what separates shelves that look professionally done from ones that just look like painted IKEA furniture.
Building the Base and Installing the Units
One of the key secrets to making IKEA shelving look like genuine built-ins is raising the units on a custom-built base, sometimes called a plinth. This does two things: it lifts the units off the floor so standard baseboard molding can wrap around the entire bottom perimeter (matching whatever baseboards you already have in the room), and it hides the gap between the bottom of the units and the floor — which in older homes can be pretty uneven. A base height of around 3.5 to 4 inches tends to work well, since it lets standard 3.5-inch baseboard wrap around it cleanly.
Build your base from 2×4 lumber laid flat, forming a rectangular frame for each section of shelving. Screw the corners together, then check that everything is level before securing the frame to the floor — shim where needed if the floor isn’t flat. Don’t skip this step or rush through it. If your base isn’t level, none of the units on top of it will be level, and that misalignment gets more obvious the more units you add side by side. Once the base is level and secured, you can start placing your assembled IKEA units on top.
Assembling the IKEA units is exactly what you’d expect — just follow the instructions as normal. Once they’re assembled and sitting on the base, you’ll need to join them to each other. Drive screws through the interior side panels of adjacent units near the top and bottom of the shared panel to lock them into one solid structure. Then secure each unit to the wall by driving screws through the back panel or a top rail and into wall studs. This is essential for safety, especially if you have kids at home, and it also makes the whole installation significantly more rigid.
Adding Trim, Face Frames, and the Custom Details That Sell the Look
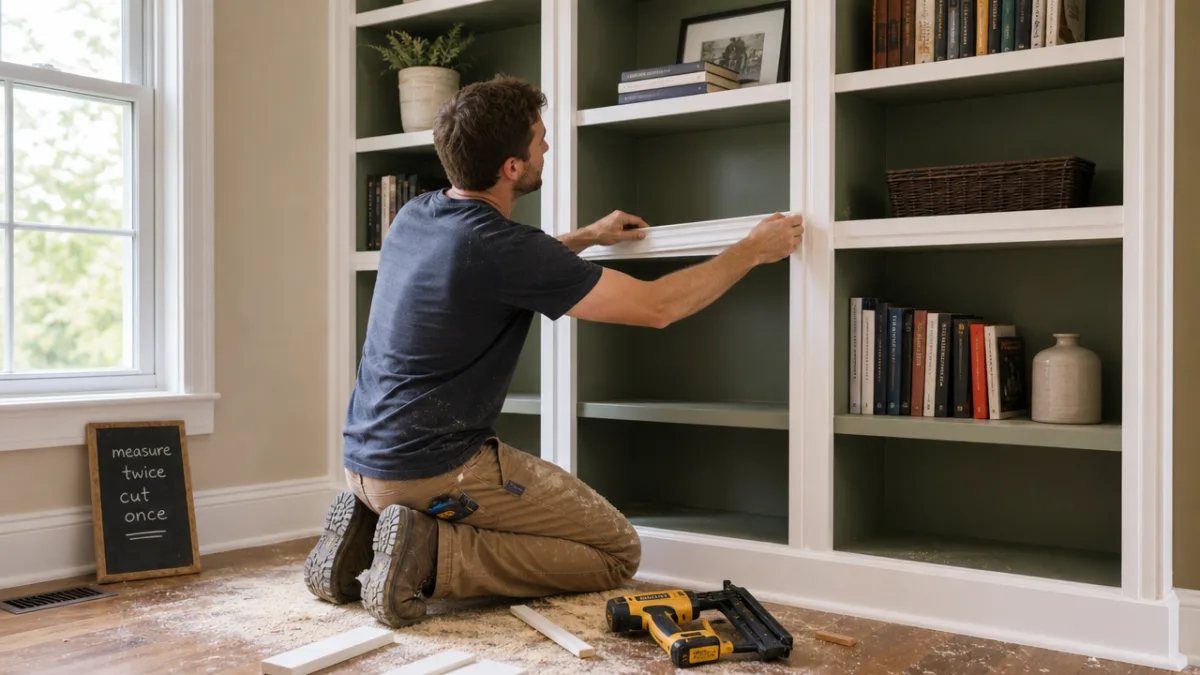
This is the phase that takes a project from “nice IKEA shelves” to “wait, are those custom built-ins?” The trim work is where the real transformation happens. Start by measuring and cutting vertical trim boards — typically 1×3 or 1×4 pine — to cover the exposed side panels of the outermost units and any visible gaps between units. Glue and nail these into place to create a clean, finished edge that hides the flat-pack origins of what’s underneath. Then caulk any gaps between the trim and the wall, between the trim and the units, and anywhere else a seam is visible.
Crown molding at the top is probably the single most impactful detail you can add. It visually connects the shelving to the ceiling and makes the whole unit feel like it was always part of the room. If it’s your first time working with molding, basic cove molding is more forgiving than traditional crown because the angle cuts are simpler. Attach it with construction adhesive and finish nails, fill all the nail holes with wood filler, then sand smooth. A light rail molding along the bottom of upper shelving sections, or a simple decorative strip along horizontal shelf fronts, adds a lot of visual richness for very little money.
Face frames — thin strips of wood applied to the front edges of the units — are optional but make a noticeable difference. BILLY cases have a slightly thin, hollow look to their front edges, and adding a 1×2 face frame flush with the front of each unit gives the shelving a more solid, furniture-quality appearance. Cut your pieces to fit, glue them to the unit’s edge, press them into place, and secure with a brad nailer. Once everything is painted — units, trim, base, and face frames all in the same color — it comes together into something that genuinely looks like it belongs there.
Finishing, Styling, and the Final Reveal
Prep work before painting is everything — don’t rush it. Lightly sand all surfaces with 120-grit sandpaper to scuff them up and help the paint stick, then wipe everything down with a tack cloth to get rid of the dust. Apply a coat of high-quality bonding primer over the entire installation, and pay extra attention to the IKEA laminate surfaces, which aren’t naturally porous and will cause paint to peel if you skip proper priming. Let the primer dry fully — overnight if you can swing it — before moving on to topcoats. Two coats of a durable cabinet paint in your chosen finish will give you something that looks great and holds up to daily life.
Color is worth thinking through carefully. Crisp white is the classic choice because it reads as architectural rather than decorative and works in almost any room. Off-white and cream tones feel a bit softer and warmer, which makes them popular in bedrooms and traditional-style living rooms. For something bolder and more contemporary, dark greens, navy blues, and charcoal grays have become incredibly popular and can create a dramatic, library-like atmosphere that manages to feel both current and timeless. Whatever color you choose, painting the wall behind the shelves the same hue — rather than leaving it the room’s base wall color — creates a rich, enveloping look that makes the whole installation feel intentional and designed.
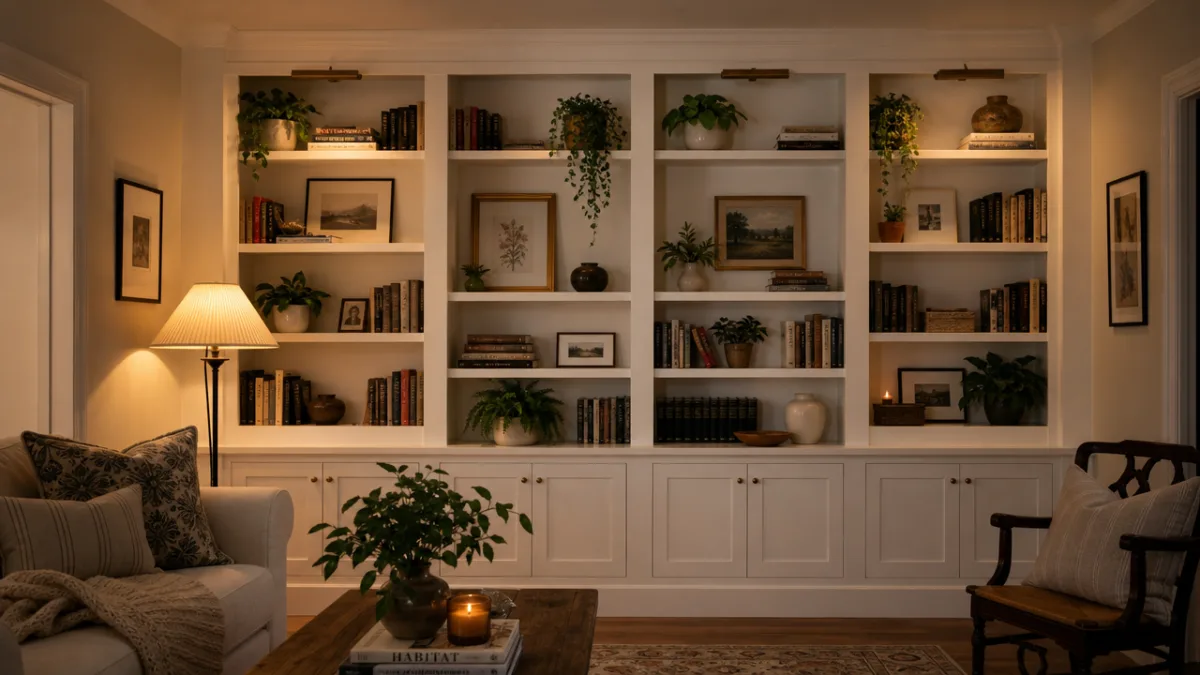
Once the paint has cured — usually 24 to 48 hours before you start loading things on — the fun part begins: styling. The key to shelves that look curated rather than cluttered is restraint and variation. Resist filling every inch. Group books by color or height for visual rhythm, mix in objects of different scales — small sculptures, candles, plants, framed photos — and leave some breathing room between groupings. Baskets or bins on lower shelves add practical storage and contribute some nice texture. Step back often as you style and take in the view from across the room, which is ultimately where most people will be looking at it from.
Cost Breakdown, Timeline, and Tips for Success
The cost is honestly one of the best arguments for doing this. A typical living room installation covering a 10-foot wall from floor to ceiling using BILLY bookcases will need roughly four to six units at around $50 to $150 each depending on the size. Add in materials for the base, trim, paint, and hardware, and most projects land somewhere between $400 and $900 total. Compare that to a custom carpenter quote for the same wall — which rarely comes in under $2,000 and often runs past $4,000 — and the math speaks for itself. You’re trading money for time and labor, and for most people, that’s a very easy trade to make.
For timeline, plan on a full weekend at minimum, and ideally three days. The first day is usually spent building the base, assembling the units, and getting everything secured to the wall. Day two covers trim work, face frames, caulking, wood filler, and sanding. Day three — once everything has had time to dry — is for priming and painting. If you’re working solo, expect each phase to take longer than if you have a helper. A lot of people also spread the project across two weekends, which lets primer and paint cure properly between sessions and takes the pressure off trying to rush through everything at once.
A few parting tips from the collective wisdom of everyone who’s done this before you: buy more caulk than you think you’ll need, because you will use it everywhere. Never skip the wall anchor step — ever. Take the time to find and mark every stud before you start. If your ceiling is textured, plan ahead for how you’ll handle the junction at the top trim, or accept that there may be a small visible line (most people genuinely don’t notice it once everything is painted). And finally, let go of perfection. Custom carpenter work isn’t flawless either, and the small quirks in a project like this tend to read as character once the shelves are filled with books, objects, and everything else that makes a house feel like home.
“`








What do you think?
It is nice to know your opinion. Leave a comment.